What made Mortal Kombat unique and changed the video game industry forever, more than the motion capture animation, were the fatalities. Such violence, such gore, but such beauty in its conception as animation success. Mortal Kombat 1 acts as a reset for the story and the franchise, and now with known and returning characters on the line, will the fatalities keep up with this important milestone? Let us discover all Mortal Kombat 1 fatalities and how to perform them.
Main Roster Fatalities – Mortal Kombat 1
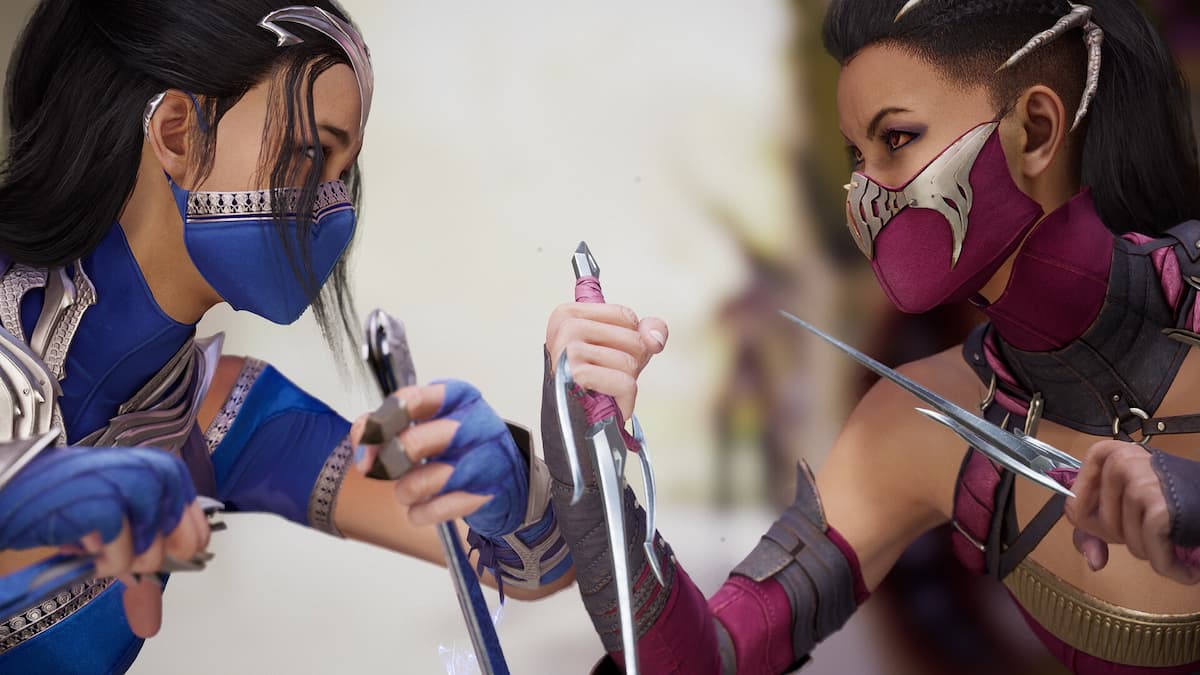
Image: NetherRealm Studios
Before we begin with our merciless fatalities, there are a couple of terms and equivalences we have to make to keep things in order. First of all, each fatality has three different distances in which they need to be performed for them to work properly in the game. Otherwise, you will get the infamous one-man punch/kick of death, and we all know that it is the most anti-climatic thing in video game history. Here are the fatality distances, explained:
- Close*: Barely one step from your opponent, almost touching him.
- Mid*: Approximately three to six steps from your opponent.
- Far*: More than six steps from your opponent.
*: You can always practice each of the characters’ fatalities to get a hold of the exact distance for each of them.
Finally, regarding fatality inputs, to make things more universal, we have decided to use the number system for the controller inputs. These will replace the Front and Back Punches and Kicks so that it reads a bit better. Here are the equivalences to the controller inputs:
- 1: Front Punch (PlayStation: Square; Xbox: X; Switch; Y)
- 2: Back Punch (PlayStation: Triangle; Xbox: Y; Switch; X)
- 3: Front Kick (PlayStation: X; Xbox: A; Switch; B)
- 4: Back Kick (PlayStation: Square; Xbox: X; Switch; Y)
- Block: PlayStation: R2; Xbox: RT; Switch; ZR
- Kameo: PlayStation: R1; Xbox: RB; Switch; R
Ashrah
Heavenly Light (Mid)
Down, Forward, Down, 2
Fatality 2 (Mid)
Down, Down, Back, 4
Baraka
Split Decision (Close)
Back, Forward, Down, 1
Fatality 2 (Close)
Forward, Back, Down, 4
General Shao
Spin Cycle (Mid)
Back, Forward, Down, 1
Fatality 2 (Mid)
Down, Forward, Back, 1
Geras
Sand Storm (Mid)
Forward, Down, Down, 4
Fatality 2 (Close)
Down, Forward, Back, 1
Havik
Atomic Heart (Close)
Down, Forward, Down, 4
Fatality 2 (Close)
Forward, Back, Down, 2
Johnny Cage
Hollywood Walk of Pain (Close)
Forward, Back, Down, 2
Fatality 2 (Mid to Far)
Forward, Down, Back, 4
Kenshi
Blended (Close)
Forward, Down, Down, 2
Fatality 2 (Mid)
Back, Down, Back, 1
Kitana
Royal Blender (Far)
Down, Forward, Down, 4
Fatality 2 (Close)
Down, Down, Back, 4
Kung Lao
Lao’d And Clear (Mid)
Back, Forward, Back, 4
Fatality 2 (Close)
Back, Down, Down, 3
Li Mei
Roman Candle (Close)
Forward, Back, Forward, 3
Fatality 2 (Close)
Back, Forward, Down, 4
Liu Kang
Double Dragon (Close)
Down, Forward, Back, 4
Fatality 2 (Close)
Back, Forward, Back, 3
Mileena
Appetizer (Close)
Back, Forward, Back, 1
Fatality 2 (Close)
Down, Forward, Back, 3
Nitara
Vaeternus KomBAT (Mid)
Down, Down, Back, 1
Fatality 2 (Mid to Far)
Back, Down, Back, 4
Raiden
The Storm’s Arrival (Close)
Back, Forward, Back, 2
Raiden Fatality 2 (Mid or Far)
Down, Forward, Back, 1
Rain
The Red Sea (Close)
Down, Down, Back, 4
Fatality 2 (Mid)
Down, Forward, Back, 3
Reiko
The Impaler (Mid)
Down, Down, Back, 2
Fatality 2 (Close)
Back, Down, Down, 4
Reptile
Indigestion (Mid)
Forward, Back, Down, 4
Fatality 2 (Close)
Forward, Back, Down, 3
Scorpion
Eye-Palling Victory (Mid)
Down, Forward, Back, Block
Fatality 2 (Mid)
Back, Forward, Back, 2
Shang Tsung
Side Effects (Close)
Back, Down, Down, 4
Fatality 2 (Mid)
Forward, Down, Back, 2
Sindel
Hair Comes Trouble (Mid)
Down, Back, Down, 1
Fatality 2 (Mid to Far)
Back, Forward, Back, 2
Smoke
Hazed and Infused (Any)
Back, Forward, Down, 1
Fatality 2 (Any)
Down, Forward, Back, 2
Sub-Zero
Fracture (Any)
Forward, Down, Down, 2
Fatality 2 (Close)
Forward, Back, Down, 4
Tanya
Helping Hands (Close)
Down, Back, Down, 3
Fatality 2 (Mid)
Back, Forward, Down, 2
Related: Mortal Kombat 1 beta impressions: A return to form
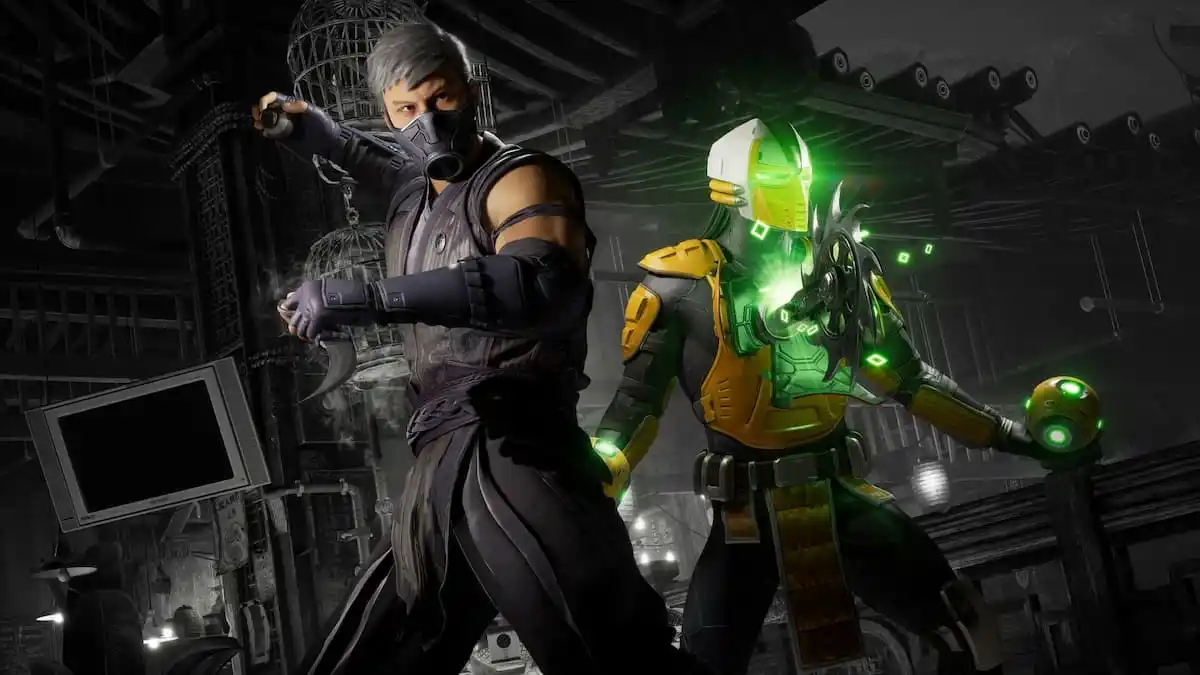
Kameo Fatalities – Mortal Kombat 1
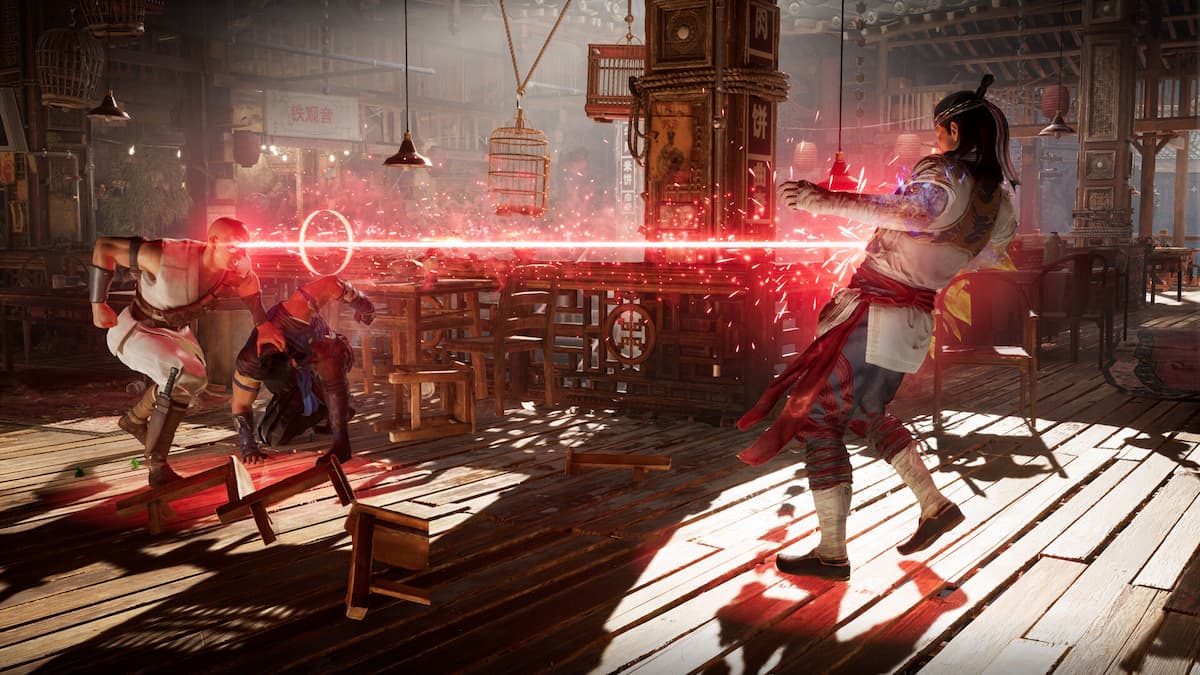
Image: NetherRealm Studios
Each kameo fighter will also be able to perform a fatality with an obvious nod to the classic Mortal Kombat games. You will be able to use it after beating your opponents. Just remember who you picked and you will be ready to deliver a nostalgia-driven fatality.
Cyrax
Annihilation (Mid)
Forward, Back, Forward, Kameo
Darrius
Armed and Dangerous (Mid)
Down, Back, Forward, Kameo
Frost
Breaking Point (Mid)
Back, Down, Back, Kameo
Goro
Prince of Pain (Close)
Back, Forward, Down, Kameo
Jax
Big Boot (Far)
Down, Forward, Down, Kameo
Kano
Heart Ripper (Mid)
Back, Down, Forward, Kameo
Kung Lao
Klean Kut (Mid)
Forward, Back, Forward, Kameo
Motaro
Brain Blast (Mid)
Forward, Down, Down, Kameo
Sareena
Inner Demon (Mid)
Back, Down, Back, Kameo
Scorpion
Toasty!!! (Mid)
Down, Forward, Down, Kameo
Sektor
Kompactor (Mid)
Back, Forward, Back, Kameo
Shujinko
Five Point Strike (Mid)
Down, Back, Down, Kameo
Sonya
Kiss (Mid)
Back, Forward, Down, Kameo
Stryker
Safety Vest (Mid)
Forward, Down, Forward, Kameo
Sub-Zero
Spine Rip (Mid)
Forward, Down, Forward, Kameo