The Best Javelin?
When you’re tackling higher difficulties, you’ll probably ask yourself which Javelin is the best? The answer is that there really isn’t a single be-all-end-all of Javelin choices. That’s because each Javelin can perform well under most conditions, and you’ll rely on your machine’s build (weapons, components, skill choices) and your own capabilities as a player. Here’s a quick rundown of what each Javelin’s playstyle is like.
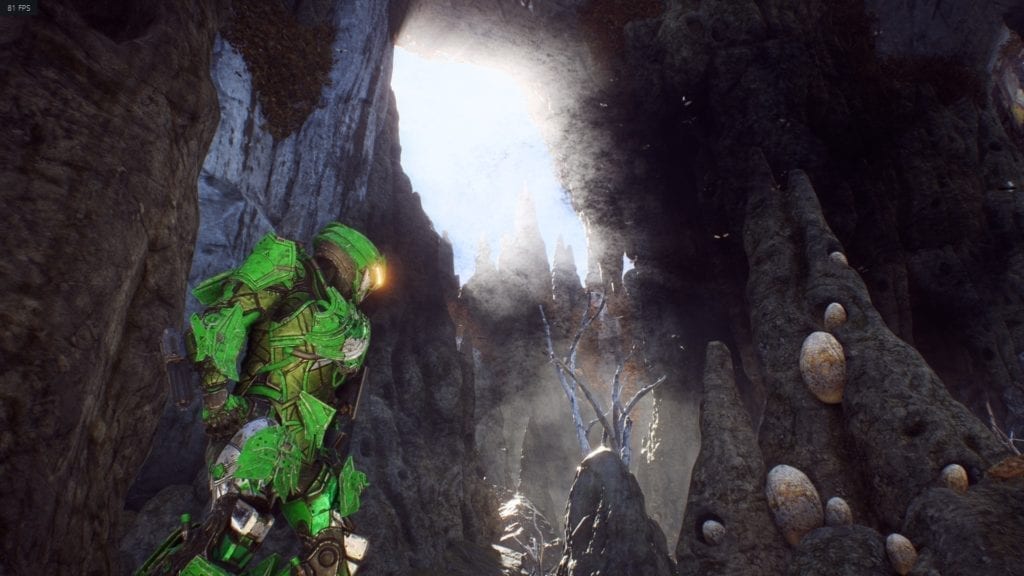
Thicc boi.
Colossus
Also known as the “thicc boi,” the Colossus is a beefy behemoth that’s capable of dealing massive amounts of damage while taking the same in return. It’s the very definition of a walking tank as it can deploy a shield or taunt mobs. The Colossus may be slow and plodding while moving around, but it has the firepower to take down numerous foes. It also lets you sprint and punch someone in the face, in case you’re missing those Destiny Titan vibes.
The Colossus’ ultimate ability lets you fire devastating cannon shots. Other abilities include an AoE taunt, flamethrower (for AoE damage), mortar strikes, autocannons, railguns, and more. Here’s a video from Arekkz Gaming:
Ride the lightning.
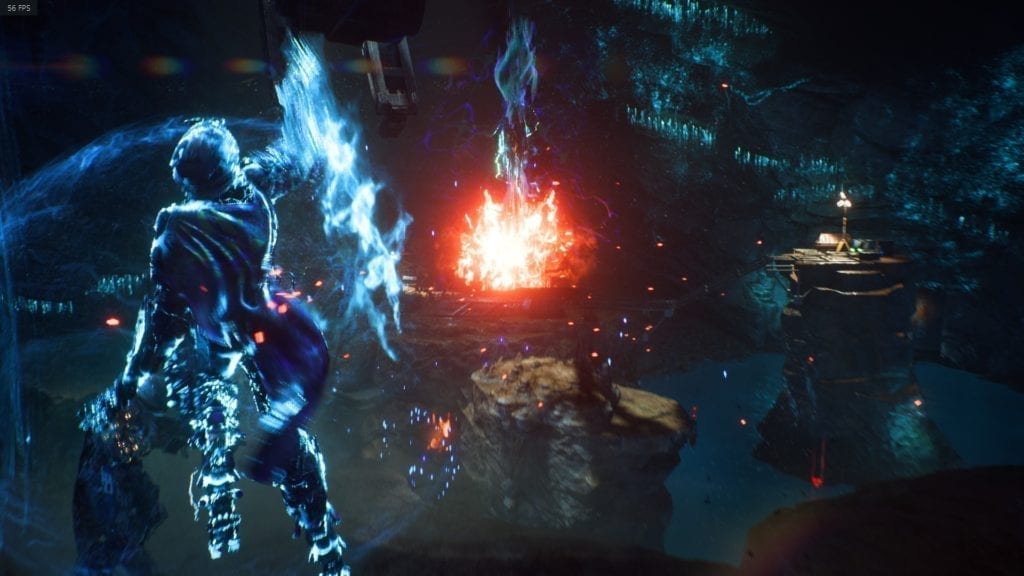
Storm
The Storm would remind you of Destiny’s Warlock given its propensity of using “space magic.” It also features the longest hover time out of all Javelins, which means that skills/weapons that make the most out of aerial attacks complement its playstyle. One particular example is the Avenging Herald pistol which boosts your shot damage while hovering.
The Storm’s ultimate ability lets you cast fire, ice, and lightning in a concentrated area. Additional abilities you can equip include homing fireballs, freezing ice blocks, lightning strikes, lightning bolts, flame explosions, and the like. Check out a quick video from Channel5 Gaming:
Look at all the Genji mains.
Interceptor
The Interceptor, which I fondly call “the Genji” is a highly mobile Javelin. It also requires a bit of skill to play correctly since you’re dashing to and fro mob packs while using your speed and quickness to avoid damage.
The Interceptor’s ultimate ability turns you into Slashy McSlasherton via quick and punishing melee attacks. If that doesn’t make you yell out “Ryūjin no ken wo kūrae!” or “Berserker Barrage!” then I don’t know what will. Other Interceptor skills include poison gas bombs and elemental shurikens. Additionally, Interceptors are the only Javelin that can triple jump, and they also have no cooldown on their melee ability. Here’s how SFNF_ approached a firefight:
Justice rains from… slightly above the ground.
Ranger
The three Javelins mentioned above all have unique functions that tend to separate it from the pack. The Ranger is the “generic space marine” in comparison, but don’t let that fool you. The versatile all-rounder has a few tricks up its sleeve.
The Ranger ultimate fires a barrage of rockets which would make you go: “Justice rains from above!” Rangers can also pop a shield dome around them (perfect for reviving), and lob grenades at enemy troops. One masterwork version, in particular, recharges your ultimate hilariously fast. Check out a gameplay video from Redditor PurpleSuperNova:
Note: There are two types of components — universal ones, and those for a specific type of Javelin. You’ll notice that while universal components can provide some decent buffs, or even help increase the gearscore of an alt, they pale in comparison to Javelin-specific components. Most universal components will provide a flat 100+ increase to your armor and shield values. As for Javelin-specific ones? Well, even with the same rarity, they’d provide 500+ for those stats. Always go for a Javelin-specific component when you can.
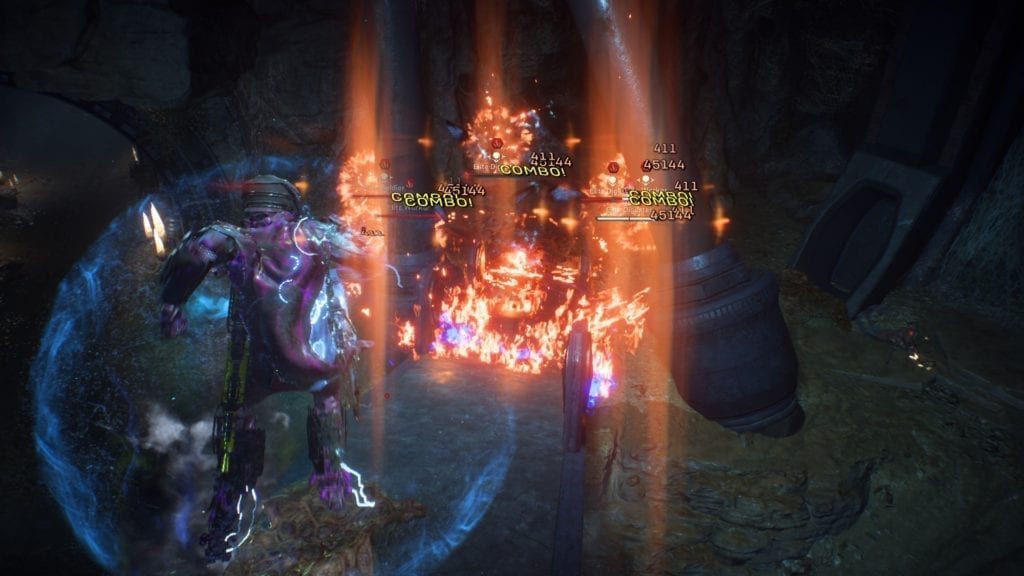
Combo chains with a Storm Javelin.
C-C-Combo Breaker!
Knowing the basics about your Javelin of choice isn’t enough because you’d want to maximize its capabilities. To do that, you’ll need to unleash combos. Explaining them in-depth is actually one of the failings of Anthem, in fact, I didn’t even realize the best methods of chaining them until I discovered it from a couple of threads on r/AnthemtheGame, Anthem’s official subreddit, thanks to users TzarWolfie and KitsuneKinder.
For starters, you need to know that there are two main damage types:
- Physical – includes Impact-type and Acid-type damage
- Elemental – includes Fire, Ice, and Electric
Take note of the affixes that boost a certain type of damage since these will be important in determining how well your items suit your build. Next up, combos:
- Primers – primers, by the very term itself, “prime” your target and set them up for a combo; primer-type skills have a circular icon when inspected in the Forge; enemies affected by a primer skill have a red icon of the corresponding element
- Detonators – have a “blast-like” icon when inspected; they consume the priming effect to unleash a combo that deals extra damage
Check out these two focus seals for the Storm. They’re both activated by pressing “E” or the right shoulder button. However, one is a primer and the other is a detonator:
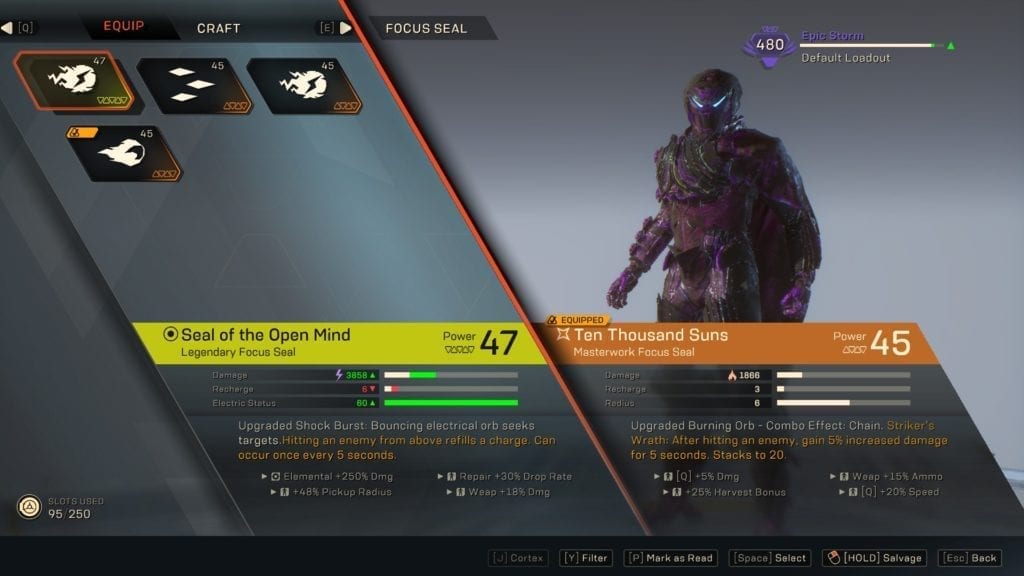
The Seal of the Open Mind (Shock Burst) is a primer. The Ten Thousand Suns (Burning Orb) is a detonator. One sets up a combo, the other activates it. Neither one is a follower of Tzeentch.
The gist is that you’ll want to “prime” enemy targets with certain abilities, and then “detonate” to obtain combos. Maximizing your prime/detonator usage to do more combos, and therefore get more kills, helps you regenerate your Ultimate ability faster.
Having two abilities that would prime, or two abilities for detonation, might help out if you can coordinate with your teammates. As a general rule, however, it’s best to have one primer and one detonator so you can proactively create your own setups and go for the finish.
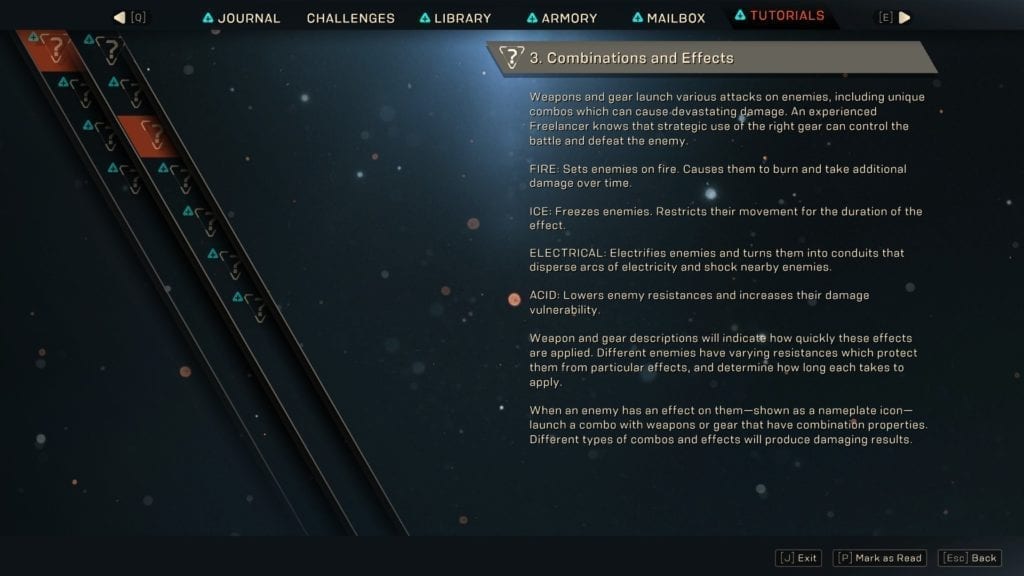
Why is the combo mechanic hilarious? It’s because Anthem’s codex barely tells you about these mechanics among many others:
Thanks for something, I guess.
Note that you cannot “prime” an enemy that is shielded, you’d have to break their shield first. Also, each combo you detonate on a target will have additional effects depending on the Javelin you used to deal that combo:
- Ranger – increases critical target damage
- Colossus – additional AoE damage
- Storm – elemental spread, or elemental effects trigger on nearby enemies (ie. nearby enemies are also frozen if you combo a frozen enemy)
- Interceptor – aura spread
The last one, in particular, would seem fairly complicated. In basic terms, the Interceptor gains an aura depending on the “primed” element that it detonated. If the primed element was ice, then the aura obtained by the Interceptor lets it freeze enemies with melee attacks. Here’s a video below from Channel5 Gaming:
The Current Endgame: Legendary Contracts And Strongholds
Apart from just having more floaties popping on your screen or regaining your Ultimate abilities, the above mechanics are all important once you reach the endgame. Anthem’s current endgame, truthfully enough, is sparse. The Cataclysms, or raid-like activities, have yet to be released. For now, you’ll have to settle for Legendary Contracts and Strongholds.
Legendary Contracts are the purple ones you’ll see on message boards in Fort Tarsis.
Legendary Contracts appear only once a day. You’ll need to complete the questlines from the three factions — Sentinels, Arcanists, and Freelancers — to have access to them (a total of three Legendary Contracts per daily reset). Legendary Contracts function the same way as the regular contracts that you’ve seen while leveling up, although they might have an extra quest step or even tougher enemies.
It’s also important that you do them at level 30 and at Grandmaster 1 or higher since they’re guaranteed to drop a Masterwork component upon completion. Since each Javelin can equip six components, you’re looking at eight days in total to obtain full Masterwork component sets for all your Javelins. That’s assuming you didn’t get any duplicates.
Note 1: The daily reset happens at 7 a.m. Eastern.
Note 2: If you do want to farm components easily, you’ll need some buddies with you. When the daily reset happens, have a friend pick up the Legendary Contracts. You DO NOT pick these up. Complete the Legendary Contracts with your friend as the host and you’ll get Masterwork components. Next, pick up the contracts with yourself as the host. Your buddy joins and he also gets Masterwork components. You can get an extra three, six, or nine components depending on the number of buddies you have farming with this method.
Note 3: Alternatively, if you’re soloing, log on during the daily reset but don’t pick up any Legendary Contract. Start a quickplay session and pray you don’t get a bugged mission. There are times when you’d end up joining a Legendary Contract in progress and you’d gain the MW component upon completion. Just pick up the contract later when you get bored.
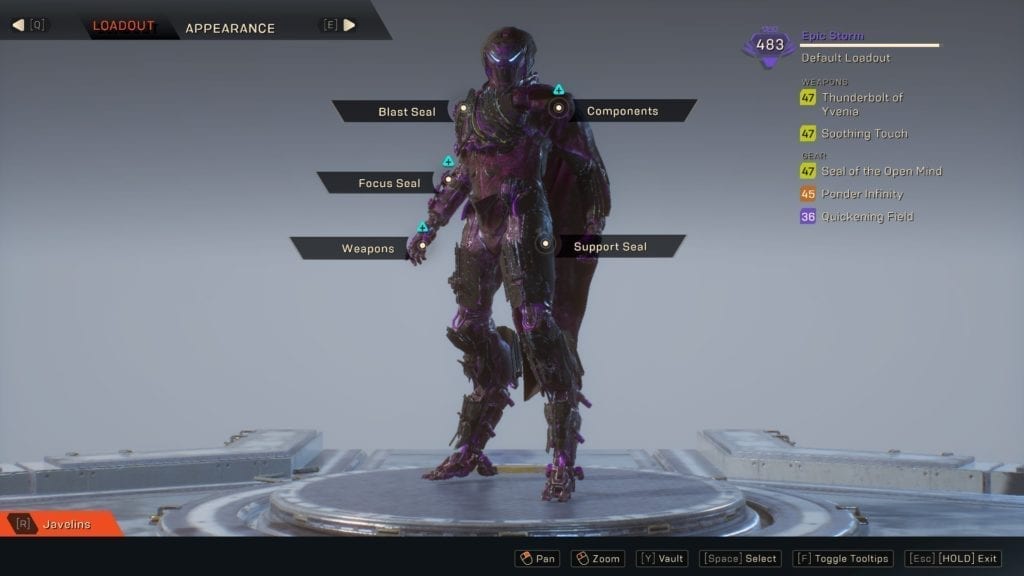
I’m still stuck at 483 power on my main Javelin (Storm) because I keep getting Masterwork component duplicates. Oh well, I guess I have to wait another day since I’m soloing and I dislike quickplay RNG.
As for Strongholds, you’ll have three to choose from. These are introduced as you progress during the campaign. As mentioned earlier, completing Strongholds at GM1 or higher will guarantee you a Masterwork (or even Legendary) skill item.
Tyrant Mine
The easiest of the bunch. The Tyrant Mine stronghold has a couple of major areas. The first one requires you to kill Scar enemies while collecting glowing orbs to drop them inside the rift area. The second has you standing in the center of a platform while spiders swarm you. Each area gives you a chest for your troubles.
The final boss is the Swarm Tyrant which is a giant spider. The boss is fairly easy and doesn’t need a full walkthrough. It spits acid globules, and spider adds spawn from time to time. After taking heavy damage, it will escape the arena. Around this time, multiple spiders will spawn from caverns. Just use your AoE attacks like flamethrowers, blizzards, poison gas, and the like to clear them out. The Swarm Tyrant reappears from that cavern so watch out since it might bulldoze you.

Fried spider.
The Temple of Scar
The Temple of Scar will have you fighting off against, obviously, Scar opponents. Each area tasks you with picking up explosive canisters to place in doorways. Once you’ve placed them all and cleared out the Scar opponents, the doorways are cleared giving you a path to progress.
The final boss is Scelos which is just a variation of the Scar’s walking tank. Like other variants, it will continuously fire annoying barrages that can stop you in your tracks when sprinting. Scar mobs will also spawn at intervals. When you take out a bar of Scelos’ health, the turbines from the side of the room will make it immune. Just damage these turbines to break its shield.
Because nobody likes this Stronghold, here’s a great screenshot showcasing my Master Chief-esque Ranger instead.
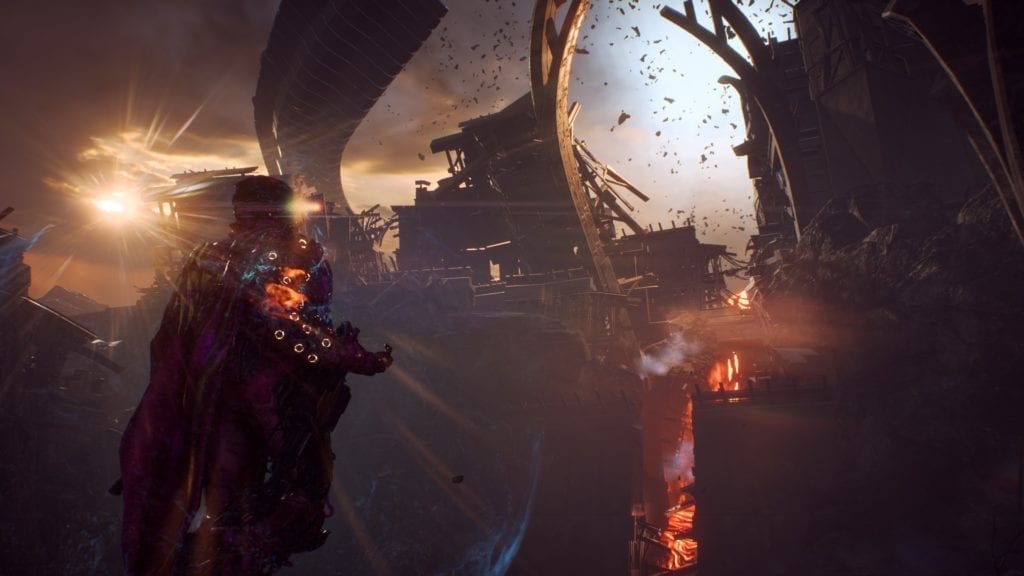
The Heart of Rage
The Heart of Rage is basically the final story mission in Anthem, you’re just replaying it. The first major encounter is against an Ash Titan, and these brutes take a while to drop. The second major part includes multiple waves of Dominion fighters, and then a couple of Furies (those strange aliens that shield themselves in dark matter).
The final boss is The Monitor. The first two phases of this boss fight show his weak spot as his head. The third and final phase will have his weak spot at his sides. Time to tickle it.
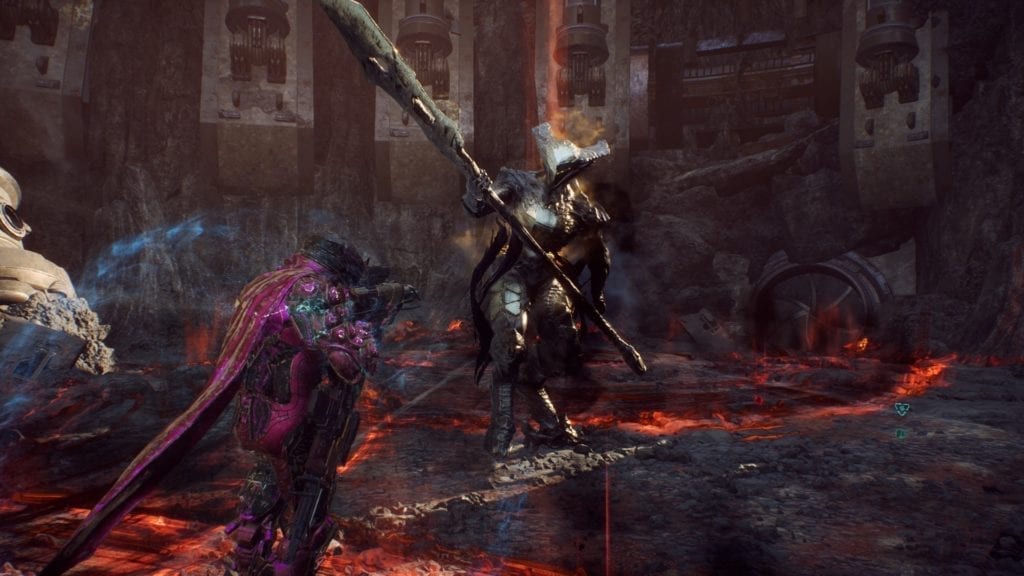
This Dark Souls guy.
That about does it for our Anthem guide. We’ve covered some of the info not mentioned in the game, as well as some tips/resources from other players. We hope this guide helps you out in your adventures in the world of Bastion. Stay tuned this March when BioWare adds new activities, including Cataclysm raids.