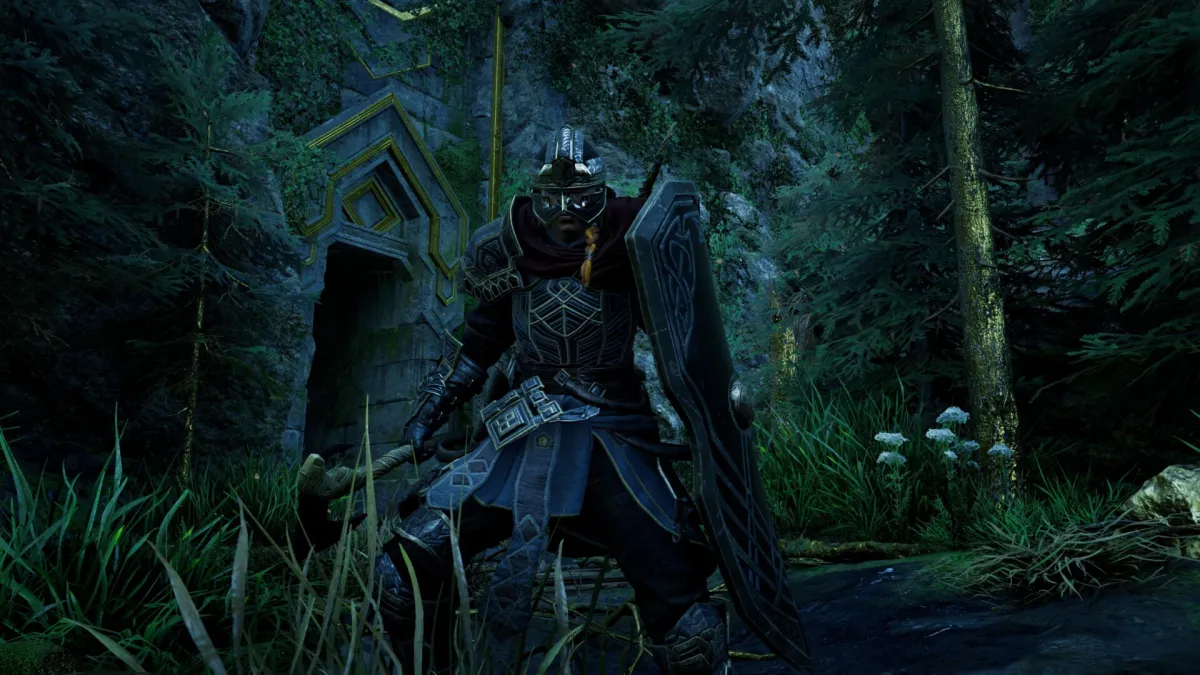
Assassin’s Creed Valhalla: Dawn of Ragnarok Dwarven Blacksmith armor set – Helmet and Breeches
Let’s discuss how to obtain the Dwarven Blacksmith Helmet and Dwarven Blacksmith Breeches in Assassin’s Creed Valhalla: Dawn of Ragnarok.
Dwarven Blacksmith Helmet
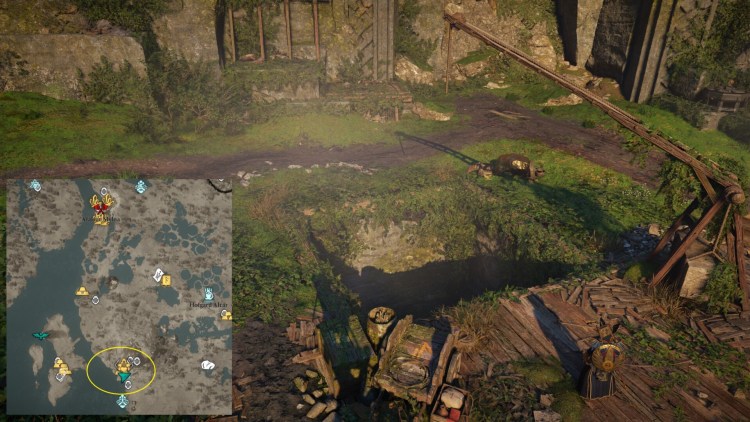
From Hreidmar’s Groft, keep going south while following the coastline until you reach a place called Fornama. Once you get close to the pit, a dwarf named Banski will warn you because he thinks you’re a Jotun. He’ll jump down the pit, so go ahead and drop down, too.
In the pit, you’ll find several corpses with the Power of Jotunheim (which you’ll use later). Pass through the crawlspace and you’ll find yourself in a large cavern that’s filled with rats. Yes, the annoying mechanic from Siege of Paris is back.
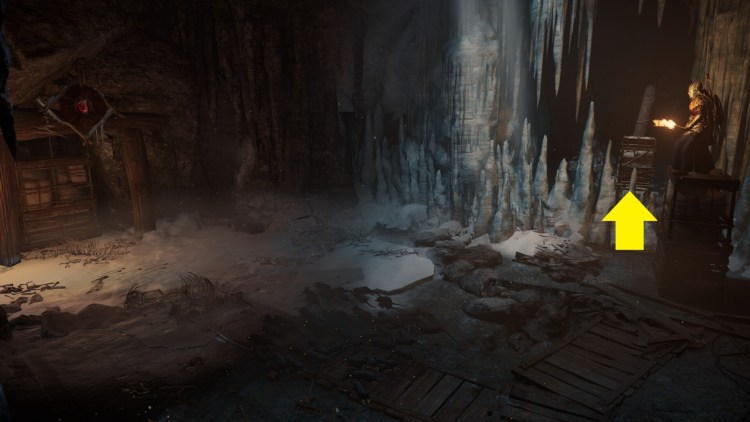
Your goal, for now, is to push the shelf until it’s adjacent to the opening with the icicles. However, because the rat swarm will chew through you, you’ll want to climb up the shelf and shoot them to make them disperse. This will only offer a temporary respite, so you’ll have to redo this over and over. Once the shelf is close enough to the opening, you can make the jump to open the chest with the Dwarven Blacksmith Helmet.
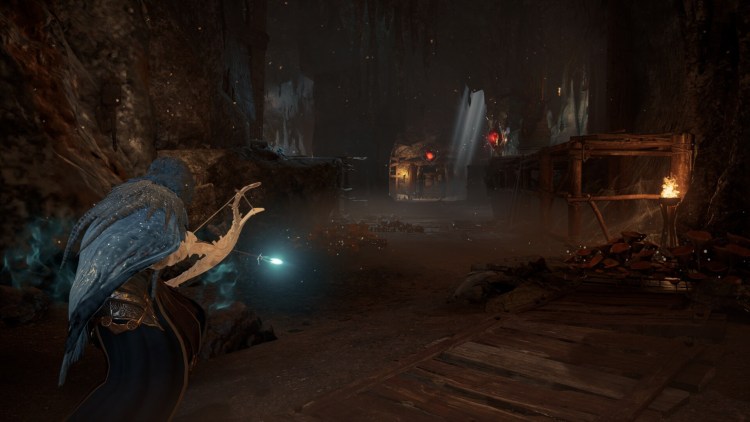
Next, let’s say you want to see what Banski is up to. Go to the back end of the cavern (opposite the other shelf). Wait until the rats get close, then pop your Power of Jotunheim.
While it’s active, snipe the markers so you can teleport. Be quick so that you can push the other shelf all the way through the opening before the rats start biting you.
What follows next is a quick romp where you’ll avoid Banski’s poison gas traps and thrown explosives.
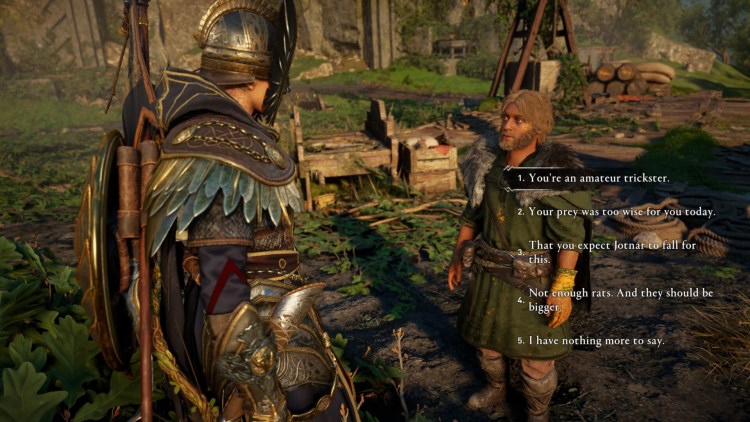
Once you’re back up top, Banski will realize that you’re not a Jotun. You can talk to him to complete the “Not Today, Jotun!” world event.
Dwarven Blacksmith Breeches
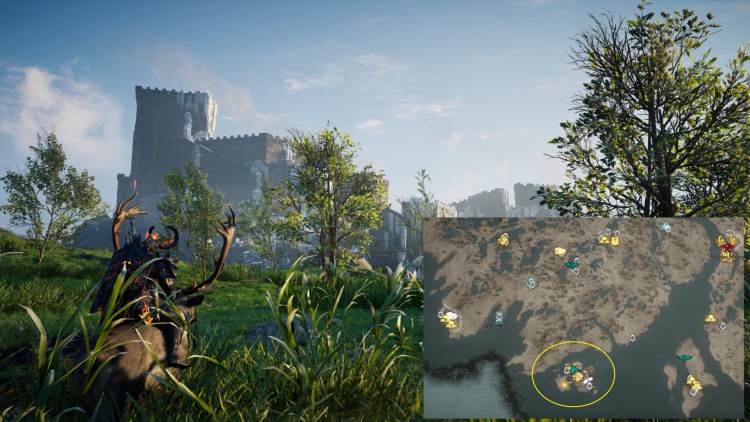
Next, you’ll want to go to the southern section of Vangrinn until you see a fortress called Feigardr. It’s filled with several Jotun and Muspel enemies, so you can pick up various powers. For the item, though, make sure you have the Power of Jotunheim.
Before entering the fortress, check the docks so you can pick up a Platinum Ingot. The chest that contains it is locked, but you can get the two keys nearby:
- The first key is in the building next to the one with the chest. You can enter using an opening on the ground floor.
- The second key is held by an Ash-Bearer mob guarding a bridgeway.
- Key #1
- Key #2
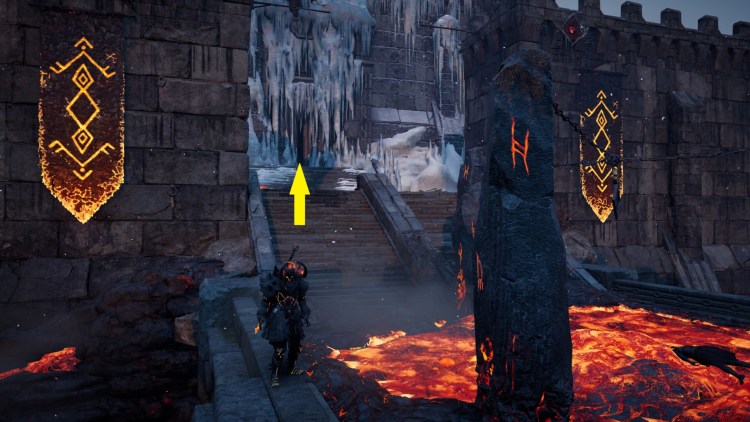
With that done, proceed to the fortress until you reach the entrance (as seen in the image below).
You might think that the way is blocked, but you can squeeze through the icicles to reach the prison.
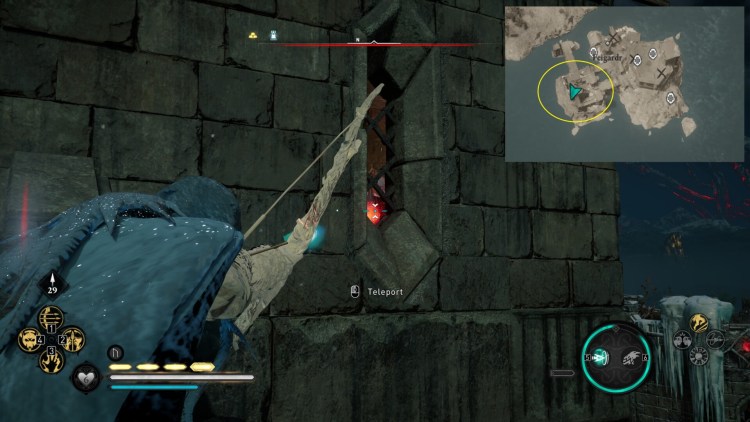
Once inside, activate the Power of Jotunheim and snipe the marker behind the metal gate. This is the main chamber where you can pick up several keys.
Don’t worry, because these keys will also unlock the door so you can explore the prison (which still has a lot of mobs).
You’ll want to pick up the following:
- There’s a cell on the second floor of the Ruby section (i.e., red banners) that has a Heroic Saga collectible.
- There’s another cell also on the second floor of the Ruby section. It has a movable shelf that leads to a chest with crafting materials.
- On the ground floor of the Ruby section, you’ll find a cell with the Emerald Key.
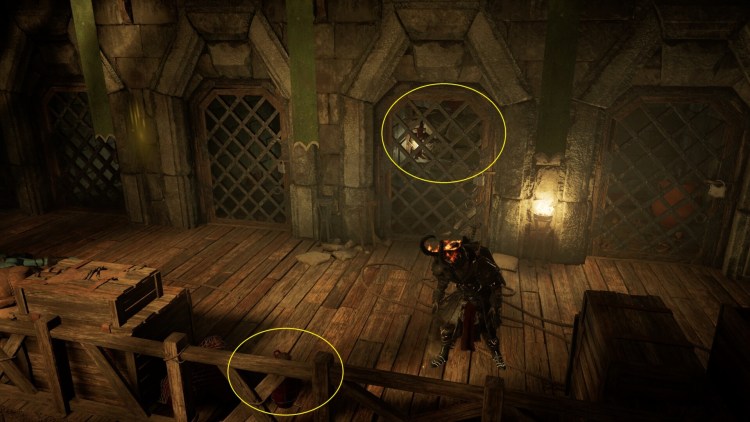
- Make your way to the Emerald section (i.e., green banners). On the second floor, you’ll see an explosive jar and, next to that, is a cell with a destructible wall. Blow it open and use the Power of Jotunheim to teleport to the marker. In this small nook, you’ll find the Dwarven Blacksmith Breeches. To leave this spot, pick up and move the rock that’s blocking the way. Then, pull the movable shelf until you can squeeze through.
Finally, since you’re here, you might as well go to the western edge of the ramparts. If you still have the Power of Jotunheim, you can use it while you’re standing on the steps. You should have a clear line-of-sight to teleport to the marker inside the chamber. You can get the Great Safeguard Rune here.
All right, let’s move on to the next part of our guide series to discuss the Fidsthorp puzzle. You can grab the Dwarven Blacksmith Bracers there, as well as a unique ability from a tome.
Assassin’s Creed Valhalla: Dawn of Ragnarok is available via its official website. For more information, check out our guides and features hub.

