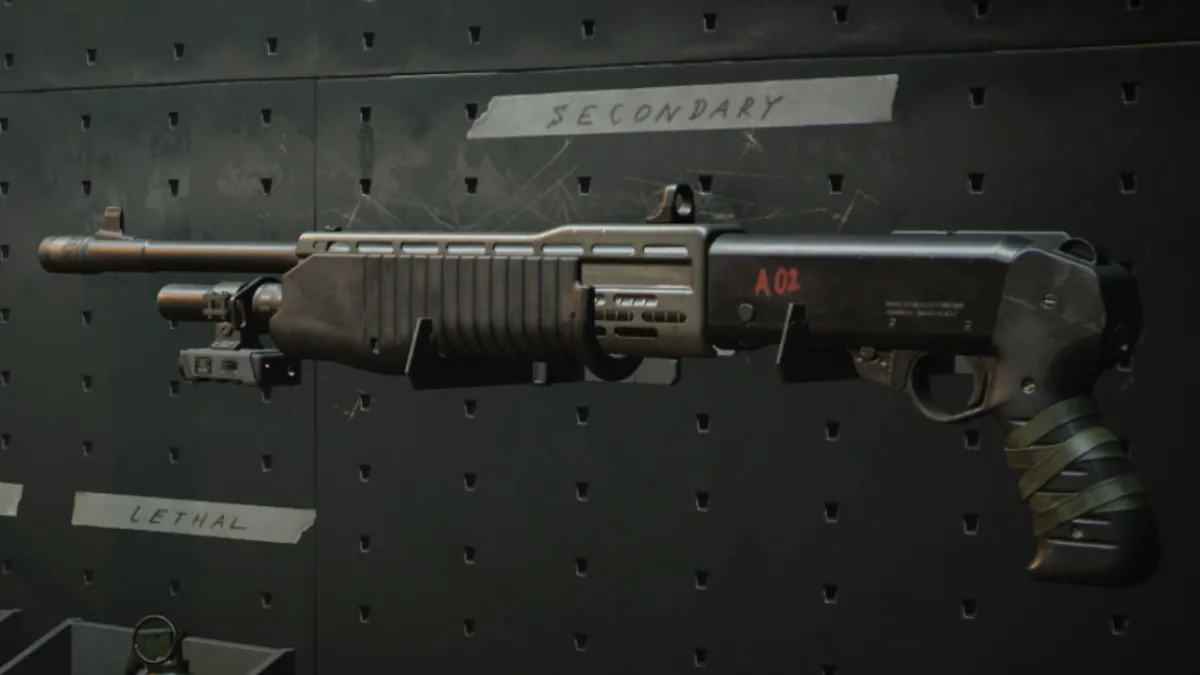
The iconic SPAS-12 shotgun returns in Black Ops Cold War in the form of the Gallo SA12. It is one of two shotguns that were packaged with the game at launch. The competing Hauer 77 is the precision, pump-action shotgun while the Gallo SA12 is your typical spam fire semi-auto. Imagine a slightly nerfed version of the Origin-12 Shotgun from Modern Warfare and that’s basically the SA12.
Even though the Gallo SA12 has a lower skill ceiling than the Hauer 77, it’s arguably a better overall weapon. It’s far more consistent and less punishing if you miss a shot. Because of this, I suspect this is the shotgun most will choose to run as their secondary. It’s not that the Hauer is a bad gun, but the SA12 is far easier to use.
Gallo SA12 Perk Greed build
Barrel: 24.6″ Ranger
Body: SWAT 5mW Laser Sight
Magazine: 9 Rnd Tube
Handle: Dropshot Wrap
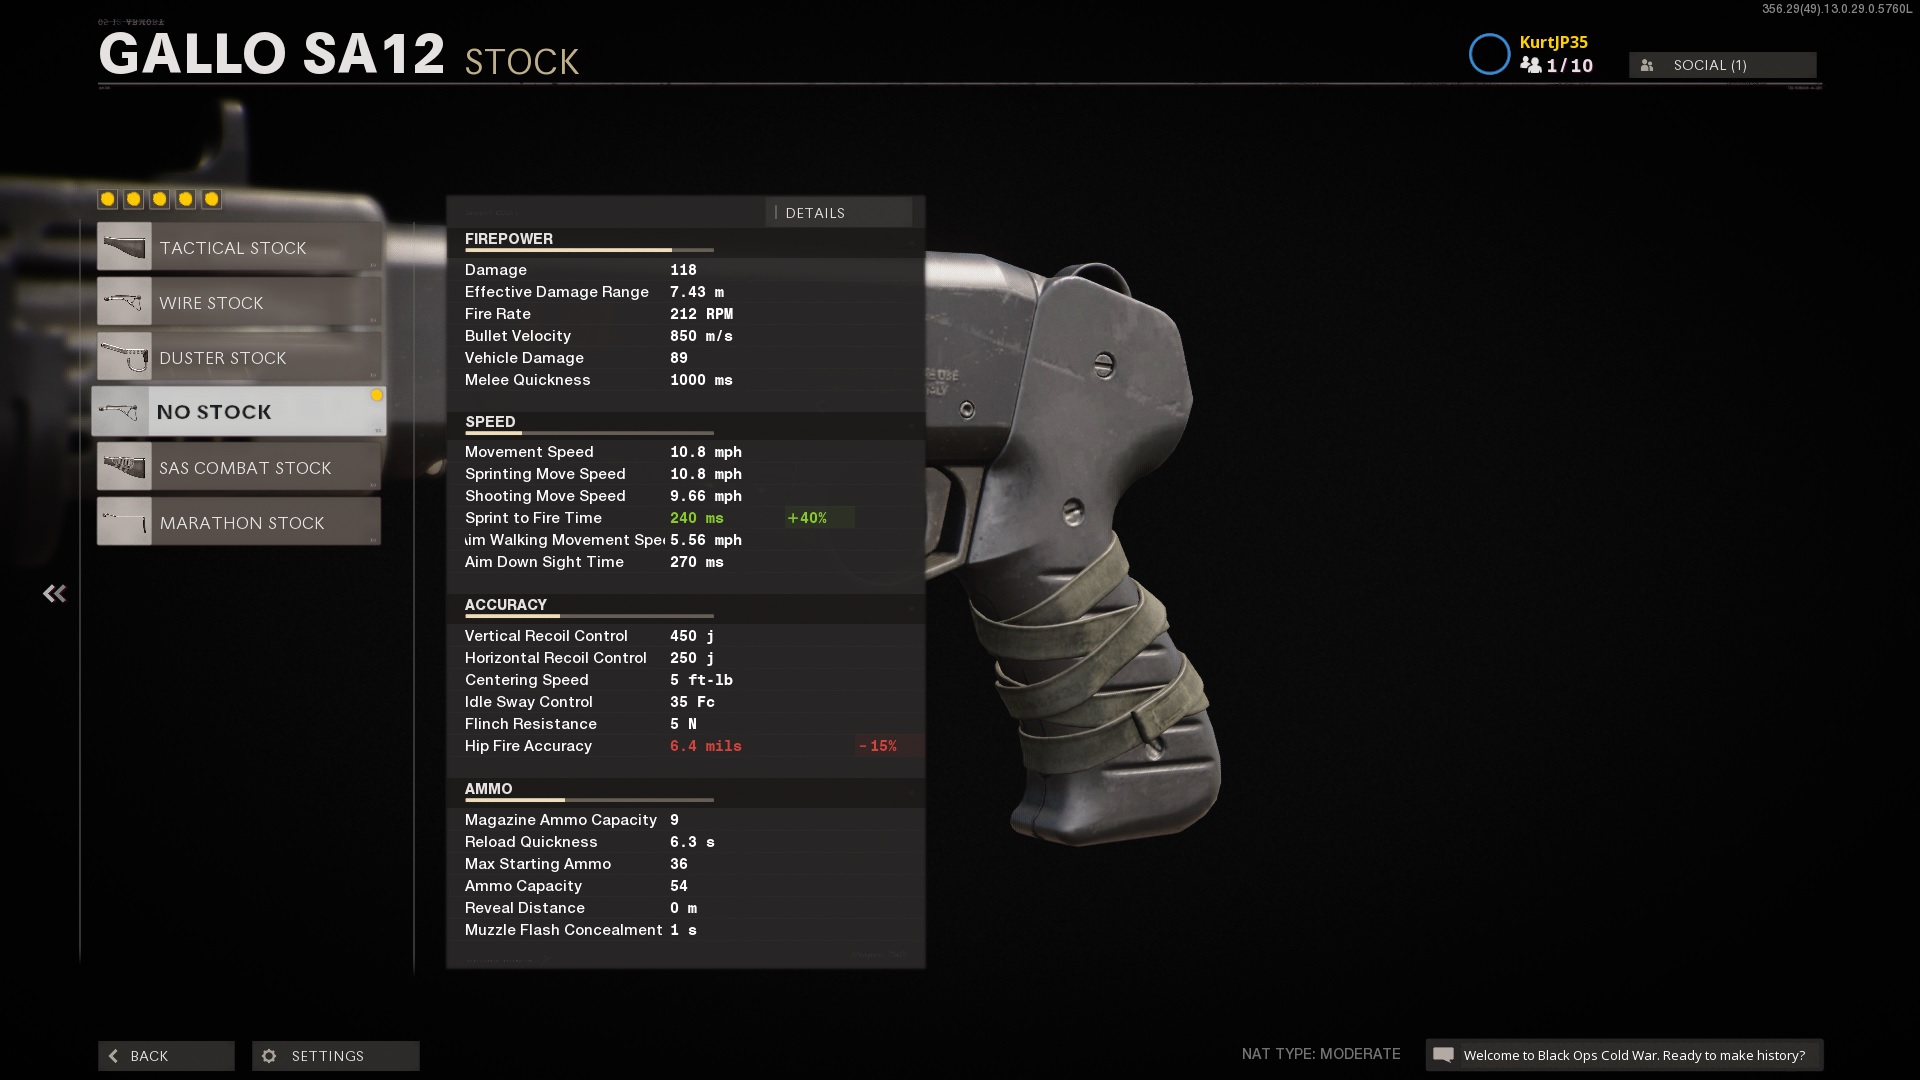
Stock: No Stock
Wildcard: Perk Greed
As with all close-range builds in Black Ops Cold War, the Perk Greed wildcard is necessary. Both Ghost and Ninja are required to stay off the map and close the gap on your enemies without them noticing. The Law Breaker wildcard is wasted here since the Gallo SA12 is a secondary anyway. Since the other two wildcards don’t let you use both Ghost and Ninja at the same time, they aren’t viable for shotguns.
This Gallo SA12 build is primarily focused on maximizing range and speeding up the sprint-to-fire time. While the Hauer 77 can reliably one-shot with its damage-increasing barrel, the SA12 can not. Most of the time, you will still end up requiring a second shot to kill. Given the longer time-to-kill in Black Ops Cold War, you’re better off building your SA12 for a consistent two-shot kill rather than gamble on an unlikely one-shot kill.
Therefore your best option is the 24.6″ Ranger barrel, which increases your two-shot kill range to 9m and three-shot kill range to 15m. Given the SA12’s fire rate of 212 rounds per minute, this means you can reliably get a time-to-kill of 283 ms. If you require a third shot, that’ll take 566 ms, and a fourth shot brings it up to 849 ms. Basically, a two-shot kill is very competitive, a three-shot kill is okay, but you’ll likely be dead before firing the fourth shot.
You won’t be aiming down sights very often with the Gallo SA12, so the SWAT 5mW Laser Sight is essential. This narrows your hip-fire spread by 35%, making it easier to land all of your pellets. The Ember Sighting Point is an okay alternative, but I personally like my sprint-out speed to be as fast as possible. But you could consider using it instead if you’re having issues spotting enemies hiding in dark corners.

As with most guns in Black Ops Cold War, the first magazine attachment has no downsides on the Gallo SA12. You get an extra two shots to fire downrange with zero drawbacks. It’s very easy to shred through ammunition with the SA12, so this is a good choice. Equally, the Dropshot Wrap lets you play more aggressively without getting punished and also has no downsides. These two attachments are by no means necessary for this build, so feel free to experiment.
However, the No Stock attachment is extremely important as the 38% decrease it provides for the SA12’s sprint-to-fire time is far too good to ignore. It’s worth noting that the 40% decrease displayed in-game is slightly off. Also, the SA12’s actual sprint-to-fire time is far shorter than the 400 ms that is listed in-game. Instead, you can expect a default sprint-to-fire time of 267 ms, with that being cut down to just 165 ms via this build. With that kind of handling, you’ll be able to out-gun every other weapon in Black Ops Cold War within that optimal nine-meter range.
For more Call of Duty: Black Ops Cold War tips and guides, be sure to check out our guides and features hub.