Your exploration of the Shattered Realm: Debris of Dreams in Destiny 2: Season of the Lost will lead to many discoveries. These include more Ascendant Anchor nodes so you can increase your Parallax Trajectory resources. Here’s our Destiny 2: Season of the Lost guide to help you with the Ascendant Anchors and Parallax Trajectory in the Shattered Realm: Debris of Dreams (week 2).
Note: For more information, check out our Destiny 2: Season of the Lost guides and features hub. We also suggest taking a look at our main guide for the Shattered Realm: Debris of Dreams as it pertains to your initial run. Likewise, you can visit our Enigmatic Mysteries/Trivial Mysteries guide since you’ll be visiting nearby spots with these collectibles. Lastly, please remember that you need both the “Barrier Breach” and “True Sight” upgrades for your Wayfarer’s Compass.
Destiny 2: Season of the Lost – Shattered Realm: Debris of Dreams (week 2) — All 9 Ascendant Anchors
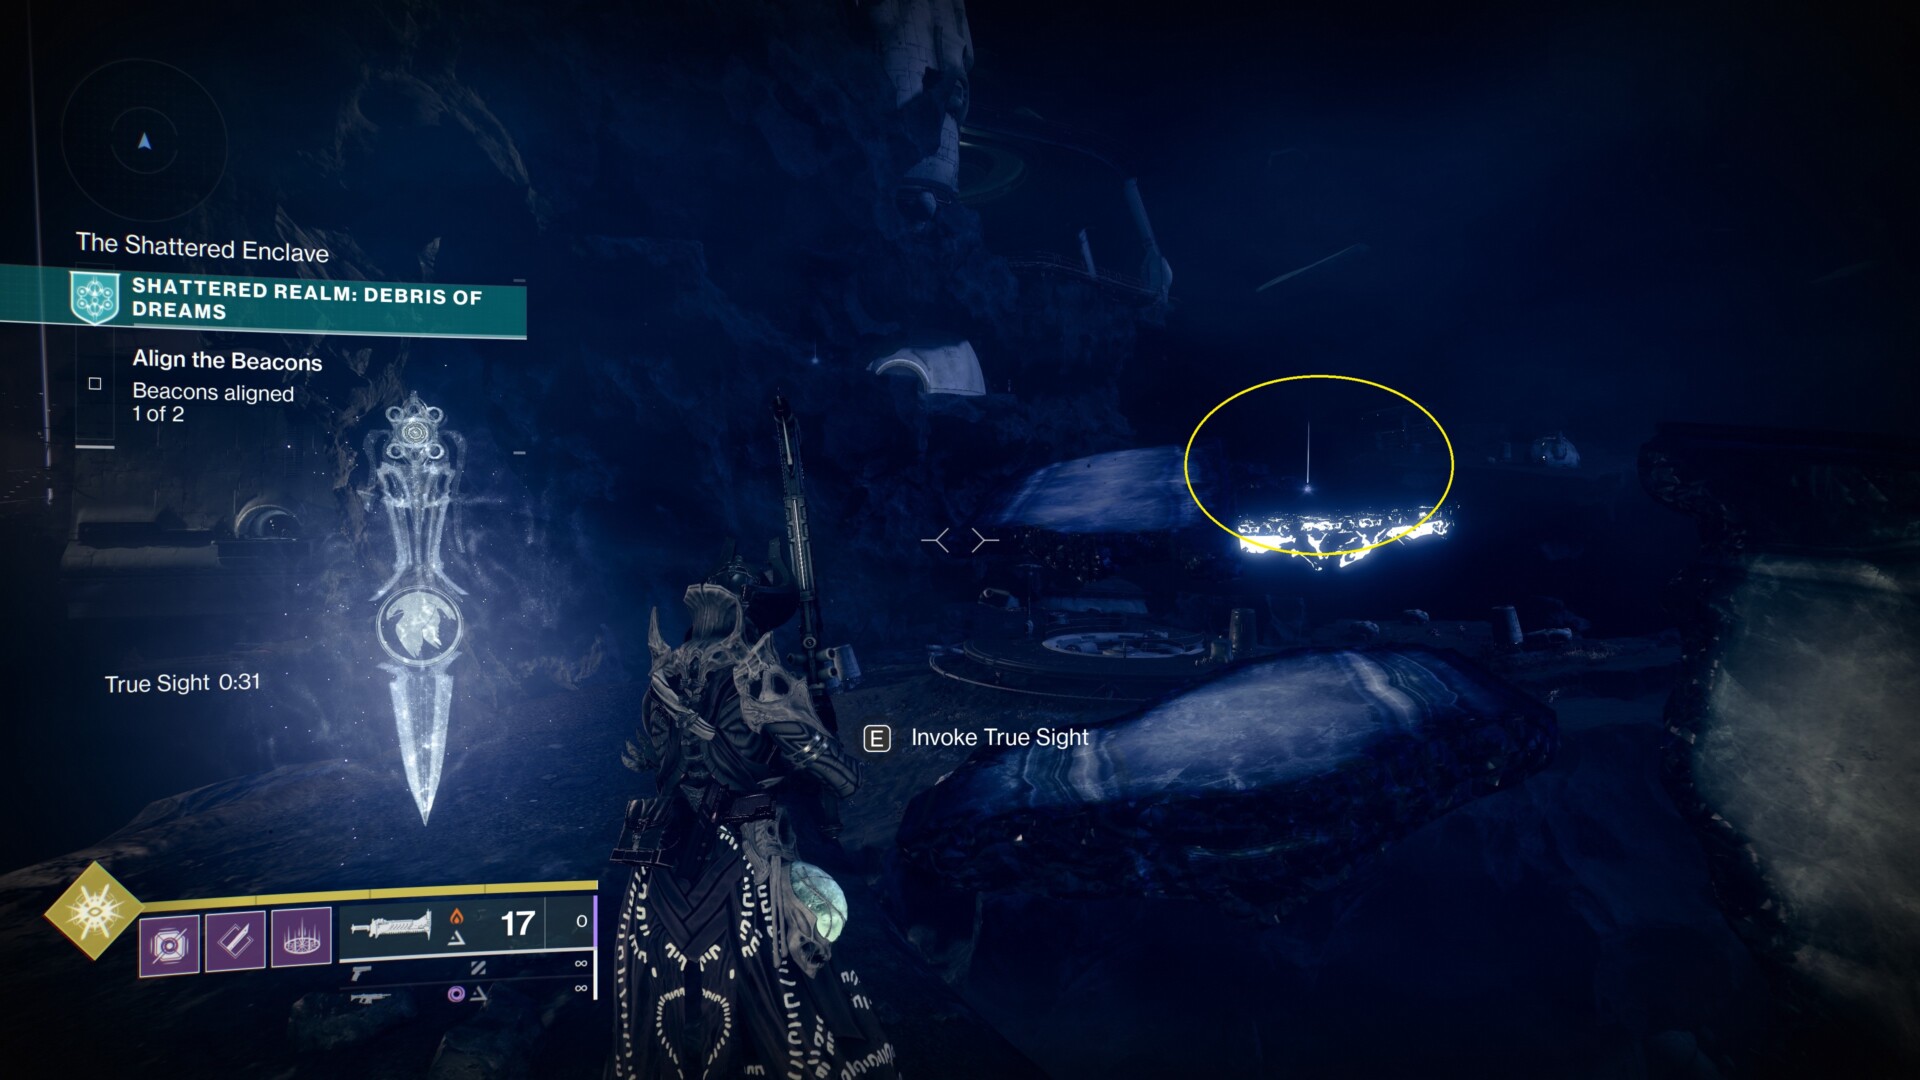
For this Destiny 2 Ascendant Anchor guide, let’s pretend that we’re starting out near the Shattered Enclave (which is where the first beacon is located). That’s because you do need to activate some of the totems, which means you’ll also need to align the beacons anyway.
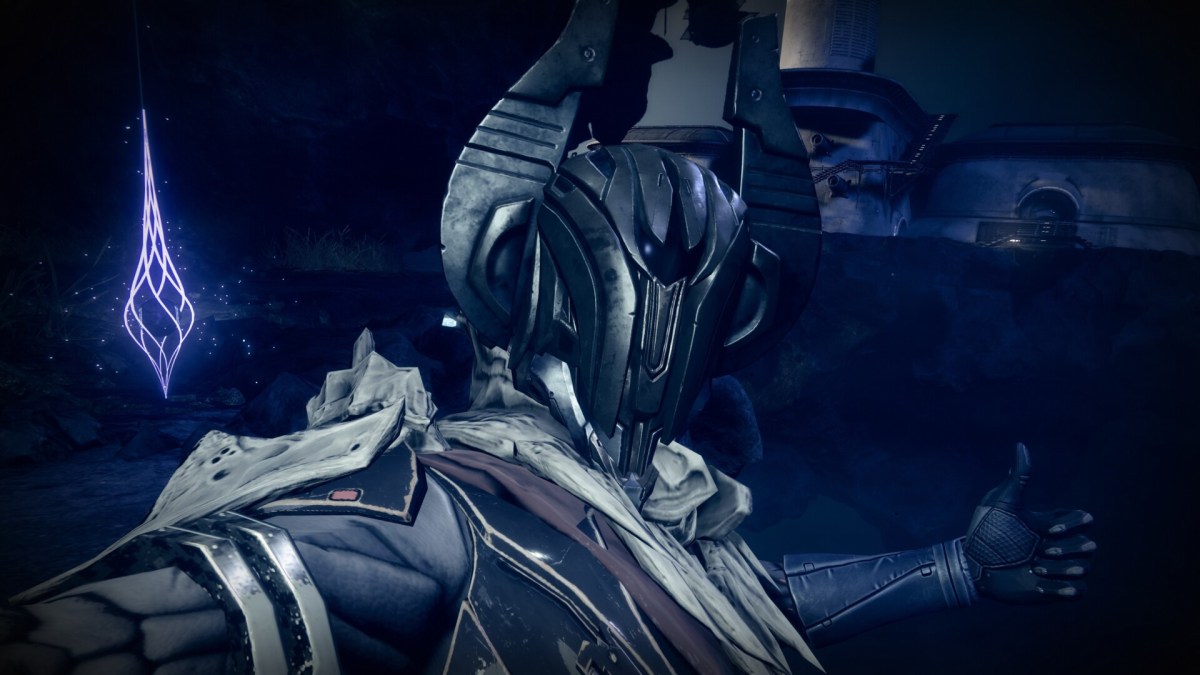
Ascendant Anchor #1: Shattered Enclave
Exit the Shattered Enclave. Along the cliff, you’ll find a True Sight totem. It’ll spawn floating platforms that will let you grab the Ascendant Anchor.
Ascendant Anchor #2: Shattered Enclave/Encampment
Make your way down to the sloping path where you came from (Encampment).
Before you jump across the gap, though, look to the right. There’s an Ascendant Anchor behind the rock wall.

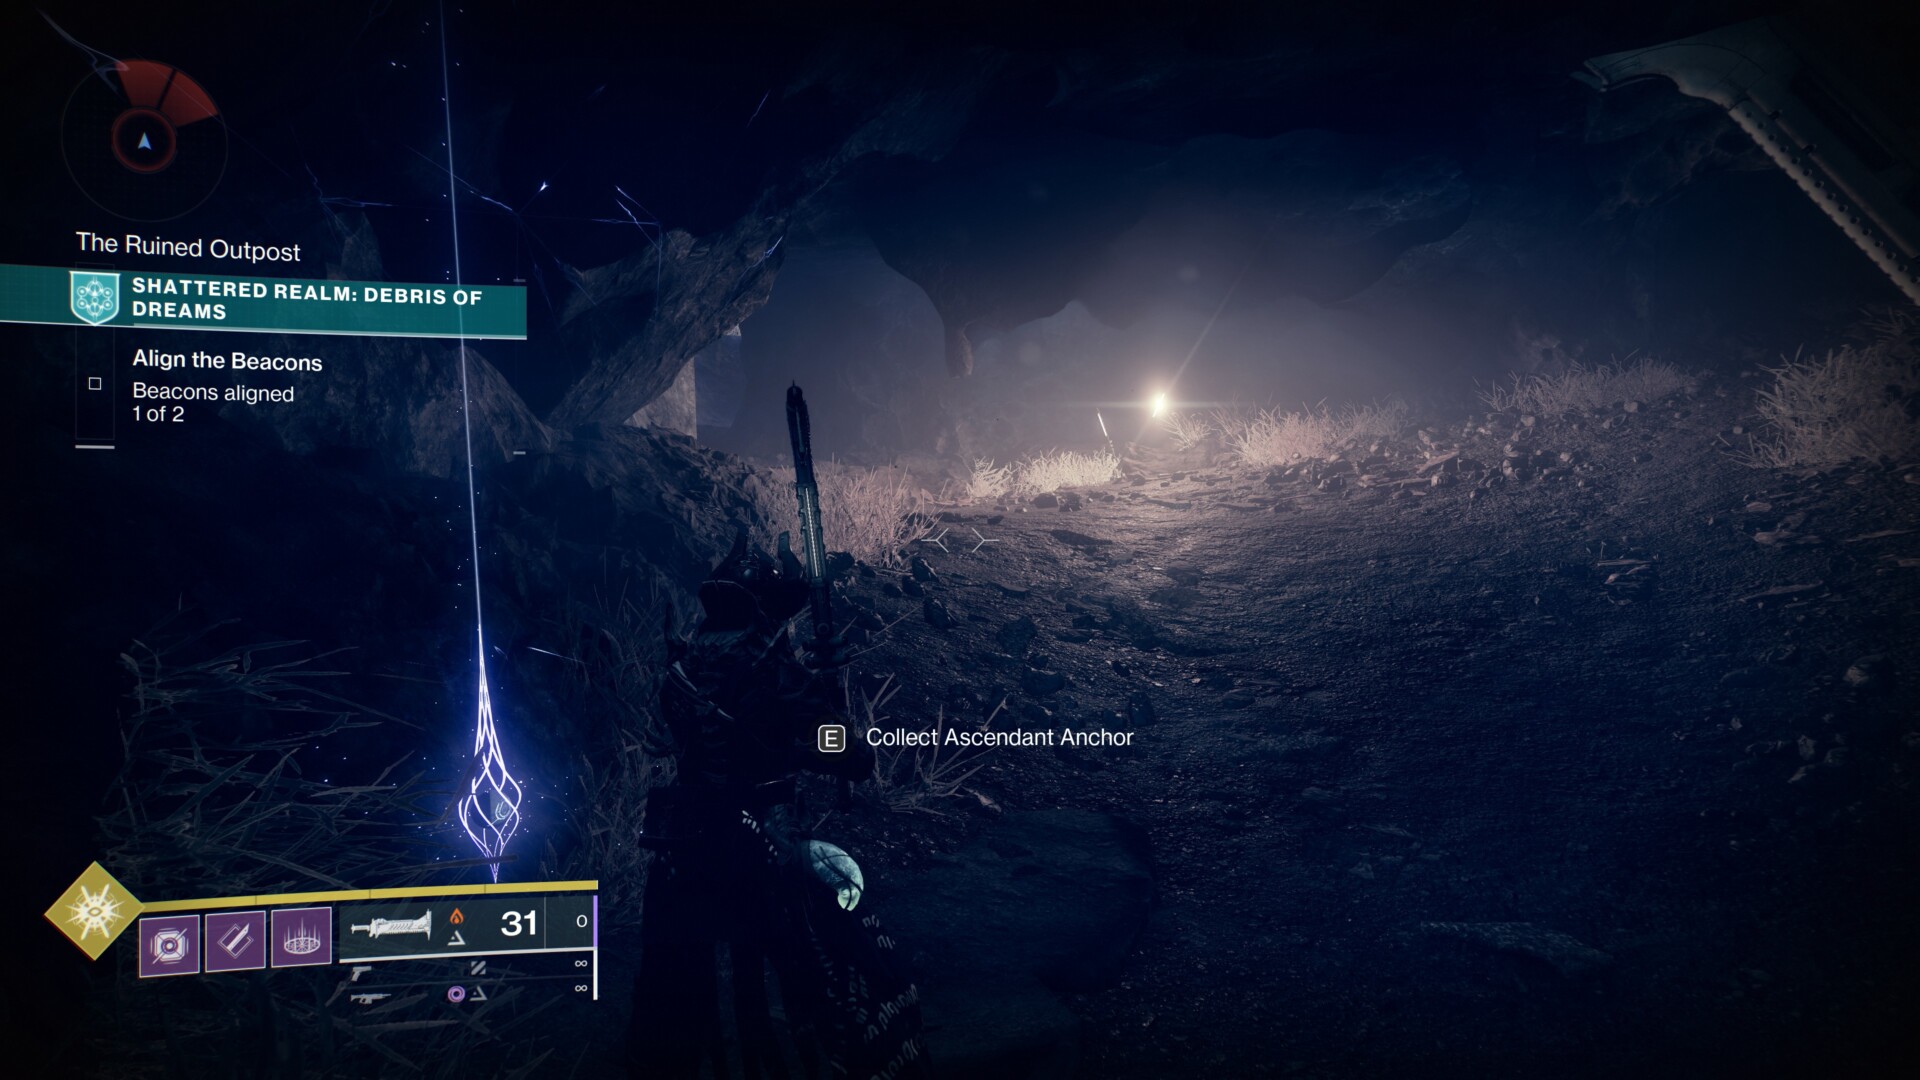
Ascendant Anchor #3 and #4: Ruined Outpost
If you noticed, the image above has an arrow pointing you to the Ruined Outpost. This is a cavernous area with several passageways.
If you go through the cavern that I’ve marked, you’ll see Ascendant Anchor #3.
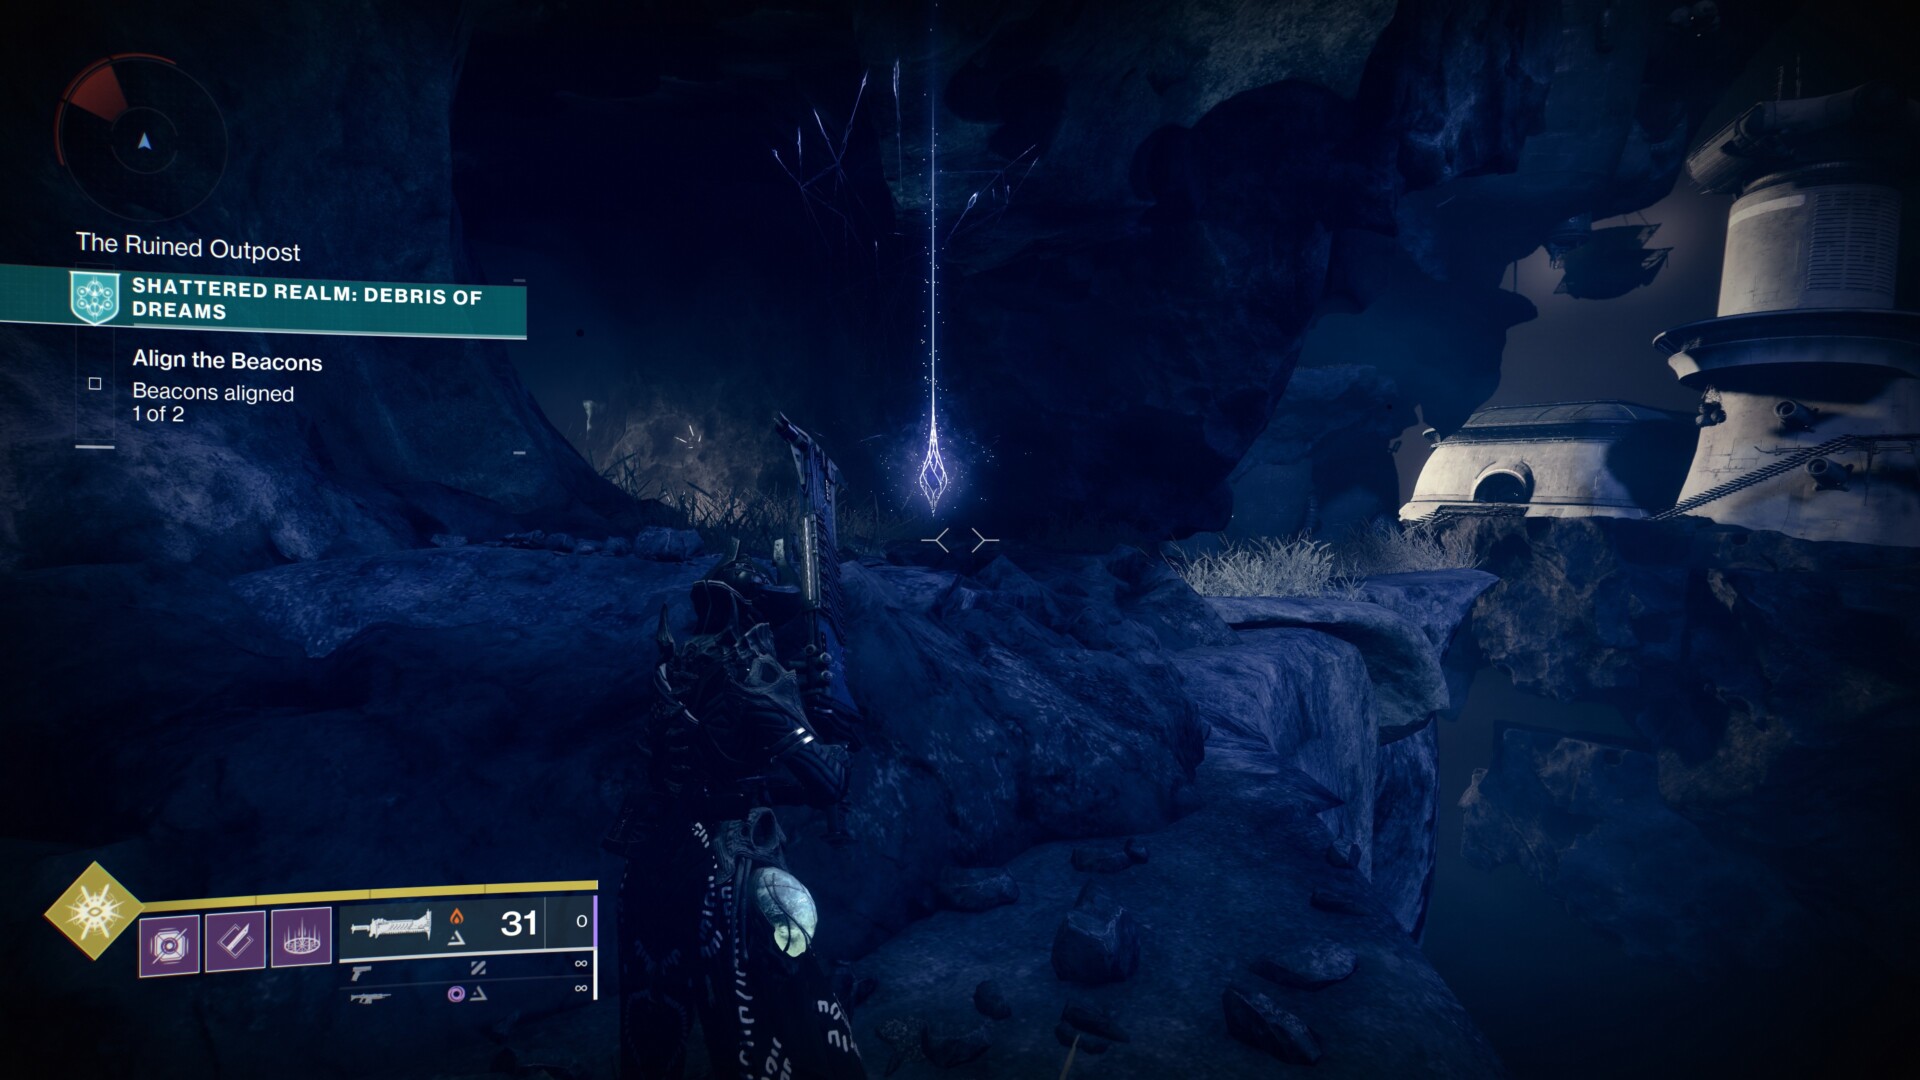
Next, continue along the passageway as it slopes up and to the right. This takes you to an outer area with another Ascendant Anchor, as well as a True Sight totem that leads to “The Underhang” Trivial Mystery.
Note: Along the way, you might see rocks that are immune when you try to shoot them. My guess is that these can only be destroyed by using the Ager’s Scepter exotic (which we can’t have yet). But, there’s one particular Ascendant Anchor near this area that I was able to get by falling through the textures. I’ll talk about it later because there’s no way out of that spot (even when I tried to annihilate myself with grenade launchers), and you don’t want to redo your entire run.
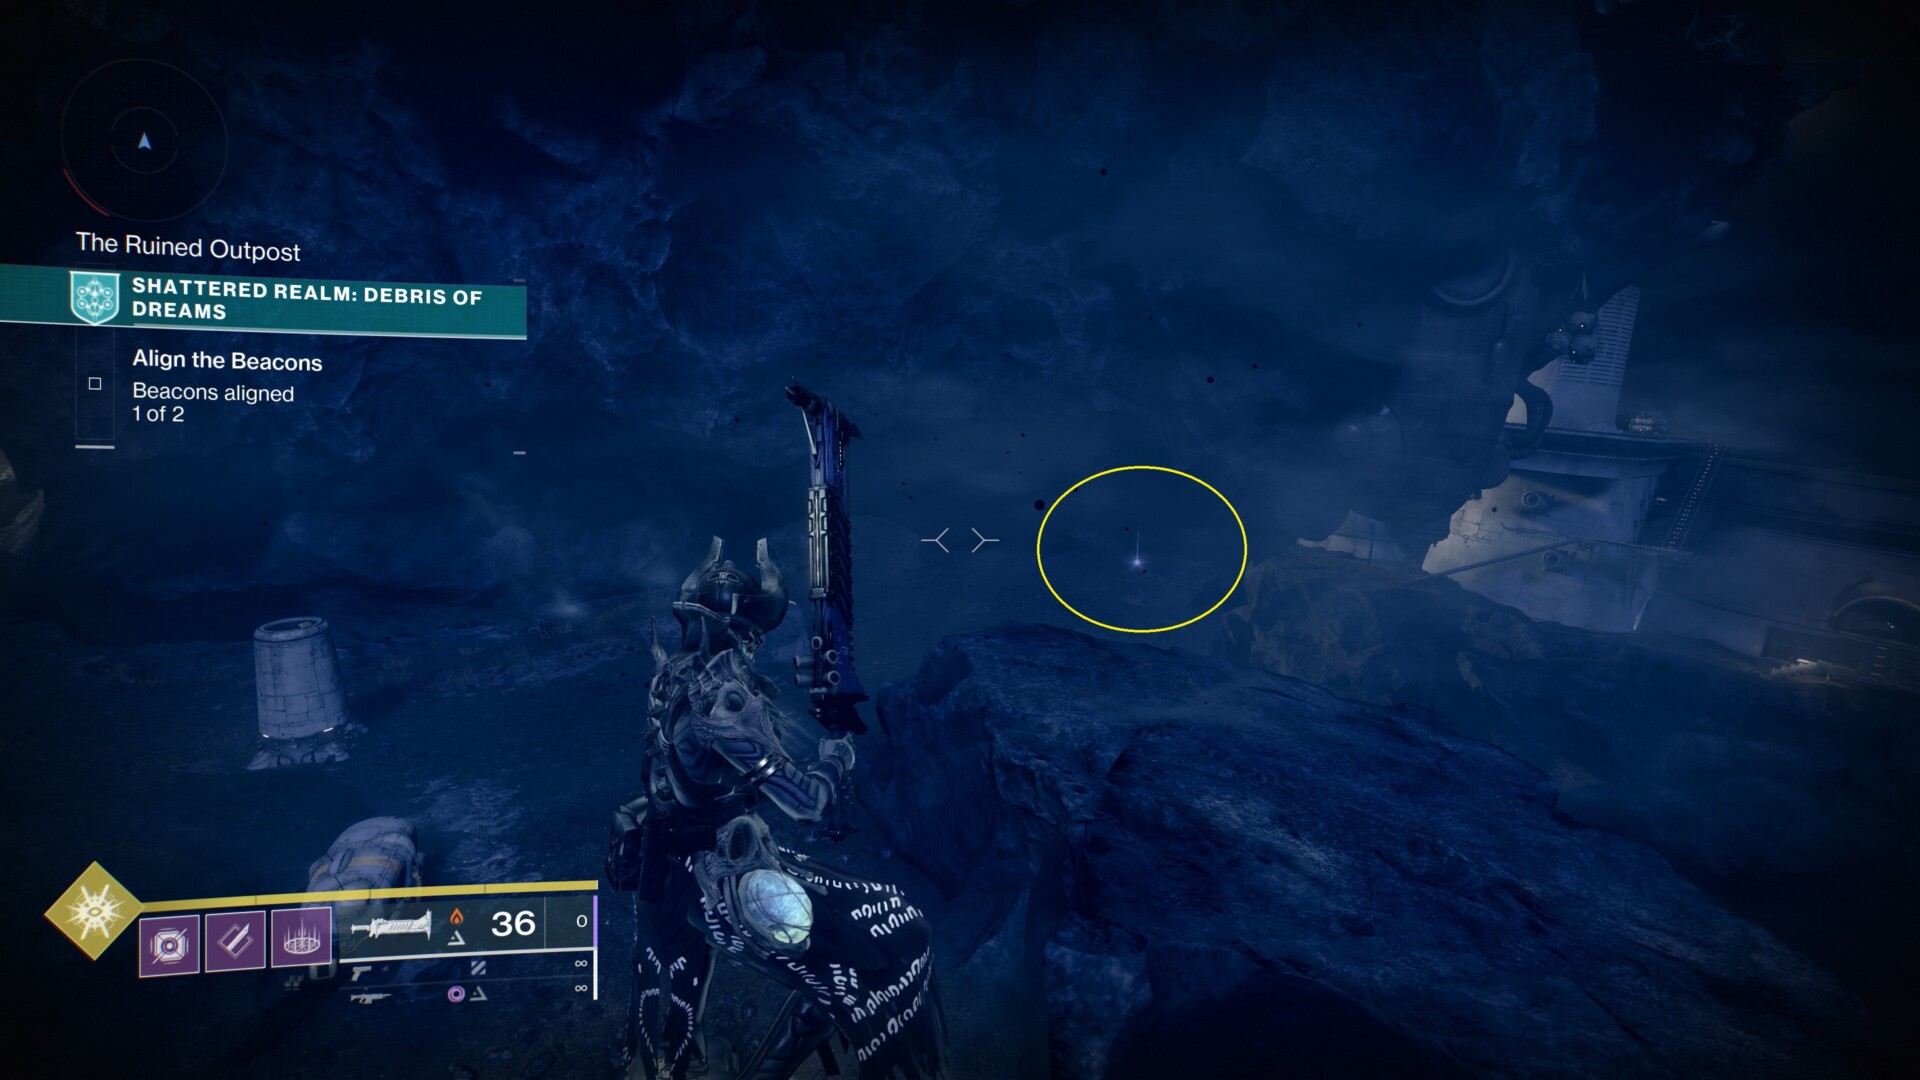
Ascendant Anchor #5: The Encampment
Anyway, continue up the slope to the left until you reach the Encampment (the central area).
If you look across the distance, you’ll see the Industrial Facility. A ledge just before that has the item that we’re looking for.
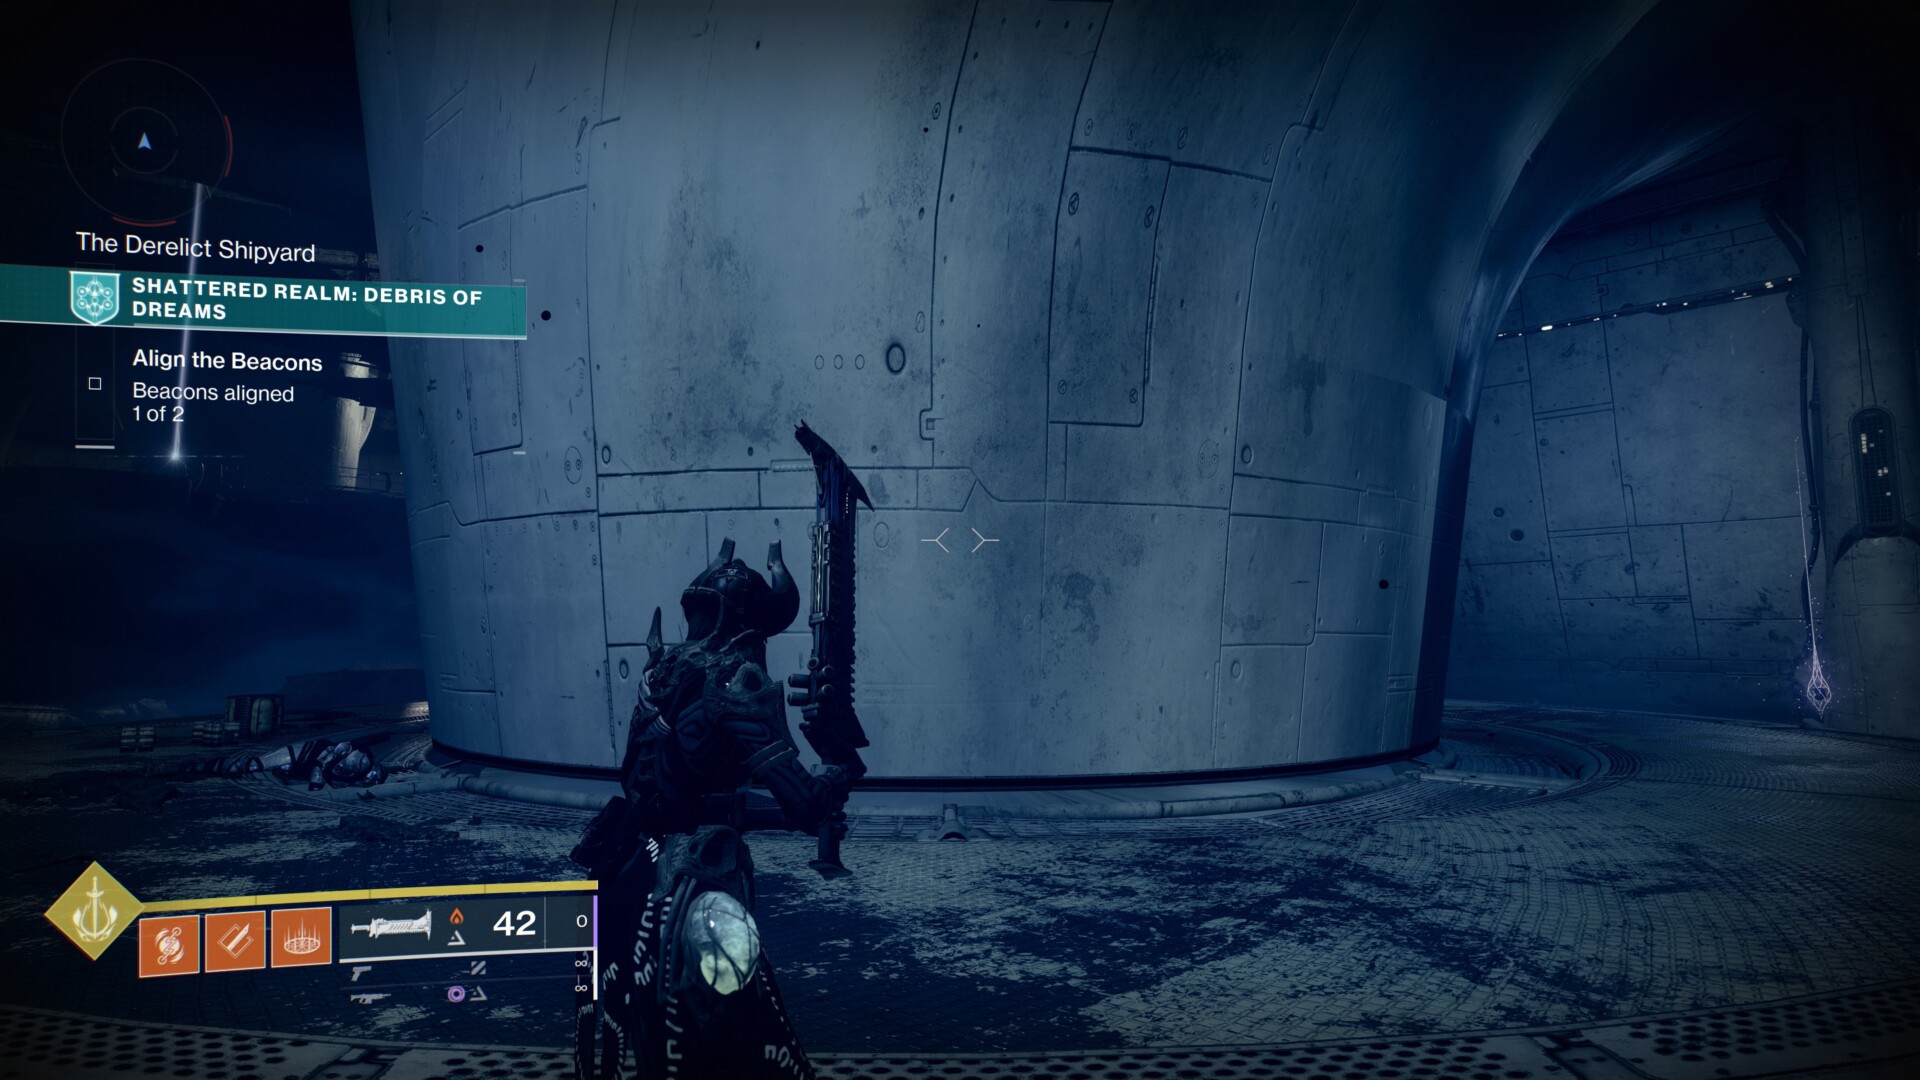
Ascendant Anchor #6: Derelict Shipyard
Next, make your way to the Derelict Shipyard, which is where the second beacon is located.
Instead of going to the beacon, look behind the pipe/tube-like structure.
Ascendant Anchor #7: Convergence Field
Go up the tube/pipe/ledges to reach the Convergence Field, which is where the third beacon is located. It’s also where you fought the Scorn Scrapwalker boss.
However, we’re not going to fight it now. Instead, just look at the image below:
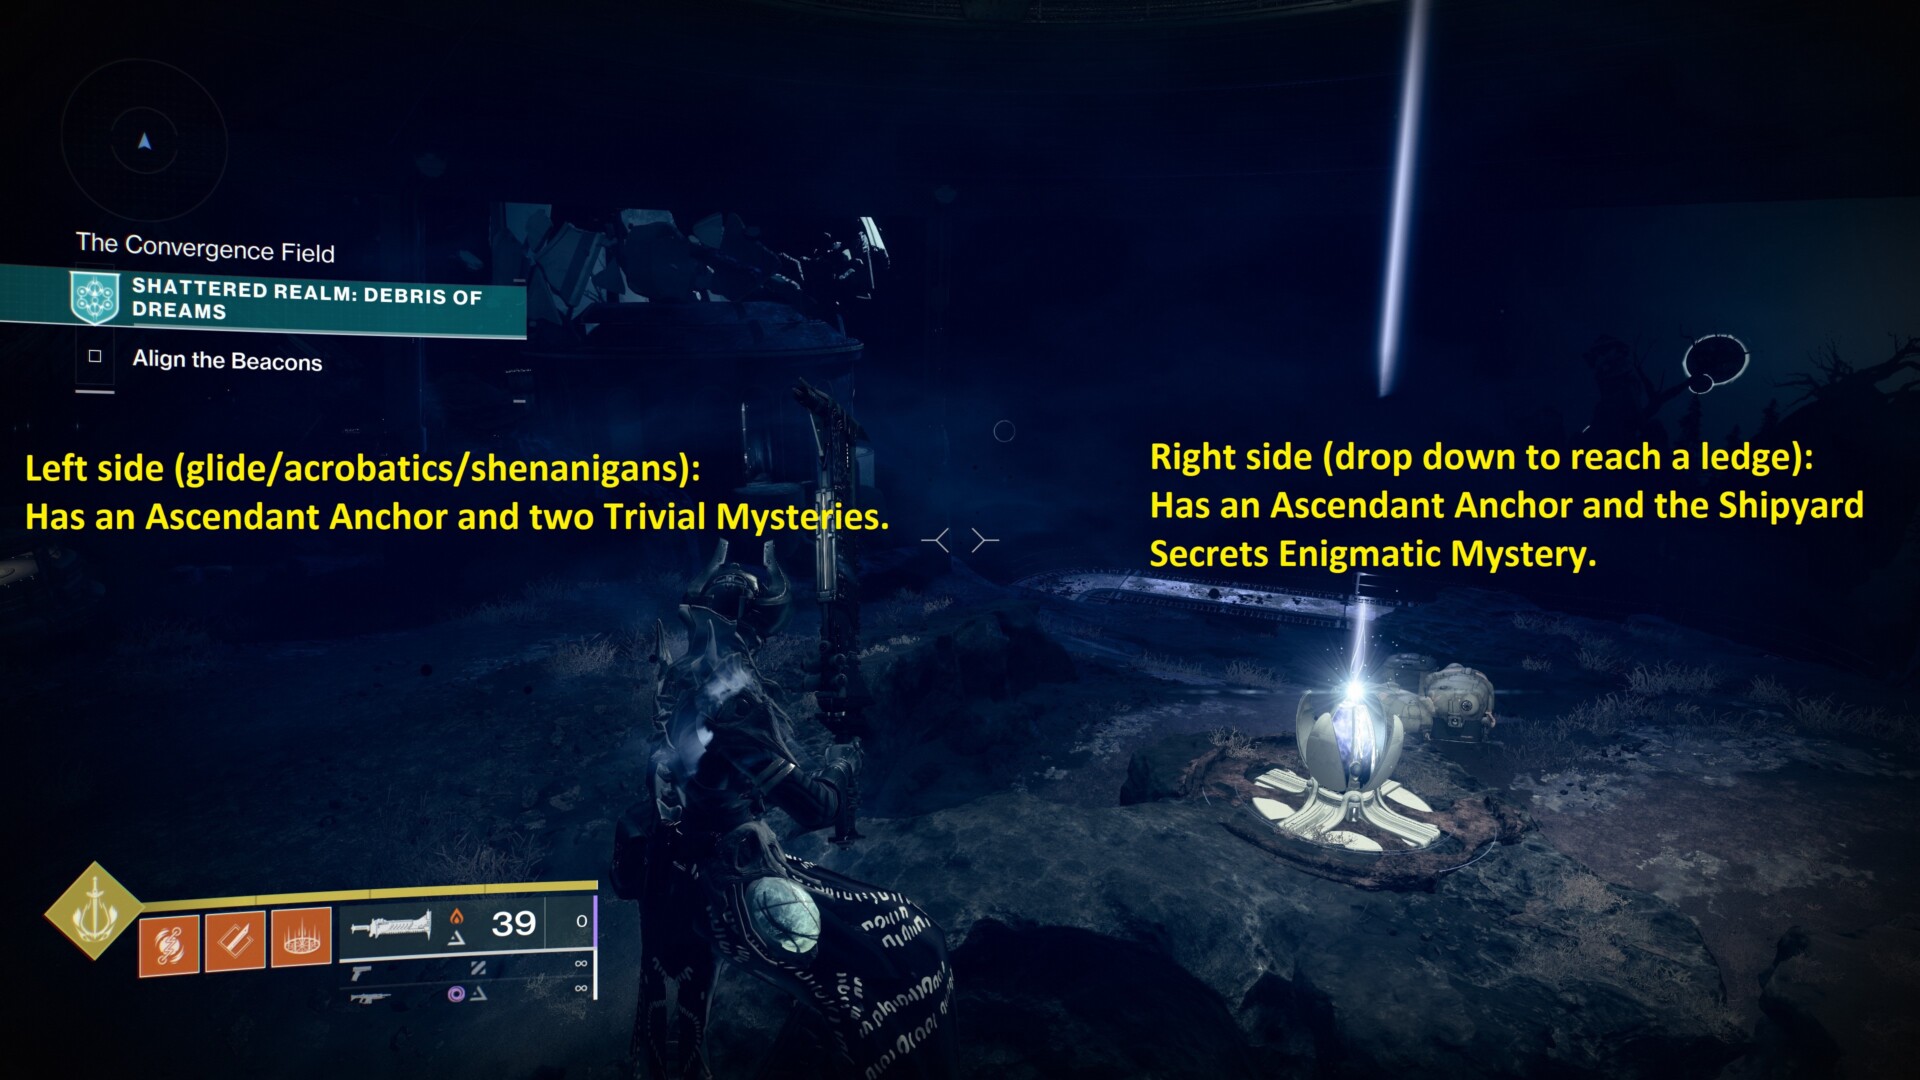
If you go to the right, you’ll see a ledge. Jump down to grab the Ascendant Anchor.
There’s also an Enigmatic Mystery that you can get if you use the True Sight totem.

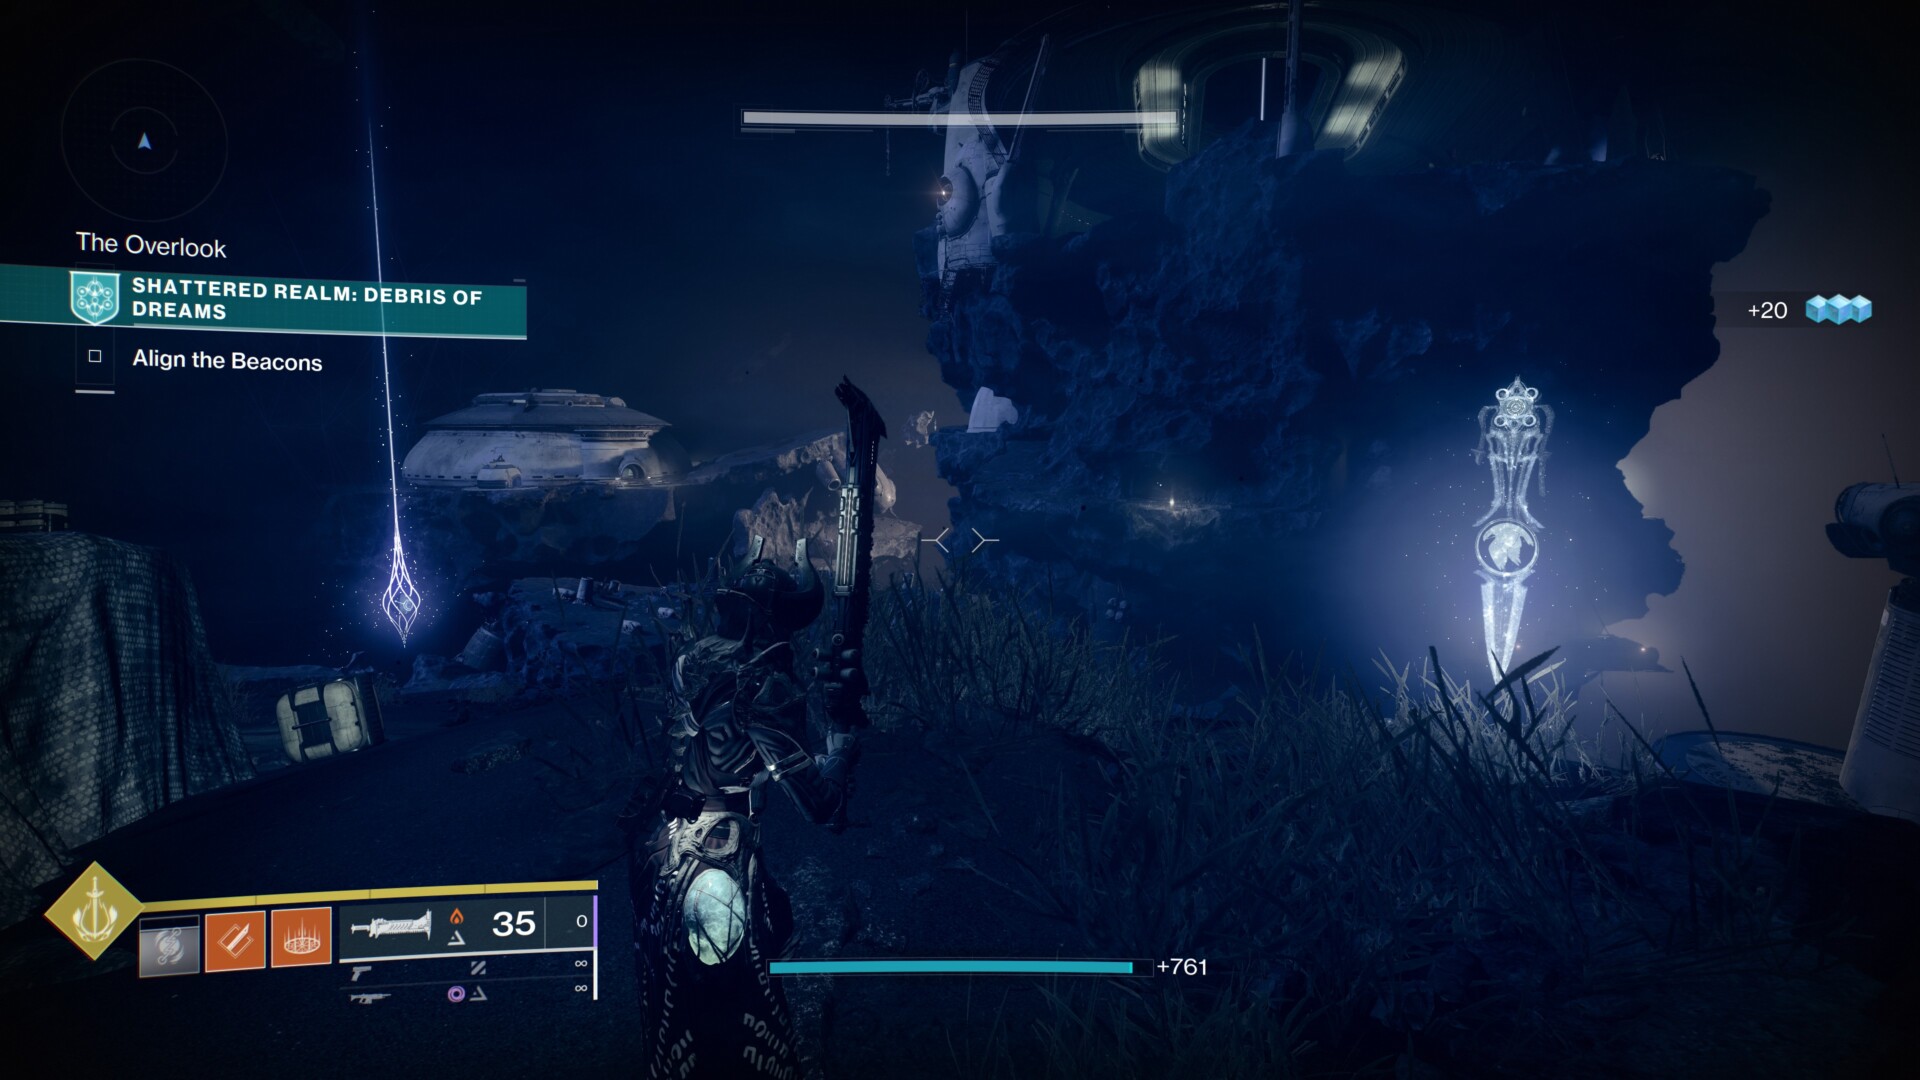
Ascendant Anchor #8: The Overlook
Next, go back to the Convergence Field and look to the left. Across the distance, you’ll see a large floating island.
You can use a few exotics and tricks (i.e., Thundercrash, Lion Ramparts, Nightstalker multi-tether, Dawnblade Heat Rises, and the like). These should, hopefully, let you reach the island.
Here, you can grab the Ascendant Anchor node, as well as two Trivial Mystery chests.
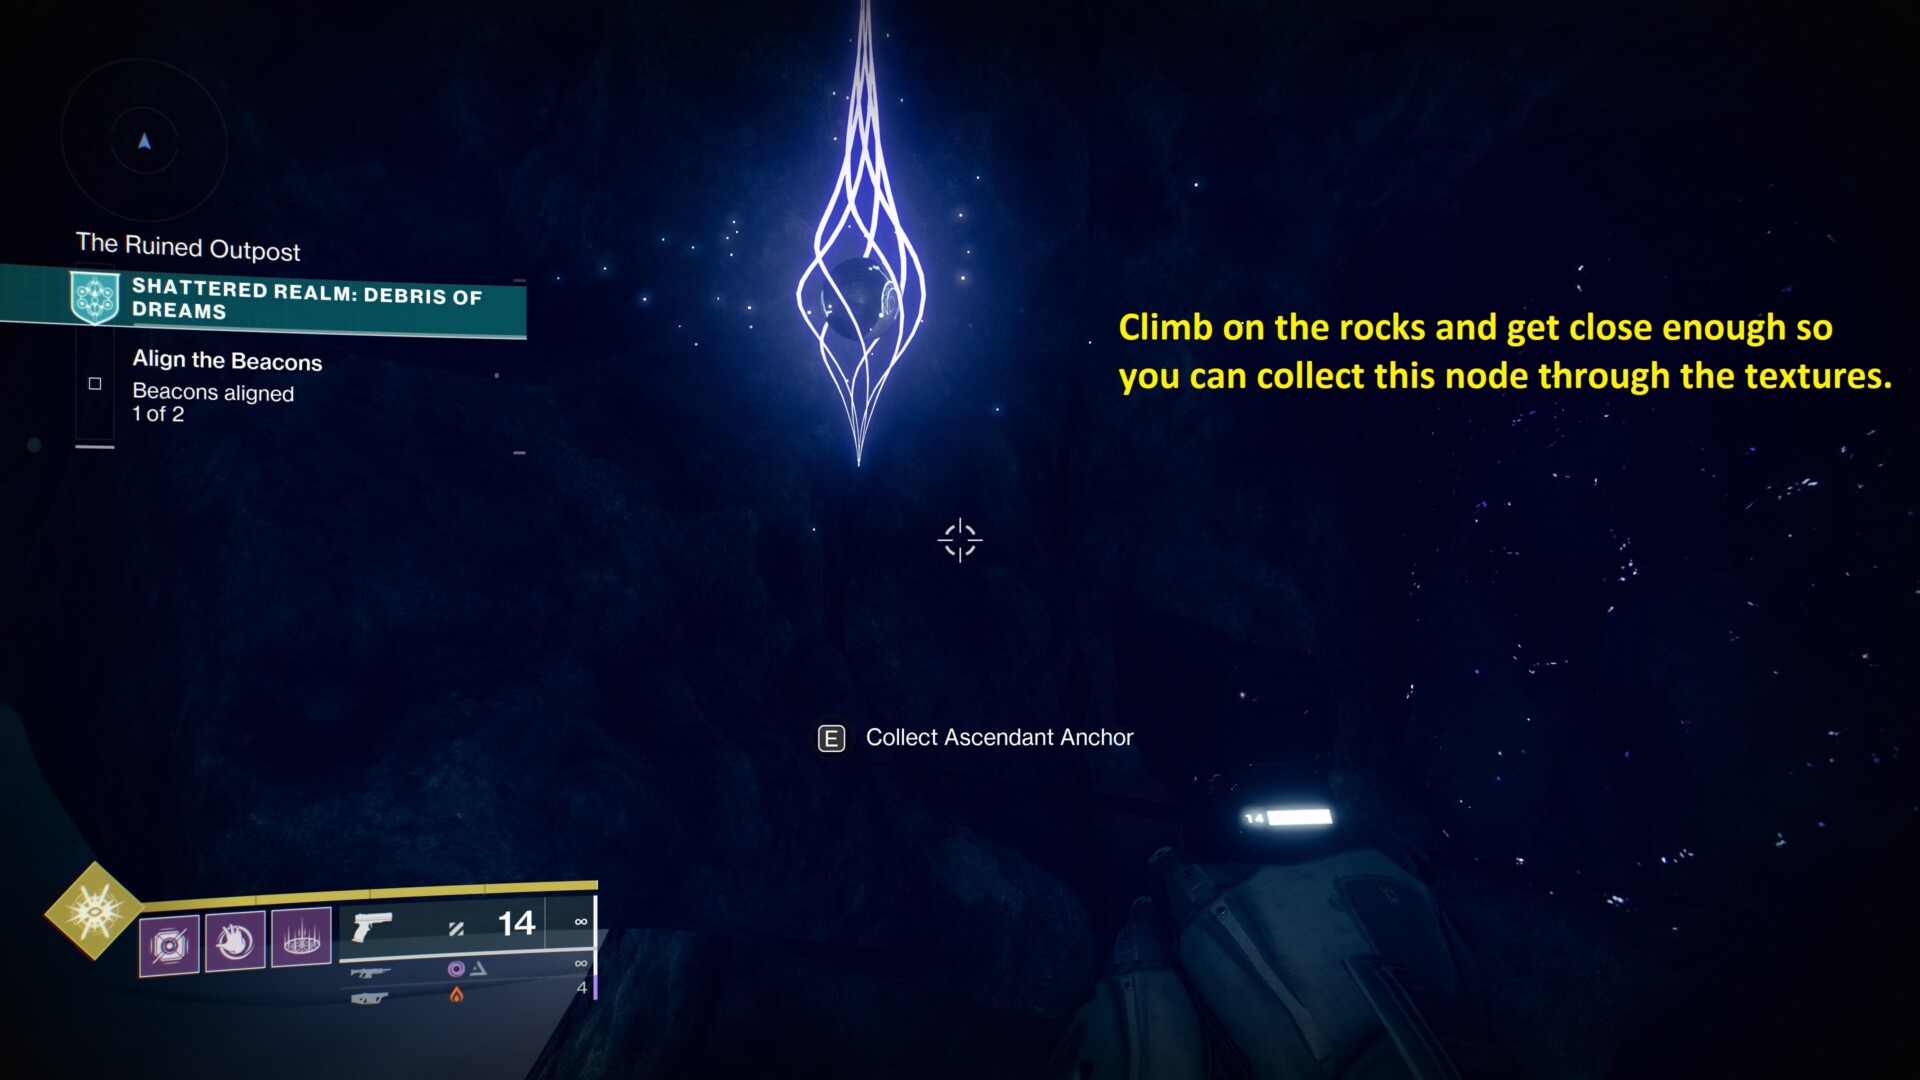
Ascendant Anchor #9: The Ruined Outpost (glitch)
As mentioned earlier, we’re going to glitch through the textures in the Ruined Outpost area. Take a look at the image below:

If you check this spot, there’s a small opening that allows you to go through. As you’re exploring this section, you’ll also notice an Ascendant Anchor that’s glowing. My guess is that this is hidden behind one of those “immune” boulders. If you go near it, you should be able to hold “E” to obtain it.
Anyway, I couldn’t figure out how to get out of here (killing my character kept respawning me in the glitched area). As such, it’s better to save this one for last, preferably after you’ve already picked up all the Trivial Mysteries and Enigmatic Mysteries. Otherwise, you might end up redoing your run if you still need to acquire a few more collectibles.
Destiny 2: Season of the Lost is available via Steam. For more information, check out our guides and features hub.