Encounter 3: Gahlran’s Deception
This next encounter is a tad more complicated. But, with a little luck and patience, you can muscle your way through it. The same mechanics as before (blessed and non-blessed status effects) will still apply, but there are new twists.
First, try to familiarize yourself with the fight area since this will be the same spot for the fourth and final encounter in Destiny 2’s Crown of Sorrow raid. Take a look at the image below:
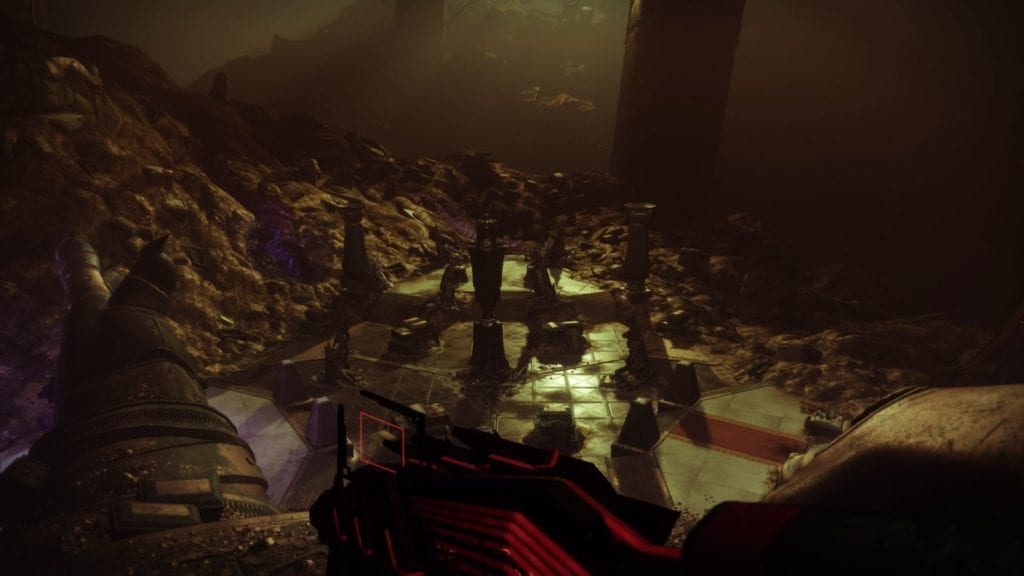
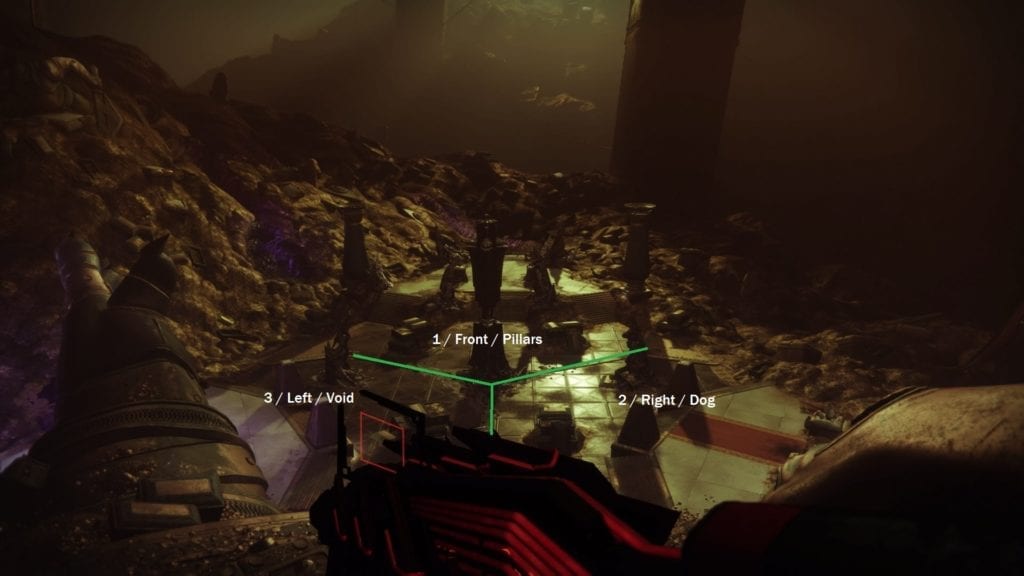
The arena will be divided into three spots:
- Front/Pillars – due to the obelisks and pillars in that section
- Right/Dogs – due to the dog statues in that section
- Left/Void – due to the purple goo in that section
It’s a bit like Scourge of the Past if you remember that Destiny 2: Black Armory raid. Divide your team once more into three groups of two. You can choose the same duos as before if you’d like. When the fight starts, there will be transparent barriers that will wall off each section and so those duos will be stuck on their own for a while.
Opening Moves
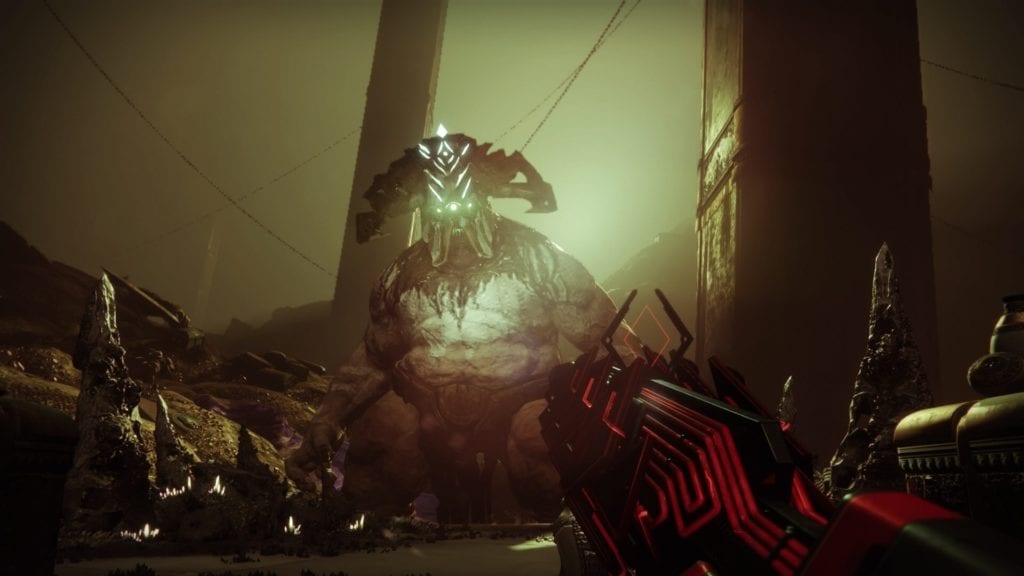
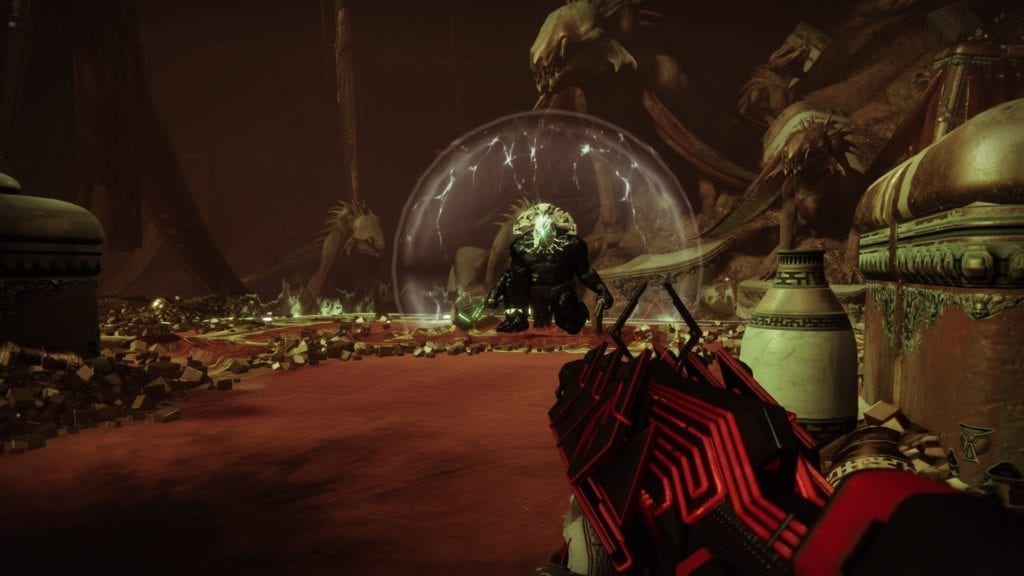
Start the fight by meleeing one of the three Gahlran’s Deceptions in the area. Only one of those is real and the other two will disappear. The Deception is a tough, 740 PL mob which can one-shot you with its melee attack so try to stay above the boxes and platforms at your section.
The “real” Gahlran’s Deception will walking around for a particular section. There will also be a green “blessing” circle on a different section. A player from this section must activate it to gain the Witch’s Blessing buff.
For each section, mobs will continuously spawn in this pattern:
- first wave – thrall and wizard
- second wave – thrall and wizard
- third wave – acolytes and ogres
If your team has a blessed player, then that player will have to take out the thrall and ogres (blessed), while the other teammate handles the wizard and acolytes (non-blessed). The sections which do not have a blessed player (yet) can still continue shooting at all the non-blessed mobs.
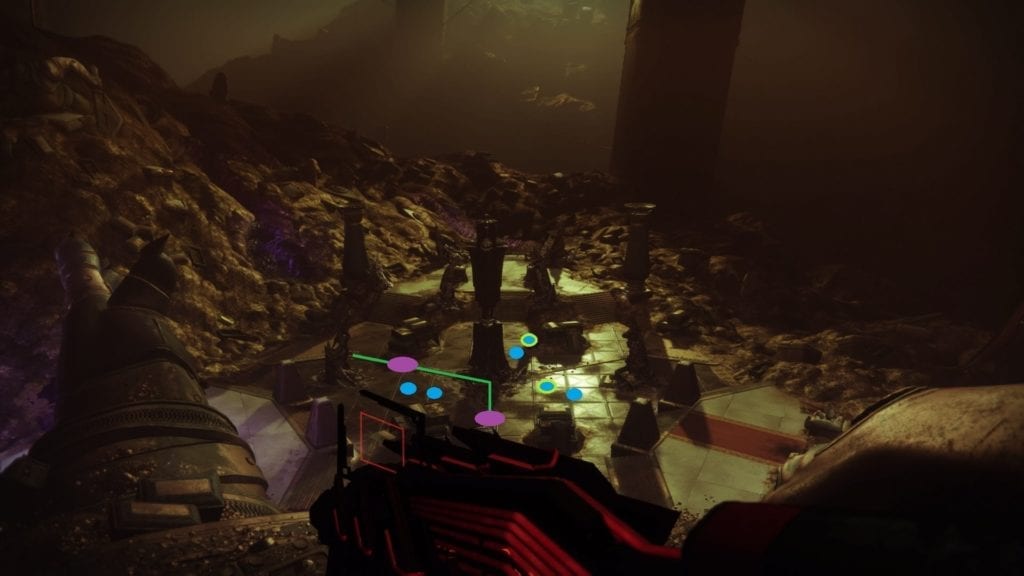
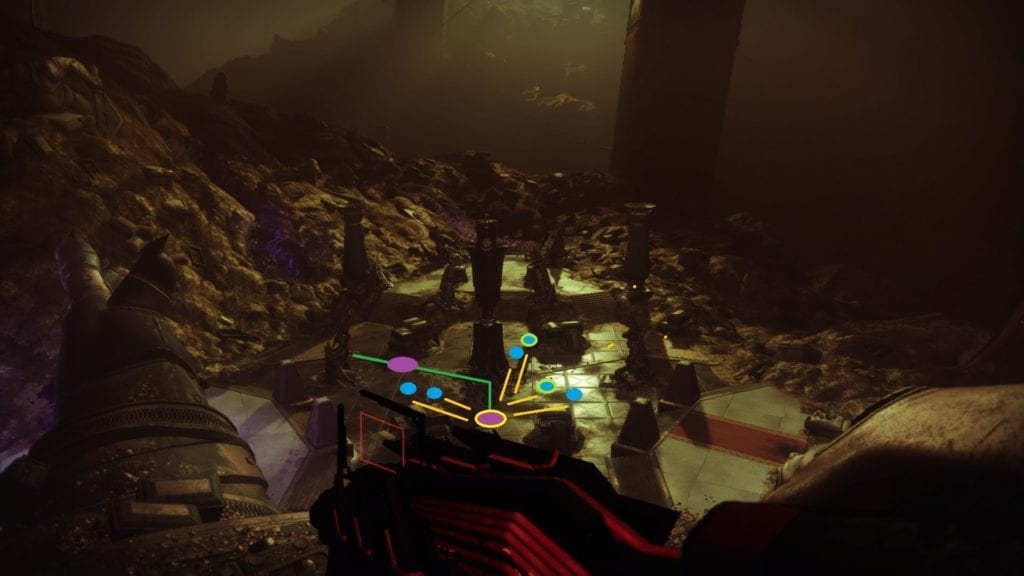
Each section will have to kill their ogre to spawn the purple cauldron/ball. This is when the first buff transfer happens. Check out the image below:

The blue circles are the players (two for each section). There’s a light green puddle that provides the blessing, and one player (with a light green outline) is the one who has it. The larger purple circles correspond to the three cauldrons in the arena. The purple circle with a yellow outline is the one where you need to stack on to pass the buff later (since we’re going clockwise). I’ll explain more below.
Pass The Blessing On The Right Hand Side, Yeah
Let’s assume that the green blessing pool spawned at the Front/Pillars section (using the above example). One player will get that blessing and the other will not. Everyone clears out their mobs. When the ogres are killed, the cauldrons appear.
This next part is extremely important: The two players at the Front/Pillars section will run to the cauldron. Meanwhile, only one player from the Right/Dogs section goes to that same cauldron. It’s a 2:1 ratio — two people to transfer, one to receive. Always pass the buff clockwise. It’ll look like this:

The reason we’re doing it this way is to ensure that there will always be one blessed and one non-blessed player for each section. There’s no need to switch people around sections of the map.
You’ll also notice that the transparent wall will disappear, so teammates from the Front/Right can help each other out if needed — but, hopefully, that won’t be necessary. Now, both the Front and Right sections will have blessed and non-blessed mobs to deal with.
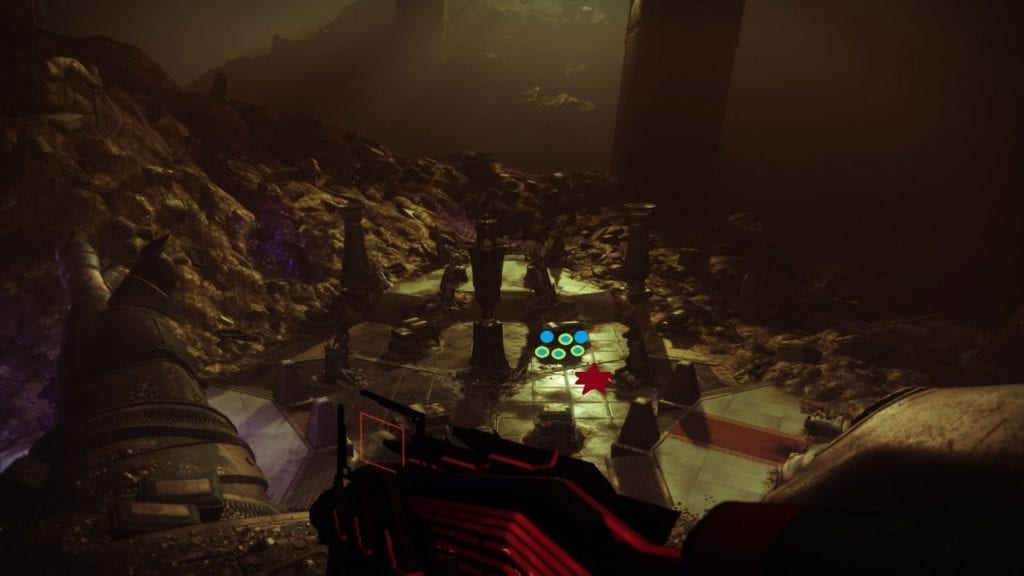
Redo the same steps for your specific sections: Kill blessed and non-blessed mobs until the ogres are out. Take out those ogres to spawn the next set of cauldrons. For this next instance, everyone will just run to the cauldron in between the Left/Right sections, as you can see below:
Shoot the cauldron to spread/switch the buff. Now, you’ve got four blessed players and two non-blessed players. Let’s begin the DPS phase!
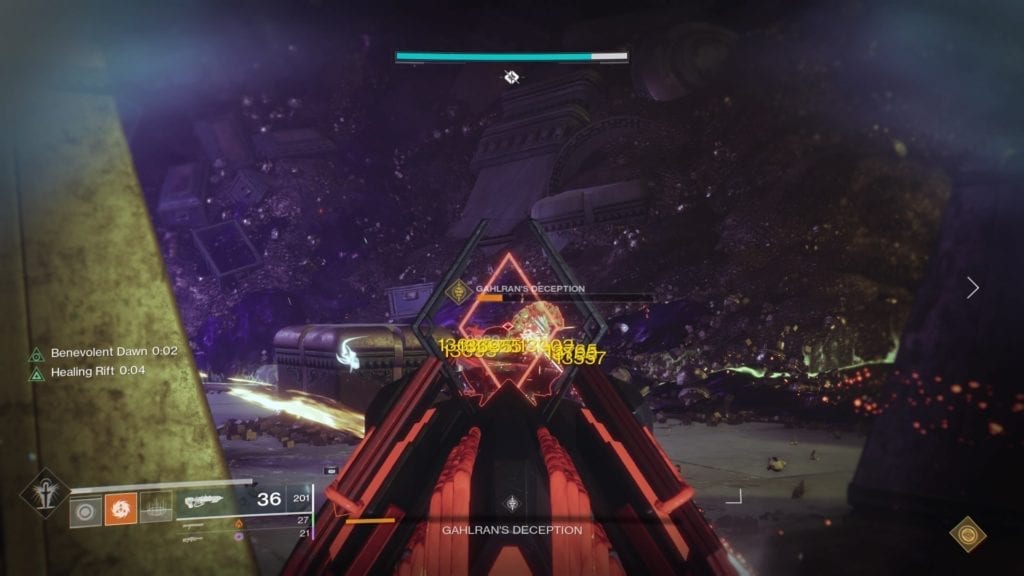
DPS Phase – Killing Gahlran’s Deception
Gahlran’s Deception will still be running around the map and it’s protected by a shield. Its melee attack is deadly so just stand on one of the boxes. You need one blessed and one non-blessed player to take out its shield via melee attacks.
Note 1: You cannot damage Gahlran’s Deception if you have the blessing. Breaking the Deception’s shield will remove your blessing and you can then do damage. However, because Gahlran’s Deception will continuously re-pop its shield, you have to cycle the blessed people who will do the punch (along with the non-blessed teammate) to drop the Deception’s immunity.
Since you have four blessed players at the start, you can have four shield breaks in total — meaning four separate “mini damage phases.”
Note 2: Because the shield break removes the blessing, try not to stand next to Gahlran’s Deception if it’s not your turn to punch. You don’t want to lose your blessing accidentally and those extra few seconds for your team to do damage.
When you don’t have anyone with a blessing who can take down its shield, you’ll just do another add-clearing/buff-passing cycle. Repeat the same steps as before.
Ideal Classes And Loadouts
- Ever feel that Warlocks are just absolutely necessary for Destiny 2’s raids and endgame? Warlocks should run with well of radiance while wearing Lunafaction Boots for optimum DPS.
- Hunters should stay as Nightstalkers with Orpheus Rigs for tether. Alternatively, be a Gunslinger with Celestial Nighthawk.
- Titans should use melting point on the third or fourth shield break when several teammates can do DPS to Gahlran’s Deception.
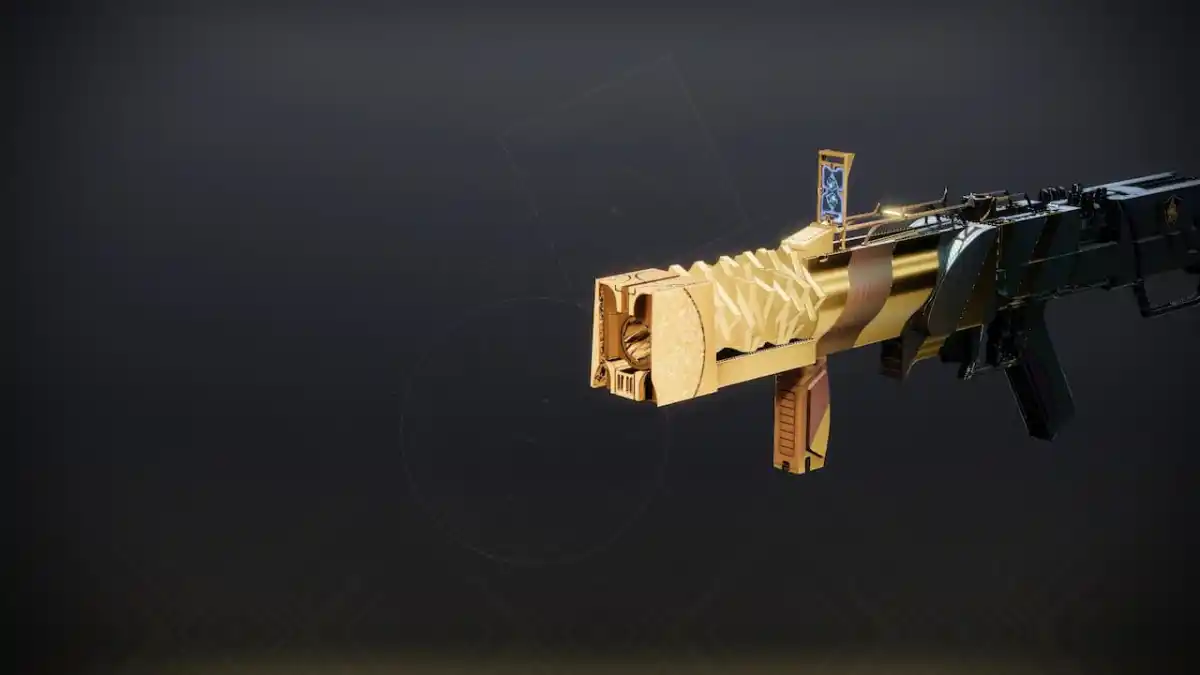
- Again, Outbreak Perfected is a must-have for the DPS phase. Shotguns (Ikelos) and machine guns (Hammerhead) are helpful for add clearing.
Alternate Strategy: Sword DPS
Alternatively, you can also DPS Gahlran’s Deception using swords. Credit goes to Reddit user RidlyX who suggested that swords can do tremendous damage during this encounter.
You’ll want a sword which has the whirlwind blade, relentless strikes, or surrounded perks. The ideal combos would be 3x quick slashes, or 2x quick slashes followed by a heavy attack.
In any case, when Gahlran’s Deception has been taken out, it’s time to face Gahlran, the Sorrow-Bearer. It’s the final encounter in Destiny 2’s Crown of Sorrow raid, and it’s a doozy.