Gahlran, The Sorrow-Bearer: The Split Strategy
Next up, let’s discuss the Split Strategy. This one is more akin to the previous encounter/phase 1 in Crown of Sorrow where you faced Gahlran’s Deception. You’ll be situated at the same sections just like the previous fight instead of being stacked up. There are no specific team roles since you and your teammate are expected to do everything in your section.
Start by having three players (one for each section) getting the Witch’s Blessing. The blessed players will be taking out the knights and cursed thrall. The non-blessed players will take out the acolytes and the ogres.
The enemy spawns are like this:
- Wave 1 to 3 – acolytes (non-blessed) and knight (blessed)
- Wave 4 – cursed thrall (blessed) and ogre (non-blessed)
- Repeat previous wave cycle
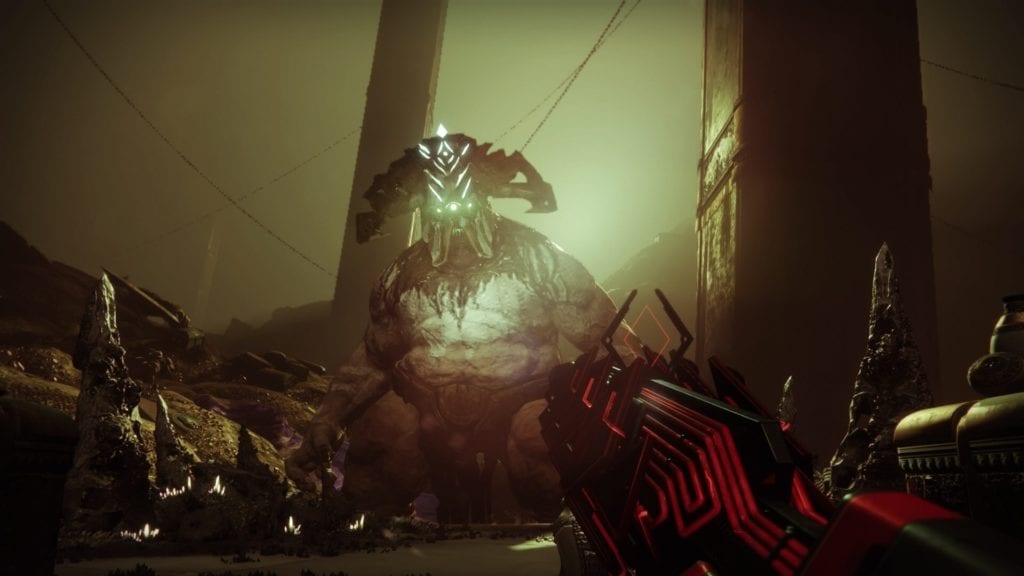
Note: Try to stand just under Gahlran’s crotch (yeah, it sounds gross), because he cannot hit you with his Jotunn fireballs from there. Yes, there is something funny when big balls of fire can’t hit you when you’re already under a monster’s, uh, balls.
Remember the crystals? Yes, you need to take those out with your teammate if it’s at your section. If the Gahlran’s Deception also spawns where you are, you’ll need to bait it above the stairs, then punch at the same time, then shoot the big guy’s hand so he can slam down on the Deception with his axe.
Split Strategy – Passing The Blessing
Ideally, you and your teammate for that section should pass around your blessing every two enemy waves. This should give you ample time to prepare for the next one without getting confused.
When you break the shield of a Deception, remember that the blessed teammate loses that buff. This means the player should go to the nearby cauldron and ask a blessed player from the other team to shoot it with them so they can regain it.
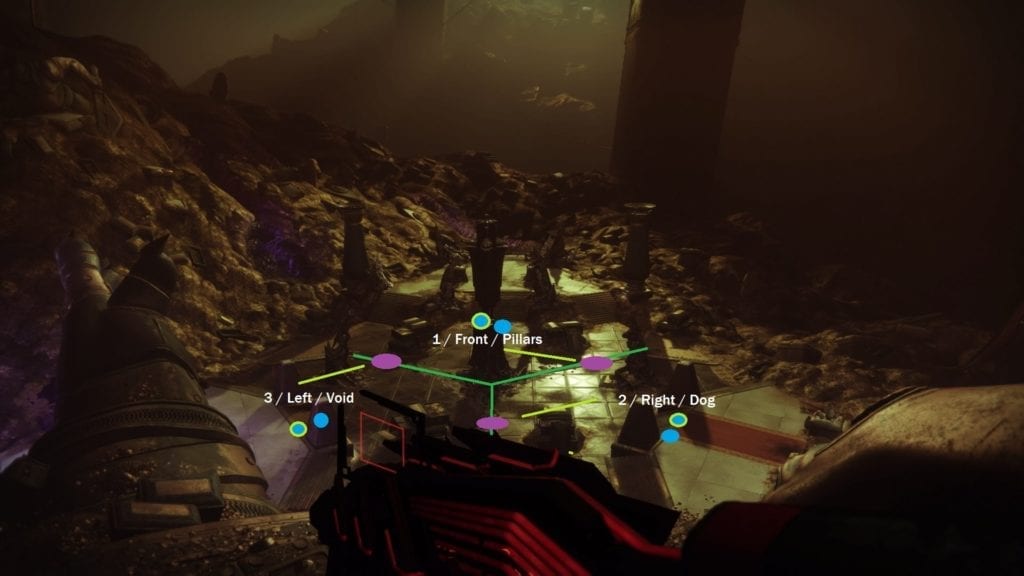
Oh, and as for your assigned cauldrons per section, just refer to the image below:
The Big Boss, Gahlran – The DPS Phase
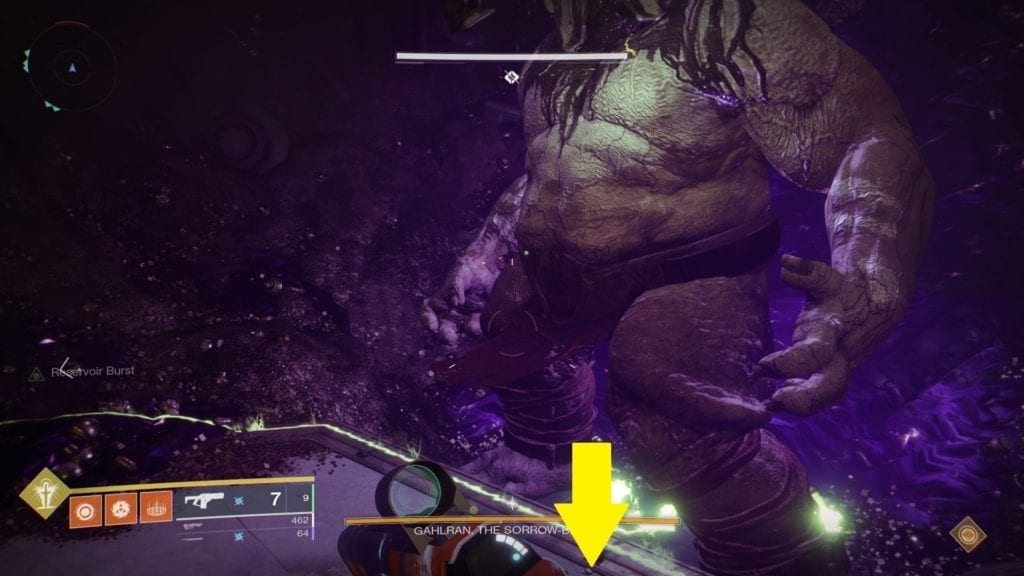
Both the “Stacked Strategy” and “Split Strategy” will follow the same process for the DPS phase. That means once all three Gahlran’s Deceptions are axed, you and your teammate need to shoot the giant’s hands (and then his face) for your particular section.
Then, everyone switches their blessing before starting the DPS phase proper to maximize your blessing’s timer. Since you’re all split up at first, you and your partner will be swapping blessings from the cauldron at your section since it’s likely closer. Don’t forget that crystals will still spawn, so your team has to be on-point when calling out where the next one appears.
Shoot his hands, and then his face during the DPS phase. Try standing on one of the boxes so the thralls don’t block your shots or make you flinch. A Warlock (with blessing) should also punch one of the thralls to give your team the empowerment buff while standing on a well.
You should get Gahlran, the Sorrow-Bearer, to roughly 35 to 40 percent of his health bar in one DPS phase. Repeat the same steps as before and you should be done with this boss fight and the raid. Congratulations, Guardian!

Ideal Classes And Loadouts
- Warlocks should run well of radiance with Lunafaction Boots, because, you know, every Destiny 2 raid team loves them so much.
- Hunters should choose tether with Orpheus Rig if you’re still having trouble with mobs. If not, just run Gunslinger with Celestial Nighthawk for higher boss damage.
- Titans can do whatever they want. Maybe use hammers for mob clearing.
- Outbreak Perfected or The Mountaintop as kinetic weapons are your best bets for the DPS phase. The fusion rifle, Loaded Question, is amazing for clearing out acolyte or cursed thrall packs. A sword as your power weapon (with the relentless strikes, whirlwind blade, or surrounded perks) can easily kill knights and ogres with two heavy attacks.