Last Wish Boss Fight #5: Riven
Loadout
- Kinetic – anything you’re comfortable with, but if you’re shooting the eyes you’ll want a Pulse Rifle or Scout Rifle
- Energy – preferably a Sniper Rifle
- Power – Whisper of the Worm
Classes
- Hunters can run Nightstalker with Orpheus Rig or Gunslinger with Way of a Thousand Cuts for Blade Barrage
- Warlocks should run Well of Radiance for extra survivability
- You’ll want to have a Defender Titan with Code of the Commander for the barrier
Recommended Power Level: 555+
Riven is, without a doubt, one of the toughest boss fights in the history of Destiny. Perhaps it is also one of the hardest among all FPS games due to the sheer number of things that are going on. Your fireteam has to be on-point the entire time, otherwise, you risk a wipe.
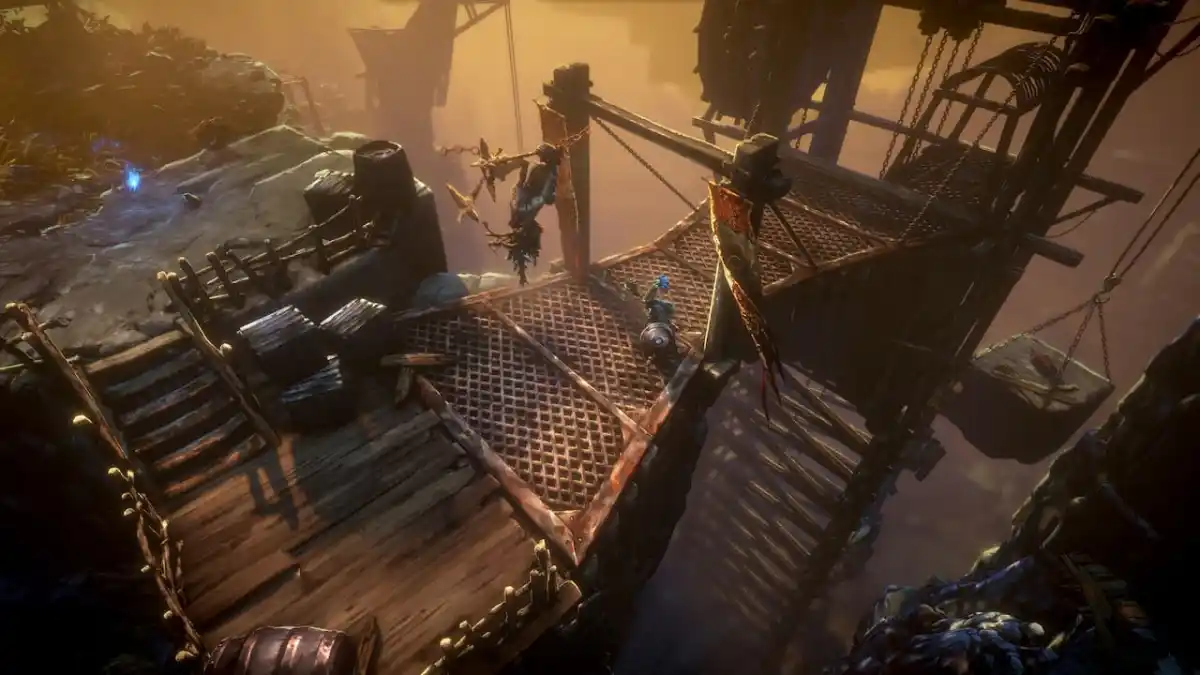
Split the fireteam evenly into two groups of three. They will stand on plates on either side of the room to start the encounter (remember these plates you were on for later). Run to your own team’s antechamber which is a mirror version of the other team’s as well.
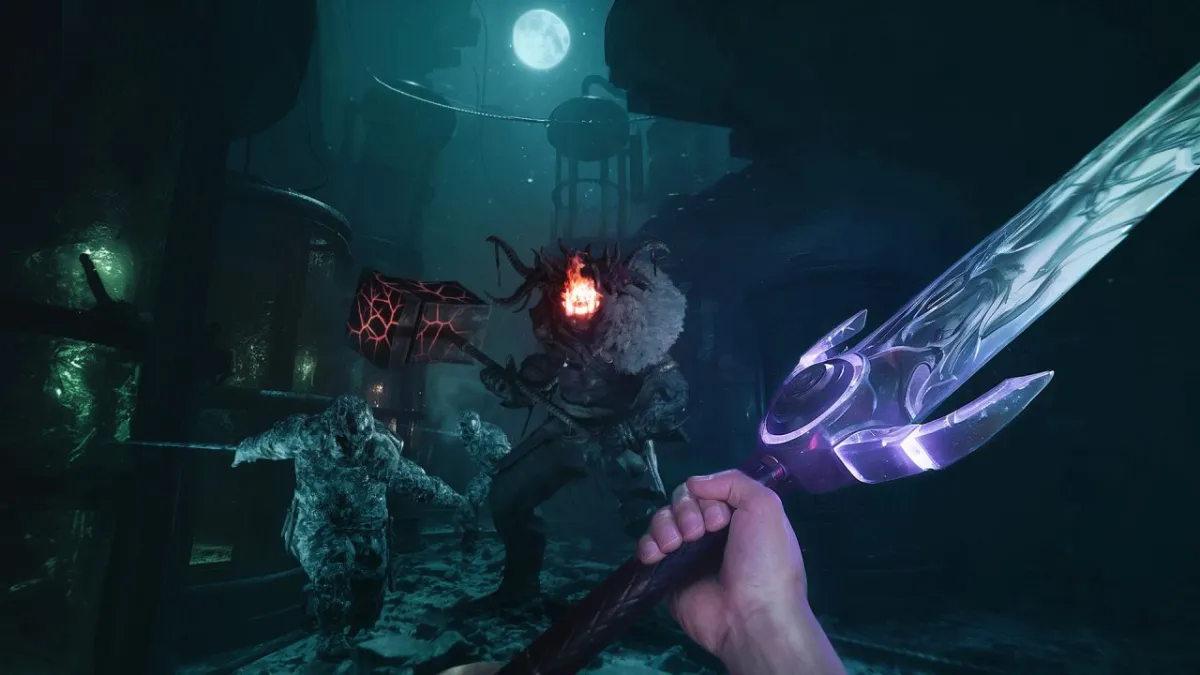
Clear out the mobs with hobgoblins being the priority since they can easily one-shot you at low Power Levels.
The Chamber Phase — Facing You (Tentacles, Fire, Stagger, Eyes)
Riven will have two modes here, either she’s in your team’s chamber or she’s in the other team’s.
If she’s in your chamber, she can do two things — breathe fire or smash her tentacles. If it’s the former her mouth will light up. If it’s the latter then giant tentacle fingers will be flinging out.
“It’s Fire!”
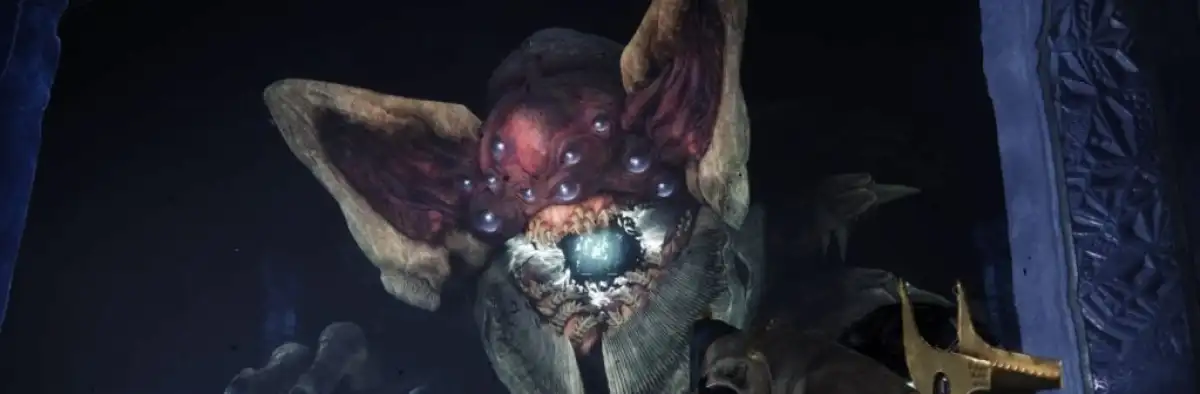
Riven’s mouth will breathe blue flame which can easily kill you so hide behind a rock and pop out to snipe her mouth once it turns red. Doing enough damage will stagger her. Two of her eyes will “glow red” so you need to call out these positions for the other team to take note of.
“It’s Tentacles!”
One high PL teammate needs to “bait” the tentacle to smash the ground. Don’t do this if you’re low PL or you’ll die instantly. When the tentacle is about to smash, jump up once to avoid the knockback and snipe that tentacle quickly. Doing enough damage will stagger her. Two of her eyes will “glow red” so you need to call out these positions for the other team to take note of.
The Chamber Phase — Not Facing You (Riven Captain and Relic)
While the other team is busy stunning Riven and getting her eyes to light up, the second team will need to cleanse the room. A Riven Captain (yes, they are everywhere!) will spawn so just snipe it from far away. One player picks up the Relic and they will see a column of similar symbols on the middle pillar. Again, check the callouts made by TeganGibby below:
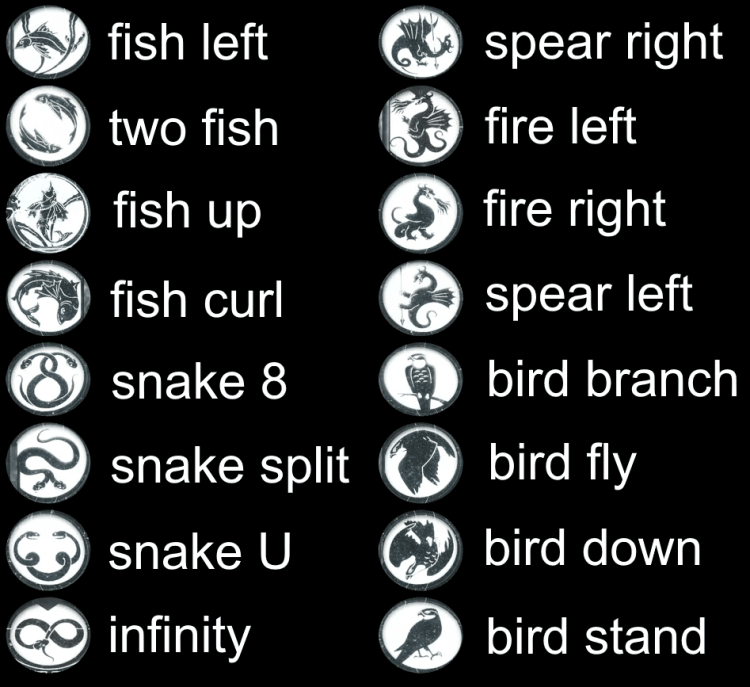
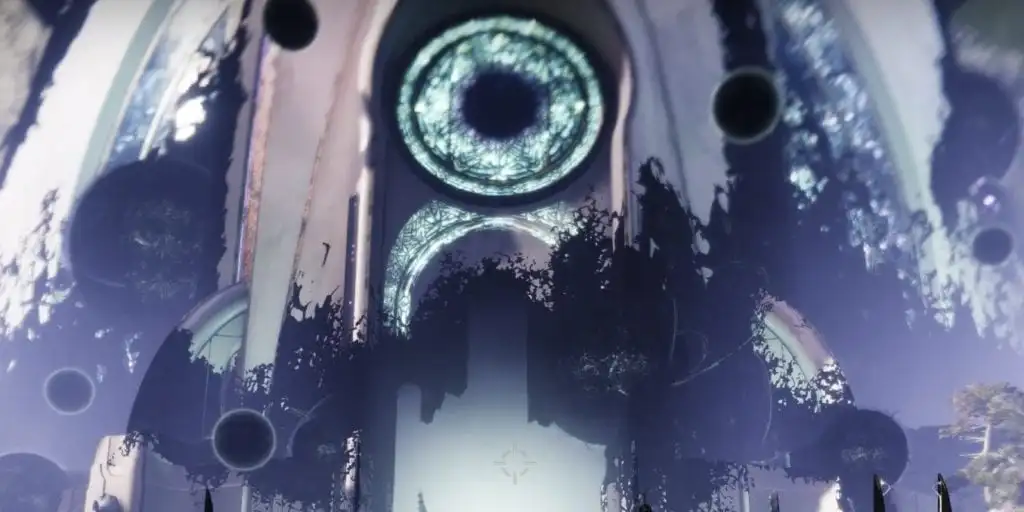
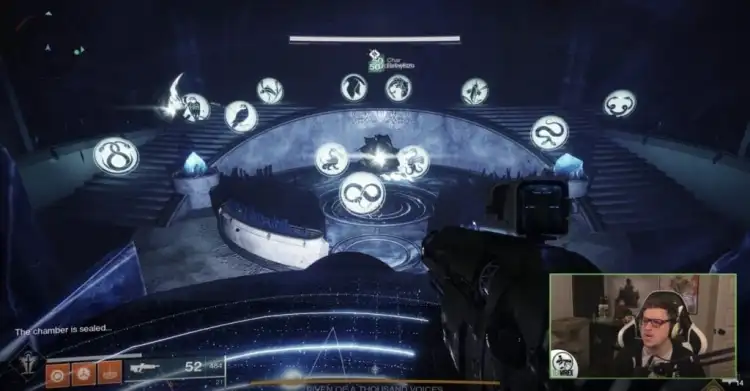
While this is going on, another teammate has to check the “mirror” on that pillar. They’ll see symbols appear around the room. The image below is from pro player Teawrex’s perspective when he first arrived in the area. We bet everyone who makes it there will have the same reaction:
The player with the Relic has to cleanse the symbol in the room that matches the one they saw on the pillar column. However, they cannot see where this symbol is located. That means the player watching the “mirror” has to guide them to the correct spot. Refer to the image below for sample callouts:
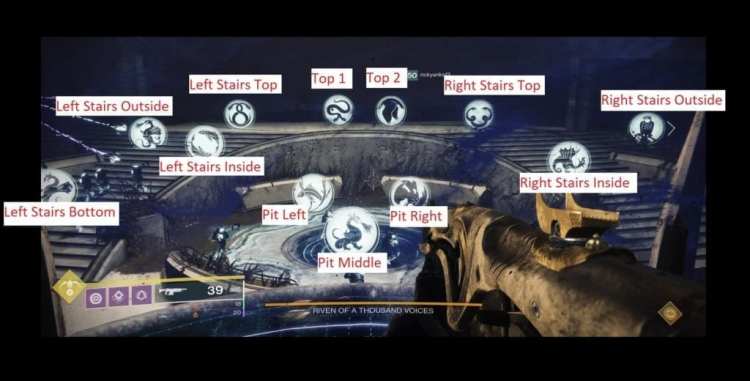
If the player watching the viewing mirror says “Left Stairs Outside” then the player with the Relic has to go there and cleanse that spot (with the grenade button) even though they cannot see the symbol itself. The best hint they can have is a glittering white aura whenever they’re standing in a symbol’s spot. Memorize these spots if you’re assigned to the mirror/Relic roles.
When using the Relic you can also fire it like a weapon. It does decent damage so you don’t need to immediately rush out for the cleanse if the room is packed with mobs. You can whittle them down a bit.
Also, take note that similar to previous encounters you still get a debuff that prevents you from picking up the Relic again for around a couple of minutes. This means that if you did the Eye of Riven Relic on the first go, you’ll need to switch with your teammate who was doing the mirror on the next mini-phase when you take the elevator up.
The Switch and Riven’s Eyes
Riven will switch positions as well. If she was facing you earlier (tentacles or fire + stagger), then you’ll need to do the cleansing part. If you did the cleansing part earlier, then you’ll do the face-up part now. Remember the eyes that were called out earlier? You’ll need to shoot her mouth first then shoot the required eyes.
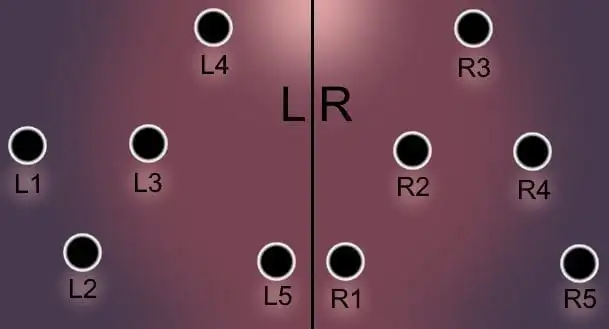
Just so everyone’s on the same page, you’ll need to remember which eyes are which. If you shoot the wrong one, you’ll screw up the whole team. Refer to this image also from TeganGibby:
You’ll need to assign a specific player per team to shoot the eyes while the other two players shoot her mouth. It’s best to use either a Scout Rifle or Pulse Rifle for more accurate shots.
A challenge you might encounter with Riven is whenever she switches rooms. She do this automatically after roughly 40 seconds of each mini-phase. She also does this whenever she’s staggered by the team she’s facing. It’s important to communicate with your teammates. For instance, if the face-up team staggered her already, you don’t want to pick up the Relic because she’ll spawn in your room and kill you if you’re somewhere on the platform area. You can actually leave the Relic lying there for a while before picking it up and cleansing. If it disappears, just kill another Riven Captain and cleanse.
Elevator Up
With Riven’s eyes shot correctly, the team can head to an elevator at a narrow corridor at the lower area of the room. This takes you one floor above to another antechamber. You’ll repeat the same steps as before.
- If you start with Riven facing you, then you do the tentacles/fire and the stagger + eyes callout. After that you’ll do the cleansing part.
- If you start with Riven not in your area, you’ll do the cleansing part. After that you’ll do the tentacles/fire and stagger + eyes with Riven facing you.
Once both sets are completed, the team can go up a beam to get transported to the large chamber where you started the fight. This is now the proper DPS phase. Perhaps the best example that can be provided comes from the top players themselves. This is a video of the World’s First clear from Clan Redeem using Sweatcicle’s perspective (Defender/Code of the Commander Titan).
DPS Phase and Falling Down
The DPS phase is hectic with so many mobs roaming around and deadly ogres that can decimate your group in half a second. Titan barricades and Code of the Commander barrier are invaluable. Warlock Radiance Rifts are amazing. Hunters, well, just make those orbs for your teammates.
Riven will pop out of various locations in the room summoning mobs each time. She can do her fire attacks or tentacle attacks. Just like in the previous phases, you’ll need to stagger her when she does these attacks. Two eyes will light up each time you stagger her (a total of three staggers this time around). Towards the end, you’ll need to shoot six eyes. This means you’ll want three people to shoot two eyes each. Alternatively, you can have each player shoot one assigned eye each.
Once her eyes are bloodied again, you’ll get the “Creeping Darkness” debuff that stacks. You’ll need to run to the plate you used earlier to start the encounter to cleanse yourself. Soon your entire team will fall straight down albeit slower this time around.
You’ll notice blisters all over Riven’s body. Shoot these blisters to do massive damage to her. Take care because axion darts will start flying out of them so you’ll need to shoot those too or they’ll annihilate you. Alternate between shooting three blisters then switching to axion darts.
Once you land, go back to the antechamber you were in before. You’ll simply rinse and repeat the room phases you just did. Everything is a matter of repetition until you can begin the DPS phase once more.
Platforming and Last Stand
Towards the last sliver of Riven’s health, you’ll suddenly get teleported to the Ascendant Realm. In here you’ll have to do a bit of platforming — killing mobs and getting to the portal at the end.
You’ll gradually lose health in the Ascendant Realm so Warlock heals and a speedy run are necessary.
You’ll be back in the large area as before and Riven will do her last stand so just keep sniping her mouth until it’s done. You’ve beaten Riven… or wait… no, you haven’t yet.
Quickly run inside her mouth and shoot the glowing Taken heart inside to gain the Ethereal Key and make your way through the Queenswalk.