This Free-to-Play JRPG Might be Your Next Game to Play on the Side
Ride that JRPG train!

Ride that JRPG train!
Fighting and fashion go hand-in-hand.
Six of the best for the weekend!

Fighting and fashion go hand-in-hand.

Bear witness!

There goes my weekend.

Time to parry the fish, said no one ever.

Six of the best for the weekend!

Mixing products and making deals, all day long.

The new DK is on the block.

Yes we can!

A fine replacement for C&C

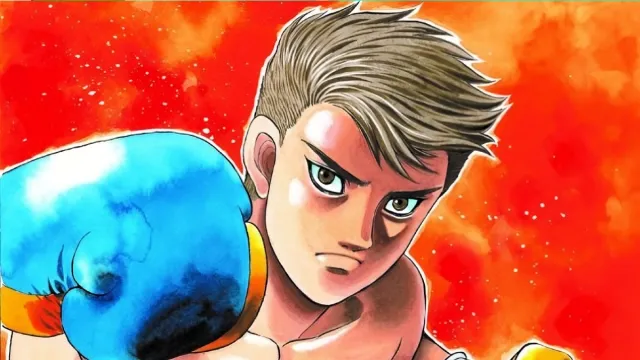
It's only February, and we seem to have a contender for game of the year. It's that good.

Why hit two birds with one stone if you can hit three.

Freebies for all, for a limited time only

Why hit two birds with one stone if you can hit three.

Freebies for all, for a limited time only
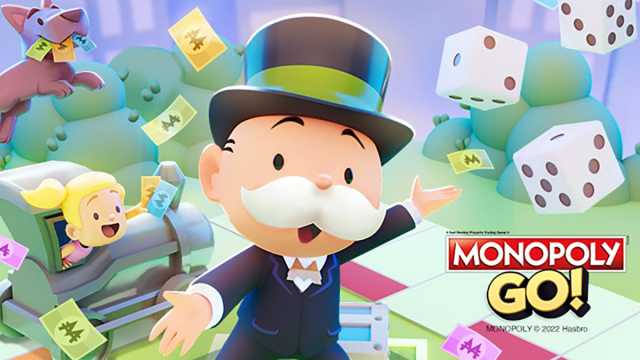
Be sure to get your hands on plenty of Free Dice here!