Garden of Salvation: Encounter 2 – The Maze
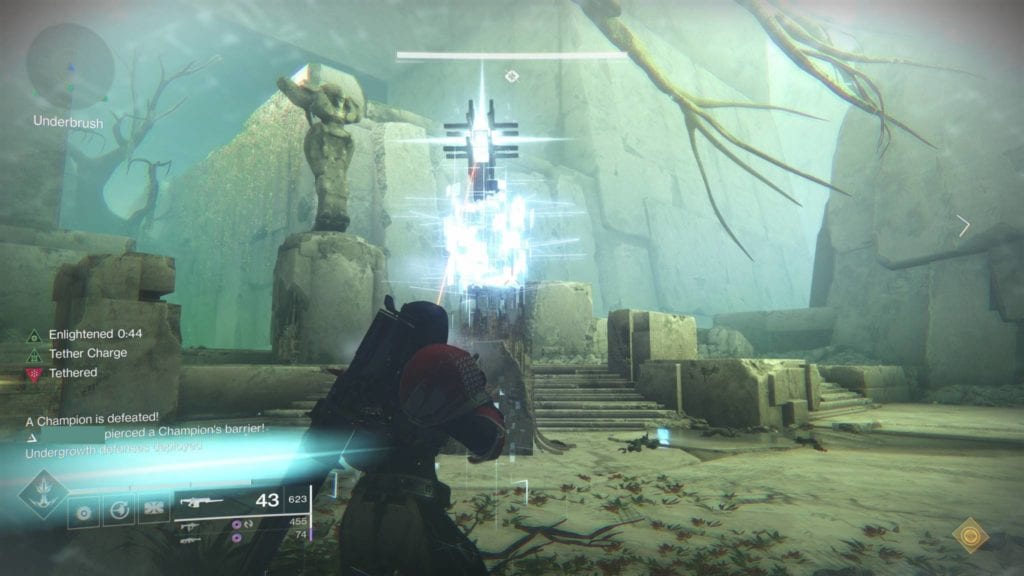
The Garden of Salvation’s second encounter is a large chamber that’s akin to a maze. At the start, you’ll see three pathways you can take — left, right, and middle. There’s also a Vex conflux right in front of you at the start. Lastly, you’ll see a tether box further in front as well.
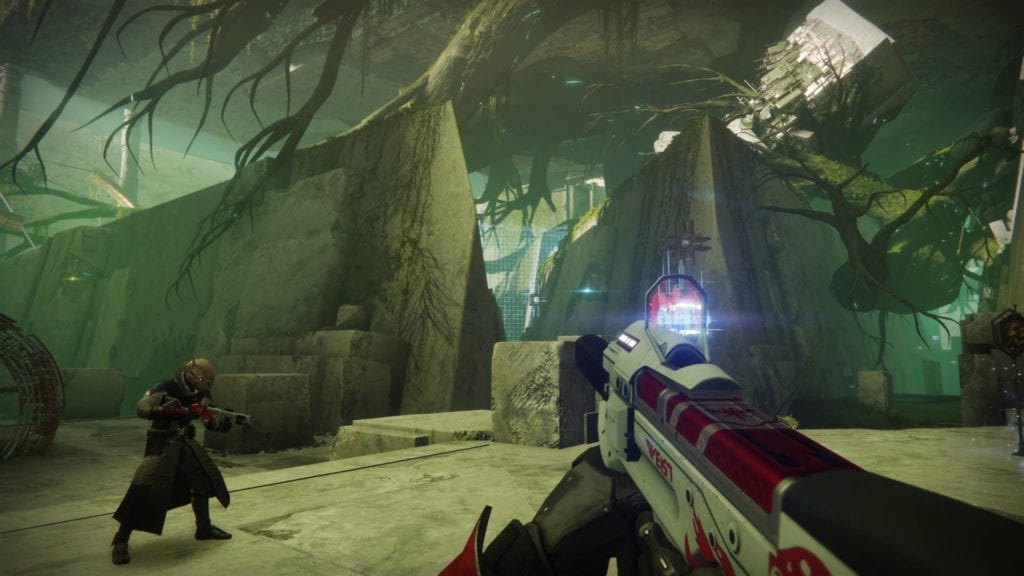
Throughout the encounter, numerous Vex will spawn in all sections. The ones at the middle will attempt to sacrifice/integrate themselves in the main conflux which causes a wipe. It’s imperative that you kill them before they can sacrifice themselves. Now, some of these Vex will have a shield that cannot be damaged unless you have the “Enlightened” buff (more on this later).
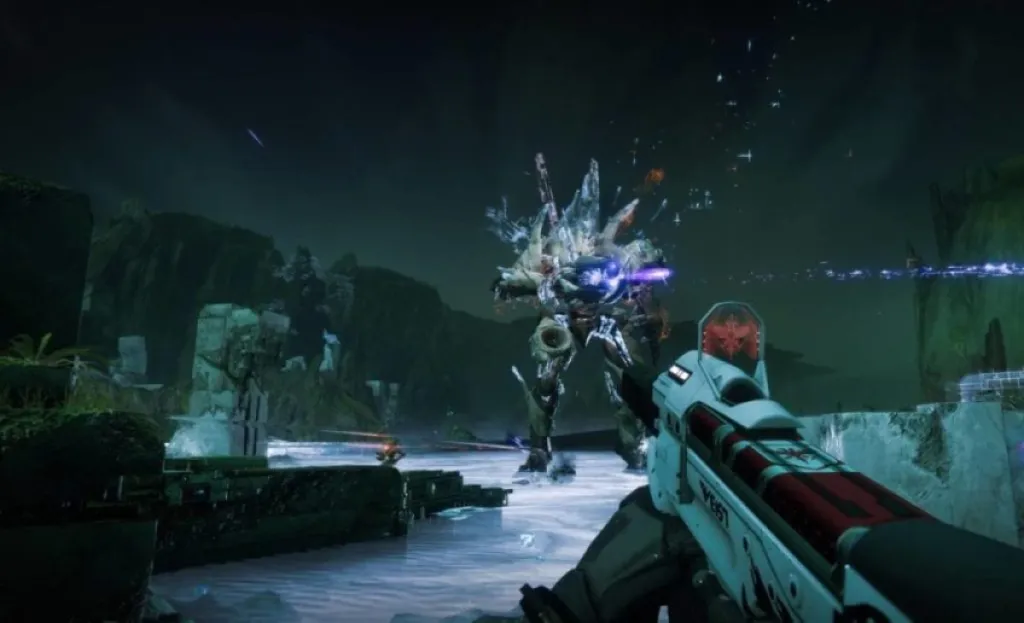
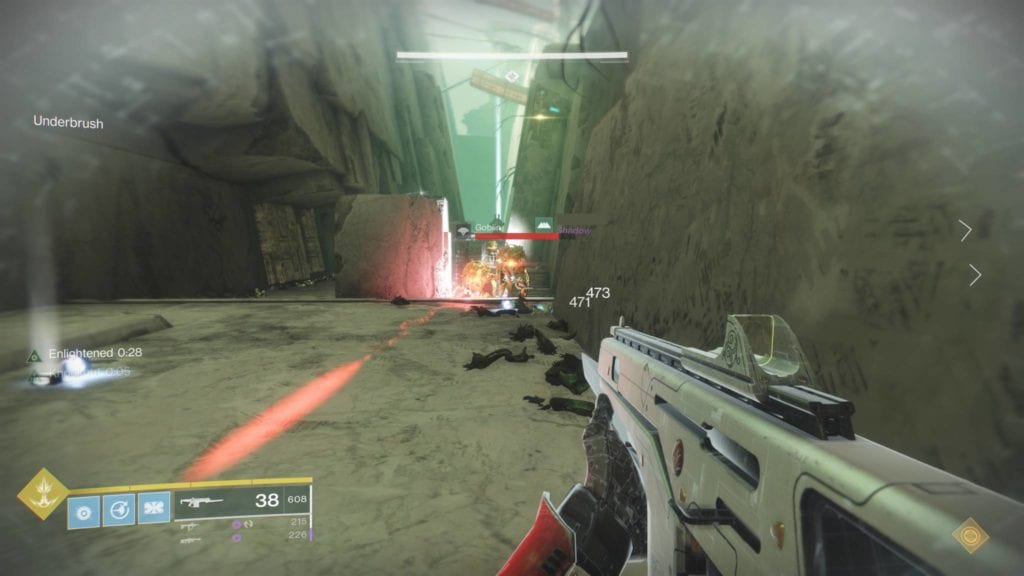
To progress further through each section, players must defeat all the mobs that spawn along their path. There will be Barrier-powered hobgoblins too so watch out for them. When players reach a new conflux in the left and right sections, there will be three Angelic hydras guarding these spots that need to be eliminated. This will activate the confluxes and allow progress.
However, you’ll also need to defend these new confluxes from even more shielded Vex that’ll attempt to sacrifice themselves. At periodic intervals, three Angelic hydras will also spawn at a specific area of the map and a player may need backup if they’re alone.
Dividing the fireteam
The way our team completed this encounter was fairly simple:
- two players to go left
- two players to go right
- two players starting at the middle – one of the middle section players is a designated floater; the other player will hold the line and stay in the middle all the time
Team Roles
For the two players who started at the middle:
- one player will just stay behind to continue defending the initial conflux from Vex
- the designated floater will provide backup wherever it’s needed
The left and right side teams will push further into their respective sections. They’ll just continue clearing mobs and advancing onward. Whenever they reach new confluxes, they’ll have to defeat all the mobs guarding it. After that, it’s time to split up further:
- one player from the left and right side teams will stay behind to guard their respective confluxes from additional shielded Vex
- one player from either team will push forward to the furthest conflux and guard it
- the remaining player can provide backup to kill tougher mobs or help refresh the Enlightened buff; in a way, this player also becomes a floater as you progress through the fight
Enlightened Buff
Remember that tether box at the start of the encounter? That’s how you gain the Enlightened buff. The two middle players will need to tether themselves accordingly so that the beam passes from the box, through the both of them, and to the conflux itself.
When the beam reaches the conflux, both players gain the Enlightened buff. This buff lasts 45 seconds and it will allow them to break the immunity of the shielded Vex. The shield itself has only a single point of health, and any damage (while Enlightened) will break it, allowing others without the buff to do damage as well.
As players from the left and right sections push forward, they’ll find additional confluxes. Shielded Vex will also start assailing these areas. As such, players will need to tether themselves from the tether box to the conflux to gain the Enlightened buff.
The Enlightened players and pushing onward
But, since another player has to continue pushing forward, this means that the designated floater from earlier will need to provide backup for anyone who may need to refresh the buff. Additionally, an extra teammate (from either the left or right sections) that isn’t guarding a new conflux can also take the portals to float and help refresh the buff.
The floaters will go to wherever they’re needed. If someone needs the Enlightened buff on the left side, then the floater has to go there. However, rather than running through the corridors, floaters can just take portals to that side that allows them to help that section.
The idea here is for players to call out if they need backup at a specific section. The floaters will simply head there to refresh their Enlightened buff or help connect the tether.
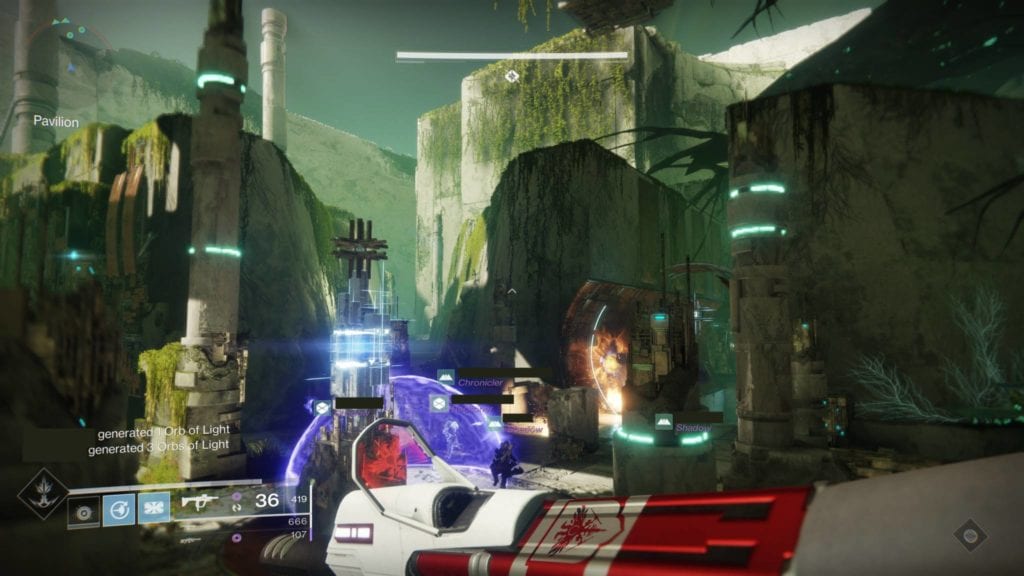
The final stand
Killing all the Angelic hydras and activating the four confluxes around the room will remove the barriers. This will allow the fireteam to move forward to the final stand area.
In this area, players will simply need to survive and kill as many mobs as possible. There’s also a tether box here that allows players to become Enlightened given that many enemies are shielded. Angelic hydras will also spawn, so make sure that you kill them quickly since they’ll hit hard.
Loadouts:
The Recluse, once more, becomes a lifesaver in this encounter. Slap the Barrier mod on it and go to town on those Barrier hobgoblins. The minotaurs in this fight aren’t Overload versions anymore, so you can just gun them down with various hard-hitting weaponry (shotguns and machine guns). The Angelic hydras can be a pain, but you can easily take them out from afar using power weapons, snipers, or supers.
Classes:
Well of Radiance is great to have in this fight while playing defensively, but Nova Bomb is a better choice offensively. Titans can run Ward of Dawn (with Helm of Saint-14), Sentinel Shield bottom tree (with Doomfang Pauldrons), or Striker bottom tree (with Insurmountable Skullfort). Hunters should run Nightstalker with Orpheus Rigs for tethering and generating orbs, or Blade Barrage.