Encounter 1: The Necropolis
Once you start the Pit of Heresy activity, interact with the crystal and drop down the chasm. This will take you to the underbelly of the Scarlet Keep. A vast expanse stretches before you and you’ll also notice several large Hive rune symbols that are glowing.
The first encounter here is all about breaking the various locks so you can head to the next area. Take a look at the symbols that are on the locks and find a larger rune that’s similar to it. There will be a chamber here. Be sure to clear out the mobs first while you’re at it.
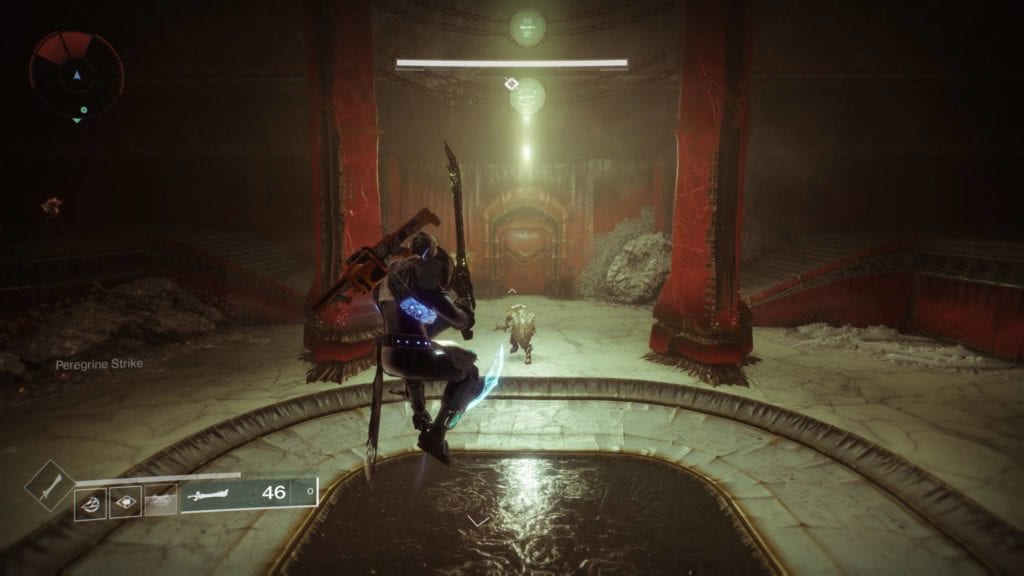
Now, each of these chambers will have a Hive miniboss: a knight, a wizard, and a shrieker. The only way to damage these enemies is by using the Hive sword dropped by a knight. These knights spawn on the bridges connecting the chambers. Once you have the sword, make your way to the chambers of the corresponding Hive runes.
Oh, and these minibosses that you’ll fight? Well, they can only take damage from a specific type of attack:
- The knight only takes damage from light attacks with the sword.
- The wizard only takes damage from heavy attacks (projectiles) with the sword.
- Lastly, the shrieker can only be damaged if you hold the melee button to block and reflect its projectiles.

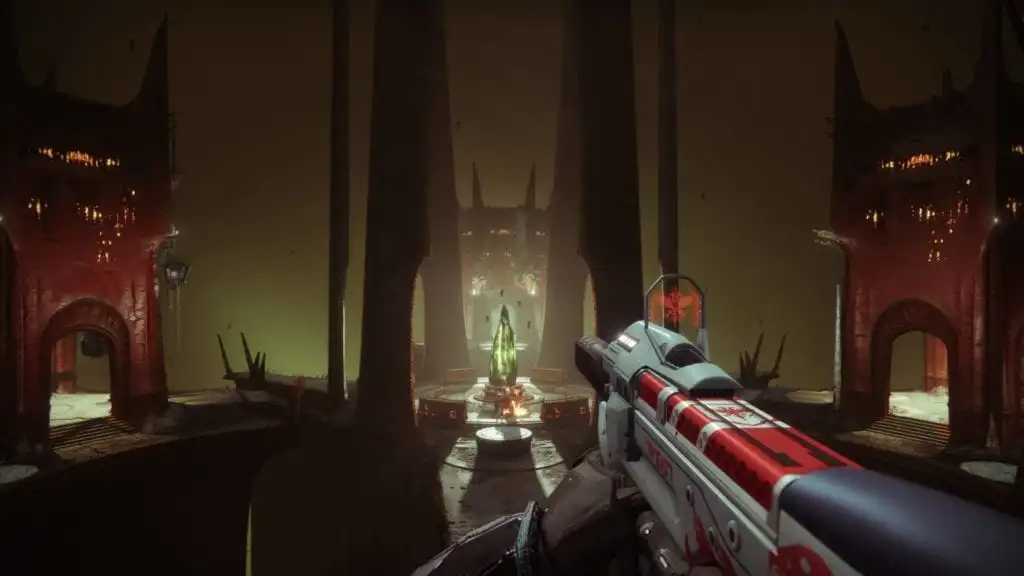
Each miniboss that dies, provided that you killed the correct ones, will break parts of the lock. Once you’re done with all three, head to the fourth chamber. You’ll know it’s the correct one because a beam of eerie green light will emanate from it. Clear all the mobs, get the chest, and you’re done with the Necropolis encounter.
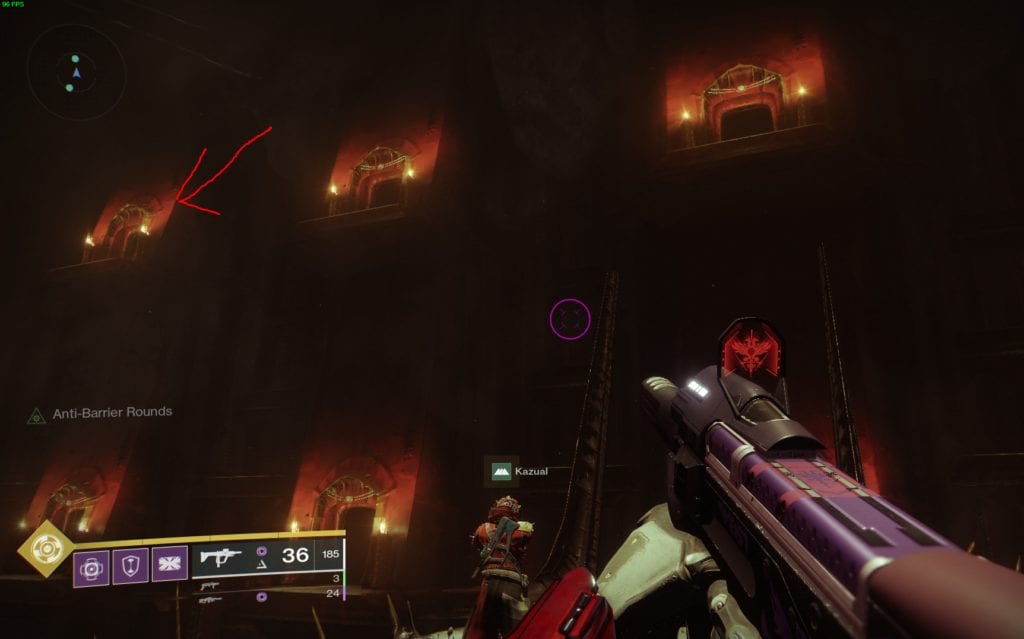
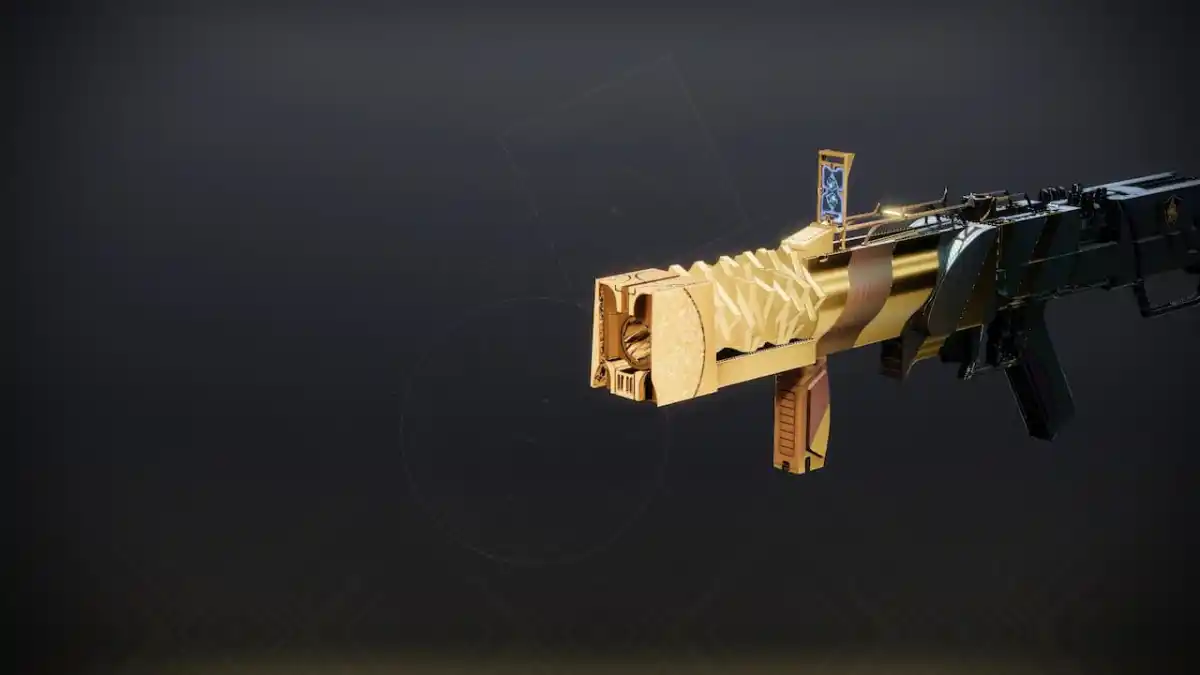
The Doors – The Xenophage Fragment
I wouldn’t even call this an actual “transition area” or even a jumping puzzle. That’s because the way forward can be found if you just look down and slightly to your right.
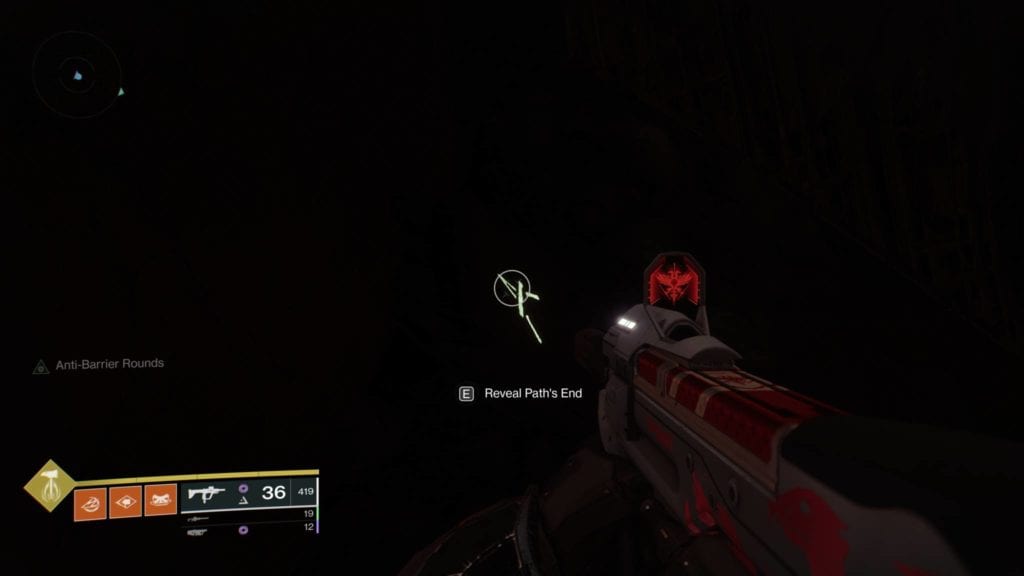
However, if you’re going for the Xenophage exotic quest, you can find the fragment inside one of the rooms at the upper left-hand corner. You can see this in the image above from Redditor AlexTheHuntsman.
Anyway, just drop down to the pathway off to the right and break on through to the other side. (Sorry, I couldn’t resist. That’s a lot of doors.)
Next up, you’ll have an encounter against some really mean ogres. Head over here.