Destiny 2: Shadowkeep has a brand new exotic rocket launcher that you can obtain after you finish the campaign. The exotic weapon known as Deathbringer is up for grabs with its own fairly lengthy questline. Here’s our mini-guide on how you can get your hands on it.
Note: For everything there is to know about Destiny 2: Shadowkeep, you can check out our nifty guides and features hub.
Destiny 2: Shadowkeep – Starting the Deathbringer’s exotic questline
First things first, you won’t get anywhere until you complete Destiny 2: Shadowkeep‘s campaign. Once you’re done with that, Eris will give you a couple of pursuits. One of these is called “Memory of Sai Mota.”
Similarly, you’ll also notice that she has a new bounty called “Lunar Spelunker.” Make sure you’ve got both in your quests panel.
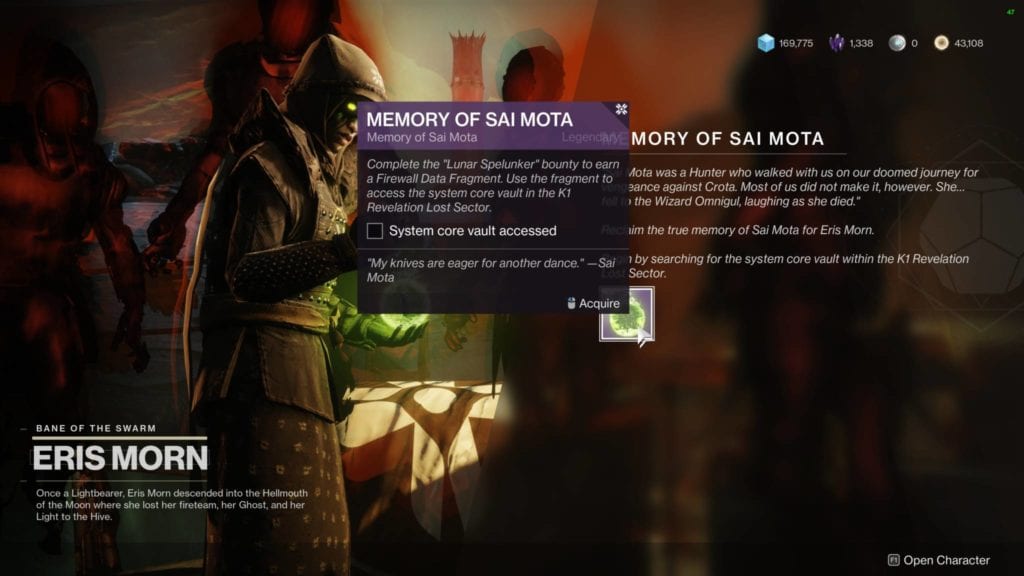
You’ll have to complete the objectives in the Lunar Spelunker bounty first before you can do anything with the Memory of Sai Mota quest. The Lunar Spelunker bounty requires you to clear three lost sectors on the moon:
- K1 Communion – Anchor of Light
- K1 Logistics – Archer’s Line
- K1 Crew Quarters – Hellmouth
These lost sectors have enemies at around 870 power level. They can be a pain to deal with. But, if you followed our Destiny 2: Shadowkeep leveling guide, you shouldn’t have any problems. The mobs will probably just tickle you.
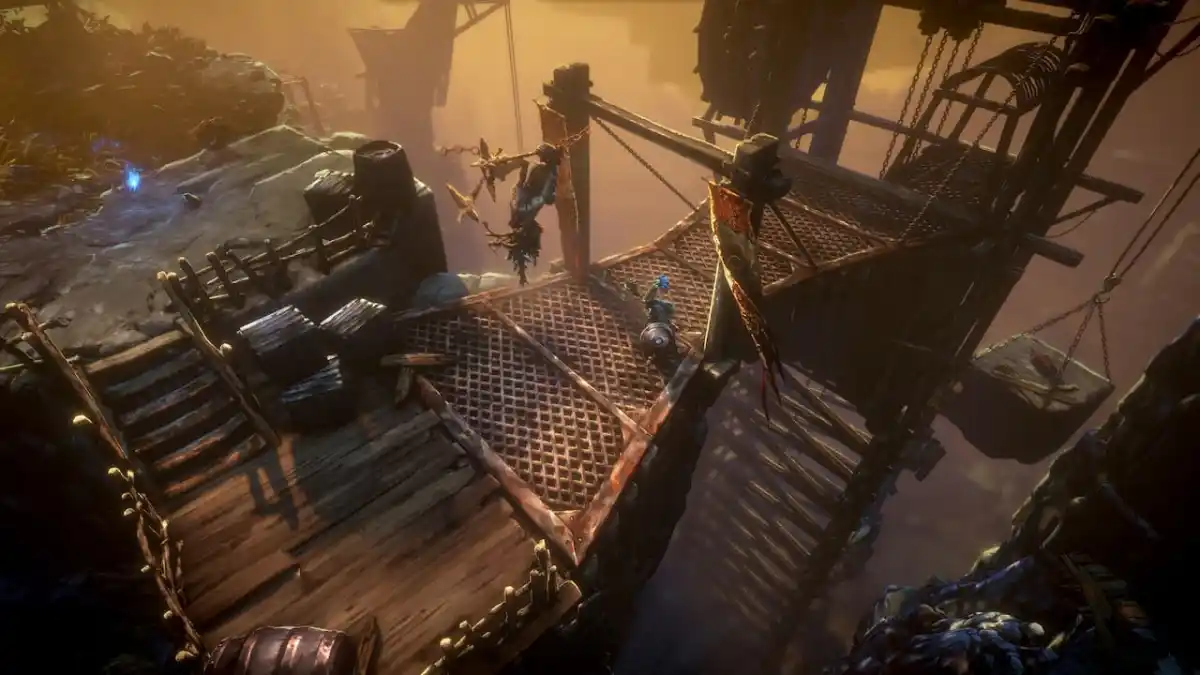
When you’re done with the first three lost sectors, you’ll have a data fragment that can open a sealed room inside the fourth lost sector known as K1 Revelation in the Sorrow’s Harbor zone on the moon. Head over there.
K1 Revelation lost sector
This lost sector is a bit different because it has some extra mechanics:
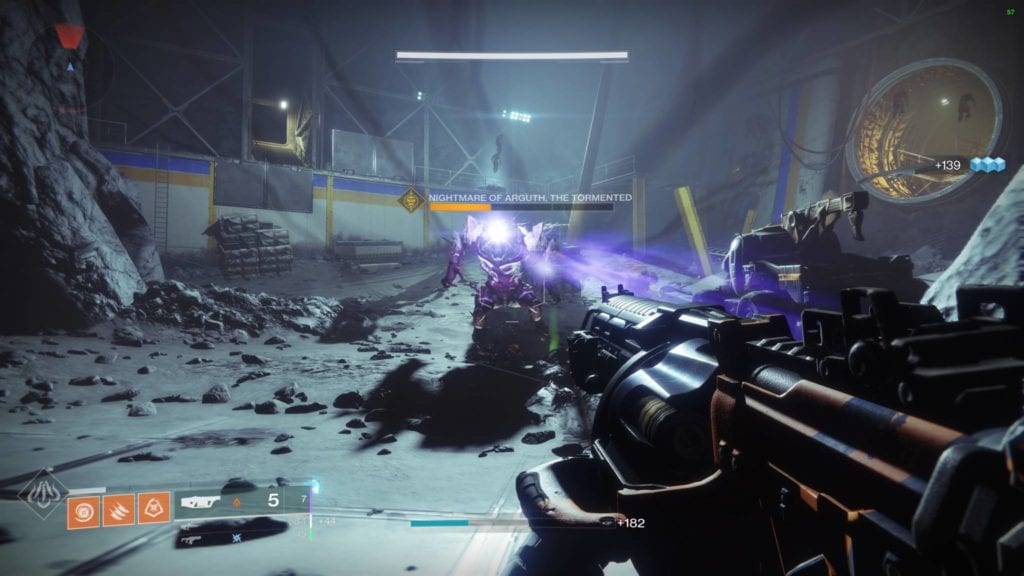
- Kill the mobs near the crystal to spawn a wizard.
- Kill the wizard to break the crystal’s forcefield.
- Destroy the first three crystals then destroy the fourth crystal in the middle.
- This will spawn an ogre nightmare boss. Kill that fella to open the lost sector’s chest.
But, that’s not the objective. Near the chest is a corridor that takes you to the sealed door that you can open. Access the databank to get the next quest step.
Necklace Collection
You need to collect 20 Sai Mota necklace fragments which you obtain by killing nightmares with arc abilities. In my case, I was playing on a Hunter so I just equipped Liar’s Handshake, the Arcstrider’s top tree, and I just punched mobs to death.
The best area to do this in would be Sorrow’s Harbor. That entire area will have numerous nightmare ogres spawning. They don’t drop Sai Mota’s necklaces, but the nightmare thralls and nightmare acolytes that accompany them will. Each yellow bar nightmare you kill drops two necklace fragments so you’ll be done in no time.
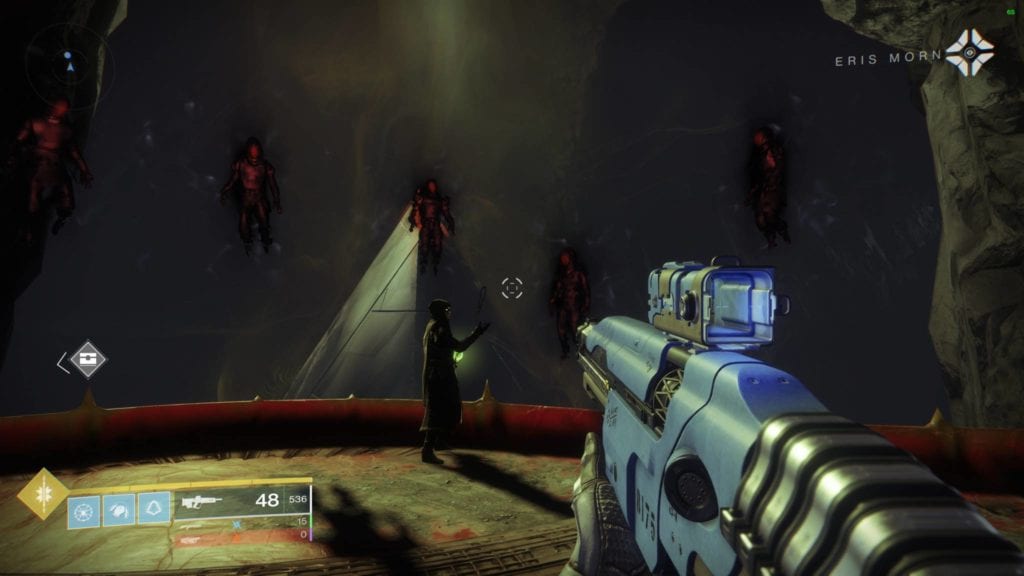
Eris and Pals
Head back to Eris’ spot and go through the portal. Follow the path until you find her surrounded by her long-dead friends. Eris is being tormented by the nightmare of Sai Mota but she offers her the necklace that you acquired.
Deathbringer: The Circle of Bones
Make sure to remember this spot since you’ll come back here again. This is where you fought Phogoth (back in Destiny 1 and during Destiny 2: Shadowkeep‘s campaign if you were collecting the Essence weapons).
To get there, travel to the Hellmouth and follow the path to the sunken temple area up north. Once there, follow the long and winding path through all the Hive-infested room until you reach the Circle of Bones area. Accept the quest and head to the entrance to Phogoth’s chamber.
There are several mobs here (including a nightmare wizard and knight). Kill them and pick up the Deathsinger’s skull relic in the middle of the room.
Collect more Bones
Eris tells you that you need to collect three “bone” quest items from various sources on the moon:
- Complete a public event in the Hellmouth and open the chest.
- Clear the K1 Revelation lost sector (again) and open the chest.
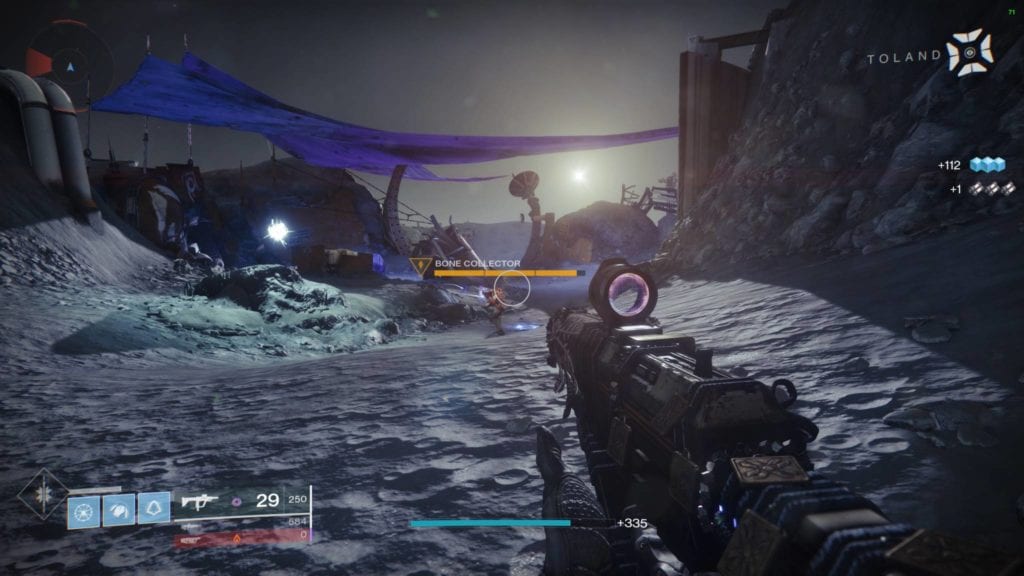
- Find a Bone Collector mob and kill it. This random yellow bar target can be found wandering in the Anchor of Light zone.
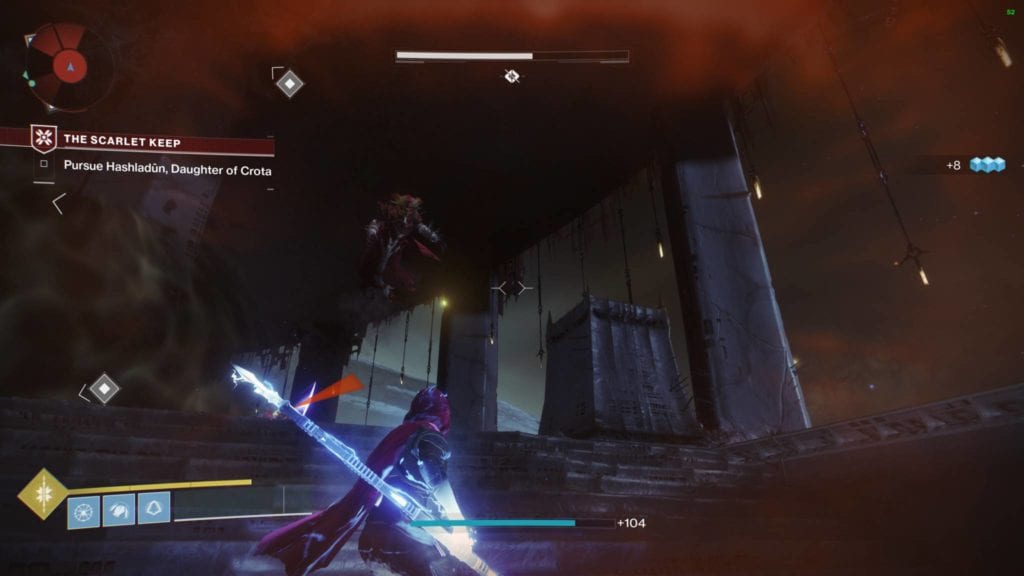
Kill Sulmakta in the Scarlet Keep strike
Open your map and load up the Scarlet Keep strike. Keep progressing until you get to the elevator encounter. Your target Sulmakta is a unique named wizard on the third floor (the one before the boss’ area). Take her out.
Kill a lot of things
The next step for you to obtain the Deathbringer exotic just has you killing a lot of stuff, each with their own progress bar that needs to be filled:
- regular mobs
- yellow-bar majors
- bosses or Guardians
Go do activities on the moon such as Nightmare Hunts or the weekly Shadowkeep mission replay. Both challenges will give powerful gear rewards, plus, you need to be defeating lots of mobs anyway for the exotic quest. If you just want to stick to the patrol zones, then Sorrow’s Harbor has lots of Nightmare ogres that count as boss kills. In any case, it’s off to the finale.
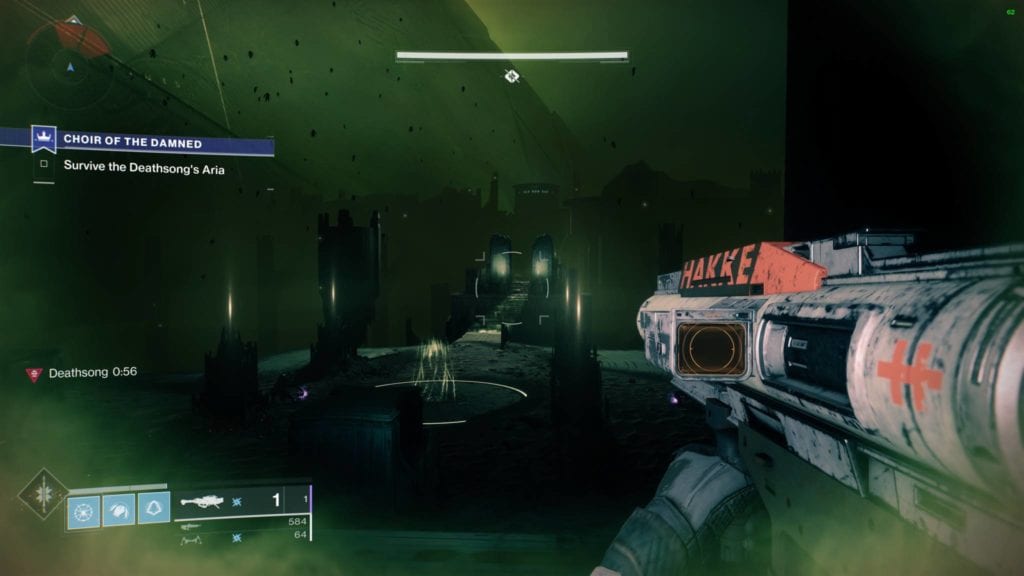
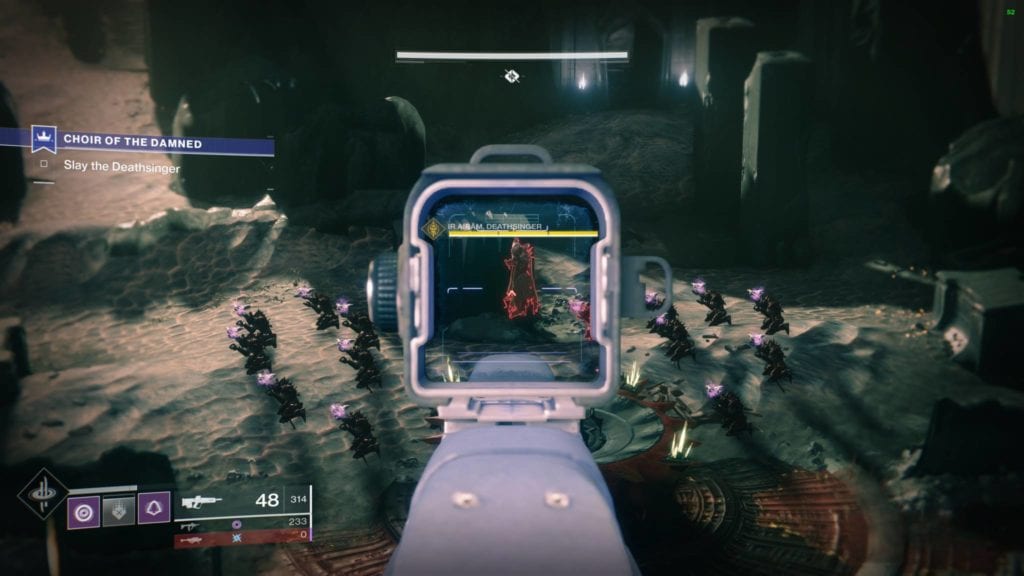
Deathbringer: Defeat Ir Airam
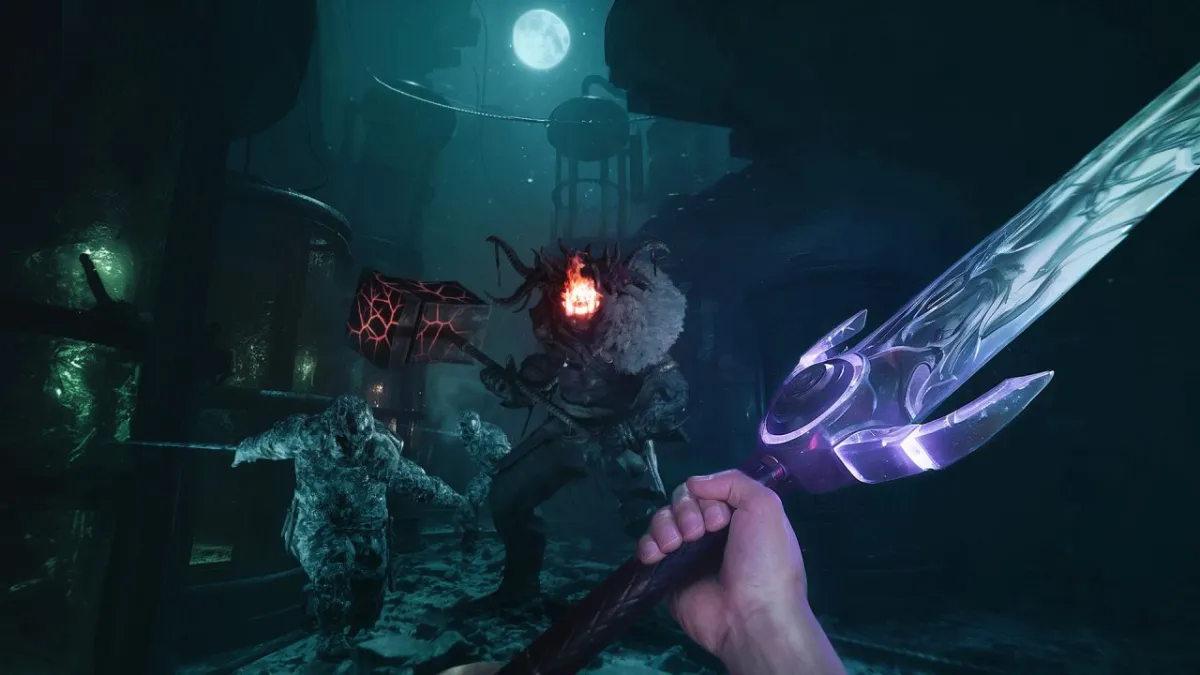
Remember the Circle of Bones area from earlier, the one going to Phogoth’s room? Yep, go back there and start the quest from the flag. Speak to Toland and follow him around. Eventually, you’ll reach a very dark corridor. Oh, before you continue, make sure you have at least one void weapon.
Once you’re ready, step inside the room and the Deathsinger’s timer appears on the lower left side of your screen. You have a minute and, if the timer runs out, you automatically die. In order to stop the timer temporarily, you have to break the wizard’s shield (which is void, hence why you should have a void weapon).
There are three wizards that you’ll find here and you need to kill them in succession. If you die, you restart from the beginning of the checkpoint.
The next part is where you’ll fight the boss, Ir Airam. The same mechanic still applies — 60-second countdown, break her shield to temporarily stop the timer. Unfortunately, Ir Airam moves around often and she also summons a couple of ogres when her health is low.
I completed this solo just by pelting her with kinetic weapon fire to lower her health. Taking a potshot every now and then prevents her from regaining her shield (and starting the 60-second auto-wipe timer). If enemies start appearing, I’d take a few seconds to kill them. If she starts the timer, I’d switch to my void weapon to break her shield.
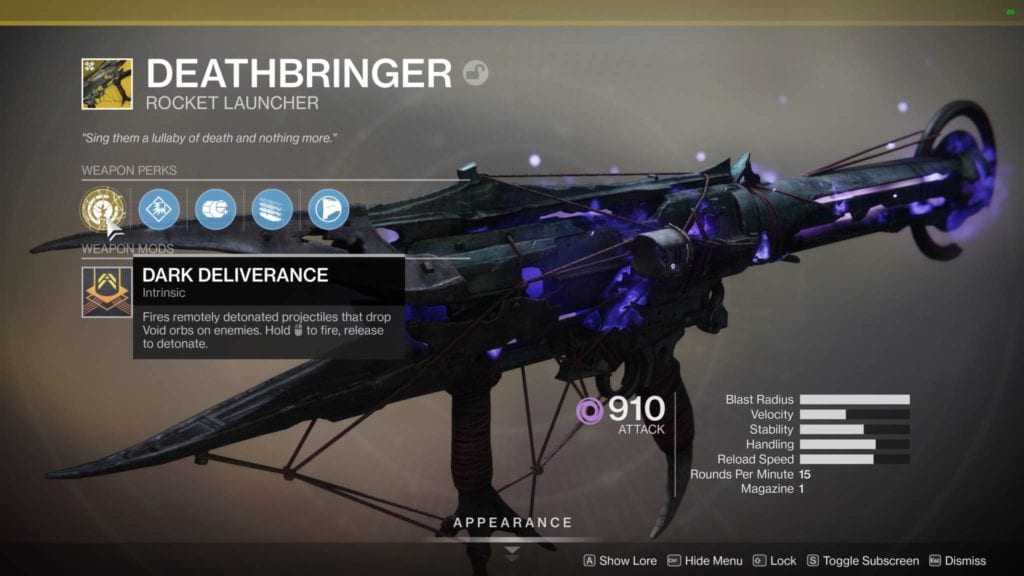
Destiny 2: Shadowkeep – The Deathbringer exotic rocket launcher
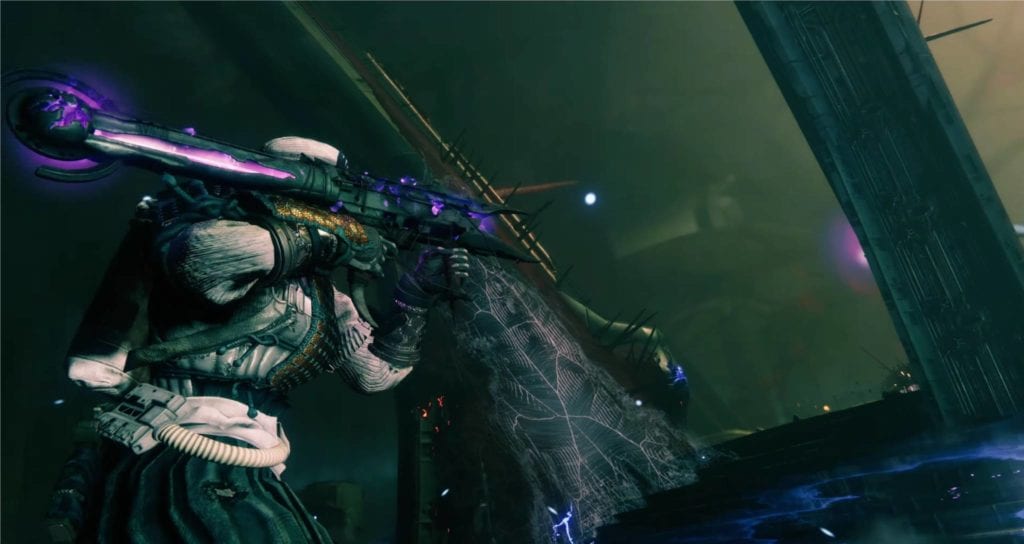
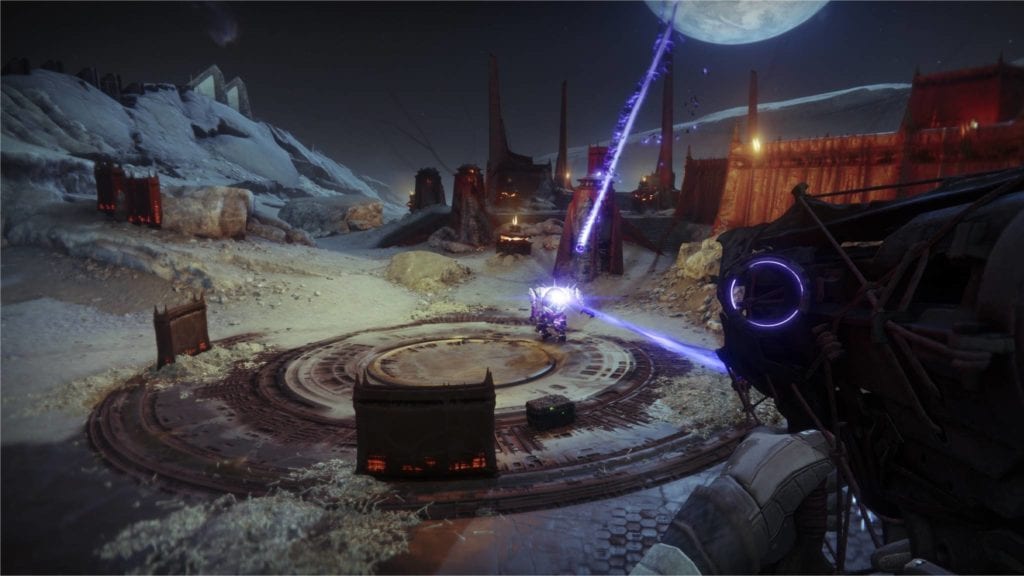
With the boss dead, head back to Eris and she’ll give you the Deathbringer exotic rocket launcher. The weapon fires a void orb which you can detonate, causing more void orbs to be released. The further away these void orbs fall, the higher their damage. These void orbs track their targets too before exploding.
Think of the Deathbringer as a cross between Destiny 1‘s Gjallarhorn (with its Wolfpack Rounds) and the Voidwalker Warlock’s axion bolt grenade. Or, better yet, your own mini-Nova Bombs. I guess we can call this the “Novahorn.”
That does it for our mini-guide on how to obtain the Deathbringer exotic rocket launcher. You can check out Destiny 2: Shadowkeep via its Steam store page. Don’t forget, we also have our Destiny 2: Shadowkeep guides and features hub to help you out with other concerns.