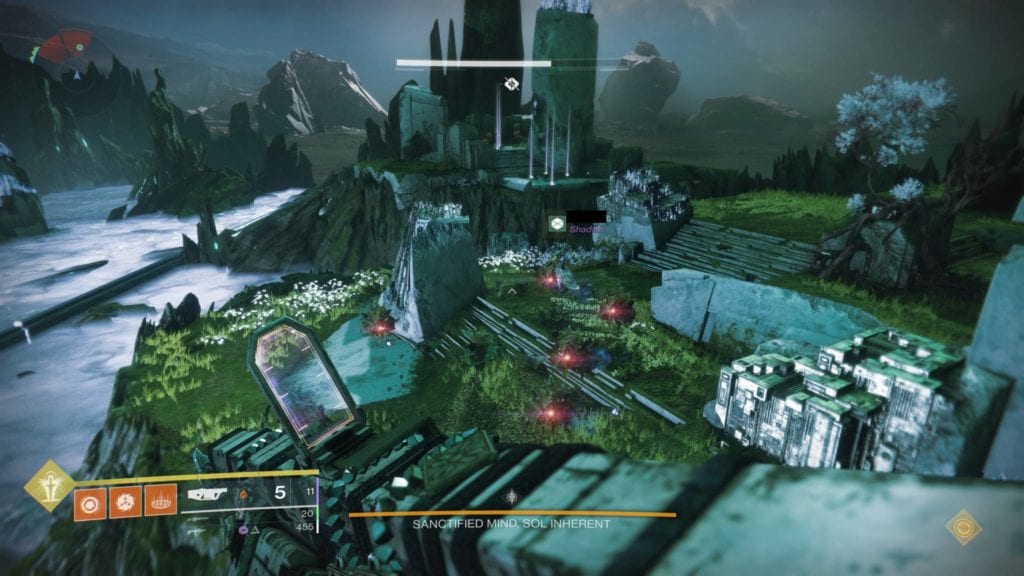
It’s a brand new week, which means it’s time for yet another Garden of Salvation raid challenge in Destiny 2: Shadowkeep. This week’s raid challenge is called “Zero to One Hundred” and it takes place in the Garden of Salvation’s fourth and final encounter where you face off against the Sanctified Mind.
Note: For more tips and info about the Garden of Salvation, head over to our complete raid guide. For everything else about the expansion, you can refer to our Destiny 2: Shadowkeep guides and features hub.
“Zero to One Hundred” raid challenge
As mentioned, the “Zero to One Hundred” raid challenge can be done during the Sanctified Mind boss fight. It’s best that you’re already familiar with the mechanics of the fight to be on the same page as the rest of your fireteam.
The goal of this raid challenge is:
- Three players will dunk 10 motes each around the same time on the same pillar. This will fill up the pillar from its default state to full.
- You have roughly 10 seconds to fill up a conflux to the max from the first time that someone banks a mote. If you take too long, you’ll fail the challenge.
- You cannot have four players banking one after the other (using the normal strategy) as the animation sequence while banking will take too long.
- You’ll also need to do the entire process for the second confluxes so you can initiate the DPS phase.
- This has to be stated clearly: You don’t need to fill up both confluxes at the same time. You can still focus on the one on the left first before going for the one on the right.
The “Zero to One Hundred” raid challenge can be quite demanding because it throws you off your usual routine when fighting the Sanctified Mind. Normally, you’d send in two players inside the left side/blue portal first, they’d collect as many as they can, and then you’d send in the second portal team. It usually didn’t matter how many each player picked up and banking isn’t always done at the same time. But, it’s vastly different if you plan on doing the raid challenge.
Some players have even suggested pulling a player back out and sending them back inside immediately using “Worldline Zero skating.” You don’t need to do that at all even if the LFGers are having problems.

Going in, going out, keeping those motes on the ground
For those who’ve become familiar with the Sanctified Mind fight, you’ll know that mobs will drop roughly 16-18 motes per run. This means only one player at a time will get a maximum of 10 motes. So, how do you ensure that you’ve got three players with the maximum number of motes in a couple of portal runs?
Well, here’s how the fight should go if you’re doing Destiny 2: Shadowkeep‘s “Zero to One Hundred” raid challenge:
- Team 1 (players A and B) will go through the left side portal first. Player A will collect 10 motes. Player B, meanwhile, will only help clear mobs without picking up a single mote. Keep those motes on the ground. It’ll take roughly 20 seconds before they disappear.
- Pull those players out and send team 2 (players C and D) inside the same portal immediately. Both players will be clearing mobs and grabbing motes, prioritizing the ones that weren’t picked up by the previous team.
- Pull them out and you should now have three players with 10 motes each. Have them bank at around the same time (within 10 seconds after the first person banked).
Note: Team 2’s run should be done extremely fast. Use supers if you have to. The motes left on the ground will disappear soon, and the previous player’s timer will be dwindling down. You’ll also have to contend with several shielded Vex goblins. You can’t push them all away from the conflux indefinitely.
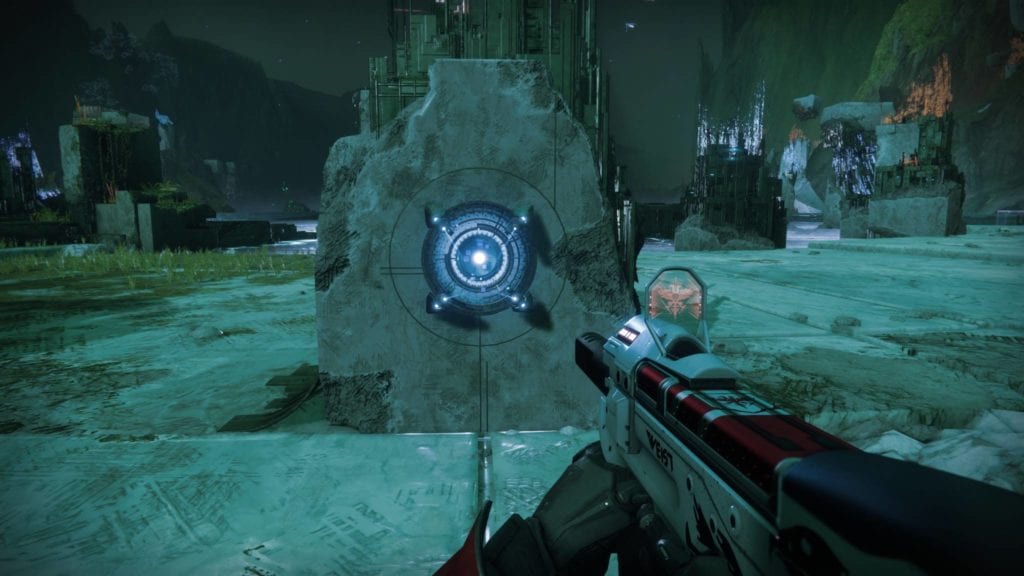
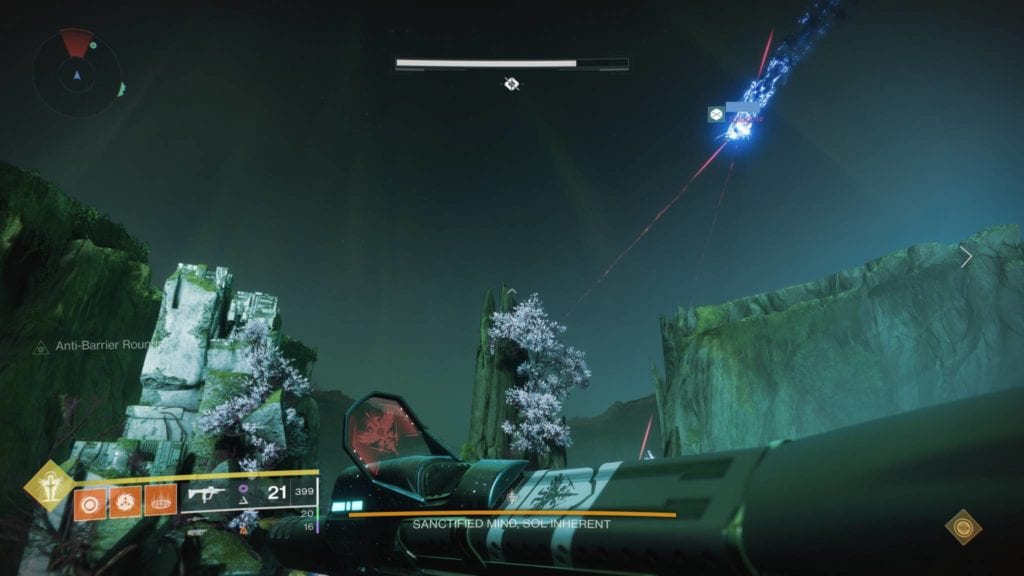
There are times when you’d spawn closer to where the last set of mobs were killed, and the motes will be right next to you. However, there will be some instances when you’d spawn further back on the opposite side from where the motes are. Don’t worry, because you’ll usually have enough time to gather the remaining motes if you rush it:
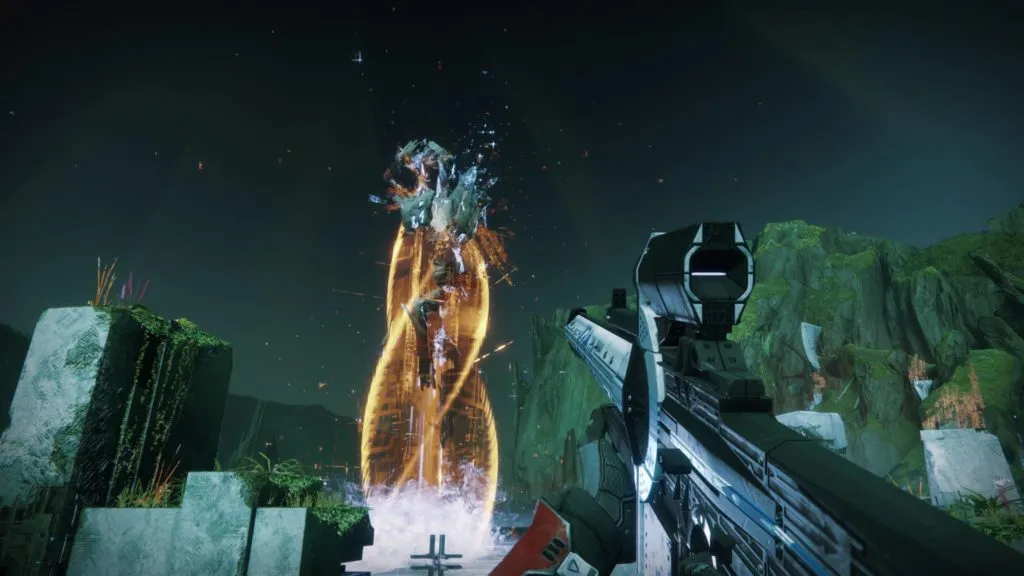
Hey, if you have extra Titans in the group, then Destiny 2‘s “punchy blokes” can feel like superheroes. Titans can just Thundercrash their way straight to the motes:
You’ll have to do the same steps as before with the second relay. In case no one has the Enlightened buff anymore, it’s important that your teammates continue pushing away any shielded Vex goblins that spawn. It goes without saying that you can’t let a single Vex goblin sacrifice. Otherwise, that’ll mess your entire challenge attempt.
Alternate Strategy: Have less than 10 motes; two portals
This alternative strategy is only if you’re having a hard time reaching those leftover motes after you’ve spawned in. The idea, instead, will be to open both portals and send players through at the same time. Here’s how it should go:
- Divide the team into two groups of three — Team 1 (left) and team 2 (right).
- Open both portals at the same time.
- Send two players from each team to go inside their respective portals.
- These players will only pick up less than 10 motes. Having seven to nine motes each should be fine.
- Pull them back.
- The remaining players (from team 1 and team 2) should then go inside the portals that they’re assigned to depending on their team. They need to pick up a maximum of 10 motes.
- Pull them back.
- The players who went inside earlier will rush through their respective portals once more. They’ll gather the remaining motes they need in order to have 10 each.
- You now have 10 motes for each and every player in the fireteam — 30 for the left side, 30 for the right side.
- Everyone dunks on their assigned confluxes quickly.
The reason why the initial sets of players are only gathering less than 10 motes on their first run is because of the dwindling timer. You’ve got around 50 seconds when you last picked up a mote to bank, otherwise, they’d disappear while held by your character. However, picking up additional motes on your next run should refresh that timer.
There is one major issue with this strategy: three portal runs will have a number of shielded Vex spawns as well as floors that have disappeared. Things can get a bit hectic, so just keep pushing them away or hope that the boss disintegrates the floor where they’re standing.
The DPS phase
It’s highly suggested that you one-phase the Sanctified Mind once you begin the DPS phase. You’ll want to do a double stun/tether, pop your Well of Radiance/Ward of Dawn, throw void grenades with the Oppressive Darkness mod, and keep blasting it with Izanagi’s Burden.
If one teammate is using Divinity, make sure that you’re always hitting the boss’ crit spot and not the Divinity’s bubble. If you’re unable to one-phase the boss, then you’ll need to redo the above steps which can be a hassle. This is already one of the toughest raid challenges in Destiny 2: Shadowkeep, so the faster you can complete it, the better.
Oh, and if you really want to, you can also do the enhanced relay defender buff stacking exploit. This will allow you to do more damage while limiting it to a single stun/tether. Check out the video from Destiny 2 YouTuber Cheese Forever:
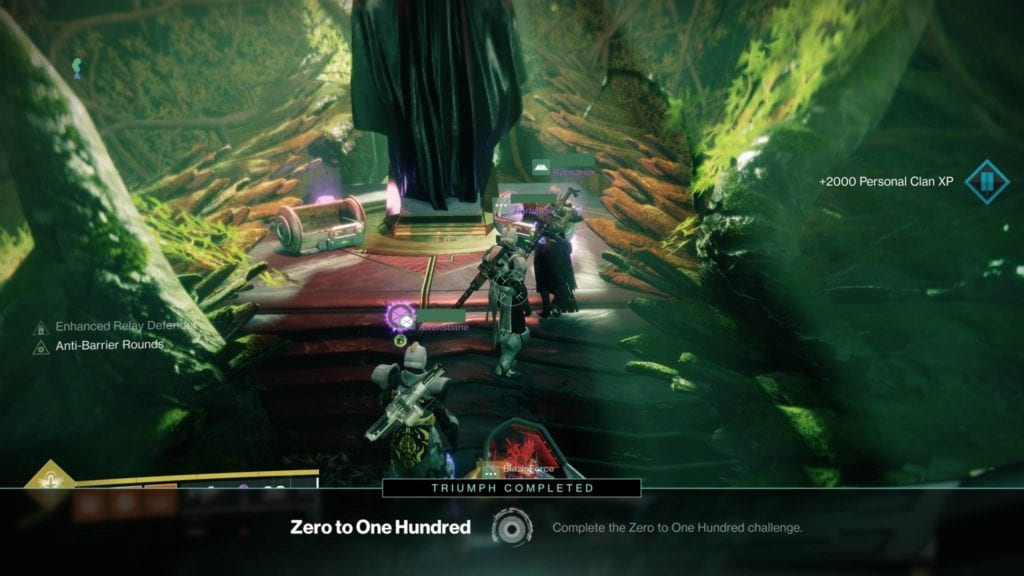
That does it for our “Zero to One Hundred” raid challenge mini-guide. We hope it helps you out. Completing this should net you a shader and even the Enlightened title if you already completed the other requirements.
Destiny 2: Shadowkeep is available on Steam. For more information, head over to our guides and features hub.