
Final Fantasy XIV: Shadowbringers — Eden’s Promise: Eternity guide
The final battle of the Eden's Promise raid is upon you. But don't worry! This guide will see you through to the grand finale.
If you’re reading this guide because you’re at Eden’s Promise: Eternity, then congratulations! It’s been a fun raid series, with some really enjoyable challenges along the way. While I don’t think this final battle is my favorite of the Final Fantasy XIV: Shadowbringers raid series, it’s certainly a spectacular close to the series as a whole.
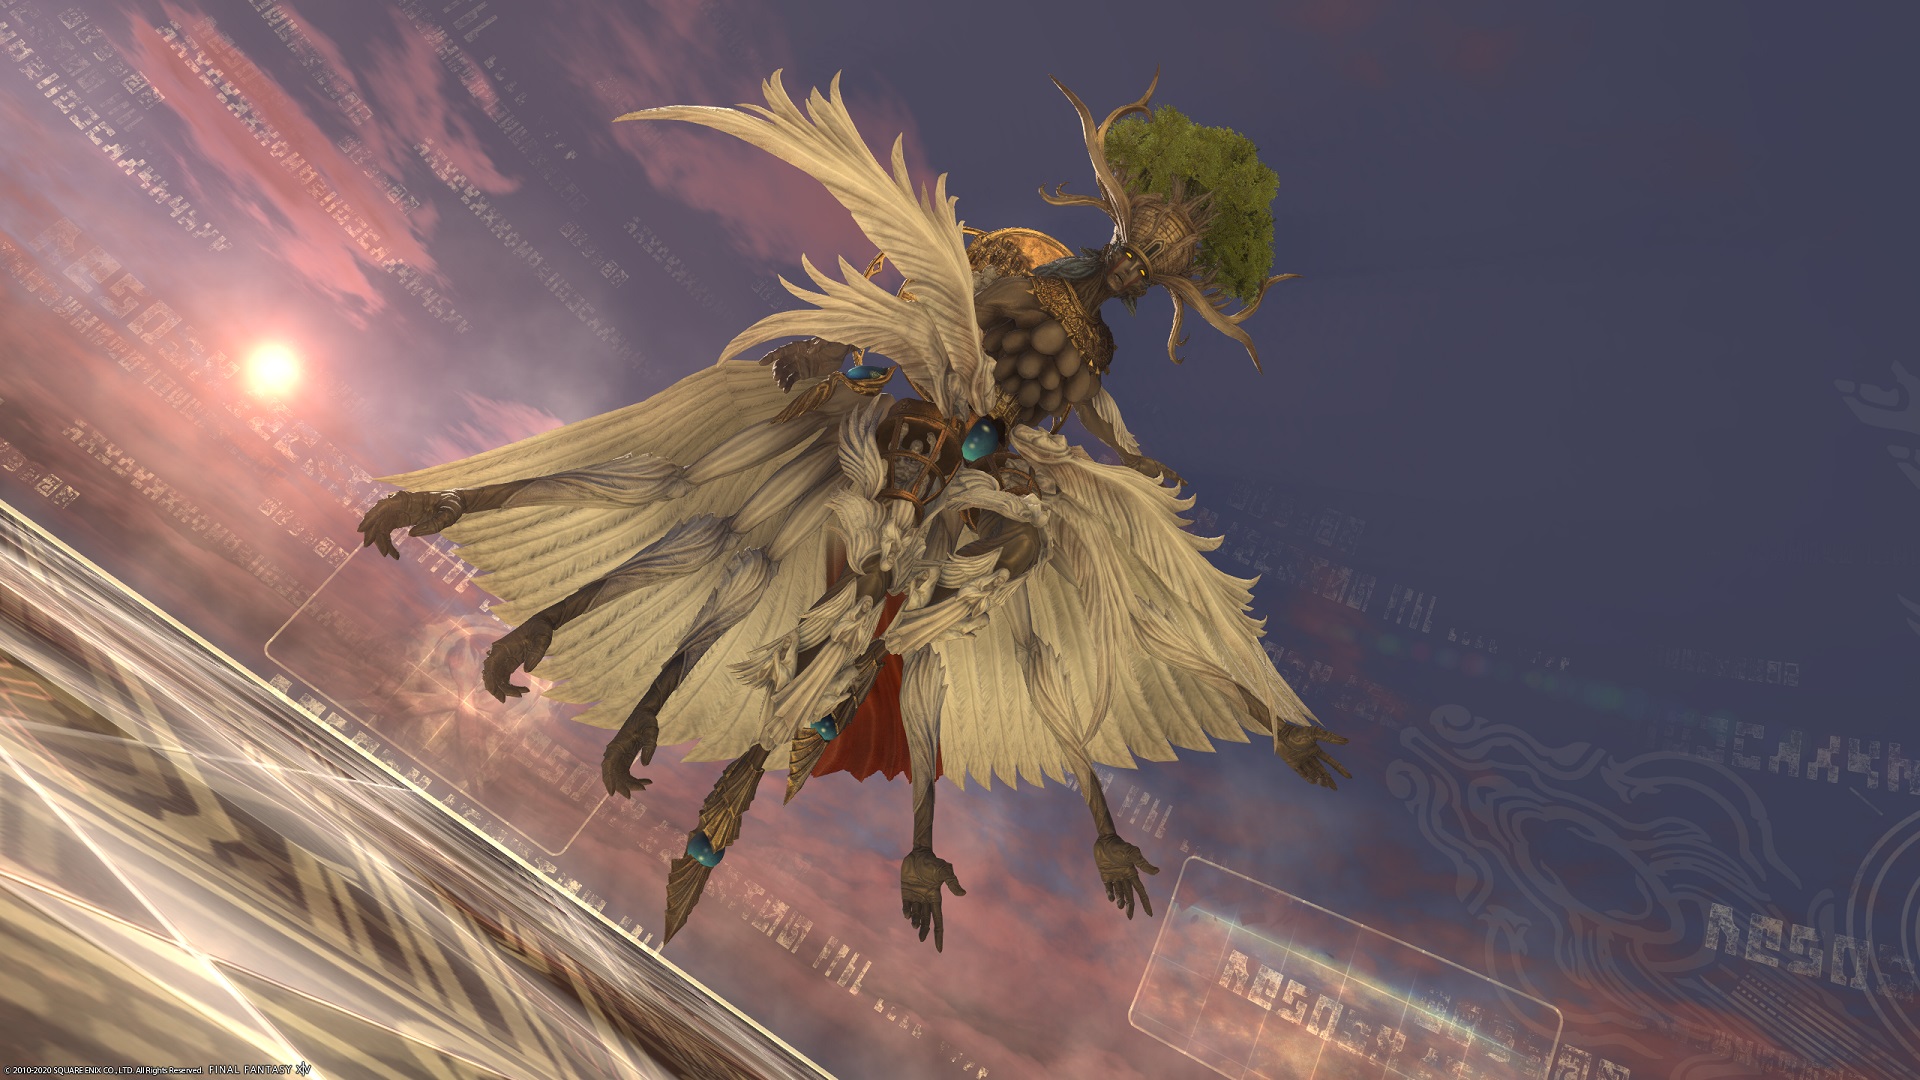
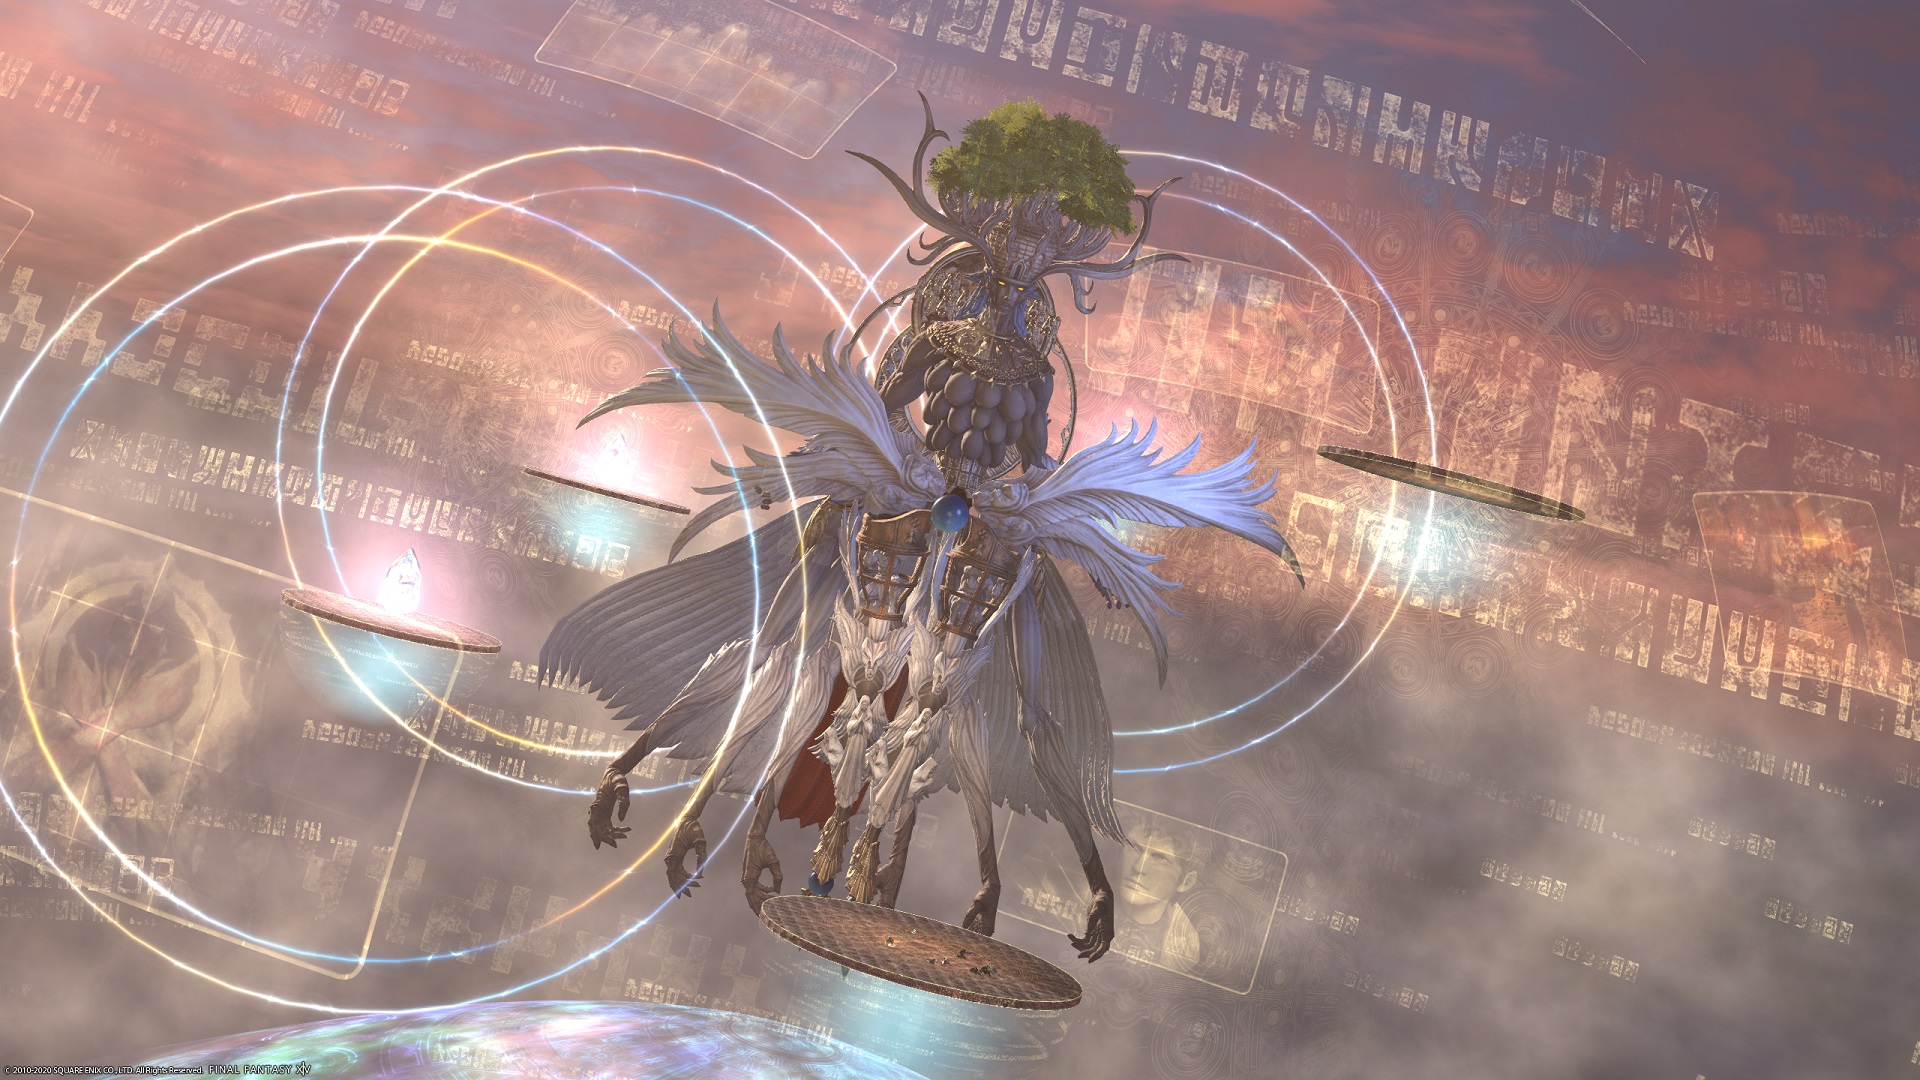
Without going into heavy spoilers about the plot elements here, this time, we’re going up against… Eden’s Promise. Yes, that’s actually the name of the boss. And it looks like a Final Fantasy final boss, too, as you’ll see in the pics below.
At current item levels, this is a pretty lengthy fight and it can get fairly overwhelming towards the end. Don’t worry, though. I have faith in you.
The short version
Eden’s Promise goes through two phases, with an intermediary add phase in between. Unlike most bosses, though, the second phase isn’t just a bit of a step up. It’s much rougher than the first.
In the first phase, you need to remember the safe zones for each one of the four Cast attacks. You’re unlikely to die if you get hit by them occasionally here (barring your healers becoming spiteful), so don’t panic too much as you try to commit the Ramuh, Leviathan, Raktapaksa, and Garuda AoEs to memory. Likewise, there’s not too much to worry about with the Treasured Memories interstitial phase: those bits are mostly just burning down adds and trying to prevent damage to the crystals.
The second phase is when things get real. Every Cast now involves two of the AoEs at once, and some of the combinations have miniscule safe zones. Not only that, but Eden’s Promise can Stock a combination of two and then Release it later, meaning you’ll also have to remember which AoEs are going to go off while dealing with the other mechanics.
Finally, the second phase also lets Eden’s Promise Junction to Titan and Shiva. This isn’t as bad as it could be. It’s mostly just unavoidable damage and then a single mechanic, with bomb boulders for Titan and frozen ground for Shiva. However, once you factor in that you’re probably trying to remember what was Stocked, it can get a tad hectic.
Attacks
Phase one
Maleficium – Unavoidable raid-wide damage.
Formless Judgment – Line AoE tankbusters on both tanks. Both tanks should stand away from each other, and the rest of the raid party.
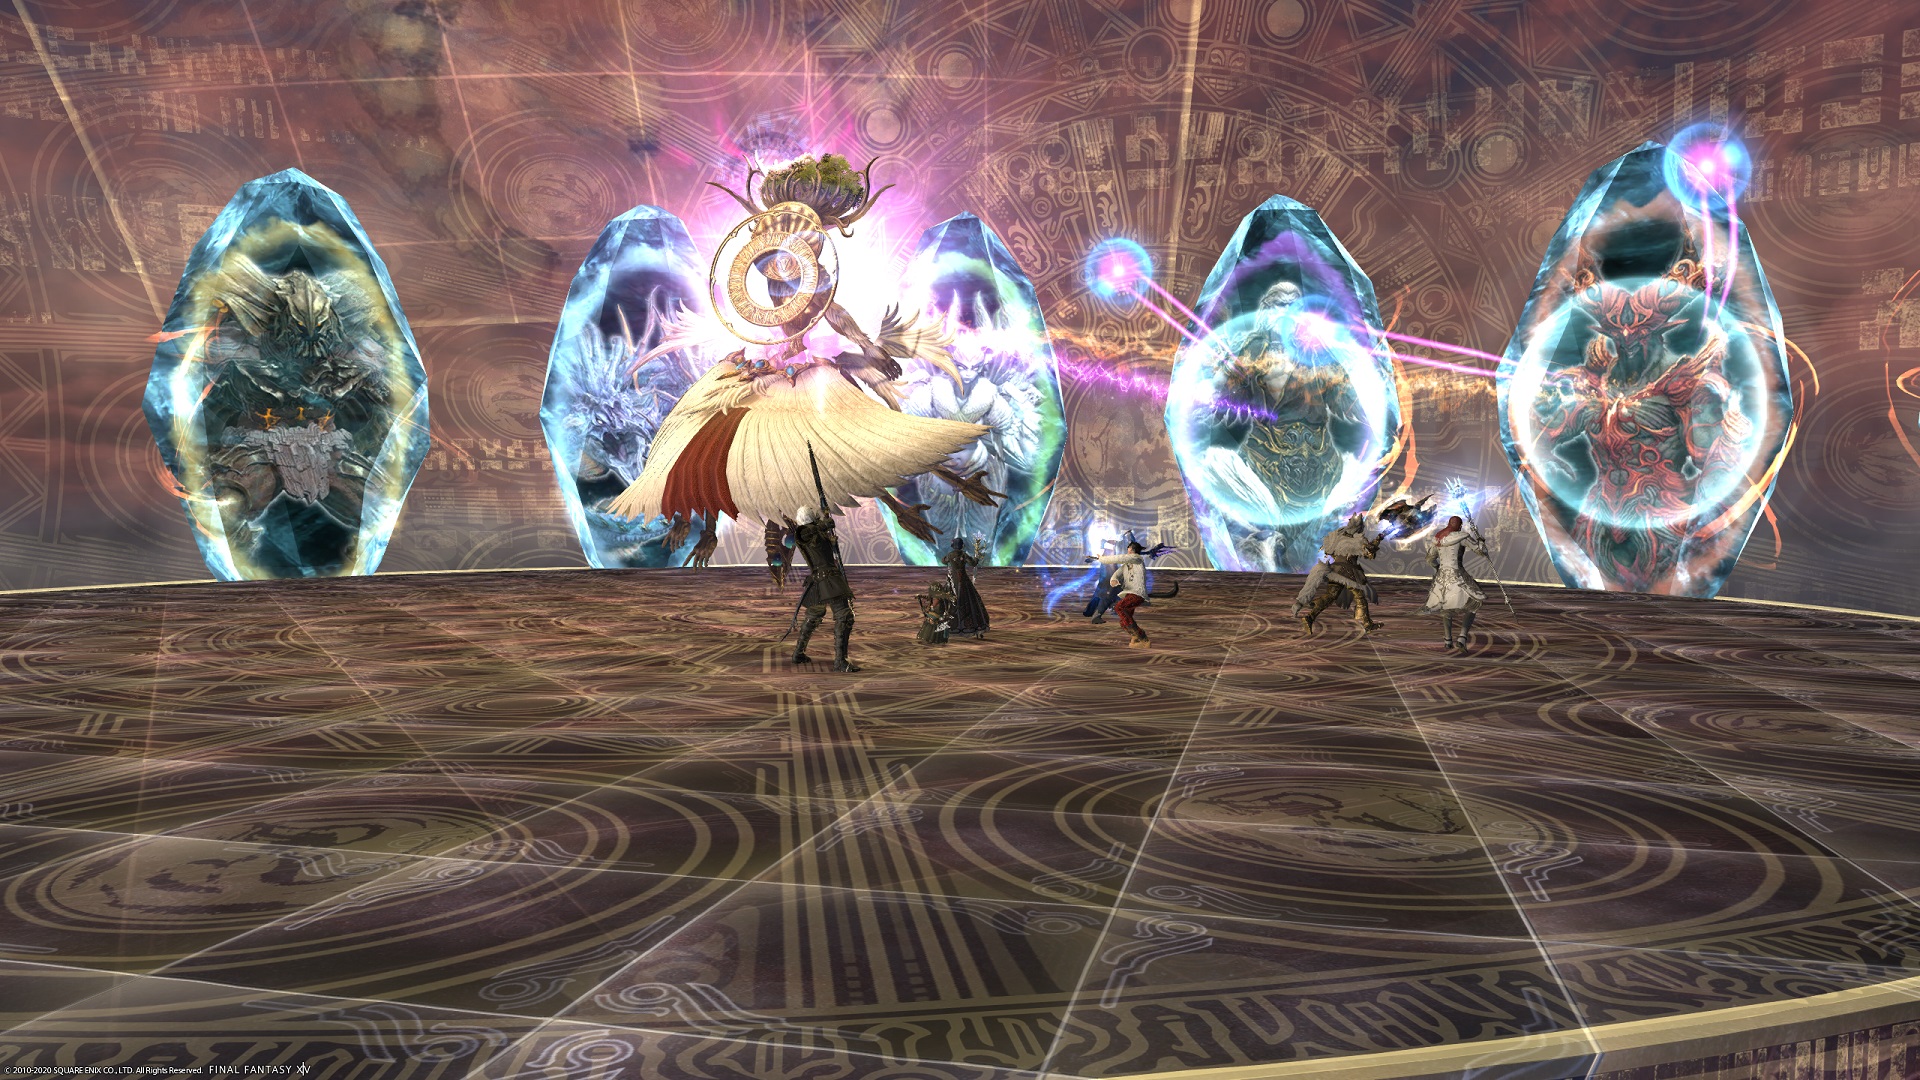
Cast – Crystals of some of the earlier Eden raid bosses appear. Eden’s Promise tethers to one (or, later on, two). As the cast of Cast finishes, Eden’s Promise perform an attack based on the tethered boss(es), as shown below:
Cast (Ramuh) – Eden’s Promise will perform a circle AoE around herself.
Cast (Leviathan) – An AoE that hits everything except the column in front and behind of Eden’s Promise.
Cast (Raktapaksa) – An AoE that hits everything except a thin cone directly to her sides.
Cast (Garuda) – Four conal AoEs going in the cardinal directions from the boss. Stand at diagonal positions to avoid.
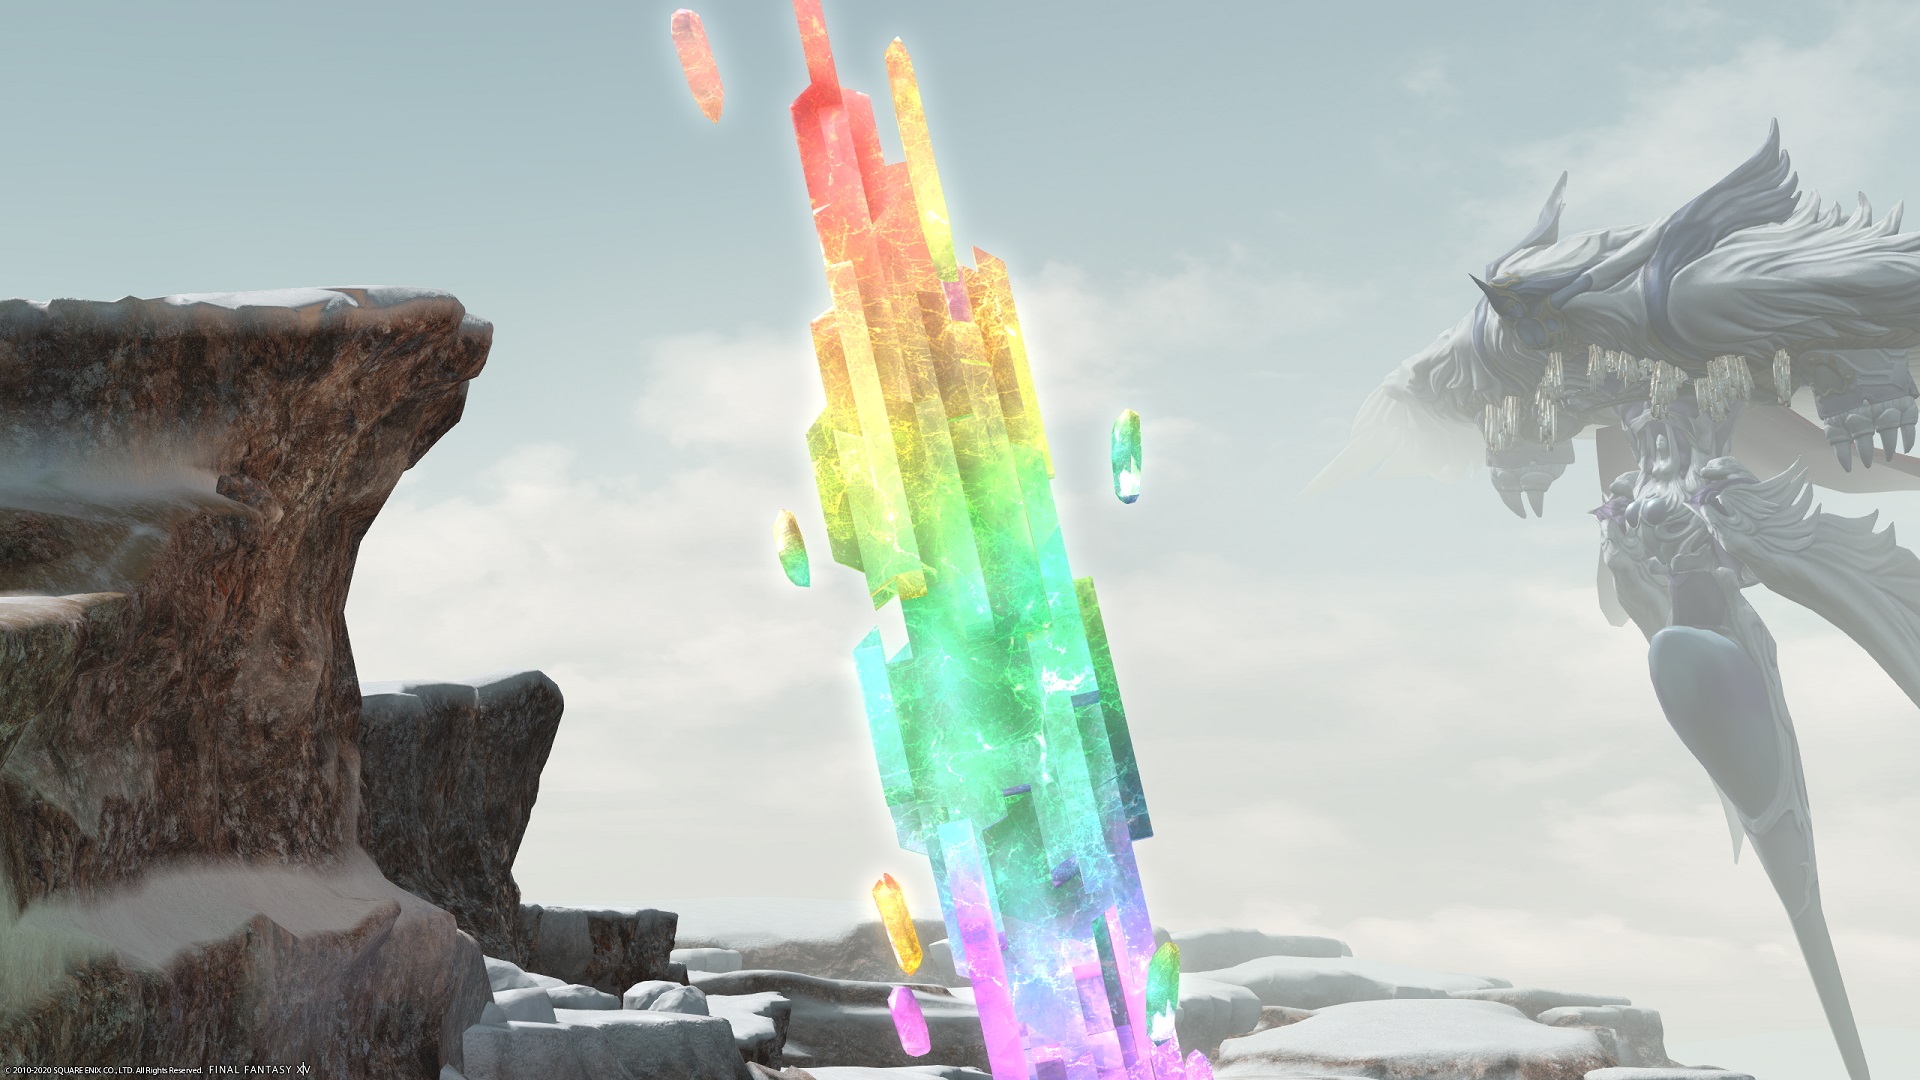
First Treasured Memory – Eden’s Promise will turn gigantic, knock everyone down, and then start attacking Gaia’s memories. Move from platform to platform while killing the adds. The memories themselves can’t be healed, and as far as I know, the adds can’t be tanked. After the first memory, Eden’s Promise will attack the platform with AoEs; I believe tanks can stand in the central AoE to lessen the damage to the memory.
Second Treasured Memory – The second platform will open with stack markers on two players; split the party in two to absorb the damage and then kill the adds. Eden’s Promise will perform a knockback, so stand on the nearest edge to the knockback at the end. Either the knockback will knock health off of the Memory, or any players knocked through the crystal will damage it, so position yourself carefully. Either way, you should be burning down the adds fast enough that it’s unlikely to “die.”
Third Treasured Memory – Adds target the crystal with tethers, and then Eden’s Promise laser blasts it (with knockback). Stand close to the crystal to avoid getting knocked off the edge. After this, you’ll return to the starting platform and get hit with unavoidable raid-wide damage. This marks the beginning of the second phase.

Phase two: Pissy Boss Mode
Stock – Eden’s Promise tethers to two crystals. It’s basically the same as Cast above, except the actual cast won’t happen yet. There’ll normally be an extra attack between Stock and…
Release – Whichever two AoEs Eden’s Promise stored up will now be unleashed. Again, the safe spots for some of these are tiny. For instance, a combination of Leviathan and Raktapaksa means the only safe spots will be a tiny conal area to her left and right. If you don’t have many stacks of vulnerability, you can likely survive getting hit with one AoE a couple of times, but getting hit with both simultaneously is a death sentence. Note that Eden’s Promise can also still use Cast, but will now tether to two. The difference with Stock is that you need to remember which ones she tethered to for another 30 seconds or so before she actually uses Release.
Junction – Eden’s Promise tethers to a crystal and performs a signature attack from that boss, as below.
Diamond Dust – Performed after Junction Shiva. Unavoidable raid-wide damage, followed by the ground becoming icy and four players being marked with targeted AoEs. They need to split off from the rest of the party. Immediately after, one player will be marked with a stack AoE, so the party needs to regroup.
Earthen Fury – Performed after Junction Titan. Unavoidable raid-wide damage, followed by bomb boulders appearing around the arena. Stay near the ones that appear last, then move into the spots left by the ones that explode. An Under the Weight stack marker will occur afterwards.
Rapturous Reach – About 60% of the arena will be targeted with an AoE, and every player will be marked with a targeted AoE. Split up in the safe area.
Things to remember
Good news: there’s only one thing you really need to remember here. Bad news: it’s technically four things. The one-thing-that-is-four is this: remember the AoEs for the Casts. Getting hit with them won’t kill you early on, but in phase two you need to ensure that you’re not going to get hit by two at once. If nothing else, make sure you can move so that you’ll only get hit by one.
Finally: don’t panic, especially when Junctions happen, and you’ll be fine. The last phase is chaotic as hell, especially if multiple people screw up a Cast or Release and die, but unless a Junction or other stack marker happens, you have a fair window for the team to recover and revive. And Junctions themselves are screen-botheringly huge, especially the first time you see them, but they really aren’t too much to worry about.
If you can get the Cast/Release AoEs down, you’re going to be fine here. And with that, you’ll have the entire Eden raid series down, with a conclusion to the stories of Ryne, Gaia, and the Empty.
If you need further Final Fantasy XIV: Shadowbringers guides, we’ve got a guide hub which covers just about everything from the post-game.