
Final Fantasy XIV: Endwalker — Vanaspati guide
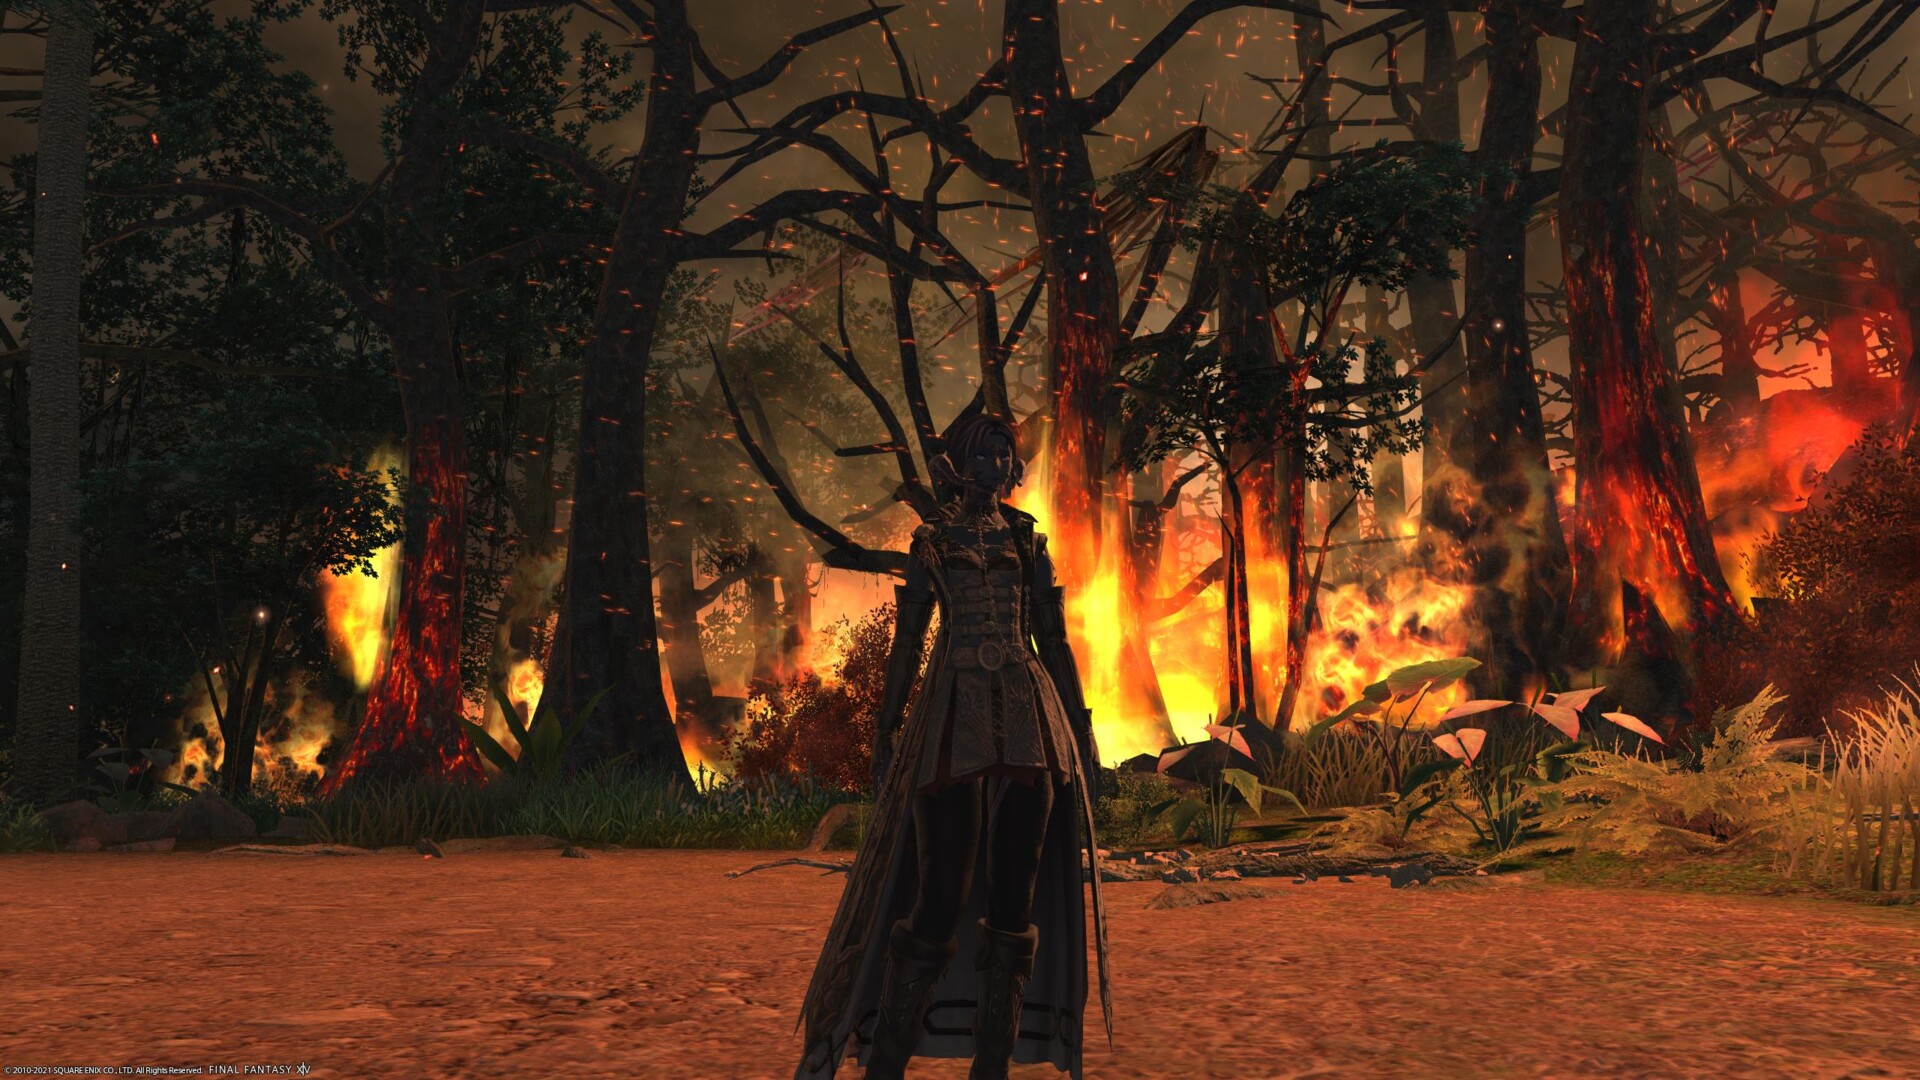
Keep your cool in Vanaspati.
Let’s start with the obvious: this is a Vanaspati guide. If you’re not up to Final Fantasy XIV: Endwalker‘s level 85 dungeon yet, then you probably shouldn’t be reading this. While I’m not going to spoil anything beyond this dungeon, this guide will contain spoilers and screenshots of the bosses, and there’s a fair bit you can infer about the storyline from it.
In short: if you haven’t unlocked this dungeon yet, spoilers await.
The level 85 dungeon in Endwalker takes us back to Thavnair as the Final Days kick off in earnest. The jungles are burning, the sky is on fire, and eldritch abominations are sprouting up everywhere. Naturally, that means we have to beat three bosses to death. This Vanaspati guide will help you do just that.
Endwalker — Vanaspati guide
Terminus Snatcher
Attacks:
Last Gasp — Tankbuster. Mitigate and heal.
Note of Despair — Unavoidable AoE. Heal through.
Mouth Off — Five mouths will appear on the ground. Some will stay closed and say “…” while others will move and speak. The ones that speak will explode into a large circular AoE; standing on one of the closed mouths should keep you safe.
What Is Left — The Terminus Snatcher will move to the middle of the arena and raise its left arm. When the cast finishes, the entire side of the arena to its left will be hit with an AoE.
What Is Right — As above, but to the Terminus Snatcher’s right instead.
Lost Hope — Applies a Temporary Misdirection debuff to all party members. If you haven’t seen this before, a rotating finger appears above your head; attempting to move will stop it from rotating and let you only move in that direction. Basically, if you want to go somewhere, you need to have careful timing (or stutter-step until it moves you in the direction you want).
Wallow — Targeted AoE on each party member. Split apart so you don’t hit each other with it.

Strategy:
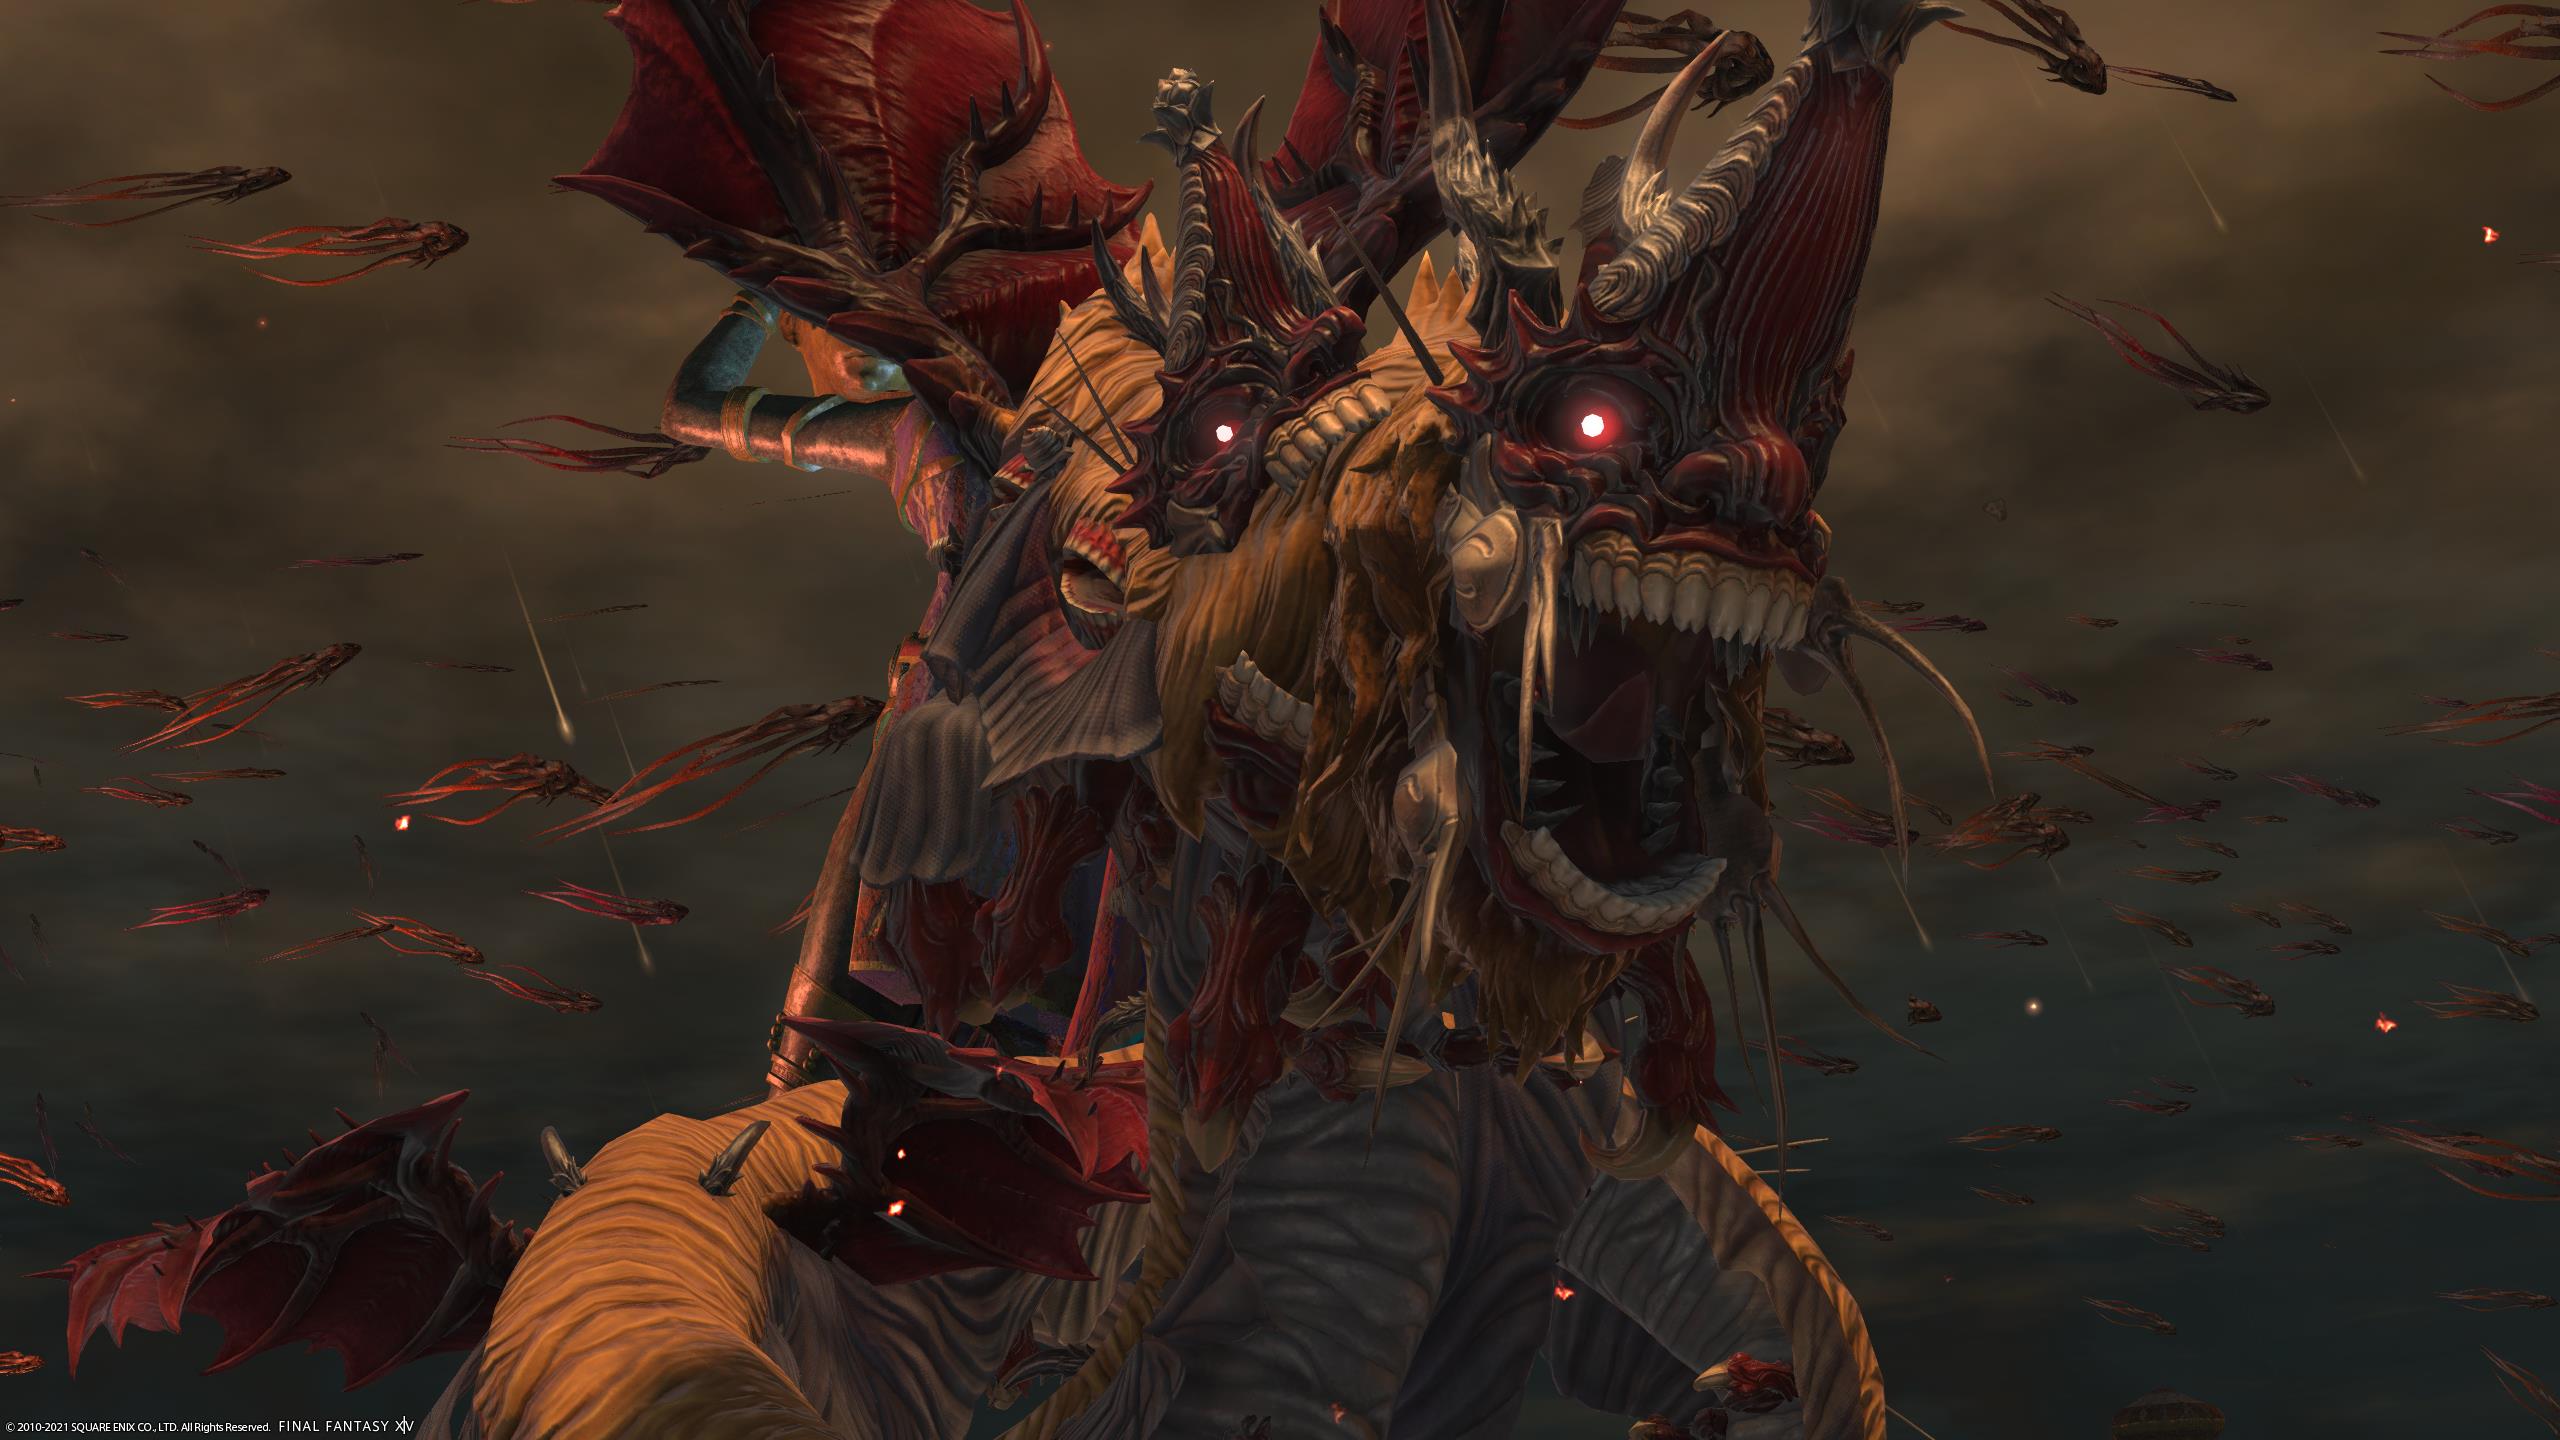
And we’re back with the horrible eldritch abominations! Terminus Snatcher isn’t too bad (especially since your previous boss encounter was Zodiark), but there are a couple of things to watch out for.
None of the attacks are overly difficult to avoid, though Mouth Off might catch you off-guard the first time you see it if you haven’t looked at the list of attacks above. The only problem is that the Terminus Snatcher likes to use a bunch of these at the same time. You’ll usually have Mouth Off going off at the same time as What Is Left, or Lost Hope, and one of these attacks can reduce a non-tank to a dangerous health threshold. Get caught in What Is and Mouth Off at the same time and you’re probably dead.
The plus side is that I’ve never seen Terminus Snatcher do three at the same time, so you’ve either got plenty of room to wander aimlessly if Lost Hope is used alongside Mouth Off, or plenty of time to find a safe spot if it’s a What Is and Mouth Off. Just pay attention to the closed mouths and which arm it’s raising and honestly, you’re probably good.

Terminus Wrecker
Attacks:
Total Wreck — Tankbuster. Mitigate and heal.
Meaningless Destruction — Unavoidable AoE. Heal through.
Unholy Water — The Terminus Wrecker summons six orbs of water around the arena. Walking into one stuns you for eight seconds and also applies water resistance down and fire resistance up.
Aether Siphon — The Terminus Wrecker siphons either water or fire. You can tell which by either looking at the animation that plays when the cast completes (it’ll visibly show either water or fire being sucked up), or by simply waiting for the follow-up attack.
Aether Spray (1) — This is the attack used if it siphoned water; you can tell if it’s this because you’ll see a knockback indicator. It’s an unavoidable water-based AoE, with knockback centered in the middle of the arena. Stand as close to the middle as you can, and position yourself so you’re not knocked into one of the Unholy Water orbs.
Aether Spray (2) — No knockback indicator for this one. It’s an unavoidable fire-based AoE which will do quite a lot of damage, and apply a Burns DoT that you cannot Esuna away. Mitigate it by ducking into one of the Unholy Water orbs before the cast goes off; this prevents almost all damage and the DoT.
Poison Heart — A stack marker AoE targeted on one party member. Stack up and heal through.

Strategy:
The Terminus Wrecker looks like a facehugger mated with a Venus flytrap (and somehow remained looking like a facehugger; this comparison only goes so far) but its appearance is the single scariest thing about it. As with most second dungeon bosses so far, the Terminus Wrecked isn’t too much of an issue at all.
Pretty much everything is self-explanatory; you should be more than familiar with stack markers and the like by now. You’ll also likely have a good grasp of how this fight works if you’ve done Hullbreaker Isle, because that has a very similar bubble mechanic in its second boss fight. Basically: if there’s knockback from the Aether Spray, it’s a water attack. Position yourself so you won’t be knocked into the bubbles or the outside of the arena. If there’s no knockback then it’s a fire attack, and you should walk into one of the bubbles to save yourself.
Svarbhanu
Attacks:
Gnashing of Teeth — Tankbuster. Mitigate and heal.
Flames of Decay — Unavoidable AoE. Heal through.
Chaotic Pulse — Each line, or eat to west quarter, on the ground becomes marked with red circles and a red glow, or blue triangles and a blue glow.
Aetherial Disruption — A red ring or blue triangle will appear on your screen, signifying which section of ground is going to cause damage when the cast finishes. Stand on the opposite section (if the red ring appears, stand on the blue tiles).
Crumbling Sky (1) — Marks players with a targeted AoE (Cosmic Kiss). Split apart so you don’t hit each other with it.
Crumbling Sky (2) — Readies a knockback AoE in the center of the arena. Position yourself so you’ll be knocked back onto one of the “safe” tiles when Aetherial Disruption goes off.
Crumbling Sky (3) — Svarbhanu moves to one side of the arena, readies this, and then become untargetable when the cast finishes. It’ll fly off into the distance and summon three meteors in the sky. Whichever “line” in the arena doesn’t have a meteor opposite it is safe. Svarbhanu will repeat these three times, with extra AoEs going off on the ground as you’re dodging.

Strategy:
I actually had some real difficulties with this fight the first time I did it, but I’m putting that down to it being 3 AM, Estinien being a dick and Jumping next to me when marked with Cosmic Kiss, and some slightly tight mechanics.
The big gimmick with Svarbhanu is moving onto the correct tile to avoid Aetherial Disruption, which is easy enough. This gets a bit harder when Crumbling Sky starts adding in knockback and targeted AoEs — and yes, before long it will do both simultaneously. At that point, screwing up will result in a death for most non-tanks, as most of these mechanics will easily take over half of your health in damage, and failing a mechanic means getting hit at least twice. You also don’t want to get knocked out of the arena or you’ll be hit with a rather nasty Bleed DoT.

The knockback can also be slightly screwy, as Svarbhanu’s “hitbox” marker is very, very heavily obscured by the knockback AoE, the targeted AoEs, the ground color, and the giant icon on your screen. So yeah, be careful with that.
The good news is that the targeted AoE goes off a second or two after Aetherial Disruption, so focus on getting onto the correct tile first. You do have a moment to move away from party members before they blow you up. But for all that, it’s honestly not that hard. It just affords you a bunch of opportunities to screw up, and doesn’t give you much wiggle room if you do.
With that, Svarbhanu falls and Vanaspati is complete. Check back before long for the rest of our guides to the dungeons and Trials in Final Fantasy XIV: Endwalker.