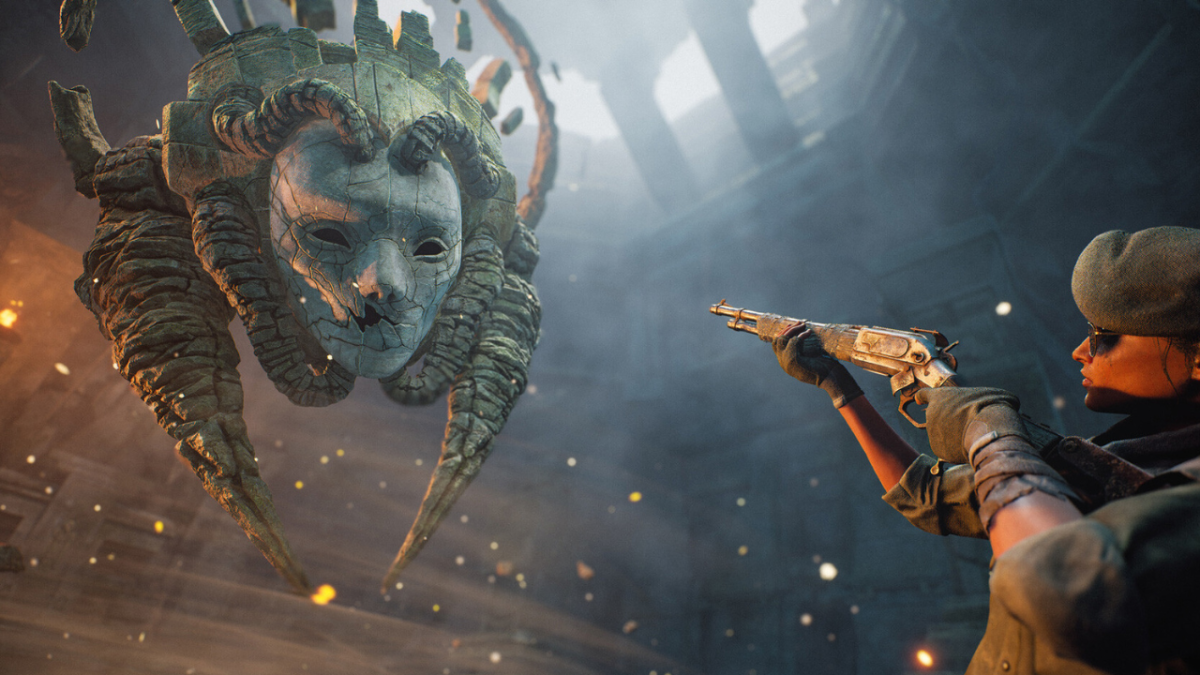
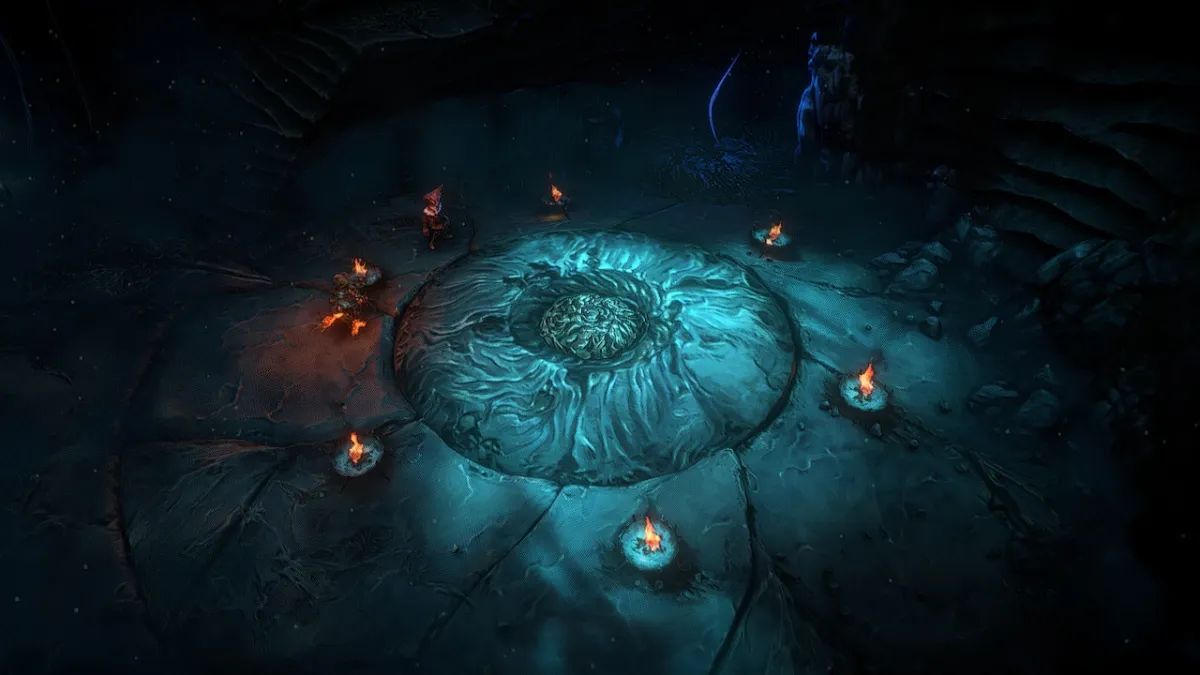
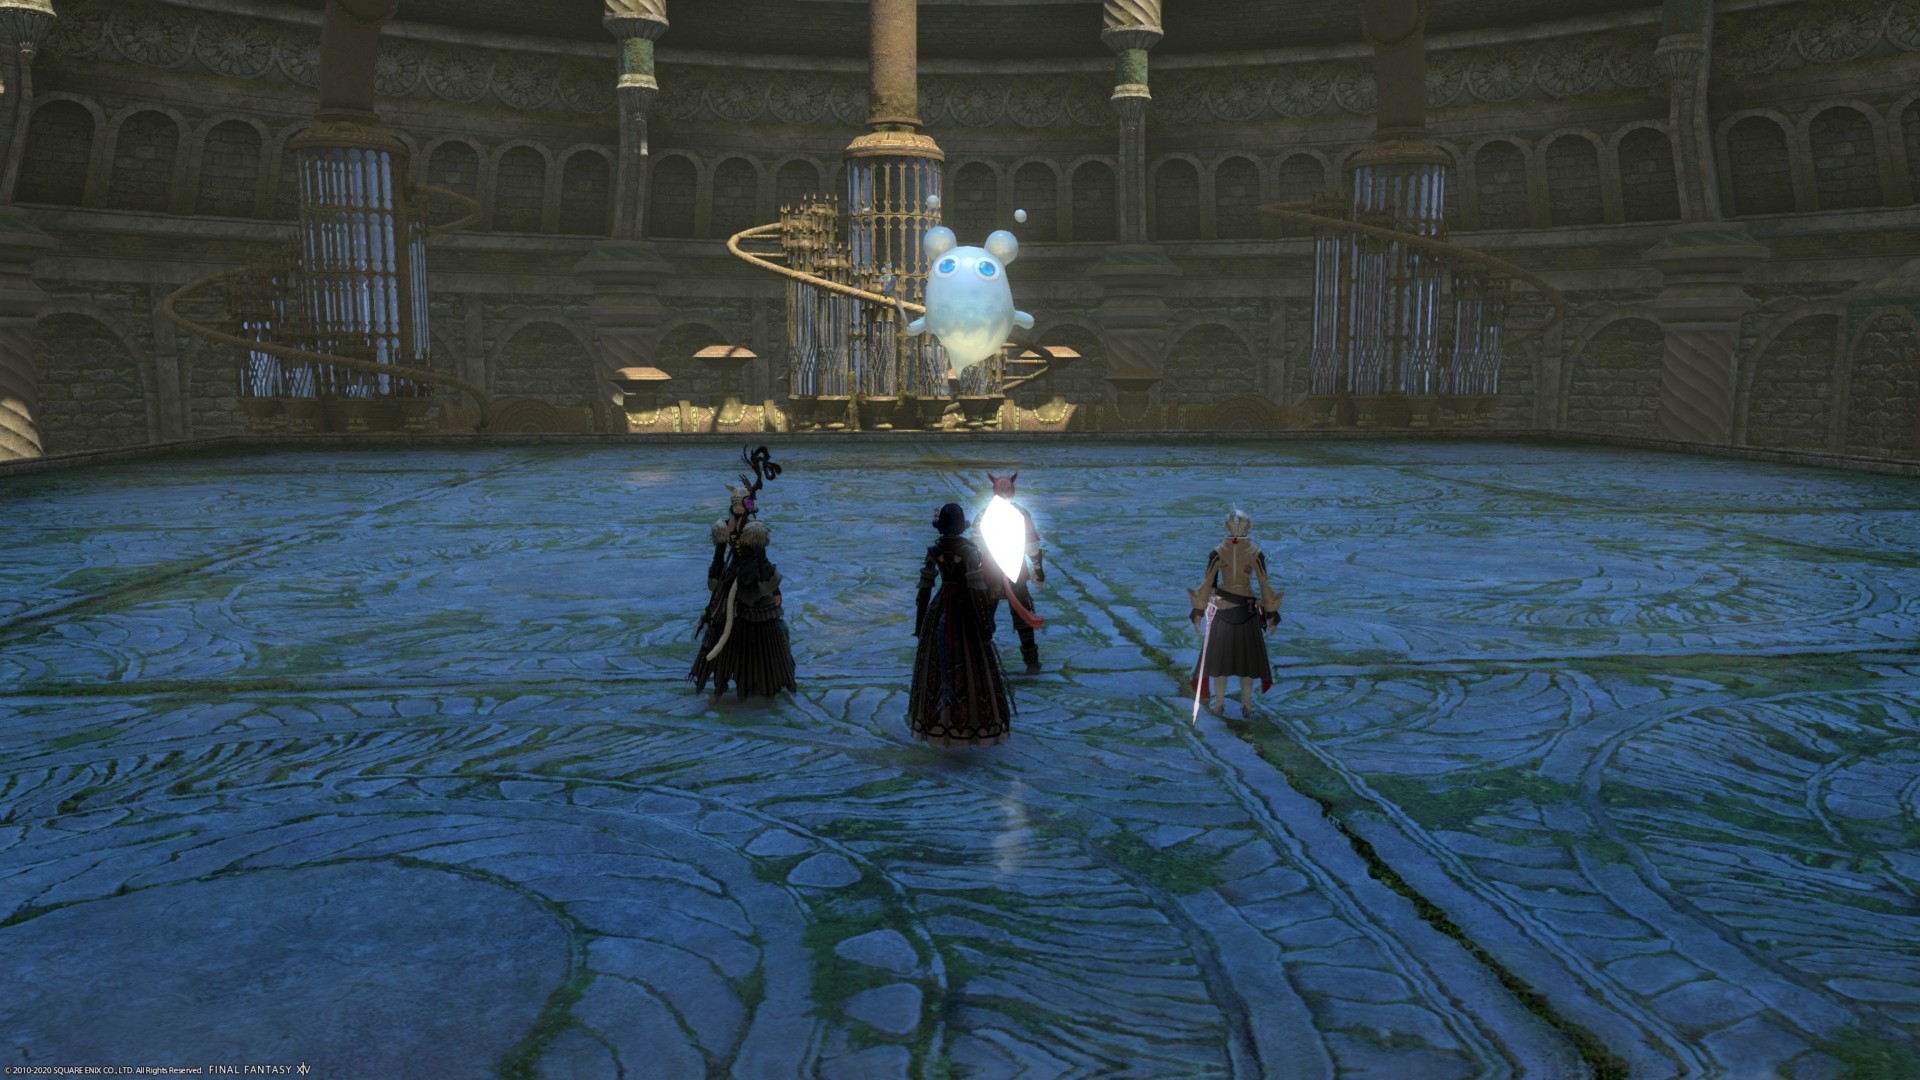
You have no idea how happy I am to see Matoya come back in Final Fantasy XIV: Shadowbringers. The crotchety old Archon is easily one of my favorite characters in the game, and that’s saying something. Not only that, but this new Shadowbringers dungeon in patch 5.4 is heavily linked to her — it’s Matoya’s Relict, her old workshop.
This dungeon mostly reminds me of Dohn Mheg in terms of slightly weird enemies, some unorthodox mechanics, and some amazing technicolor visuals. There’s not much to write home about in terms of the trash pulls, except that one pull near a treasure chest may catch people rushing ahead by surprise, and some of them hit surprisingly hard. But that aside, it’s the usual stuff.
Things get more complex when we get to the bosses, especially the second one. And that’s the real reason why you’re here, isn’t it? So let’s get into it, and talk about how to bring down the bosses and reclaim Matoya’s Relict.
Mudman
Attacks:
Hard Rock – Tankbuster.
Stone Age – Unavoidable room-wide AoE.
Petrified Peat – Creates four earthen zones around the arena and drops a mud ball into each. The zones inflict damage if you stand in them.
Peat Pelt – Tethers one of the mud balls to each player, and “activates drainage system” at four corners of the arena. The balls will shoot across the length of the tether, damaging any players in their path, before falling into the drainage systems.
Brittle Breccia – Expanding 3/4 circle AoE that covers above half of the arena in front of Mudman. To avoid either move behind or far away from Mudman, or wait for the first part to hit and then move into that space.
Falling Rock – A stack AoE that does high damage.
Strategy:
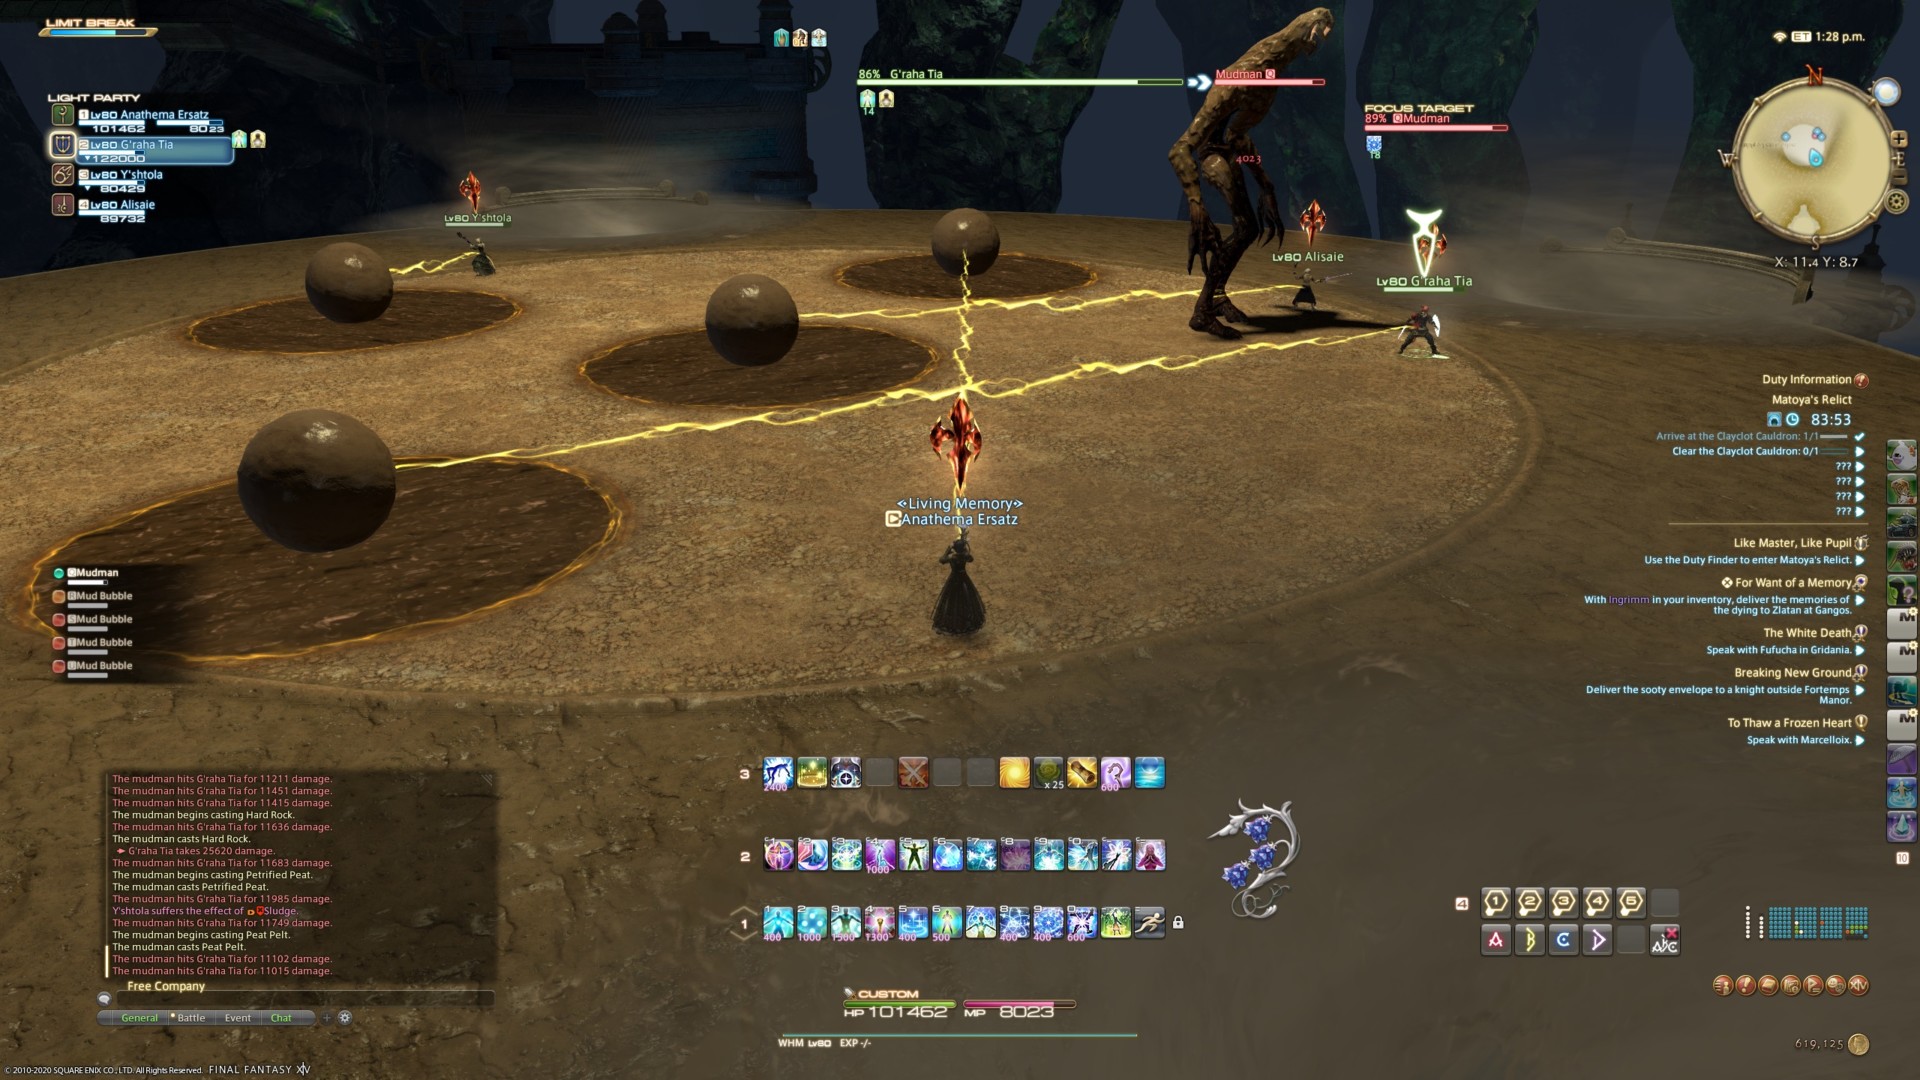
The first boss of Matoya’s Relict, Mudman, is a pretty straightforward boss. The only attack here that might catch you off guard is Petrified Peat/Peat Pelt. Each ball will roll straight towards whatever player they’re tethered to, doing damage to anyone in its path, and you want the balls to end up in the drainage system. The easy solution, then, is for everyone to stand at one of the four drainage systems.
But on subsequent casts, two of the drains are blocked. Have two party members go to each remaining drain and stand a little way apart from each other so the balls don’t hit both of them. It’s not too finicky, and it’s only really a problem if someone panics and you wind up with three people at one drain.
That aside, this is — as noted — a pretty straightforward fight. Mitigate for Hard Rock, heal through Stone Age, and avoid Brittle Breccia in whichever way you desire. Falling Rock hits hard, so everyone wants to stack for that, but if you’ve made it this far into the game, then none of this should be a surprise.
Nixie
Attacks:
Crash-smash – Tankbuster, sort of. The tank is targeted with icicles positioned at the cardinal points. Everyone else needs to stand away from those tethers.
Shower Power – Three of the four openings to the side of the arena will glow blue. After a short period, they’ll jet out water. Stand in the path of the one that’s not lit up.
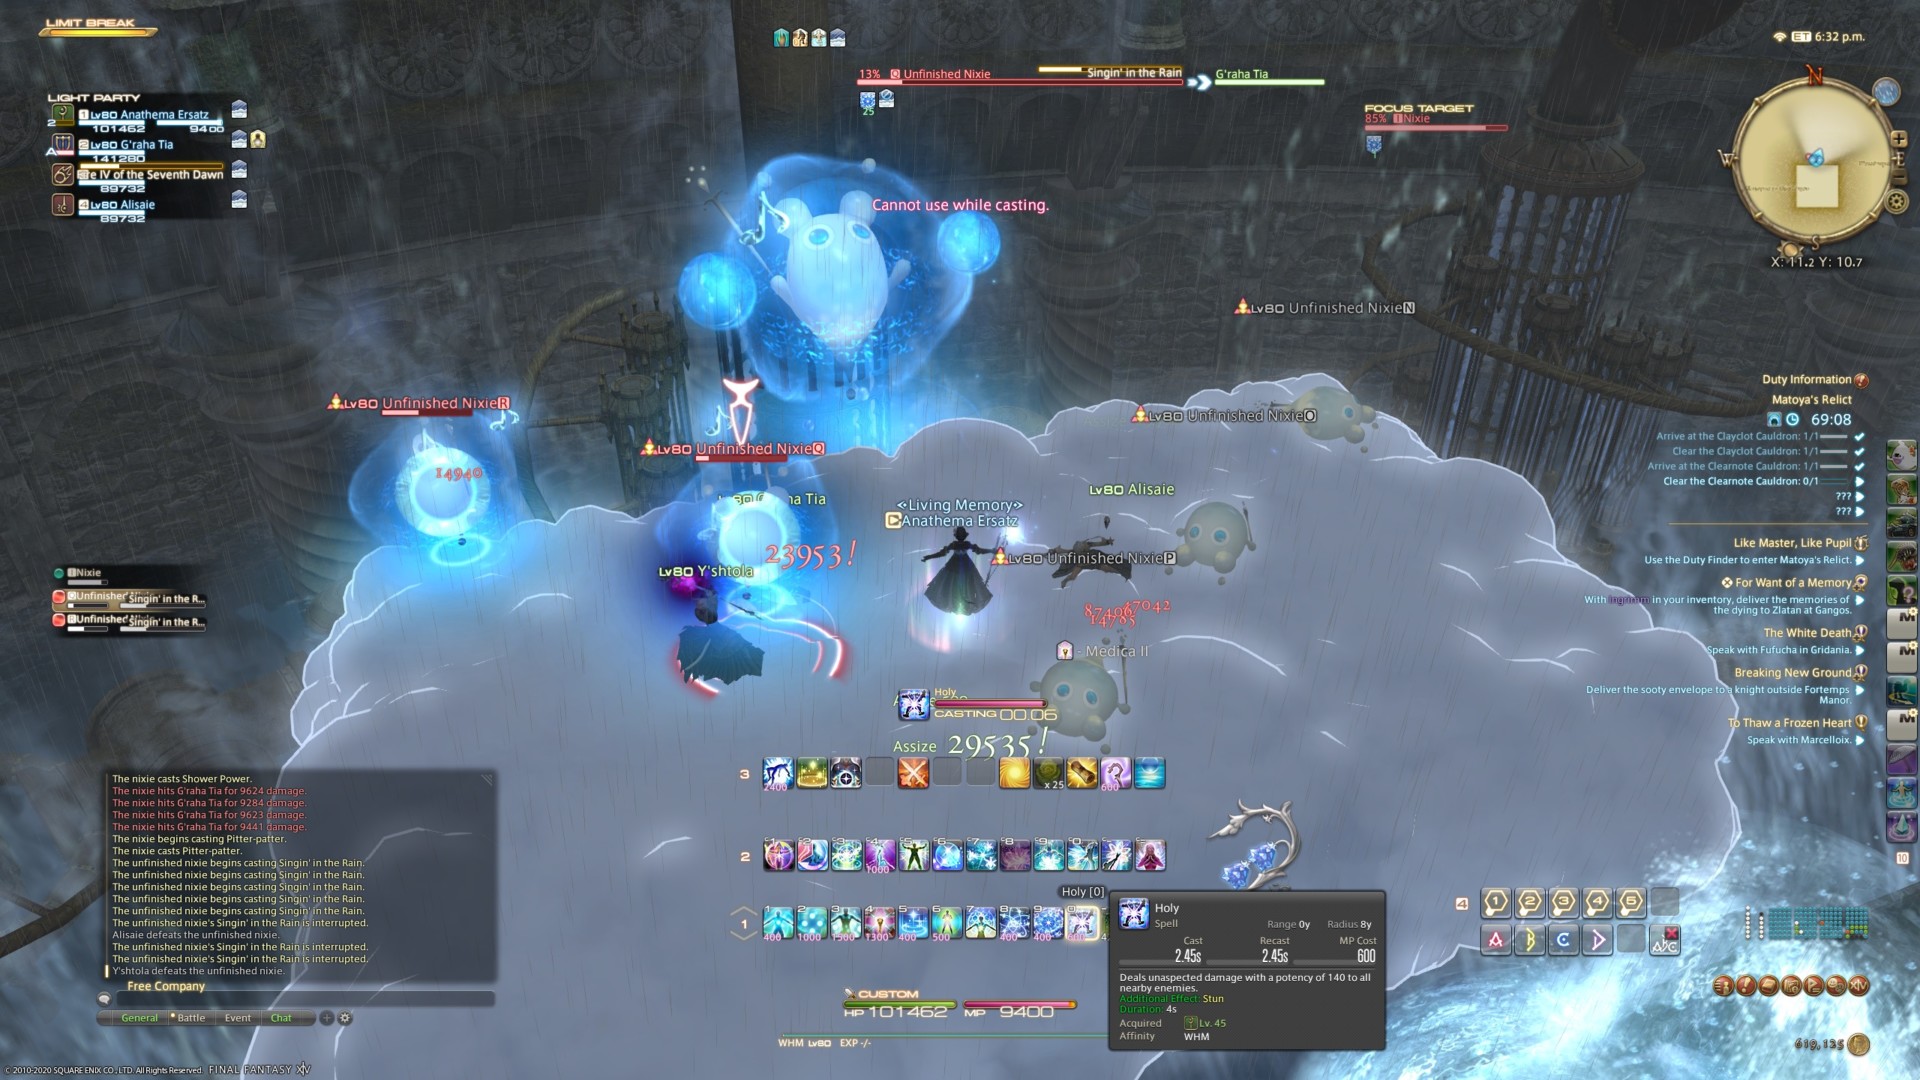
Pitter-patter – Nixie retreats to a cloud in the sky and summons five Unfinished Nixies.
Singin’ in the Rain – A channeled spell cast by the Unfinished Nixies that causes water spouts to appear around the arena. Walking into one of these launches you into the sky and inflicts damage when you land on the ground.
Sea Shanty – Cast after Singin’ in the Rain finishes casting, or when all Unfinished Nixies are slain. This will inflict 9999999 damage on everyone at ground level in the arena, wiping the party.
Sputter – Unavoidable targeted AoEs. Spread out from each other to avoid overlap. Usually cast alongside another ability.
Splish-splash – Nixie’s version of Singin’ in the Rain. Water spouts appear around the arena and inflict damage and launch anyone who steps into them.
Strategy:
Nixie, the second boss of Matoya’s Relict, might actually cause a wipe if people are unsure of the one main trick. Mostly, you just need to dodge a lot of AoEs, and as the fight continues, they get more intense. At first you’re introduced to the basic mechanics of “avoid the big water spouts at the side” and “don’t get hit by the tethered icicles,” but later these are combined with Sputter and Splish-splash to make things a tad harder to dodge.
The one potentially tricky bit here is when Pitter-patter is cast, because if you remember the Landsblood casts from Aenc Thon and the Lord of the Lingering Gaze back in Dohn Mheg, you’ll think you need to avoid them. That is not what you do here. You want to get hit by a spout that’s close to the cloud Nixie is lurking on, and it’ll launch you up there. Kill off the Unfinished Nixies up there and you’ll remain on the cloud when Sea Shanty is cast, preventing the party from wiping.
After that, rinse and repeat but without Pitter-patter, and with extra AoEs. If you survive Pitter-patter, you should have this just fine.
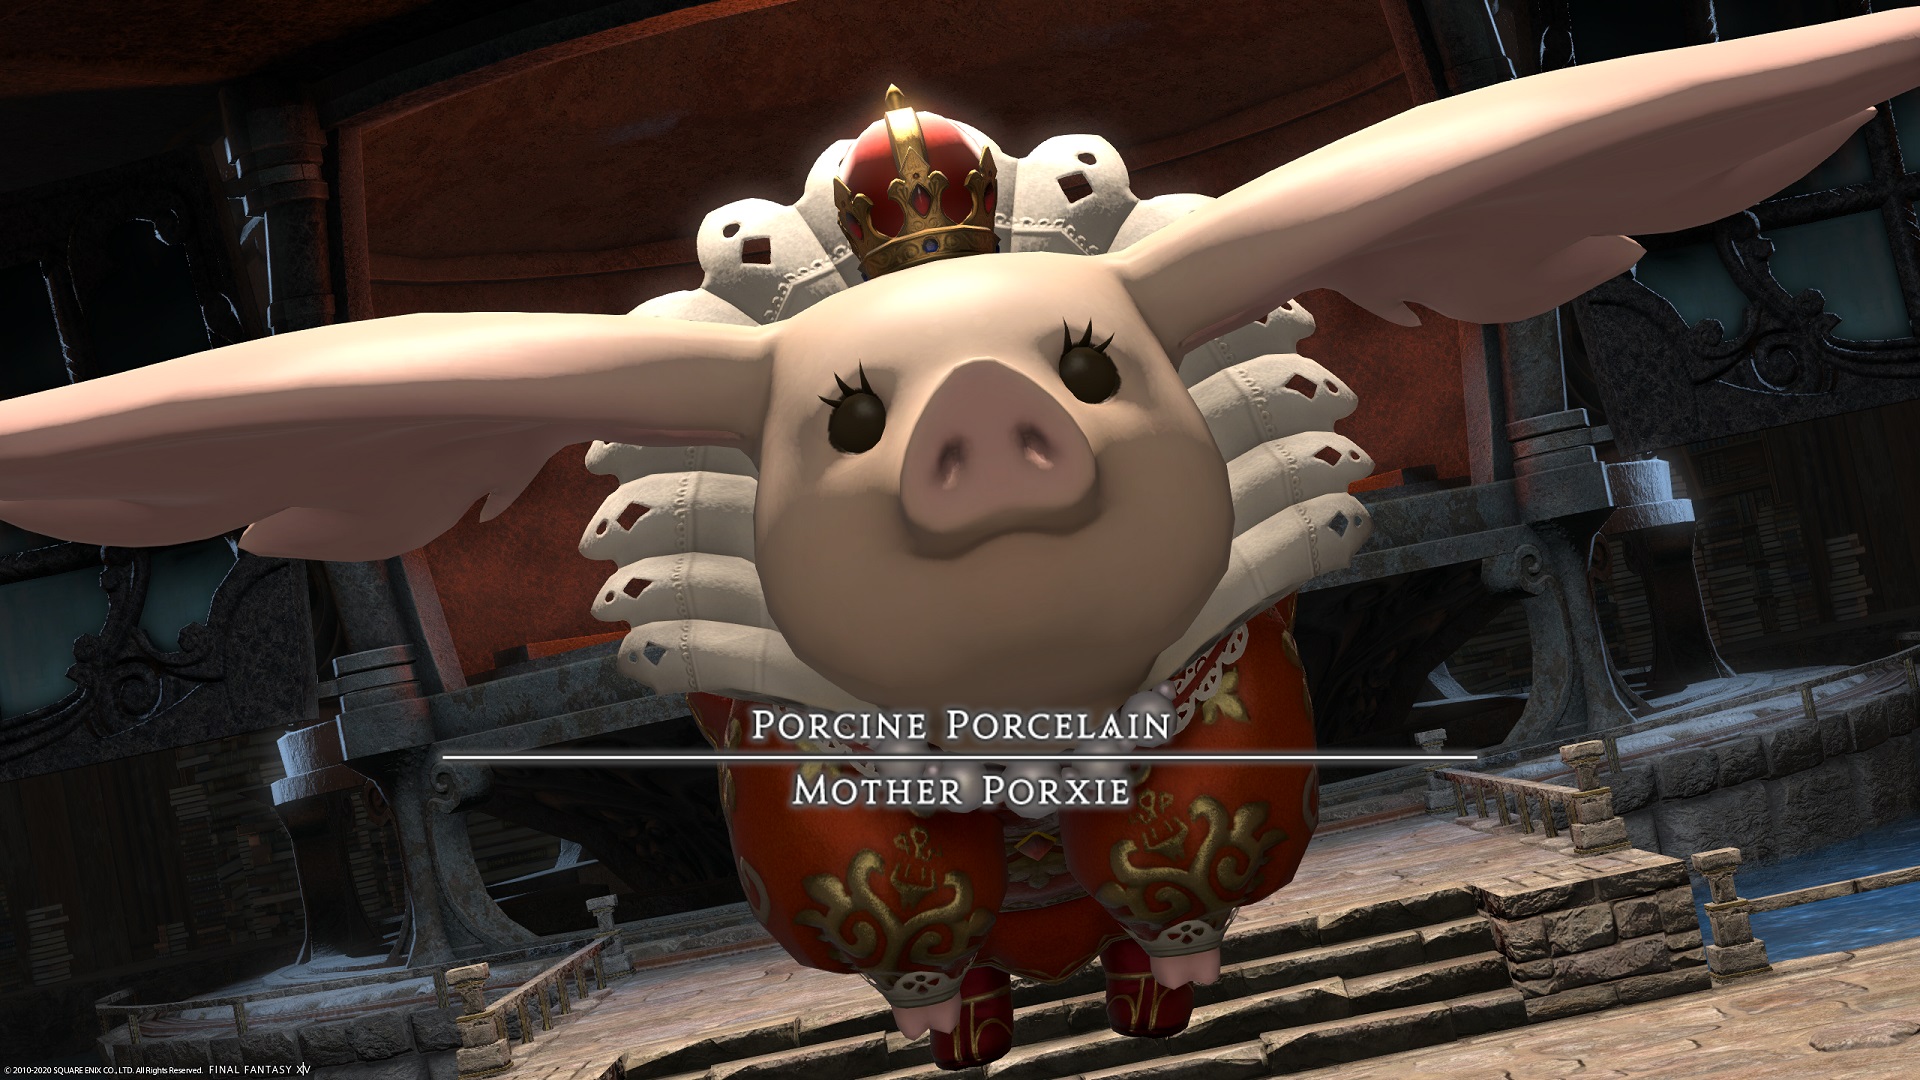
Mother Porxie
Attacks:
Minced Meat – Tankbuster.
Tender Loin – Very damaging unavoidable room-wide AoE.
Open Flame – Unavoidable targeted AoEs on all players. Spread out to avoid overlap.
Huff and Puff – Mother Porxie moves to one side of the arena and begins casting a knockback, and an extremely damaging AoE that will hit everything but one small spot in the arena. Stand next to her so that the knockback sends you into the safe spot.
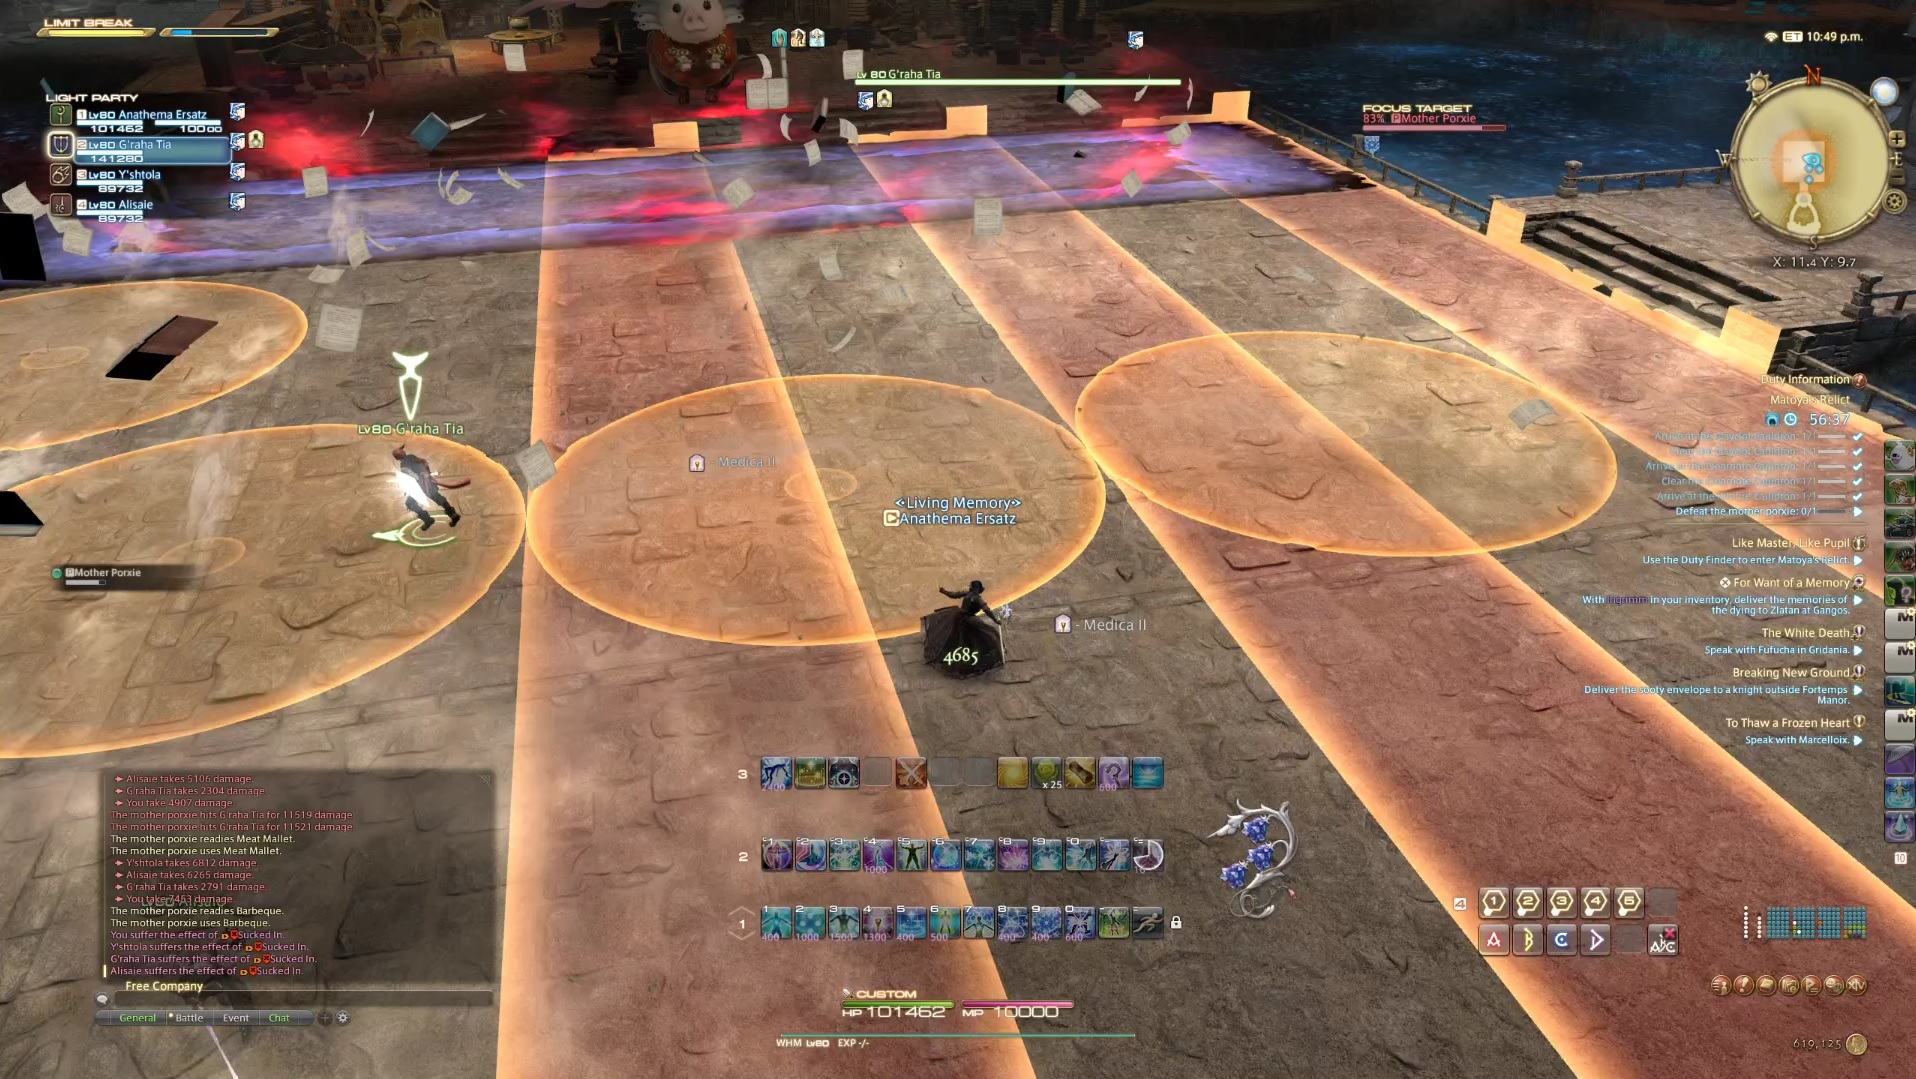
Meat Mallet – Mother Porxie slams down onto one side of the arena. Move to the opposite side of the arena to mitigate damage.
Barbeque – A damaging zone appears in front of Mother Porxie, and she begins sucking players towards her. Meanwhile, line and circular AoEs rain down on the arena. Keep running away from her while dodging the AoEs to avoid large amounts of damage and probable death.
Mother Porxie’s Magic – Not a spell, per say, but Mother Porxie will leap into the air and begin casting Huff and Puff while an Aeolian Cave Sprite will spawn. Kill this to launch yourself into the air. You’ll see where Mother Porxie is casting Huff and Puff, and can position yourself accordingly to avoid the massive AoE.
Strategy:
Most of the final fight of Matoya’s Relict is the usual “avoid AoEs,” but there are three abilities that bear mentioning in more detail. Huff and Puff is the first. The knockback will basically send you across half of the arena, so just move right next to Mother Porxie to get knocked into the safe spot (assuming it always spawns in the center, as it has for me). For what it’s worth, I don’t think anti-knockback abilities like Surecast will protect against this, but I may have just mistimed it.
The second is the variant of this, Mother Porxie’s Magic. This is exactly the same as Huff and Puff, except that until the Aeolian Cave Sprite is dead, you can’t actually see where she is and thus where the knockback is coming from. You’ll be dodging line AoEs while killing that, but you’ve got plenty of time to do it.
The third ability of note is Barbeque, and this is both fun and a little panic-inducing. The important thing here is to keep running away; you really don’t want to get caught in the actual Barbeque zone itself, which I suspect is guaranteed death. Taking an AoE or two isn’t the end of the world (although your healer will hate you, and their only way to heal will be to either use instant abilities or Swiftcast). If you’re the healer, it might be worth popping regen effects on people before the cast just to be safe, but do not sacrifice yourself to heal or raise people during this. If you’ve got OGCD or instants then you can consider it, but bear in mind you’ll turn to face them during this and that means you’re not running away. Honestly, I’d recommend not healing. Just survive.
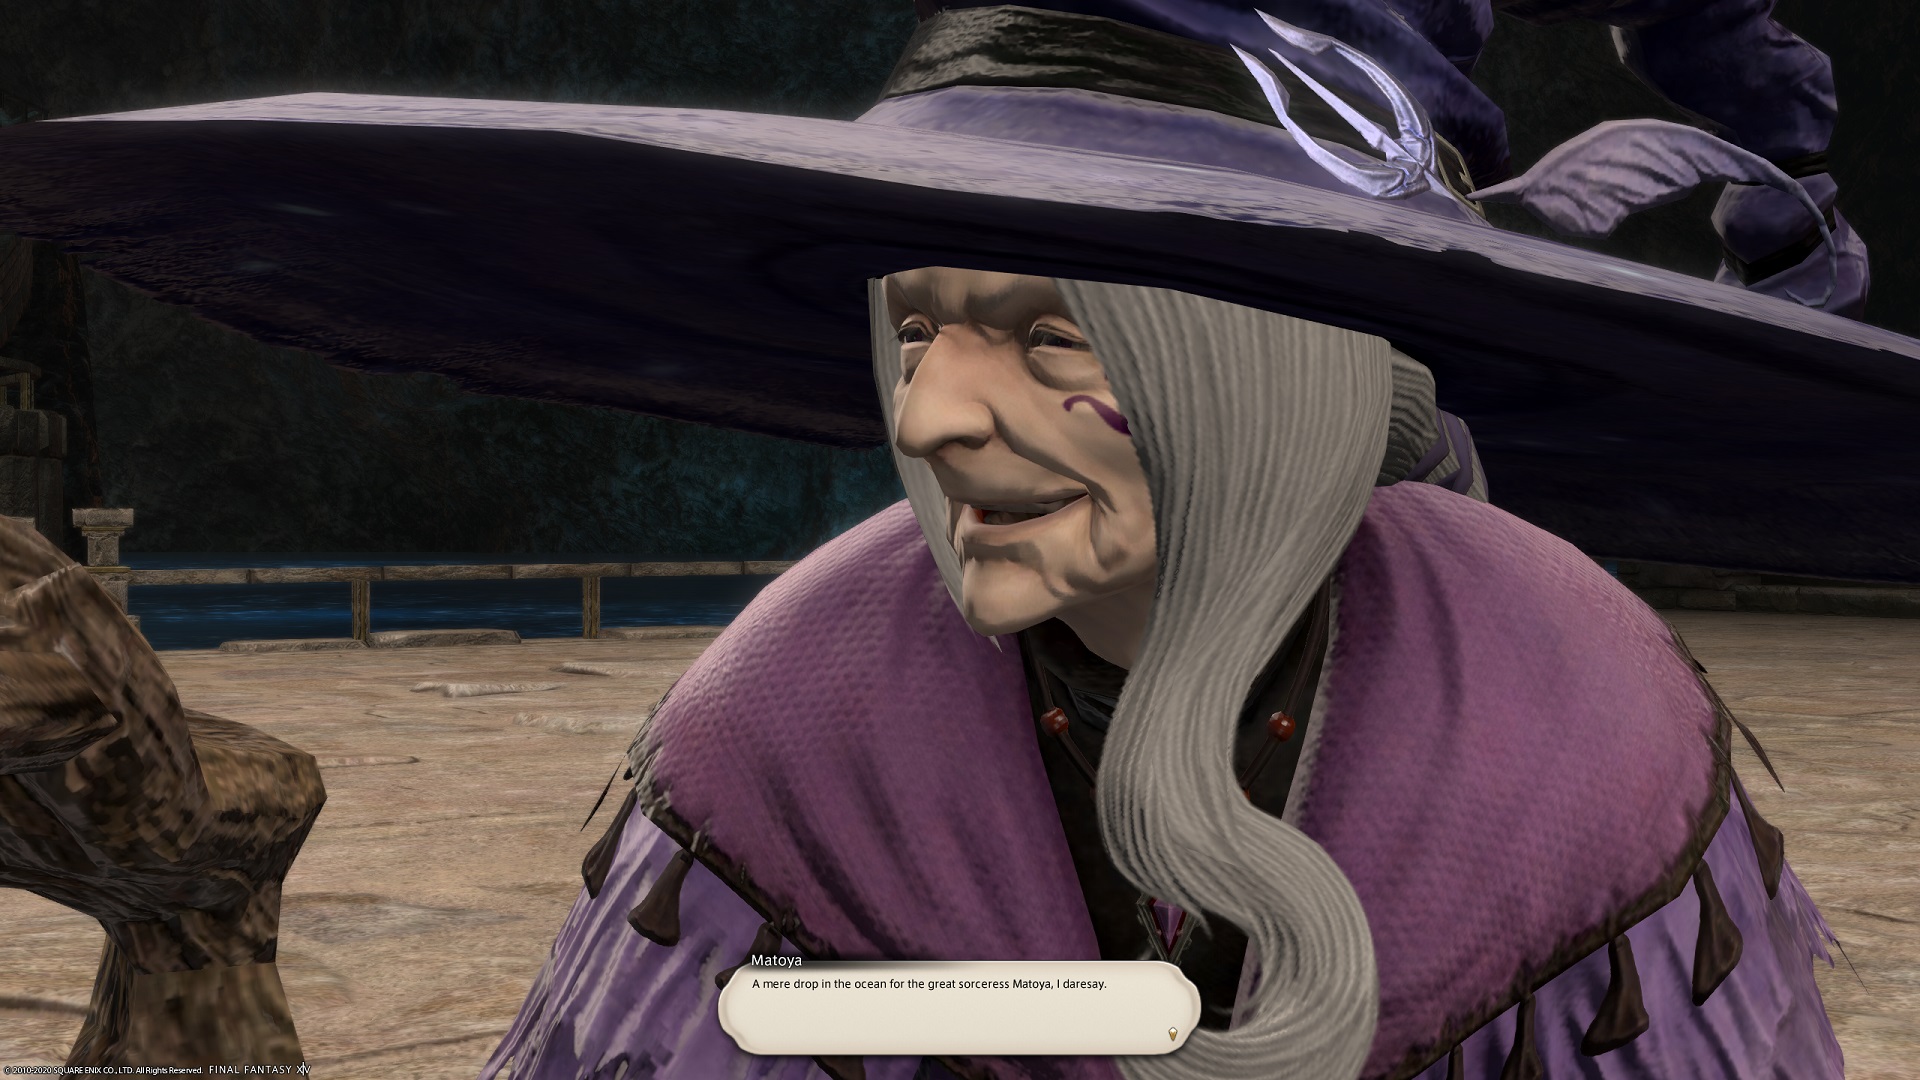
With Mother Porxie down, this Final Fantasy XIV dungeon is complete, and Matoya’s Relict is reclaimed. Master Matoya might even have a few kind words for you to go along with the inevitable snark.
For more Shadowbringers guides, you can have a gander at our guide hub.