Setup
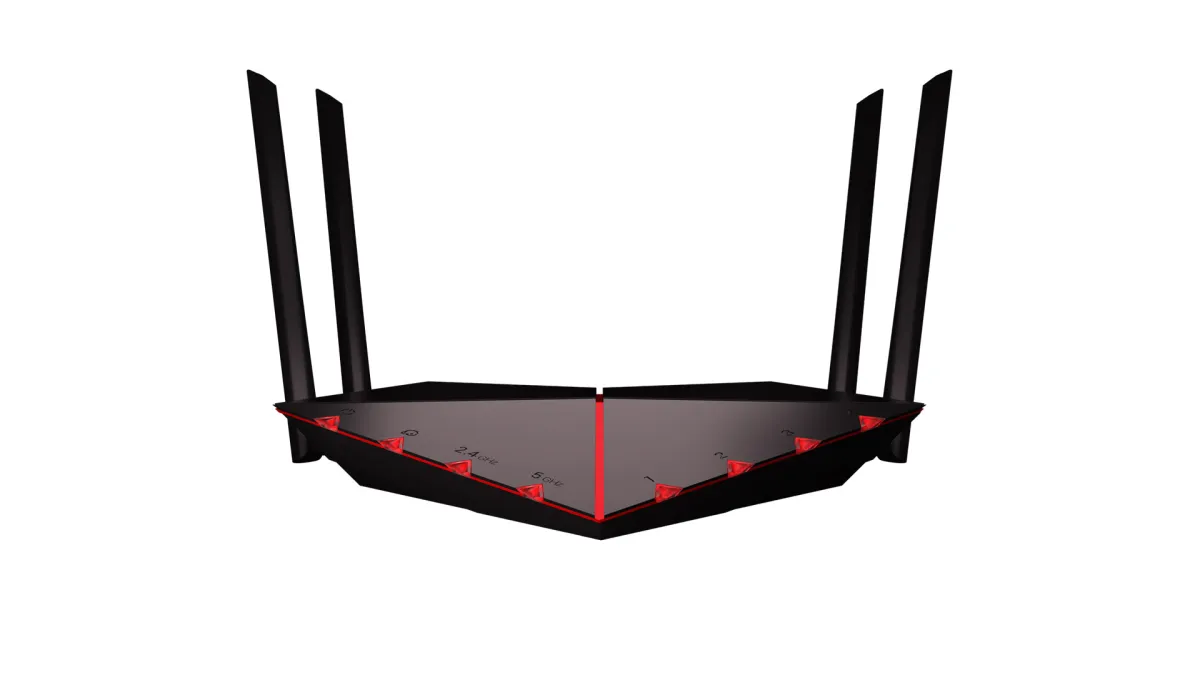
The great thing about the Netduma R2 is that it’s easy to get up and running. If you want to see an unboxing video, Netduma has one on its YouTube channel. The instruction guide is very simple and effective in explaining what you need to do to incorporate the router into your network. You just need to attach the antennas, plug in the power cable, and run the included CAT-6 ethernet cable to one of the ports on your gateway (ISPs often provide these with service). Netduma recommends you then run an ethernet cable to the device you play on for the best quality connection.
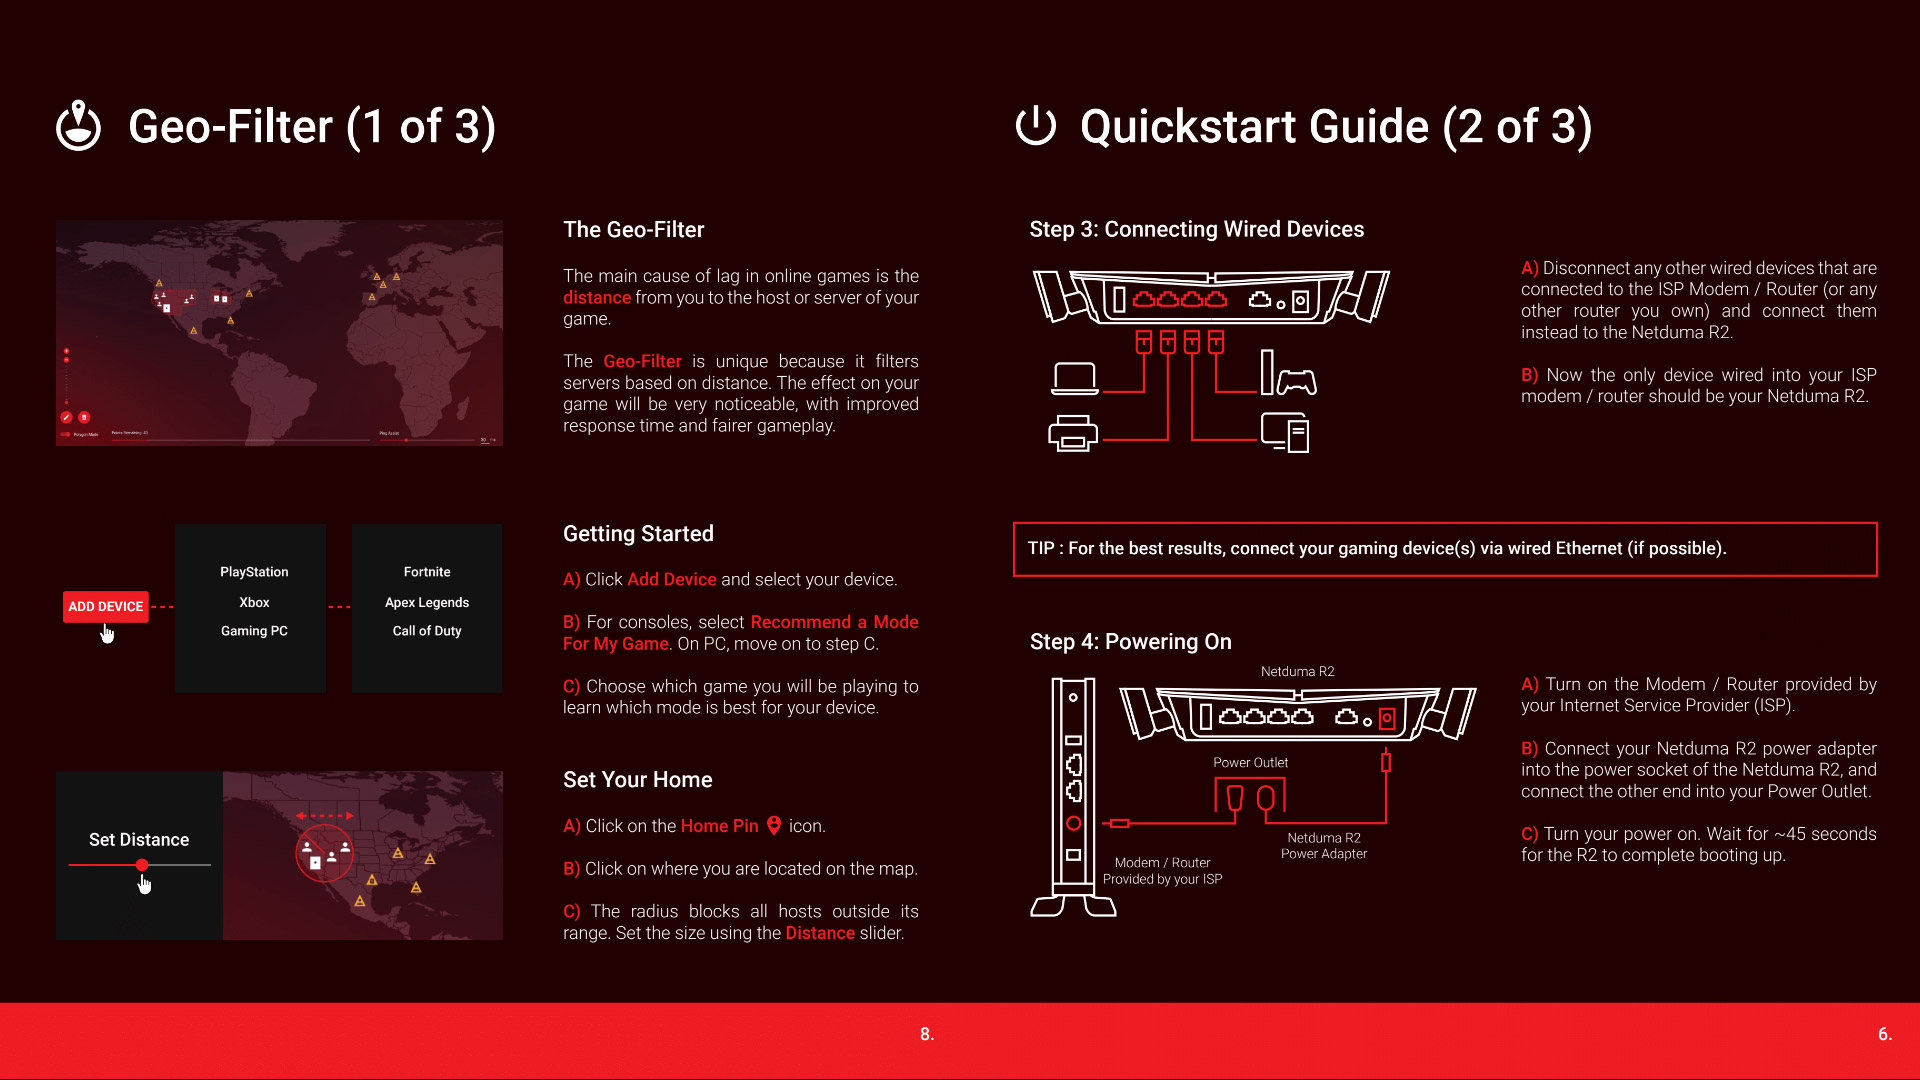
A sample from the included setup guide.
Here are a few extra tips for setting up your router to have the best connection possible. Like most routers, the R2 has LED lights to provide basic status information. Get familiar with these so you can troubleshoot any issues in the future. Additionally, place the router in an elevated, open area that has a clear line of sight to other devices, preferably in a central location within the home. Lastly, just point the antennas vertically for most configurations.
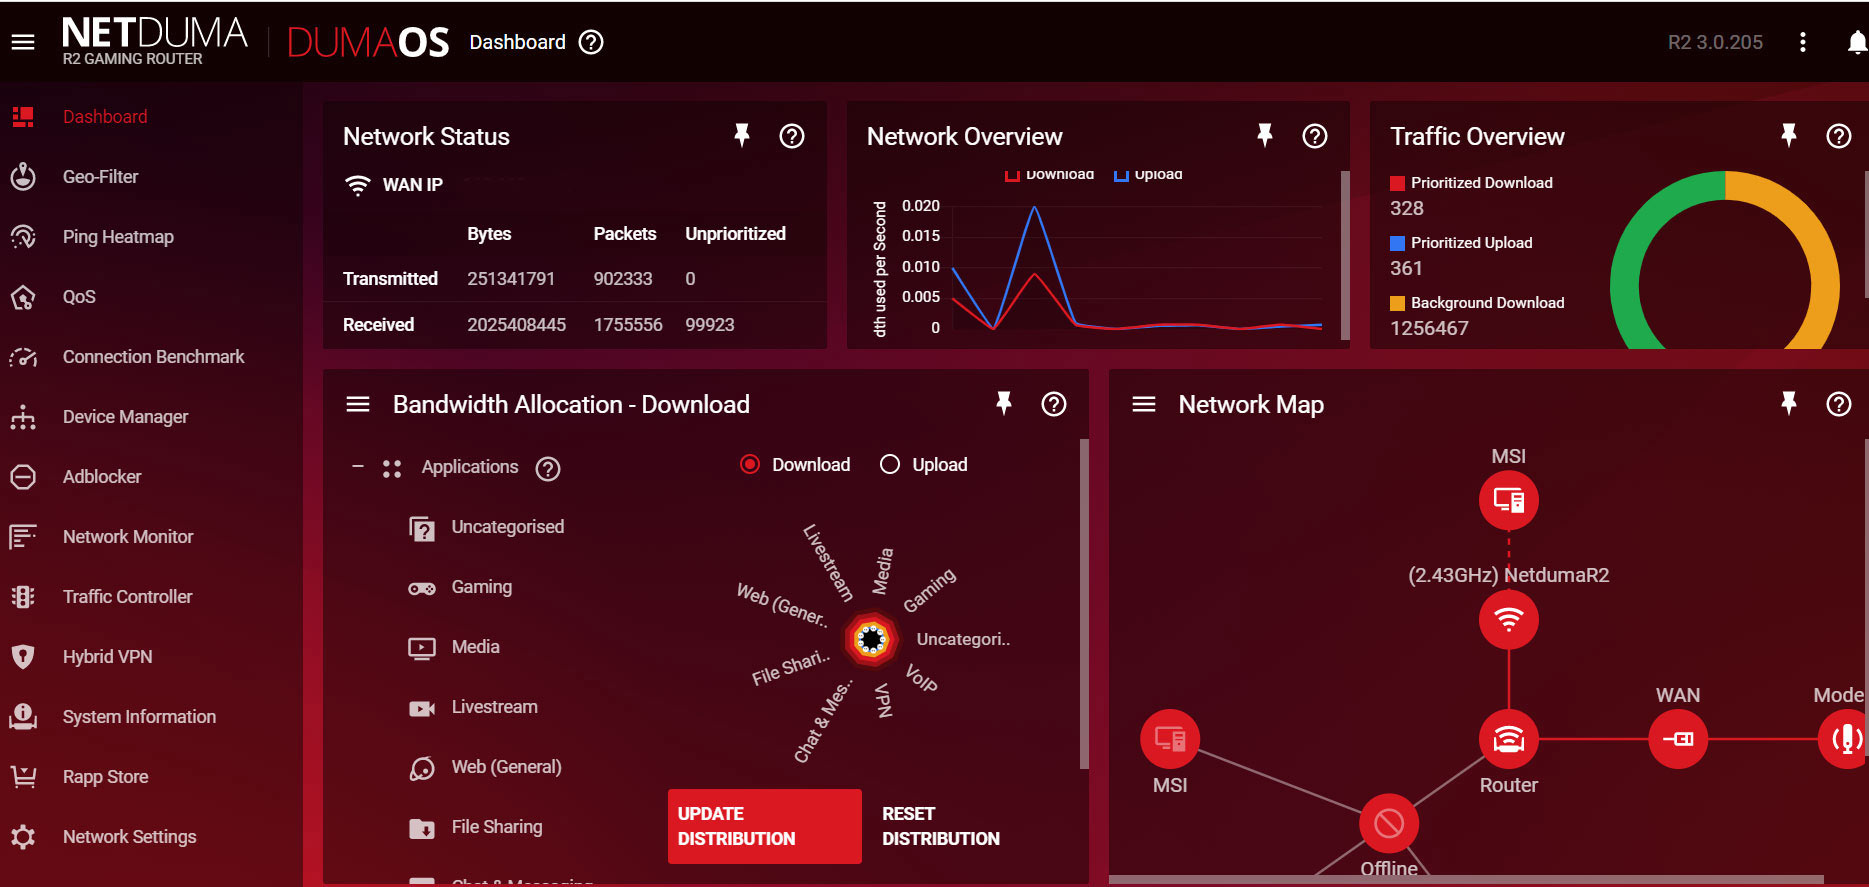
Once your computer is connected to the router, you can then open a browser to access the DumaOS. Simply typing dumaos/ into the address bar will bring up the user interface. In our experience, the software didn’t actually load the first time we plugged everything in, but a factory reset of the unit fixed the issue tied to indefinite loading.
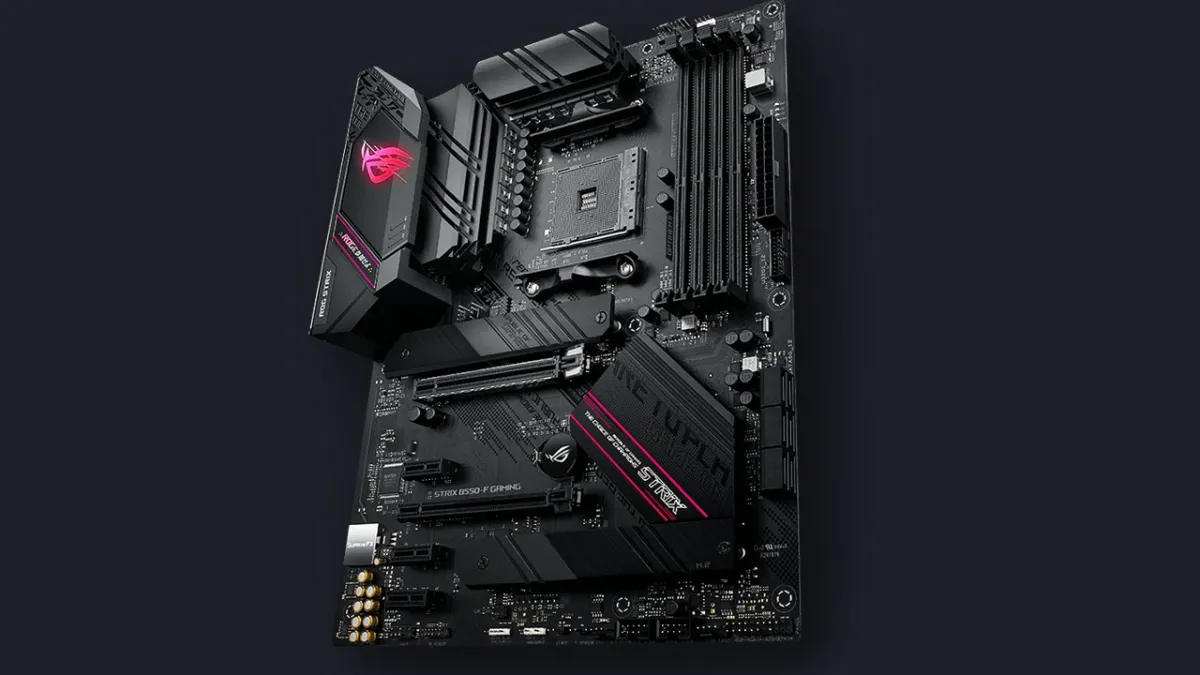
- Introduction and specs
- Setup
- DumaOS features
- Gaming and wireless performance
- Should you buy the Netduma R2 gaming router?