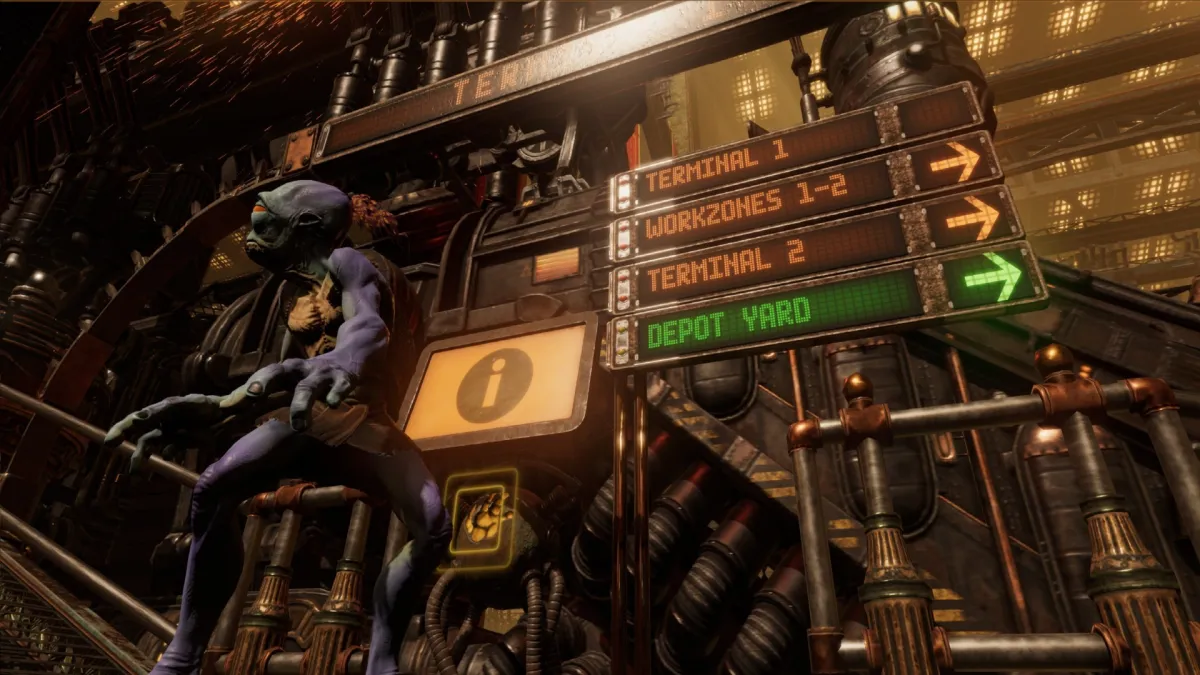
Level 15: The Yards
The Yards is also known as the last “core” level in Oddworld: Soulstorm. I’ll explain more in a while.
The Yards is a decent-sized level with several Mudokons you can rescue. It can also be a little difficult since there are parts of the stage that present some zany challenges.
- Mudokons: 27
- Required for 80%: 22
Mudokon #1 to 5
After the part with the snipers, follow the junction to the bottom right until you spot these Mudokons.
Since you need to make your way back to the junction, you might need to use smoke bombs to keep them hidden from snipers.
Mudokon #6 to 9
With the previous bunch still following you, you’ll eventually come across four more Mudokons.
In this area, you’ll need to possess one Slig after another:
- Control the first one at the lower ledge. Climb the pole and shoot the electric contraption.
- Let go of possession and take over the Slig on the opposite side of the gap.
- Climb to the top and possess the Slig that’s above the electric trap. Activate the switch.
- Take over the previous Slig and go down. Control the flamethrower Slig and have it activate the conveyor belt’s platform.
Mudokon #10
Abe and the Mudokons will then be able to cross. There’s a lone Mudokon in the next area. If you roll through the gap to your left, you’ll discover a secret area with several vending machines. The doorway here can’t be opened from this side.
Note: There’s a bird portal in the “normal” area that allows these 10 Mudokons to escape. Just to clarify, as I continued to progress (past the Gantry Channel with snipers and mines), it seems I missed out on four additional Mudokons.
Mudokon #11 to 20
After the Gantry Channel, there’s a nook to the left with a Royal Jelly and a doorway that leads back to the vending machine area. Anyway, you’ll find several Mudokons lounging around to the right.
You do need to use smoke bombs and whatever tricks you have up your sleeve since there are snipers and other hostiles here.
Mudokon #21 to 22
Climb the scaffolding with your group and you should see a Mudokon. The last Mudokon, as well as the bird portal, are both behind the barricade.
The goal is to use the cargo containers to reach a lift that’ll take you to the opposite area. There are switches here that need to be activated.
Eventually, you’ll return to the spot that’s behind the barricade. You’ll be able to open it to gather your group once more and bring them to the portal.
A short while later, you’ll experience a harrowing escape where Abe has to fend off almost a dozen Flying Sligs armed with rocket launchers.
You can possess them, use your crafted items or, if you’re in a pinch, the Power of Shrykull. You can also hang from ledges (there’s even a Royal Jelly below) and swing back and forth to avoid the missiles.
That’s it, no more Mudokons here. I missed out on four of them, but I was still able to attain the 80% requirement. Anyway, let’s talk about your overall progress and what sort of ending you’d get.


