Level 9: Slig Barracks
There are dozens of Mudokons in Oddworld: Soulstorm‘s Slig Barracks level.
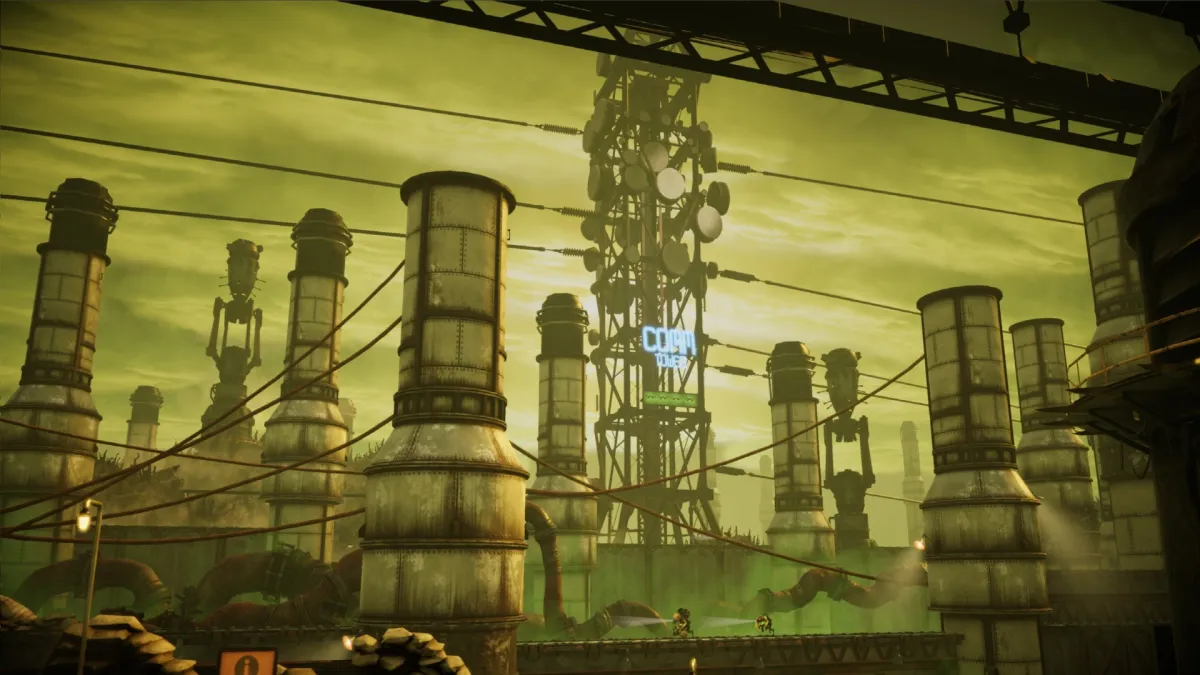
This stage has a few exterior zones, a factory area, and even a section that’s akin to a rail shooter.
- Mudokons: 45
- Required for 80%: 36
Mudokon #1
This fella is close to the start of the level and the bird portal is just to the left.

Mudokon #2 to 7
These dudes are at the top of a locker room area. You’ll need to go to the bottom of the opposite side for the bird portal.

Mudokon #8 to 13
You’ll find a couple of Mudokons once you exit the locker room, and the rest are working in a section with several Slig guards.
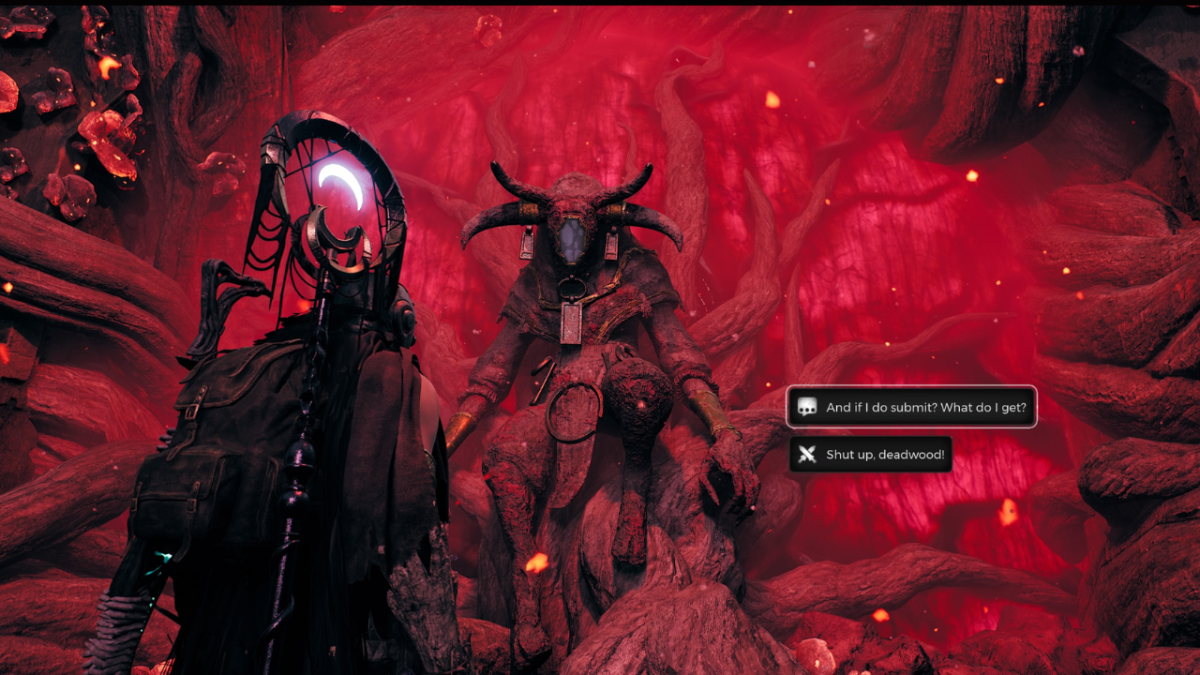
Once you see the bird portal, throw a smoke bomb to cover your tracks and go to the opposite side. Use your chant here to help your followers escape. Then, once a Slig has spawned, possess them so you can blast an opening to the next section.

Mudokon #14 to 18
This section has five Mudokons and some of them need to use the sandbags to avoid sniper fire. There are also some Sligs, mines, and mutant dogs near the bird portal. You’ll want to sneak past the dogs, then climb on the ledge to the right of the bird portal. Tell your Mudokon pals to wait as you blow up the dogs. Then, open the portal so they can escape.
Note: You can also go back to this portal to help a few Mudokons in the next part.

Mudokon #19 to 32
There are two Mudokons that Abe can talk to. Make them follow you all the way to the right close to where you got the Fuzzy Pow (this is important).
You can eliminate the Sligs as you’re progressing through the factory until you reach the remaining workers. There are three sections here with four workers each. Once the workers are following you, a couple of Slig machine gunners will spawn in the main area. They’ll end up killing the two talkative Mudokons if you didn’t get them somewhere safe.
After taking out the Sligs, you can use the elevator to the previous area (the one with the mutant dogs and snipers) since there’s a bird portal there.
Note: The reason we’re doing this is because the next part is a rail shooter. Abe can use a cable car that shoots any item you have selected as a projectile. However, several Sligs will also attempt to shoot you and any followers with you. Abe’s buddies could end up dead if you end up bringing them here. But, if you had them escape using the previous bird portal, then you don’t have to worry about that.

Mudokon #33 to 37
Then again, once the cable car stops, you’ll find five more Mudokons. For this part, try to craft more Fuzzy Pows. Then, while having the Mudokons stay back, ride the cable car to the top and shoot down any hostiles that appear. You can keep going back and forth until everyone’s dead. Return to your followers and bring them to safety when you’re done.
Note: I actually missed out on eight Mudokons in this level, but that’s fine since I still met the 80% requirement. Anyway, let’s talk about the next stage: Necrum.