Liberation is the sixth mission in Sniper Elite 5‘s campaign. Though the Allies have managed to land on the shores of France, advancing forward wasn’t an easy task. Germans have managed to fortify a town, and it’s up to Fairburne to clear the defenses. Still, you might want to tag a few workbenches to unlock weapon upgrades and attachments. Here’s our Sniper Elite 5 Liberation Workbench locations guide to help you with those that can be found in Mission 6.
Note: For more information, check out our Sniper Elite 5 guides and features hub.
Sniper Elite 5 – Liberation Workbench locations guide (Mission 6)
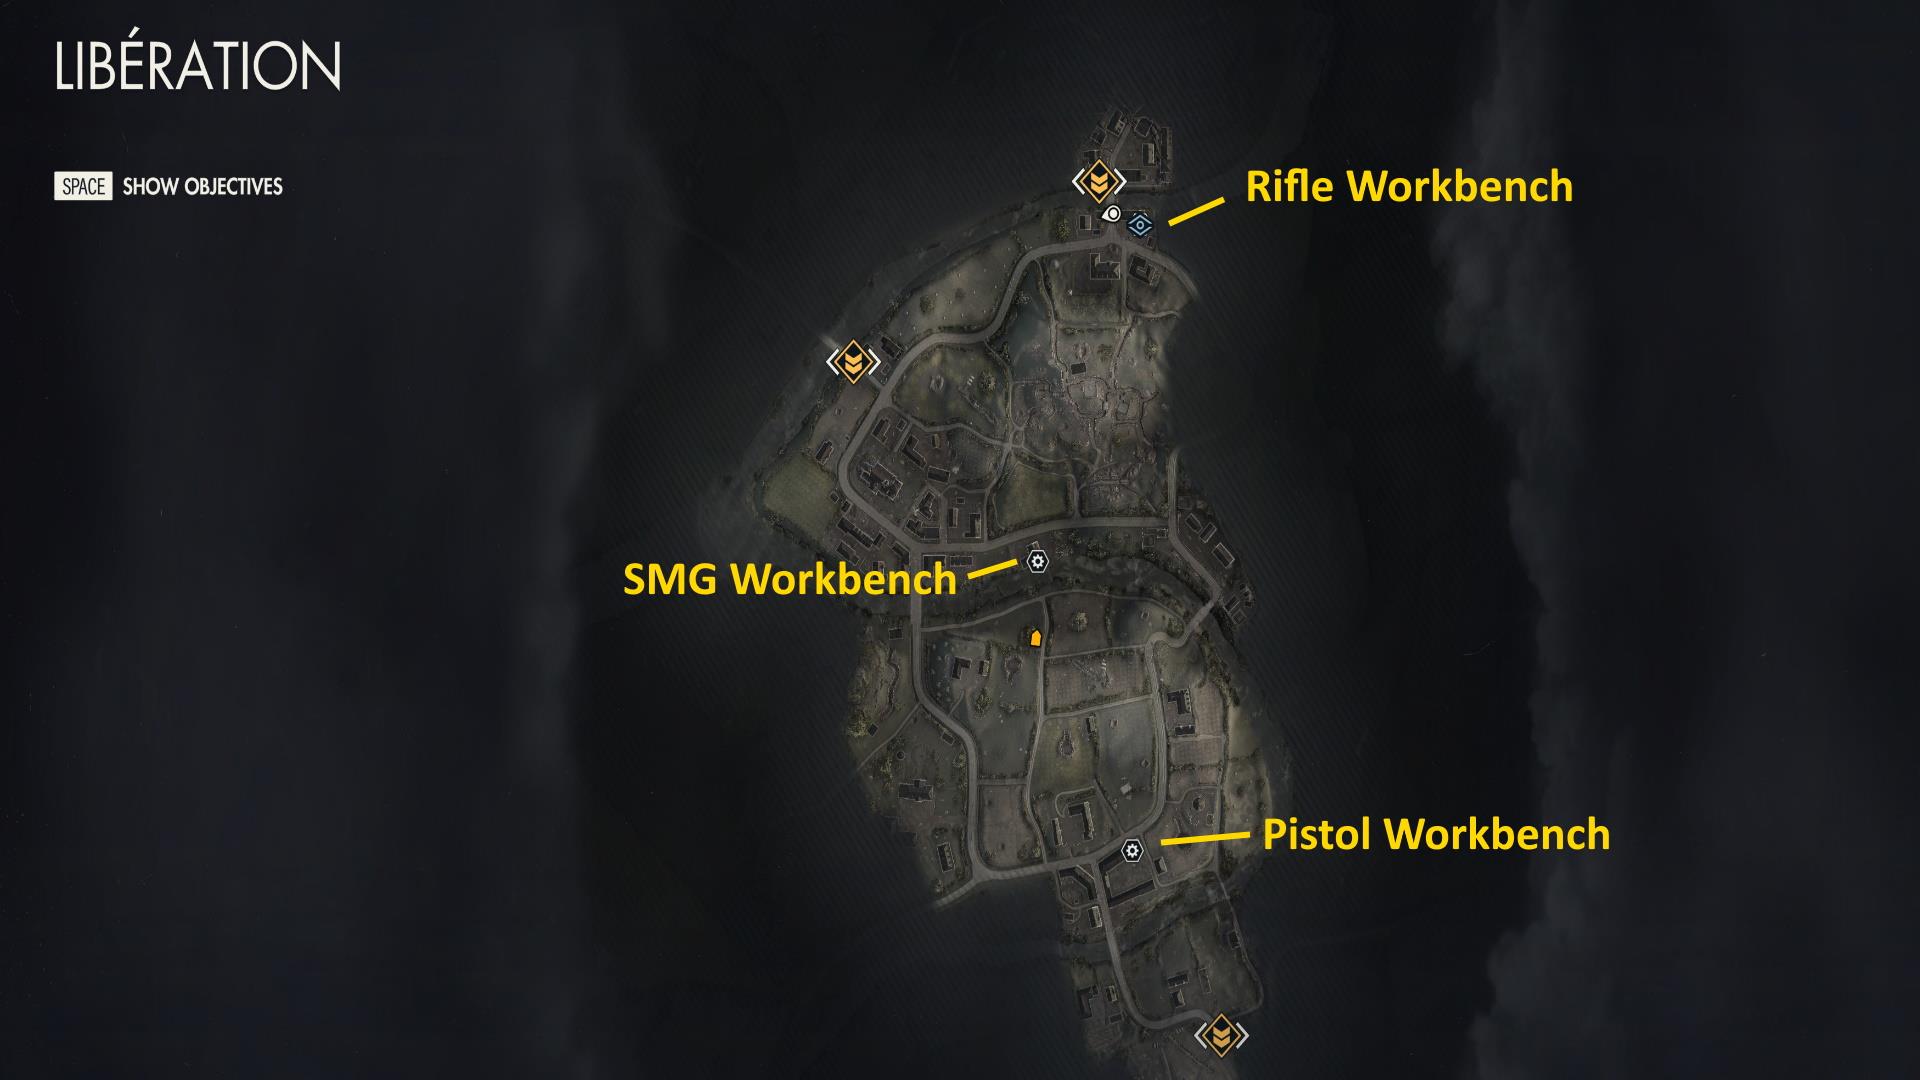
The Workbench locations in the Liberation mission of Sniper Elite 5 can be seen in the map image below. I suggest tagging them in the following order: Pistol -> SMG -> Rifle. That’s because of how you’ll progress through the level, starting from the south and finishing the last objective further north. After discovering the Pistol Workbench, you may also take a short detour further west to complete the Kill List task in this level.
Pistol Workbench
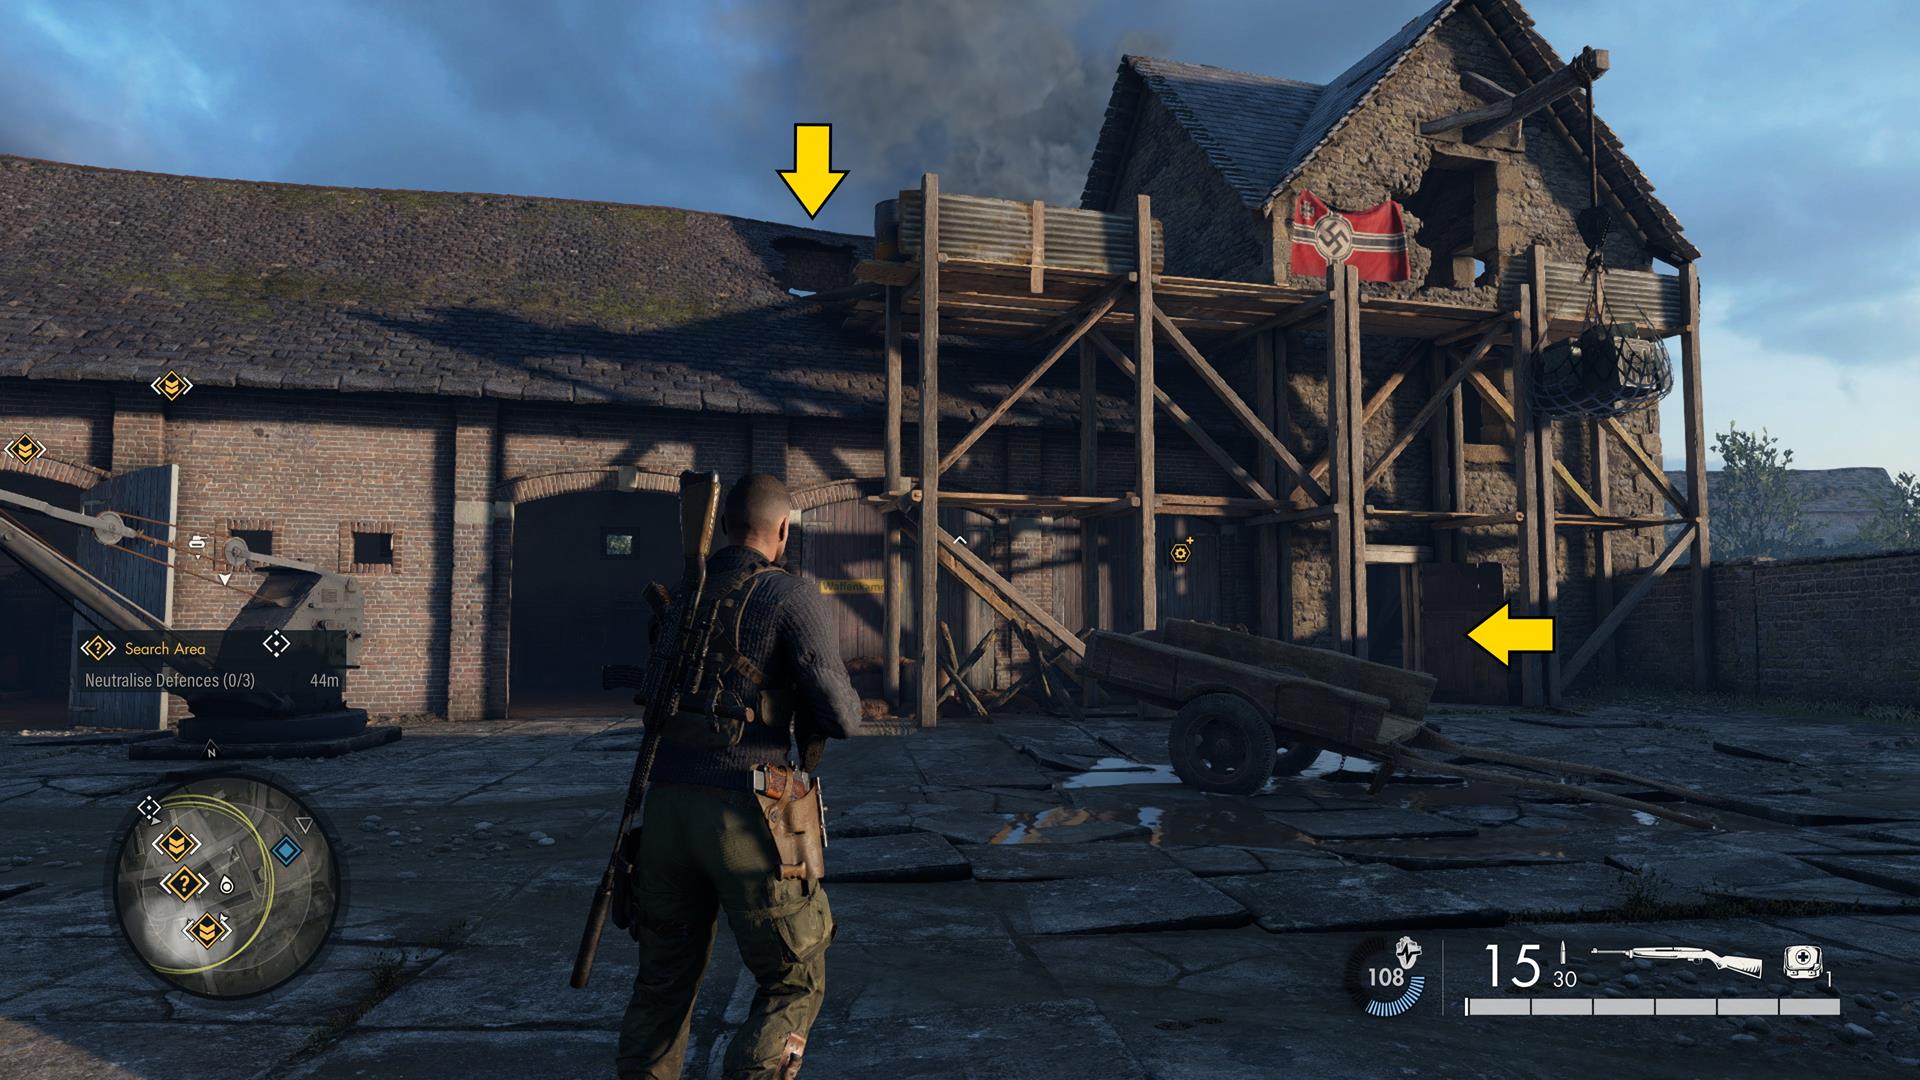
The main road will eventually lead to a barn. Enter it and climb up top. Cross the walkway and drop down the opposite gap to reach this one. You may also push the shelf that’s blocking the way so you can exit this small room.
SMG Workbench
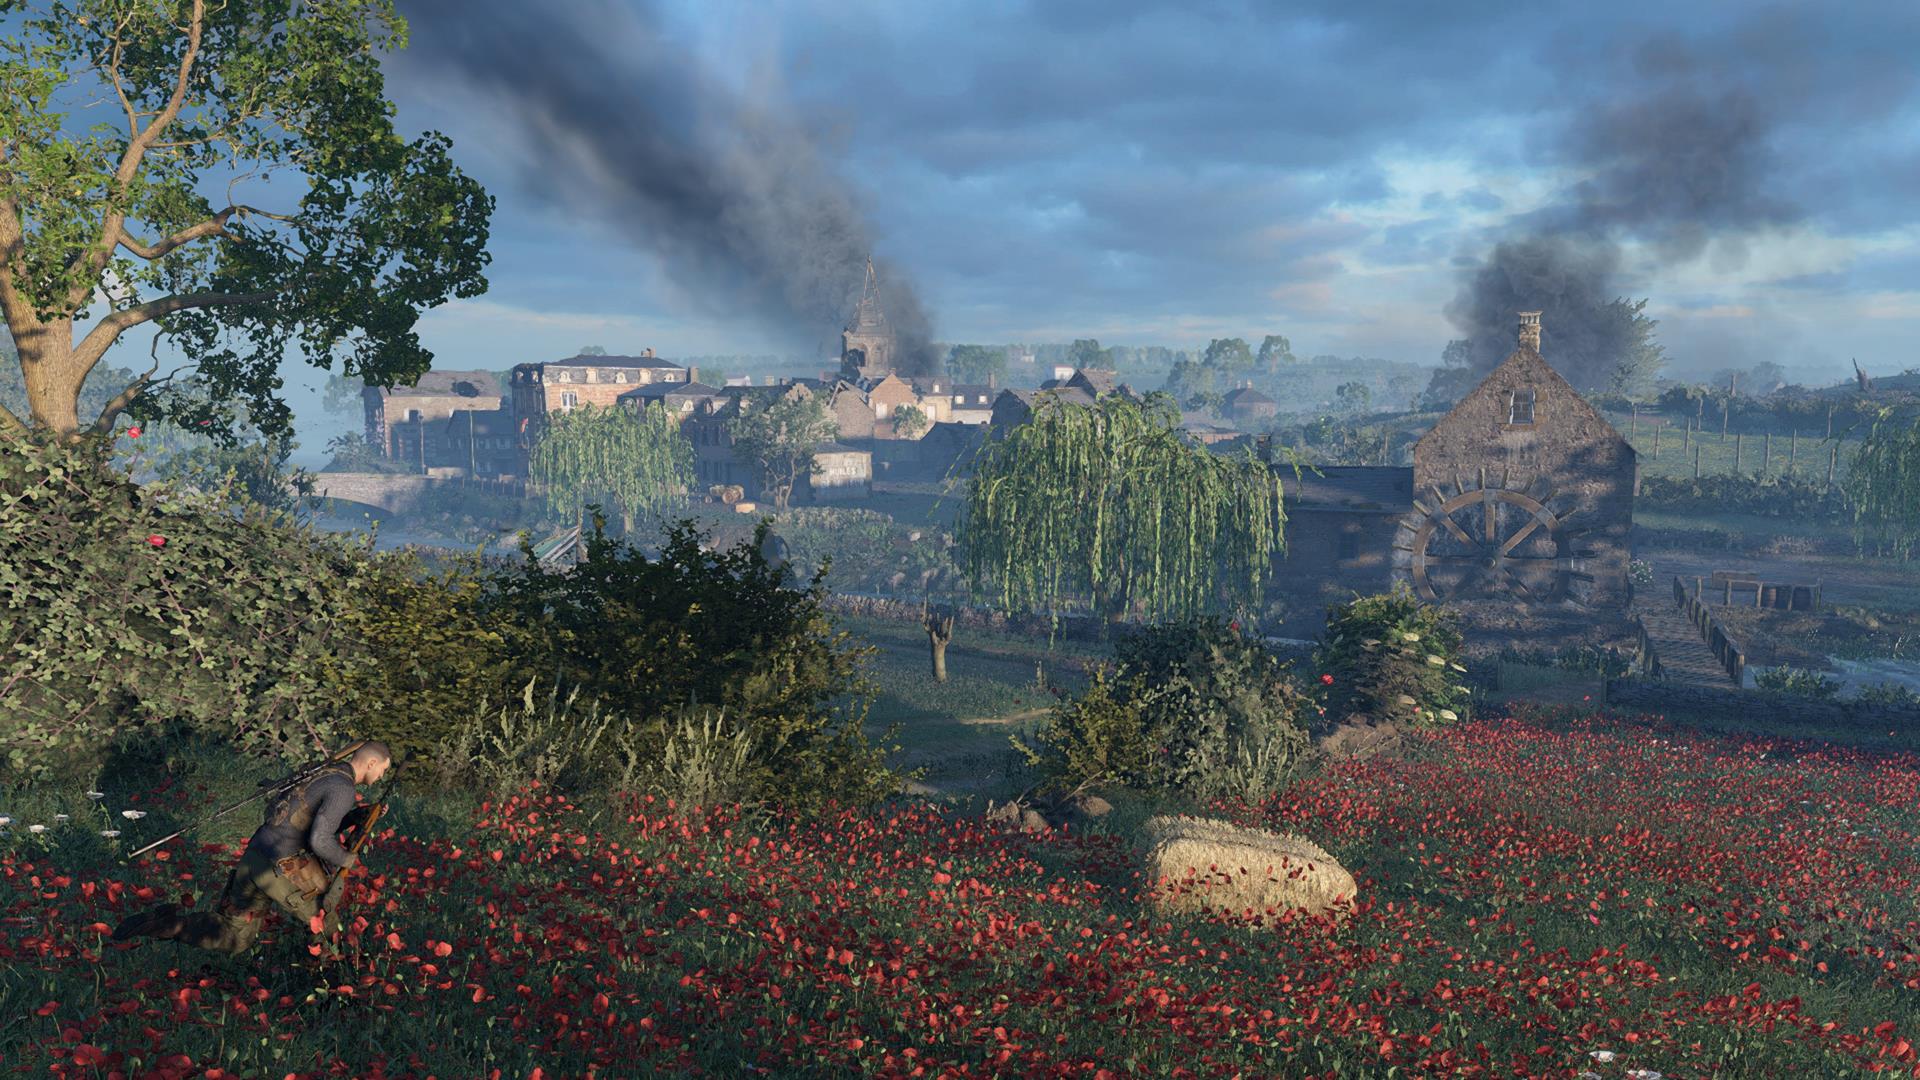
This one is at the center of the map. You should see a watermill just beyond the field of flowers (where a tank is also patrolling). Enter the watermill and dismantle the floorboards. You can drop down the basement to find this Workbench.
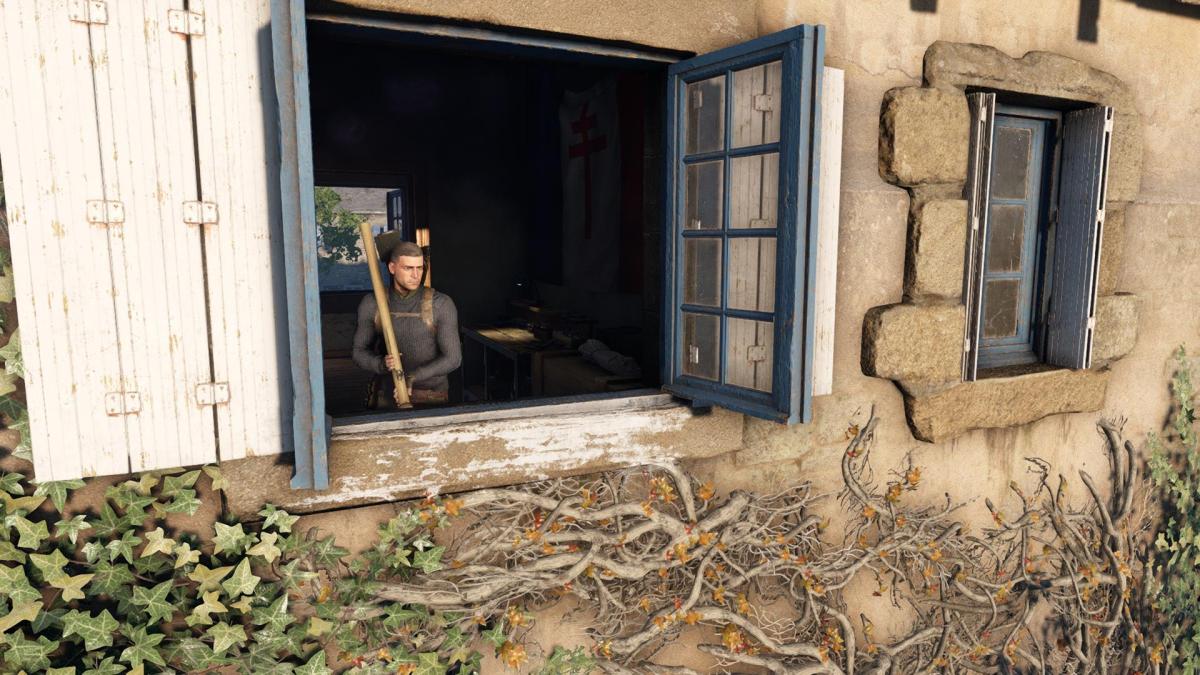
Rifle Workbench
You’ve likely cleared most of the level as you head north where the final objective is. In any case, you should see a house with the Resistance marking just before you cross the barricaded bridge. Check the side of the house for vines that’ll let you climb to the second floor. Tag what you need inside to complete the tally for all Sniper Elite 5 Liberation Workbench locations.
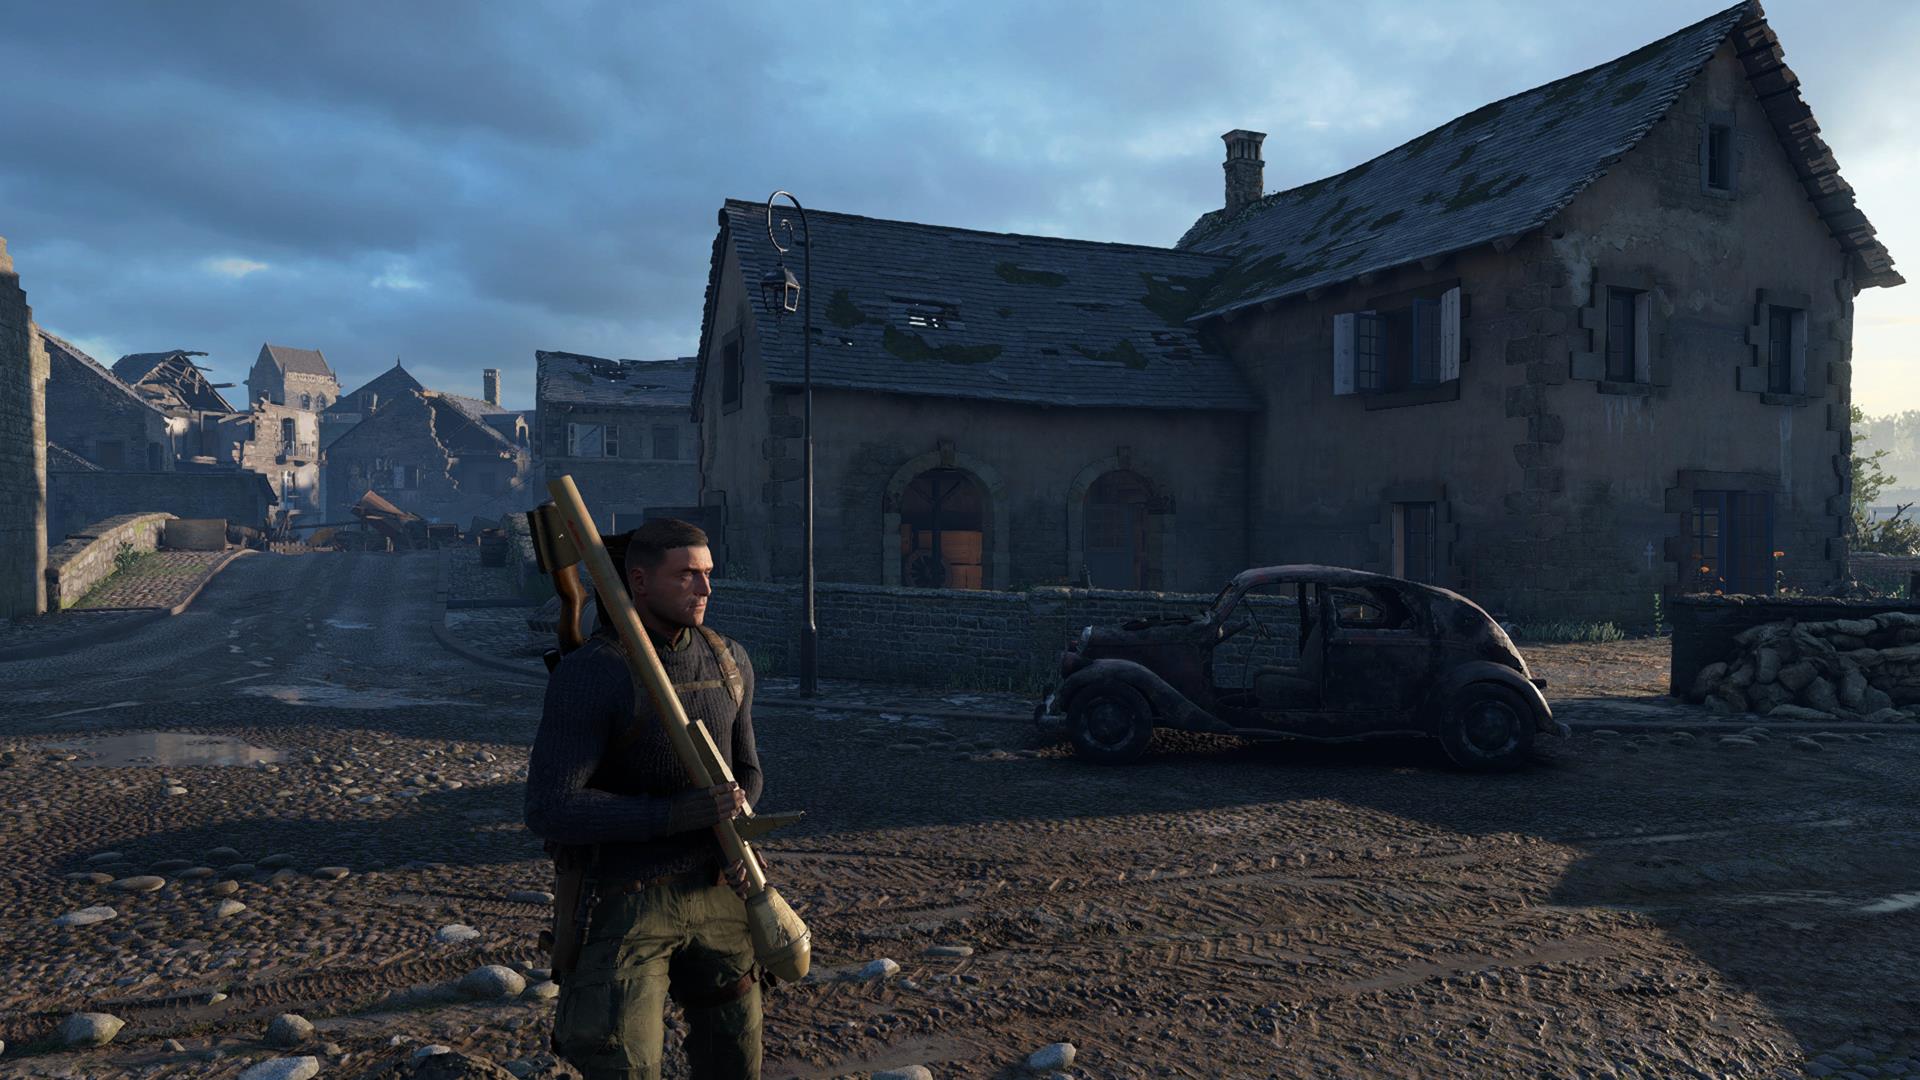
Don’t forget to pick up the Panzerfaust in this room (another one can be found in the barn on the ground floor). After you blow up the bridge, a Tiger Tank will appear.
Use your two rockets to blow it up. If it needs to be damaged further, you’ll find two more Panzerfausts in the house across the bridge.
Sniper Elite 5 is available via Steam. For more information, check out our guides and features hub.