Disable 3x Jammers
Let’s talk about disabling the jammers in the Mount Kuamar mission in Sniper Ghost Warrior Contracts 2.
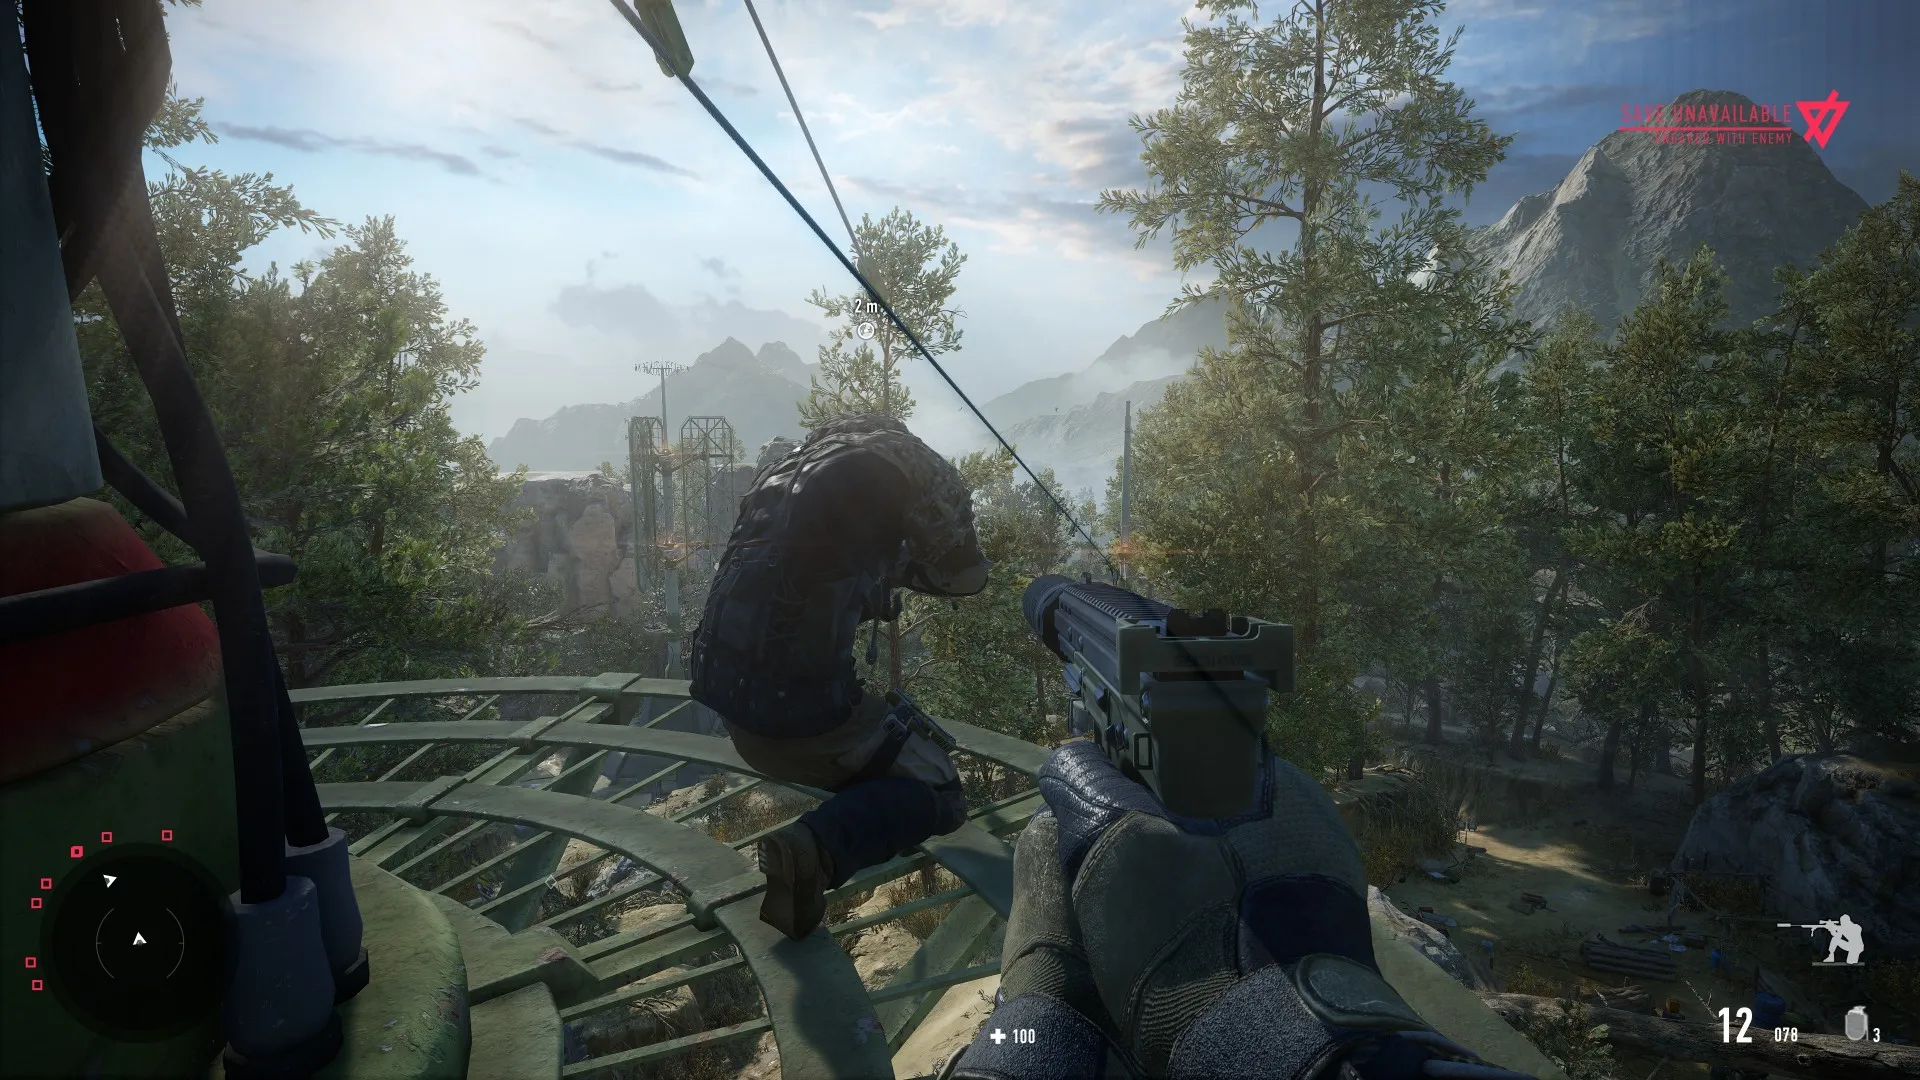
Upon starting the level, you should encounter multiple guards patrolling the area. Likewise, there are three snipers perched atop the towers and the jammer in the initial spawn point (if it’s your first time running this mission). Simply sneak past the guards and climb on top of the ladders to execute the snipers. You should find more in the other areas while exploring.
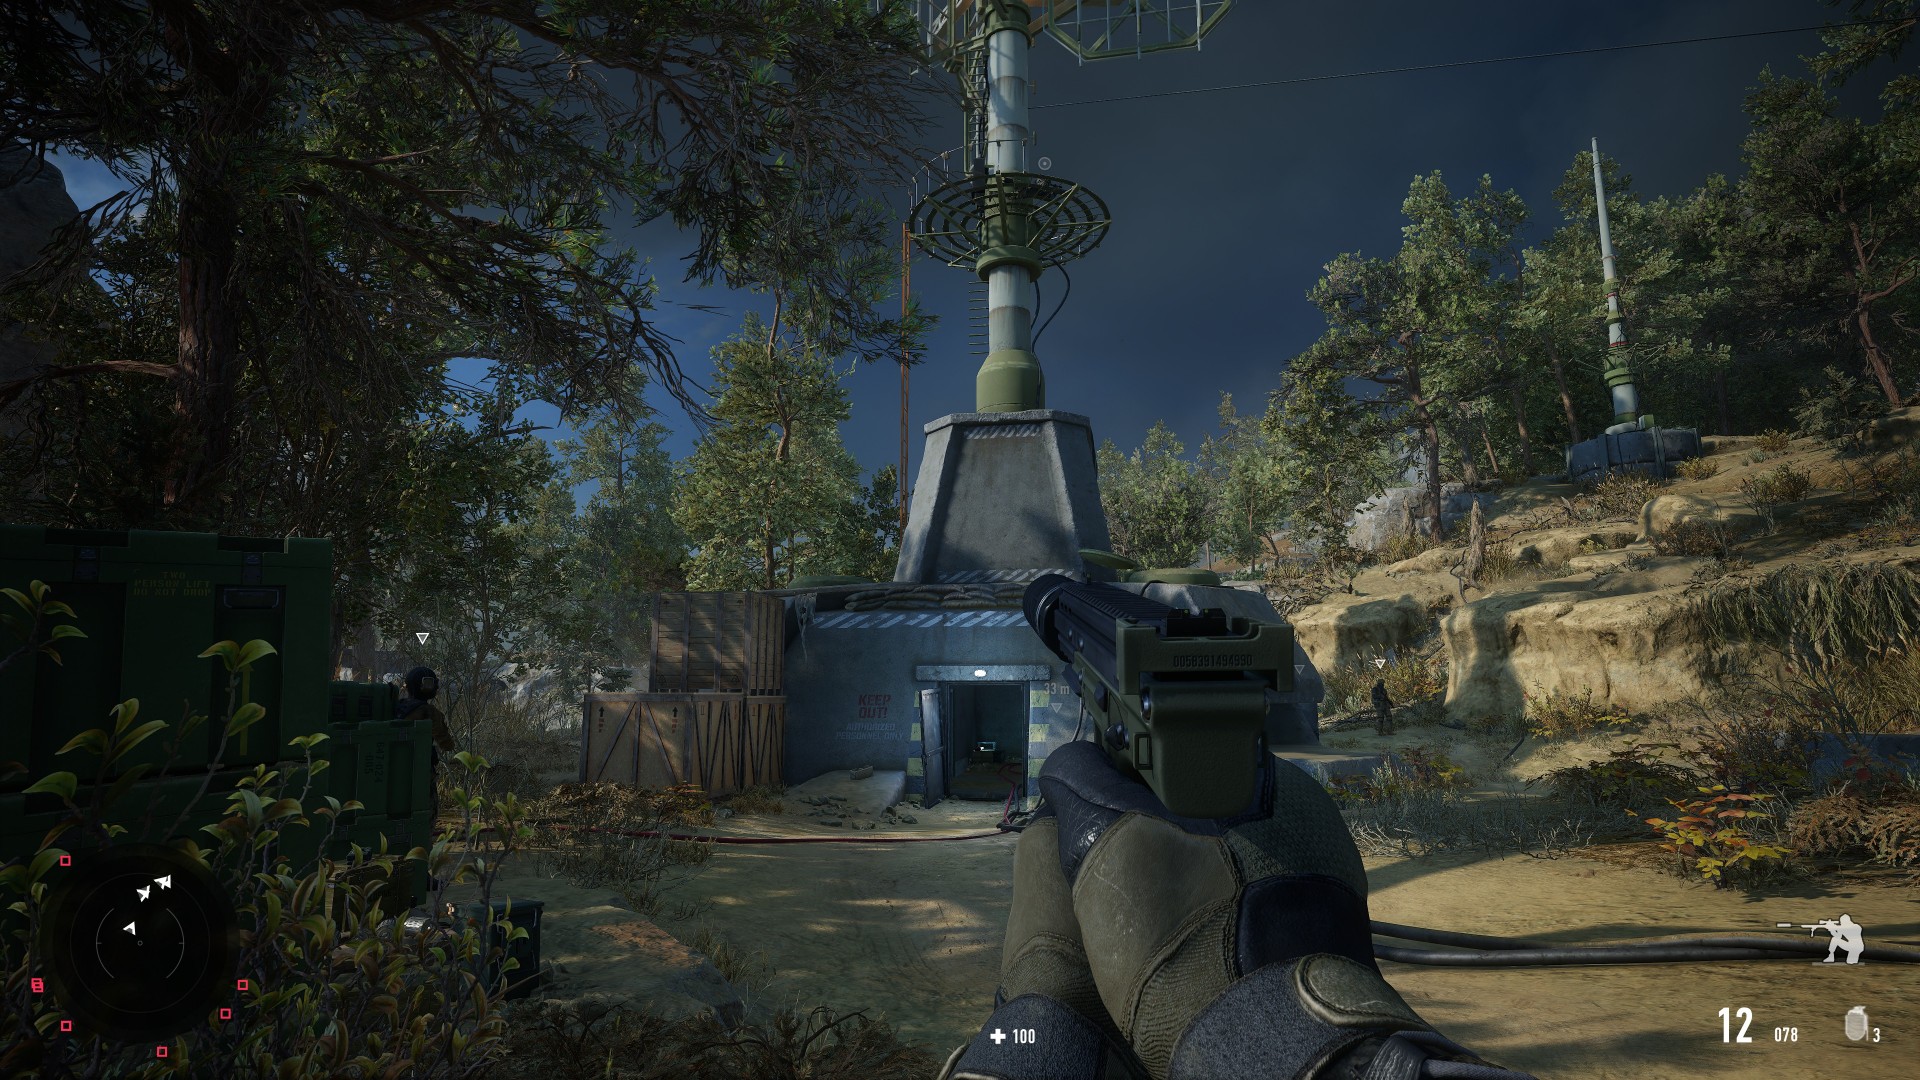
As for the jammers themselves, there’s one in the initial area which is surrounded by turrets. Sneak around on the left-hand side to avoid detection.
You can use the crates to reach the ladder. Oh, and there are some C4 charges next to a bunch of boxes nearby in case you need some explosives for the vehicles.
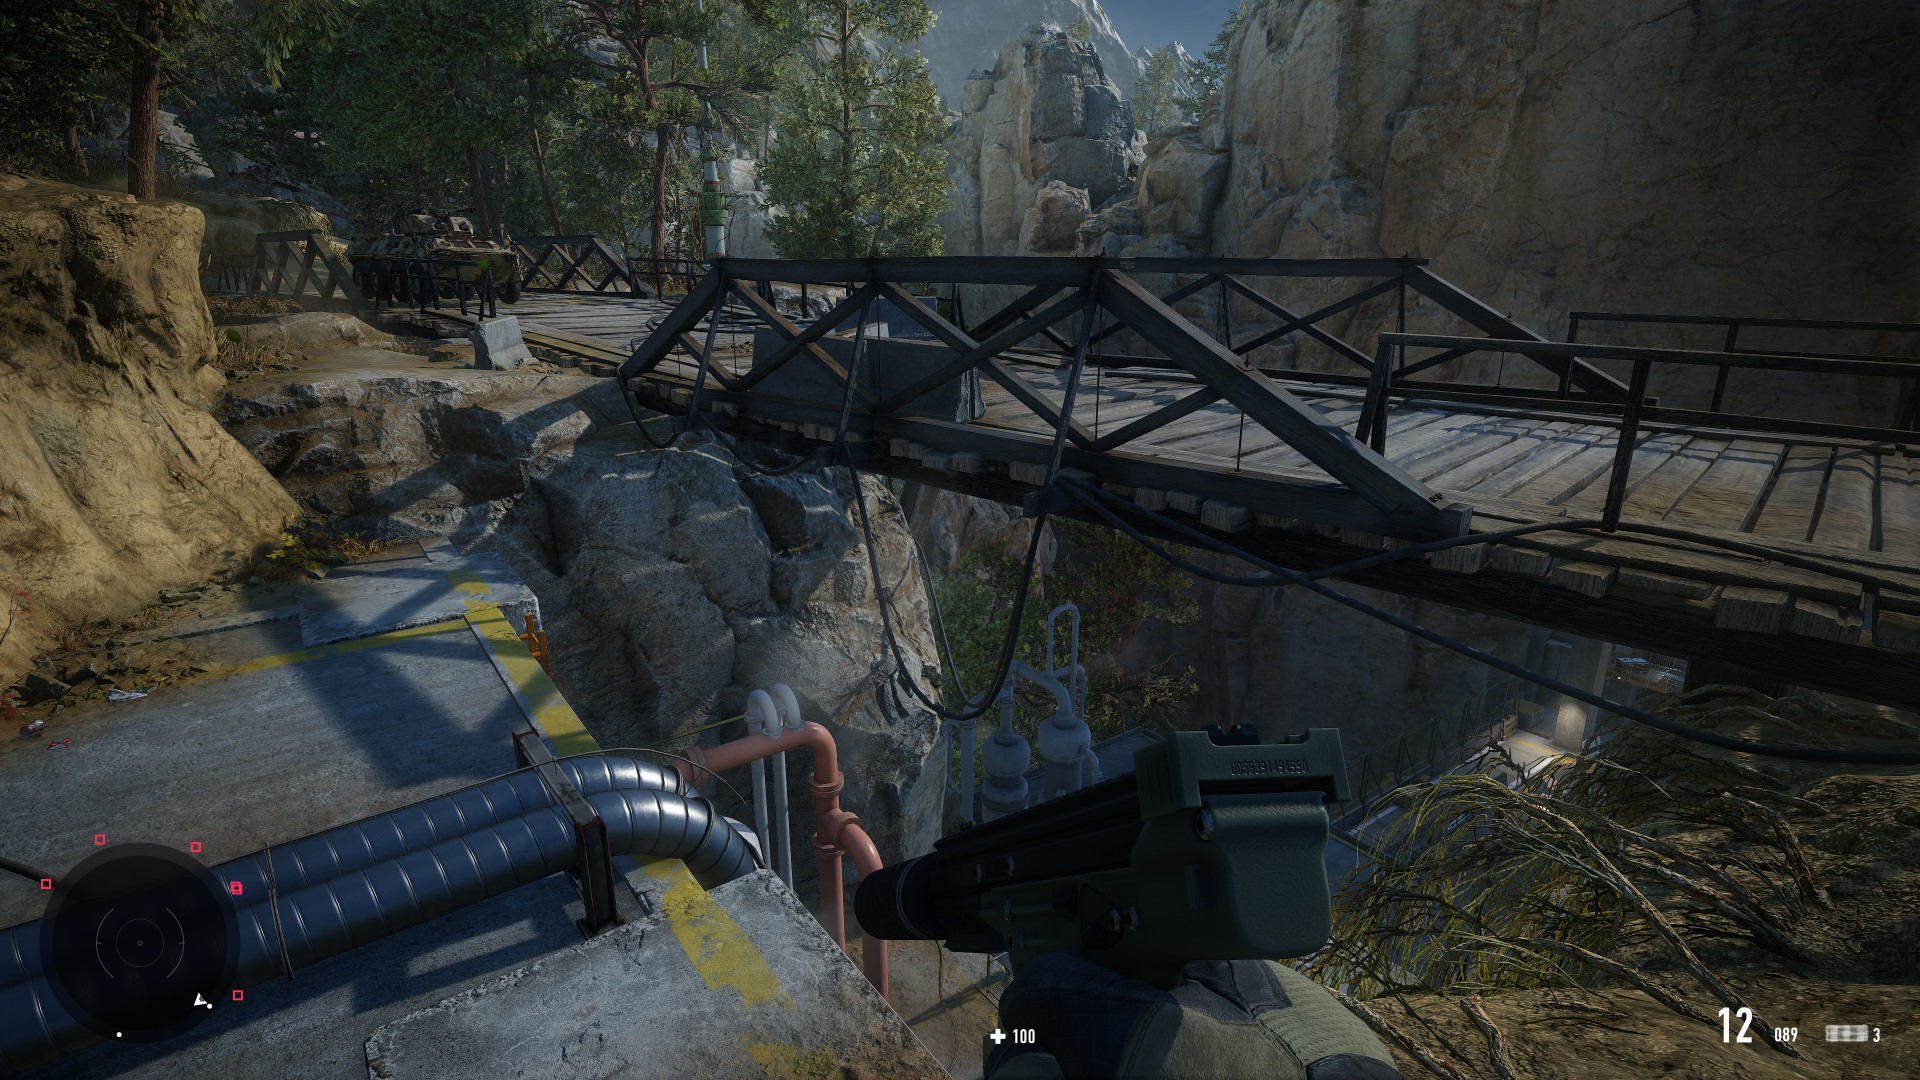
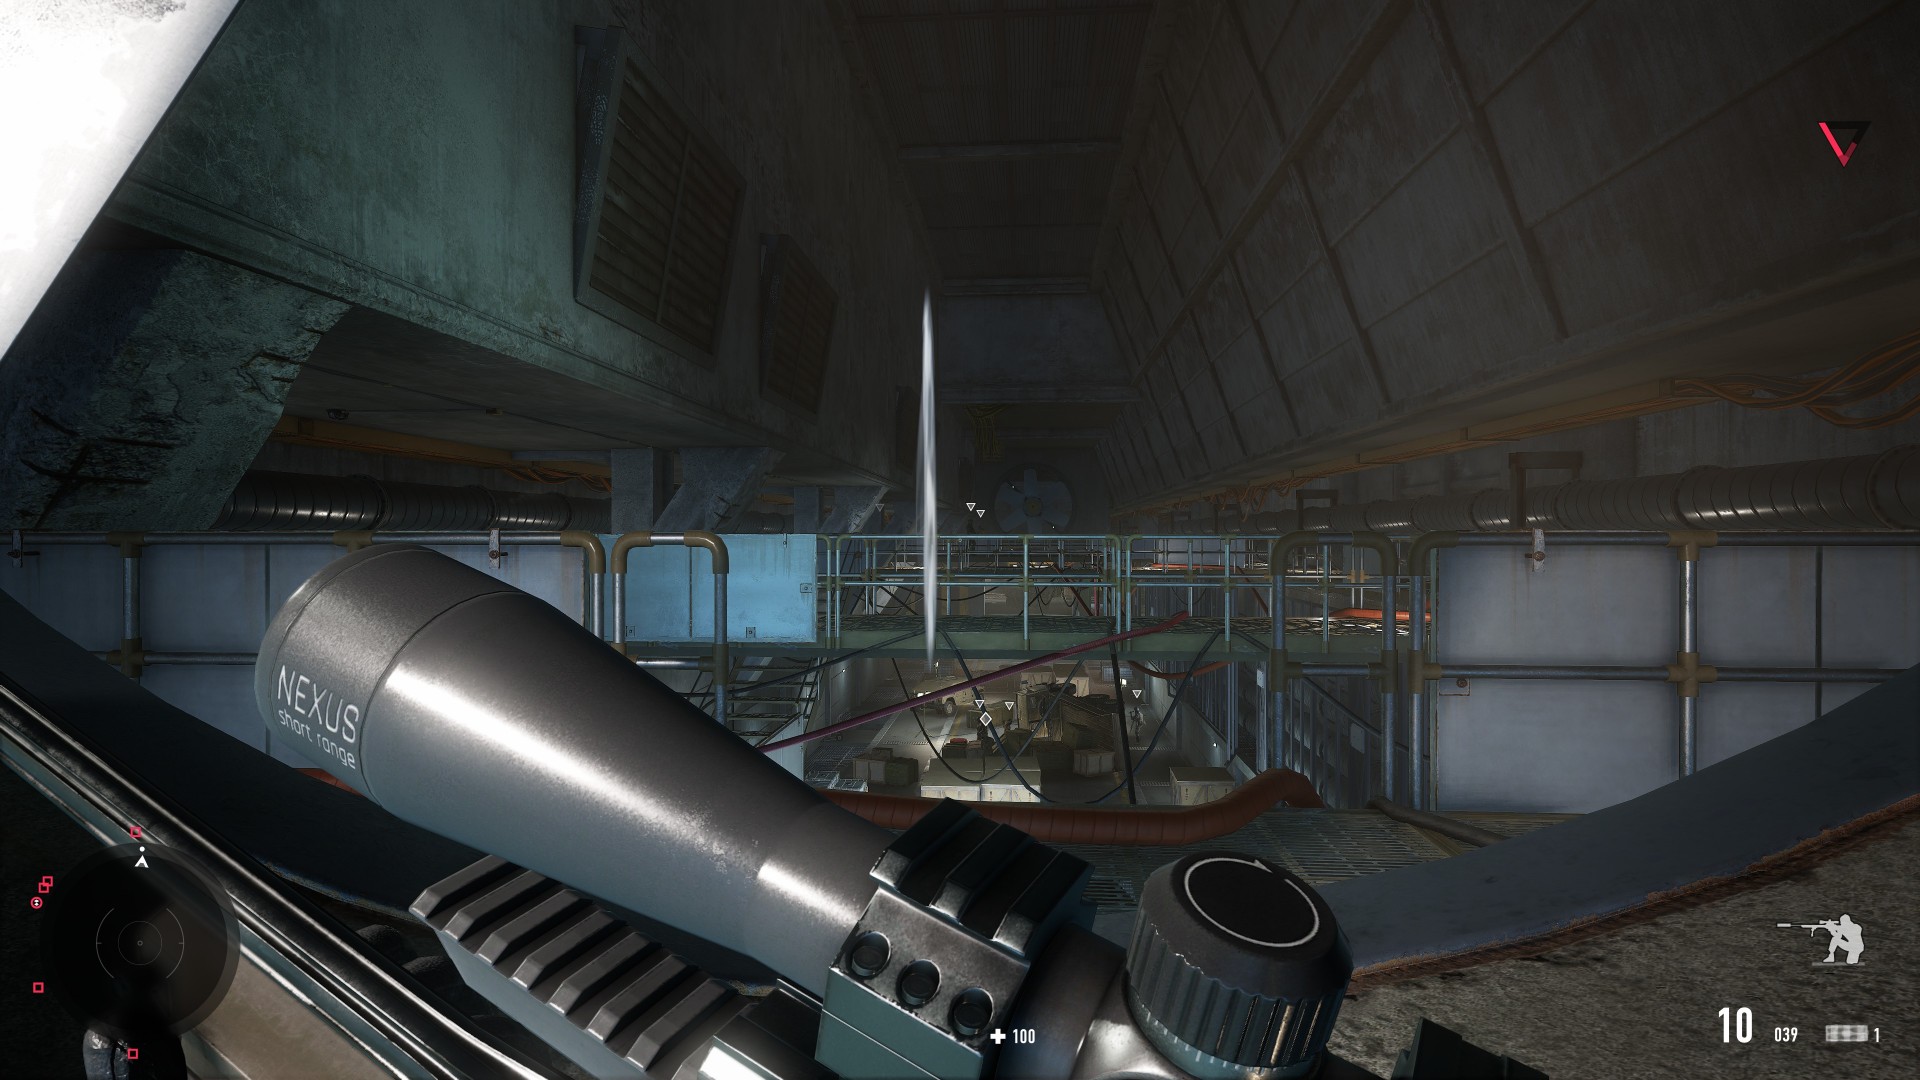
As you make your way to the next area, you should spot a bridge with an armored vehicle. Below that is a tunnel that leads to the ventilation area (I’ll talk about this in a while).
If you go past the bridge, you’ll find the second jammer as well as another vehicle.
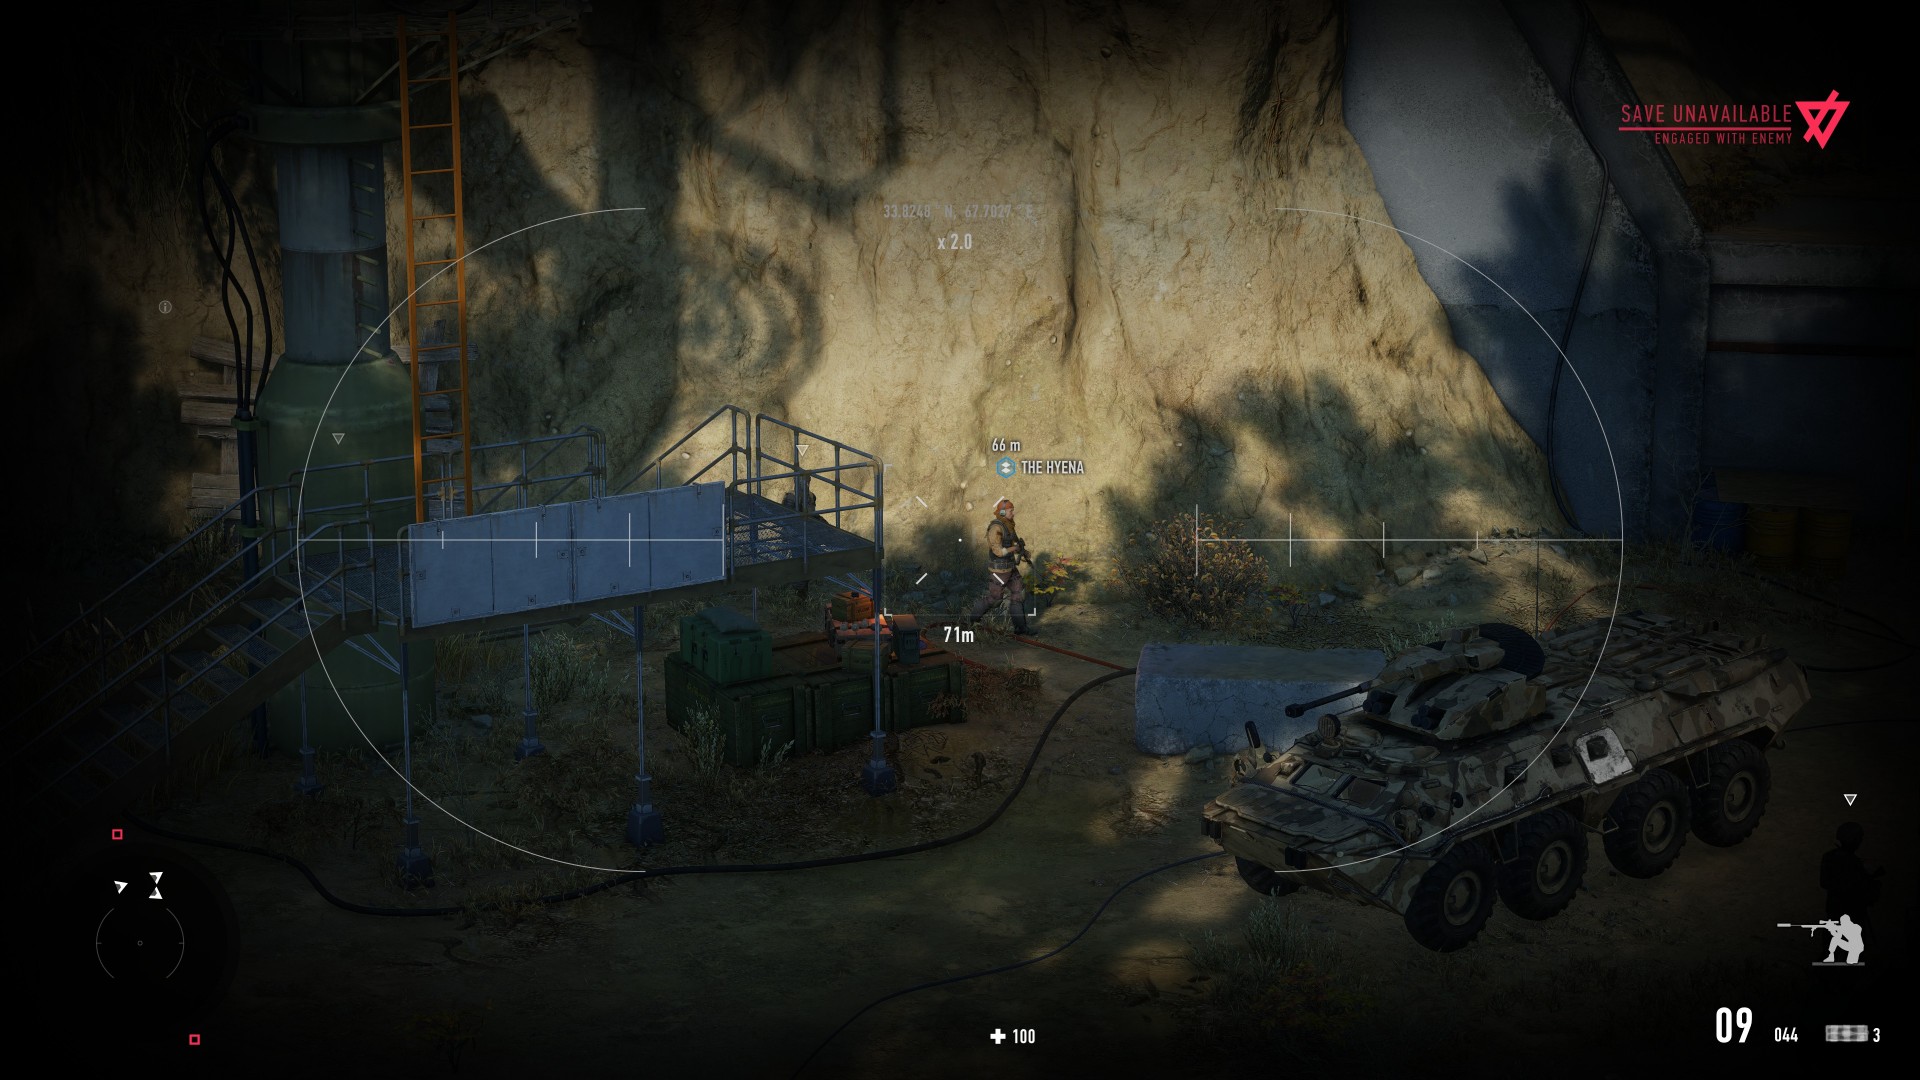
The third jammer is actually smack dab in the center of the map. But, you’ll have to go through the ventilation area (which has lots of soldiers, snipers, and vehicles) before you could even reach it.
Just take your time and plan your moves carefully in case you get spotted.
Note 1: One of the challenges requires you to disable all three jammers within five minutes of disabling the first one. My suggestion would be to do this challenge during a separate run. Clear the mobs in both sections (i.e., forest area and central area). Then, use the fast travel mechanic to interact with all three jammers quickly starting with the one at the central area.
Note 2: The central section and ventilation area are possible spawn points for the two bounty targets (Nassim Khalil and The Hyena).
All right, let’s discuss sabotaging the main antenna and the water pumps in the next section of our guide.