Progression tips
Here’s what you can expect when you play as Taurox the Brass Bull in Total War: Warhammer II‘s Vortex campaign.
Juggernaut Stance and razing
First, the force that Taurox is leading will have the “Juggernaut Raiding” stance. Think of this as a combination of the normal raiding stance (income when in other territories) and forced march (+50% extra movement). Plus, this stance lets his army gain +3 Bestial Rage to keep the horde growing. Perhaps the best part about this stance is that it actually allows you to attack an army or settlement, something that you can’t normally initiate with the forced march stance of other factions. When you combine this with settlement conquest options to raze (which add some extra movement points), you can ensure that Taurox can remain mobile on the campaign map.
Note: As mentioned in our feature article, you could encounter a particular bug. When you gain those extra movement points only to recruit a unit, you’d switch to the Hidden Encampment stance (as expected). However, once you cancel the recruitment process to switch to other stances, the extra movement points will be gone for good. Mind you, this was based on a review build that we received. It’s possible that certain fixes will remedy the issue once the DLC is out.
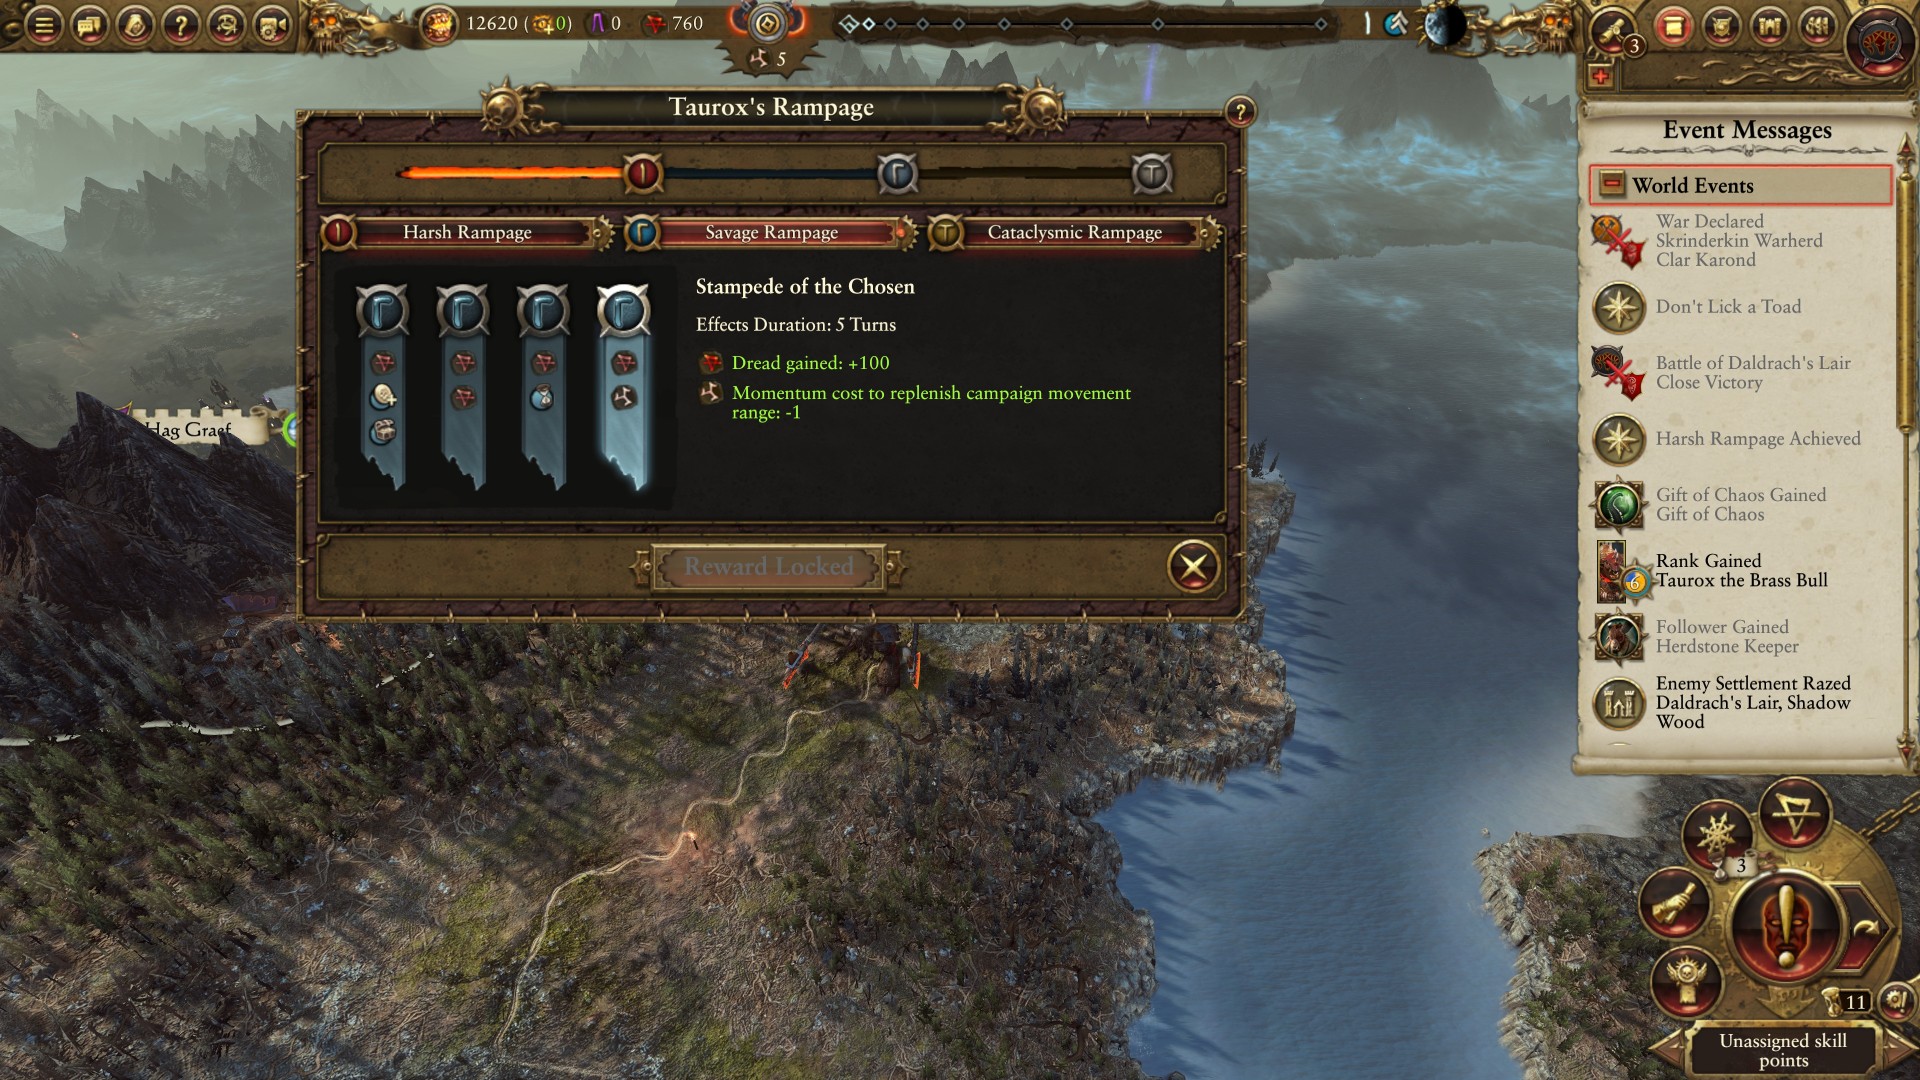
Rampage and Momentum
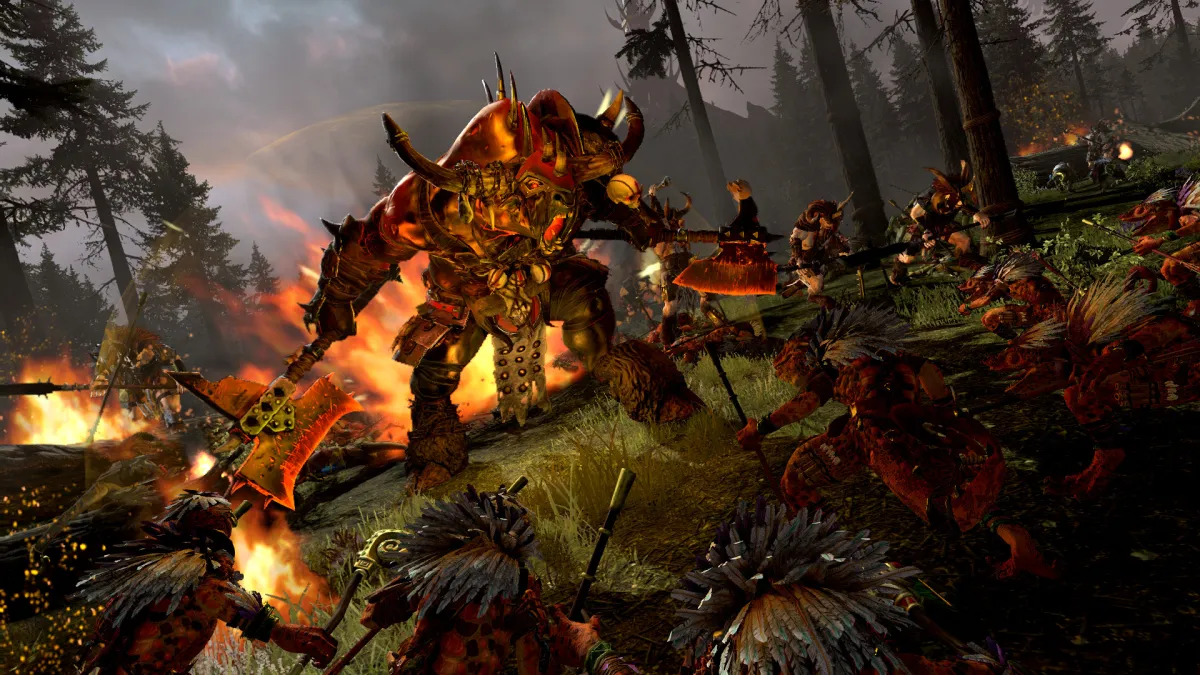
Taurox’s offensive in Total War: Warhammer II – The Silence & The Fury is sustained by his Momentum. The gist is that each battle you win adds Momentum, and the ones that you lose or retreat from will decrease it. Each turn that elapses also lowers it by a point.
Anyway, as you have +1 Momentum, you’ll earn points towards your Rampage meter. As you keep on going, you’ll unlock lots of bonuses such as extra Dread resources, lowered Dread cost for unit caps, passive perks, and bonus income. Perhaps the most ideal usage is related to Taurox’s campaign movement as, once you’ve reached the “Harsh Rampage” tier, he’ll be able to reset his movement by spending two points of Momentum. Then, at the “Savage Rampage” threshold, a specific reward lowers the cost to a mere point.
Lastly, don’t forget that your Rampage meter completely resets if you lose all Momentum or once you hit the “Cataclysmic Rampage” threshold (max). You’ll have to fight a few battles to reach “Harsh Rampage” just so Taurox regains the ability to reset his movement.
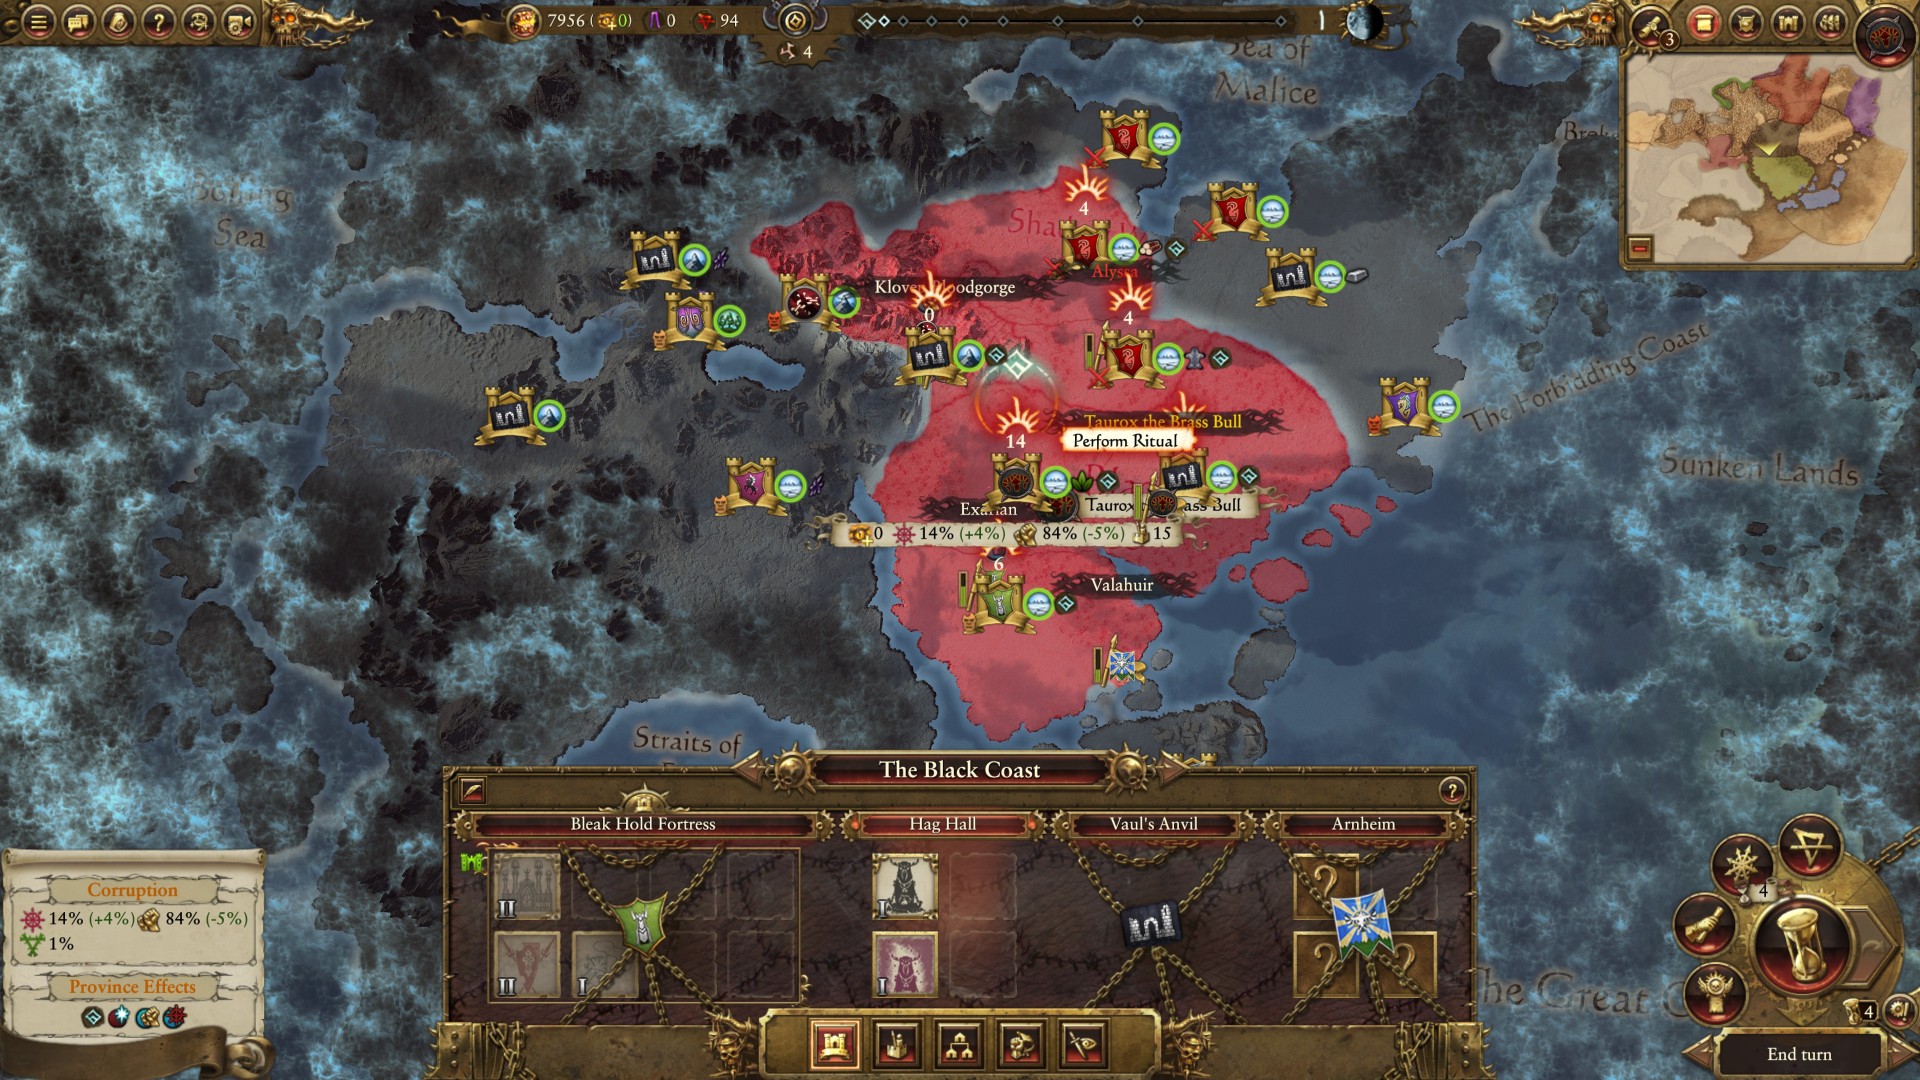
Going wild in Naggaroth
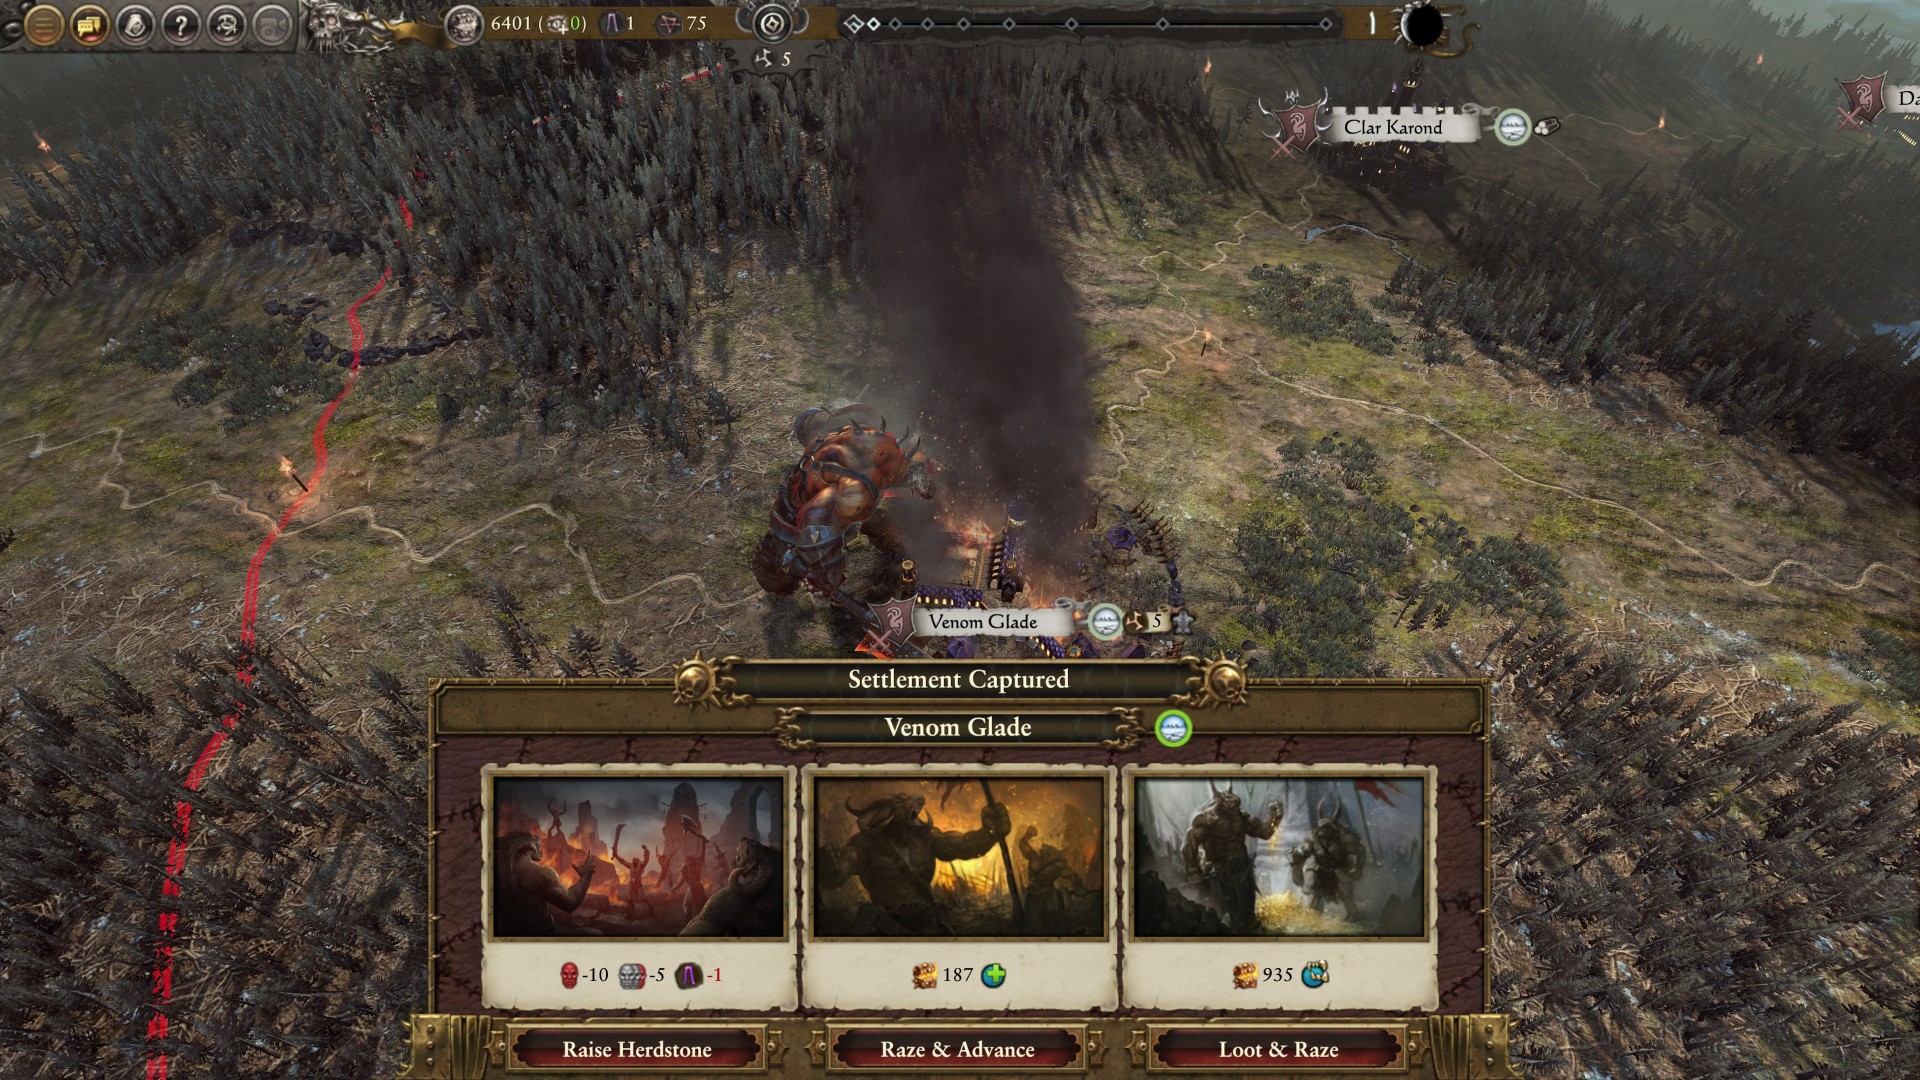
In any case, you should have a clear shot at crushing the Dark Elf faction of Clar Karond. Since my journey would eventually take me north, I decided to conquer Hag Hall (herdstone) -> Vaul’s Anvil -> Venom Glade -> Clar Karond.
Make sure you click on settlements first prior to erecting a herdstone since the icons will tell you of the other regions that are part of the Bloodground. There may be times when certain settlements, even if they’re nearby or adjacent, don’t actually add points to the Bloodground anymore. Once you’re satisfied with all the points you’ve amassed, enact the Ritual of Ruin so you can receive your first few Marks of Ruination.
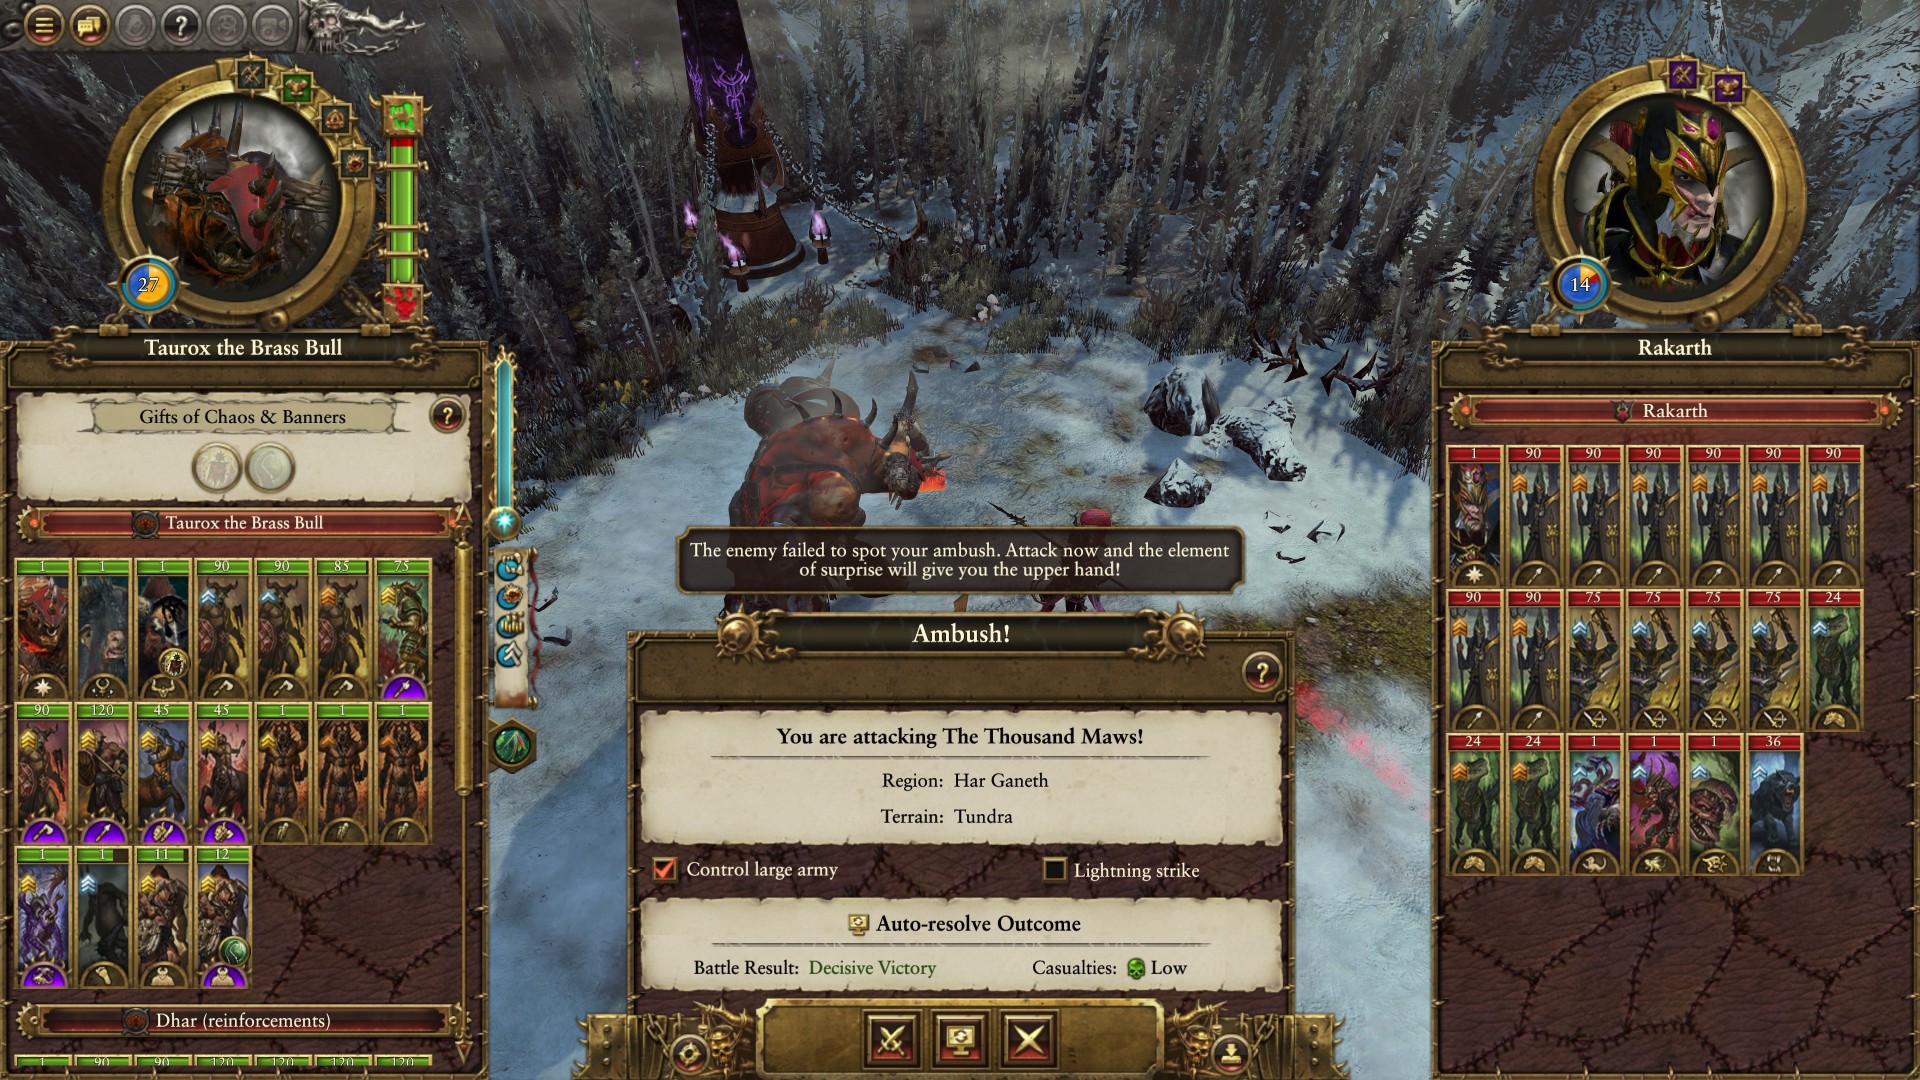
From there, I expanded further to Ghrond and, eventually, to Naggarond to eliminate Malekith. I continued onwards until I swept the land clean by taking out other leaders such as Throt the Unclean, Rakarth, Alith Anar, and Oxyotl. Remember that you need to start your turn with 500 Marks of Ruination just so you could enable the final battle to conclude the campaign.
Diplomacy options and moving onward
As for diplomacy, it’s unlikely that you’ll even care about the other factions. Indeed, I didn’t even bother befriending Chaos-aligned or Beastmen factions because that was unnecessary. Everyone is just there for you to punch and gore to death like the brazen bull that you’re controlling.
Taurox’s advance is so rapid thanks to his mechanics that he’ll be at a high enough level within a few turns. You just need to make proper use of his quirks, and be a little lucky that the AI sends out armies for you to battle. In VH/VH difficulty, this can be a little infrequent as the AI prefers to bring out larger stacks. In legendary difficulty, you might spot several smaller armies milling around to help you with your Rampage/Momentum build-up.
All right, let’s discuss other facets related to Taurox the Brass Bull’s campaign. Feel free to take a look at our guides on the Beastmen rework, Taurox’s Rampage and Momentum mechanics, the Rune-Tortured Axes quest battle, and the Heart of the Dark showdown against Oxyotl.
Total War: Warhammer II – The Silence & The Fury is available via Steam. For more information, check out our guides and features hub.