Chivalry 2 — Maps and their objectives guide
Swords at the ready!

Now that we’ve had the chance to explore all of the swordplay tactics for Chivalry 2, it’s about time to truly prepare for battle by learning more about the maps and what the objectives of each one are. The one snag is that there are several different combat scenarios that you should probably familiarize yourself with before sounding your war cry. Lord knows I wouldn’t want to go into battle unprepared, just to get immediately skewered. It’s time to learn about objectives.
There are a grand total of eight maps in Chivalry 2, all of which are focused on different aspects of multiplayer combat. Five of those offerings are team objective maps where you need to work alongside other members of your faction to accomplish difficult, unified tasks.
Objectively interesting
Here is a general rundown of what you can expect from each team objective mission:
- Fall of Lionspire – The Masons are on their way to Glaencourt, but somewhere along the way, they decided to run roughshod through the Agathian-occupied city of Lionspire. The back-and-forth siege has multiple stages and includes storming a front gate armed with rams and ultimately, explosions!
- The Slaughter of Coxwell – Masons are once again on the march and intent to take the fight to their adversaries in the most insane manner possible. I’ve always heard that the Medieval era was a brutal, practically lawless time, but Chivalry 2 takes that to the extreme. Sure, you’re always on the hunt for booty, but is it really necessary to kill innocent peasants, all in the name of faction warfare? Luckily, the Agathian army is around to protect bystanders.
- The Battle of the Dark Forest – In the last of the Mason’s aggressive missions, they are now trying to navigate a convoy through the aforementioned foliage, only to face resistance from pockets of Agathian forces. It doesn’t take long to learn that the end goal is to kill a member of the Agatha nobility. Which side of the fence do you fall on?
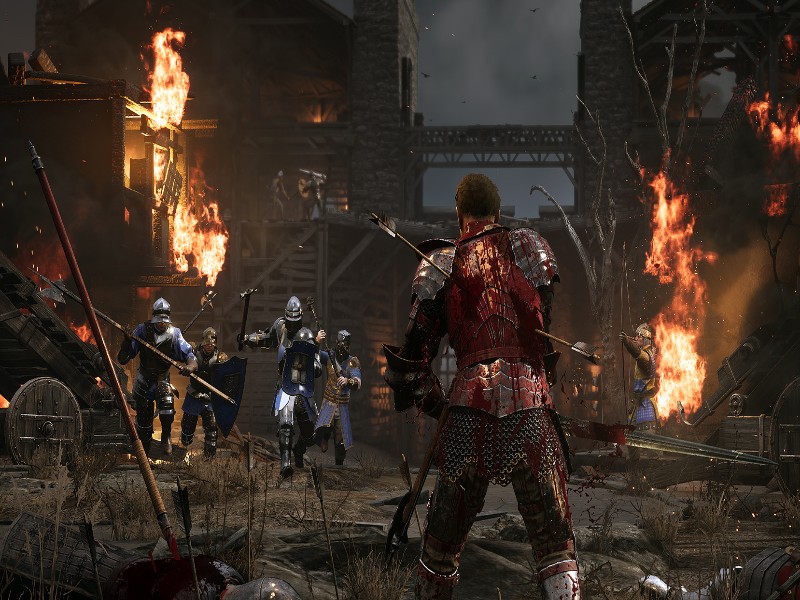
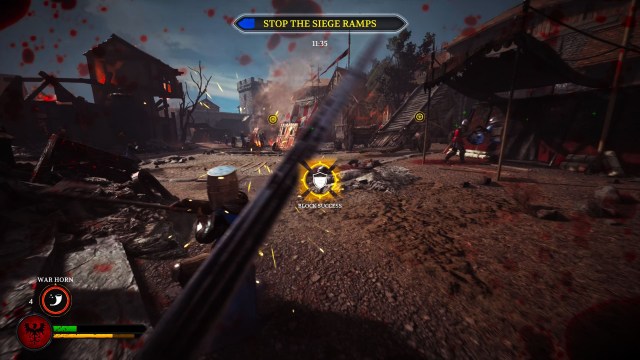
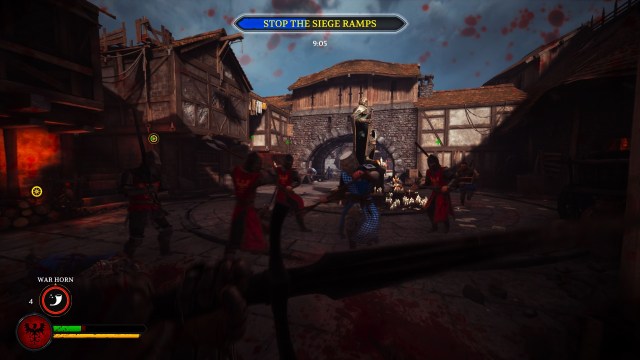
- The Siege of Rudhelm – In a nice change of pace, the Agathian troops are finally returning the favor and taking the fight to the Masons. My favorite set piece item, the siege ramp, is a focal point of the mission, as Team Agatha is forced to push the unwieldy bastards across the battlefield. The Trojans ain’t got nothin’ on you, while you make use of the gigantic structures to breach the Mason stronghold and take out another member of the faction’s nobility.
- Escape for Falmire – Last, but most certainly not least, Team Agatha is once again the aggressor, in a quest to rescue a captive champion. Masons are desperately trying to fight off a rapid siege and protect their especially significant prisoner of war. Regardless of the faction, are you up to the challenge?
Putting the ‘death’ in deathmatch
The remaining three maps in Chivalry 2 are themed deathmatch arenas. In this case, the bloodbaths take the form of either a team deathmatch or a lone wolf free-for-all. You’ll get the chance to aggressively explore the following arenas:
- The Fighting Pit – This unique setting revolves around making the best use of the rubble and stone-based based structures, to get the jump on your opposition. This is a very fast-paced gladiatorial arena, complete with cheering onlookers. Be sure to tread lightly, while avoiding accidentally falling into one of the strategically located pits or impaling yourself on random spikes scattered haphazardly throughout the map.
- Tournament Grounds – If you’ve ever seen a movie featuring jousting tournaments, you have a pretty good idea of what to expect from this fairly compact map. There are plenty of areas to either hide out or get the high ground on the opposition, but ultimately all that matters is your kill count. Watch your back, because this is anything but a playful exhibition.
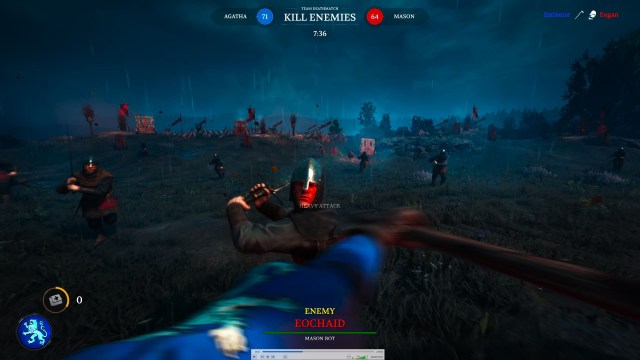
- The Battle of Wardenglade – This is the only deathmatch setting in Chivalry 2 that’s an actual battlefield. Taking place in what appears to be the remnants of a previous conflict, the wide-open, and fairly flat structure makes this a favorite for helping to level the playing field between all different classes. Get ready to dive into the bloodshed and anarchy, head-on.
I think it somewhat goes without saying, but Chivalry 2 is going to give you plenty of variety across its multiplayer shenanigans. There’s pretty much something for everyone, as long as your passionate about causing damage and inducing bloodshed. Be sure to shine up your armor and sharpen your sword, because there’s more than enough manslaughter to go around. Do you have what it takes to turn the tide of battle?
Chivalry 2 is currently available for purchase in the Epic Game Store. For more help with games, check out our other guides.


