
Cyberpunk 2077 technical review — Simply breathtaking
Cyberpunk 2077 has finally arrived. Here's our technical review focusing on the graphics, performance, and ray tracing options.

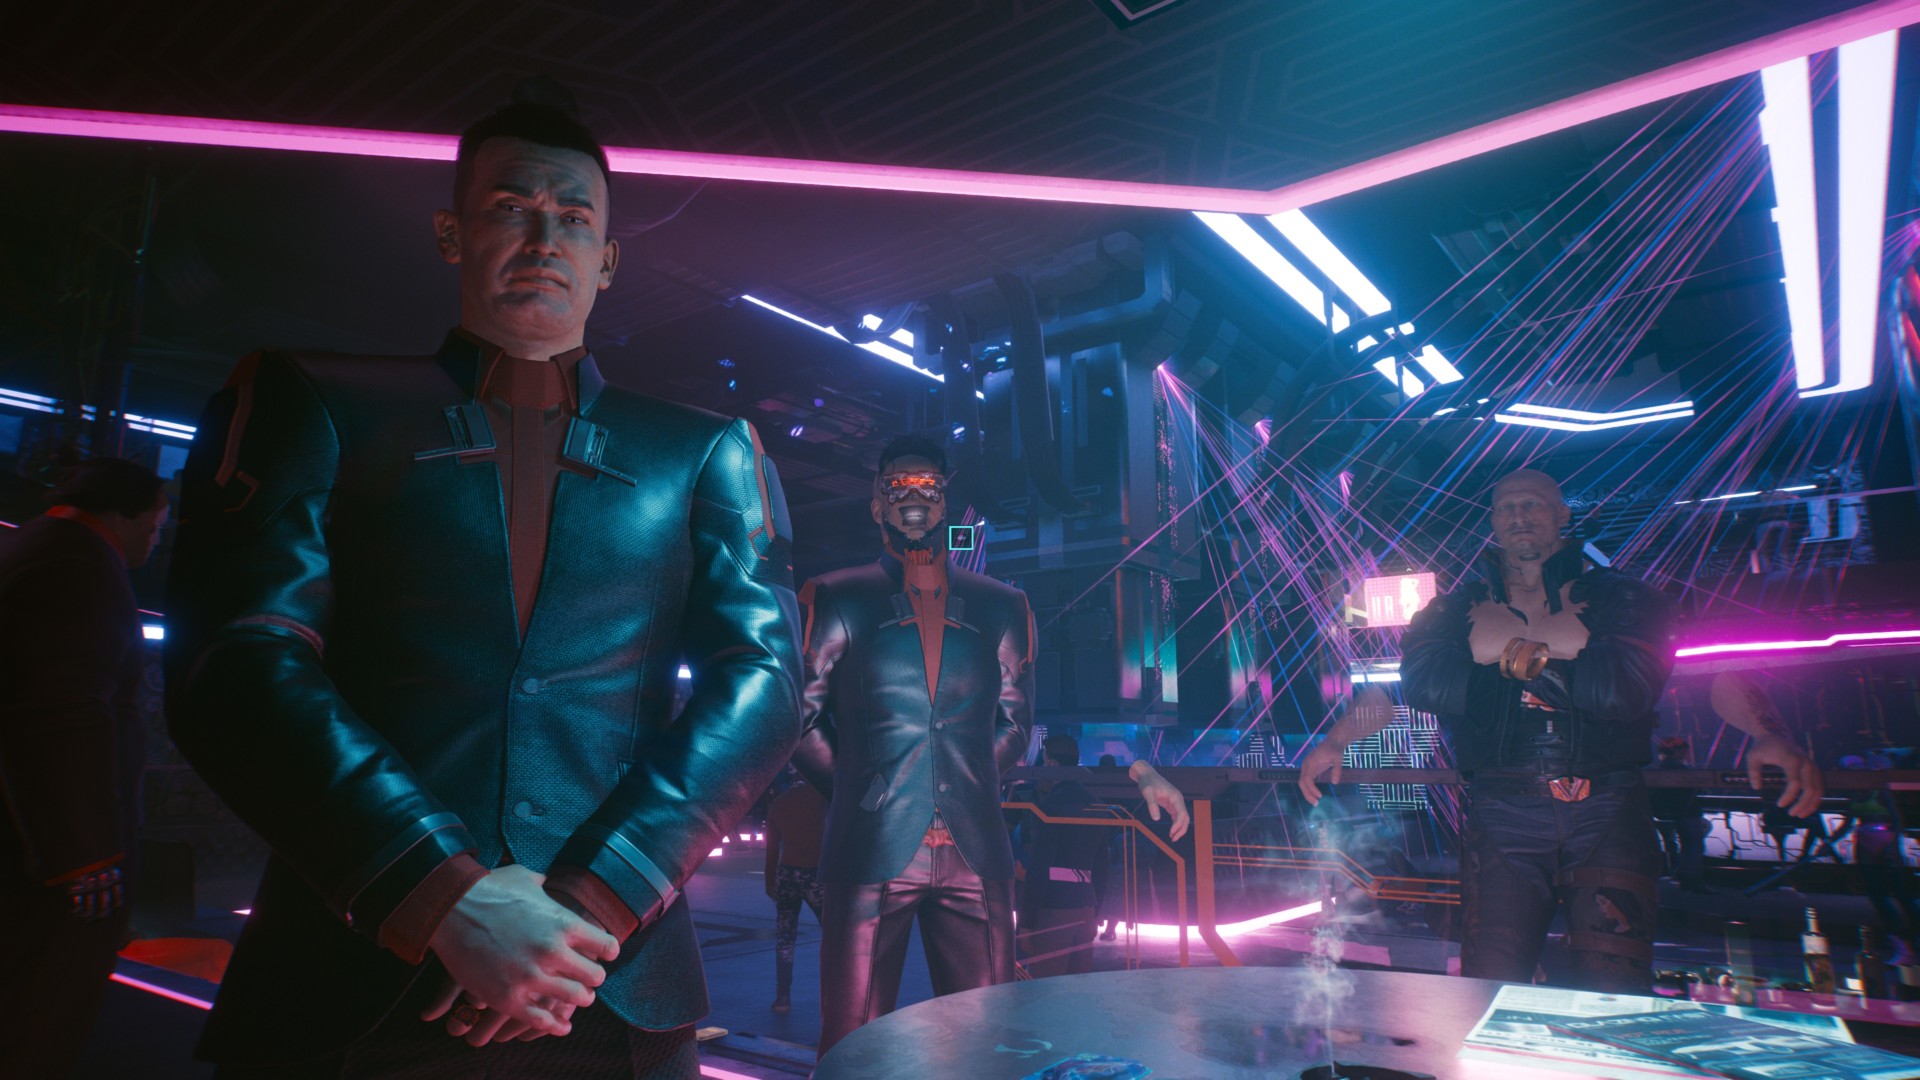
After a few delays, Cyberpunk 2077 has finally arrived. The RPG set in a dystopian future has a lot in store for players, and the graphics are sure to dazzle (if we believe the hype).
So, that brings us to an important question: how well does the game run and perform? We’ll get right to that, but, first, here are the system requirements.
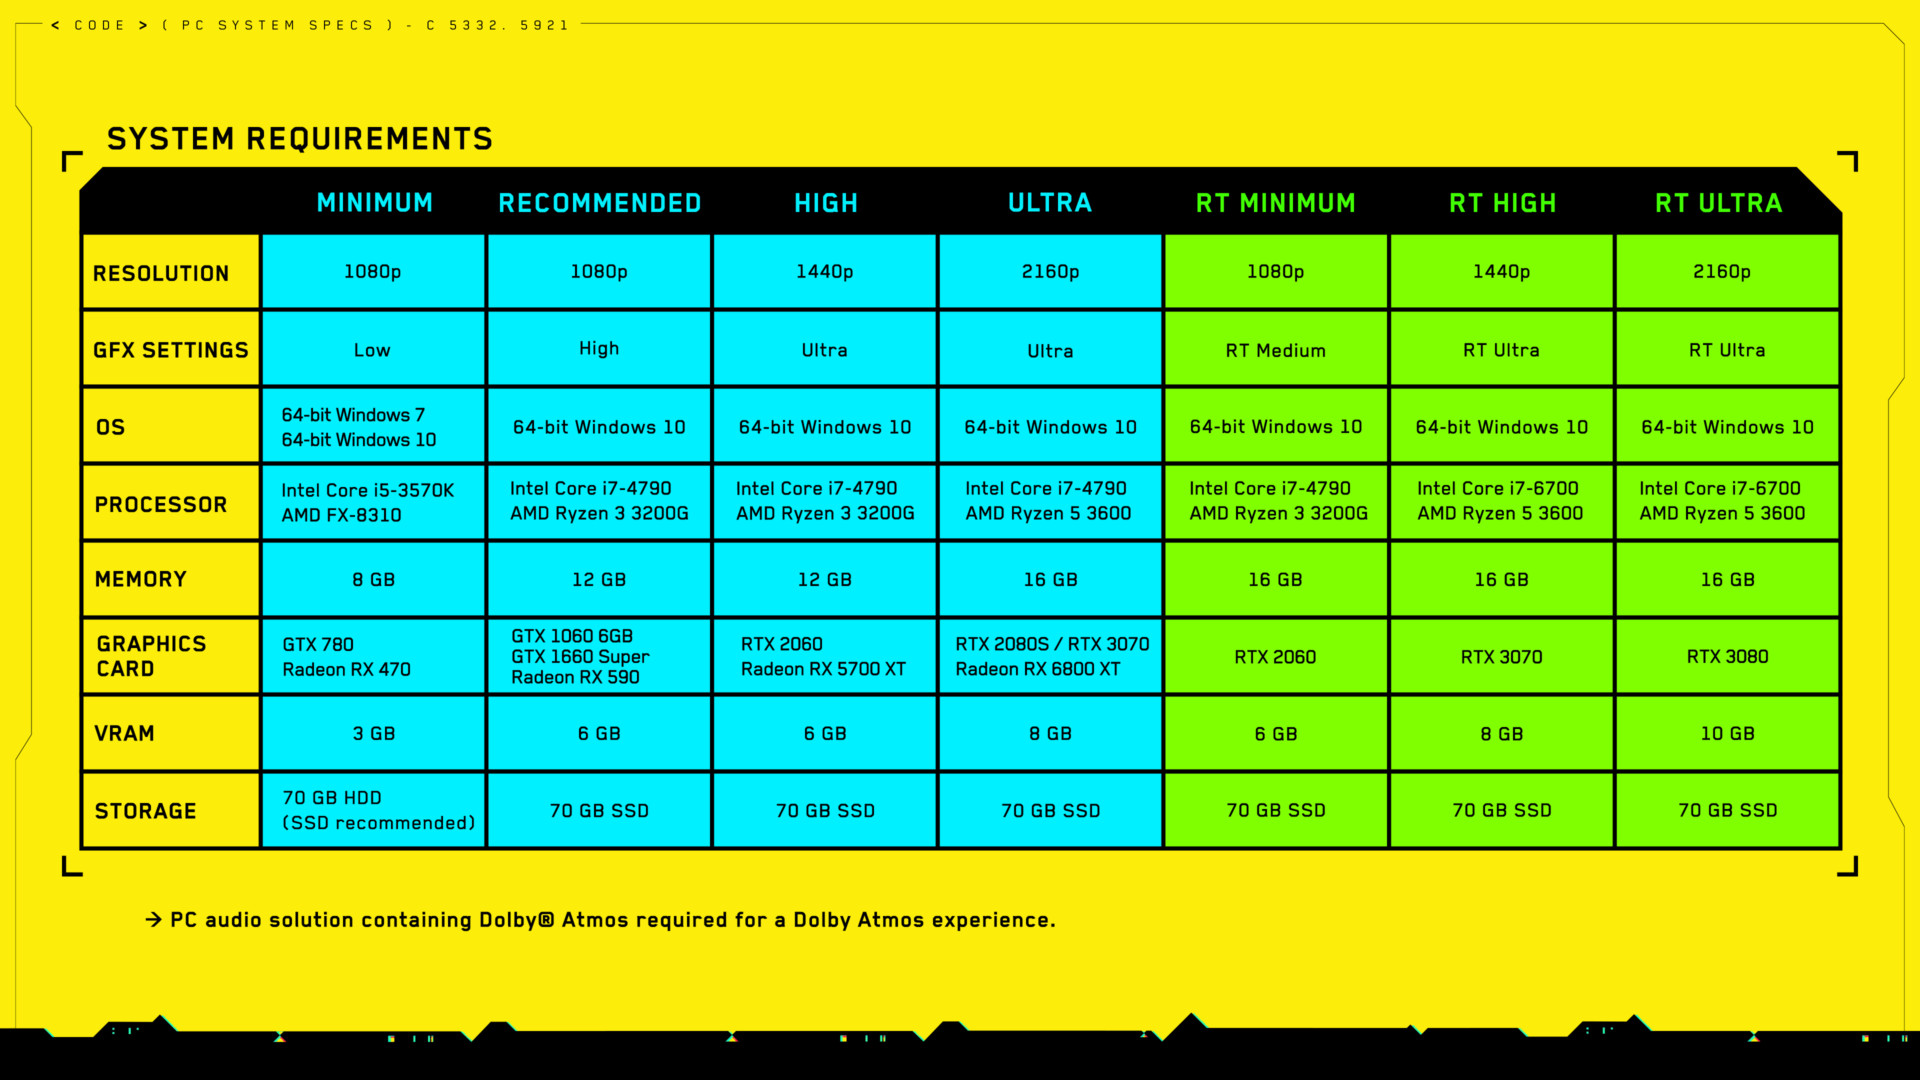
Cyberpunk 2077‘s system requirements
Minimum
- OS: Windows 7 or 10 (64-bit)
- CPU: Intel Core i5-3570K or AMD FX-8310
- Memory: 8 GB RAM
- GPU: GTX 780 or Radeon RX 470
- DirectX: DirectX 12
- Storage: 70 GB of available space – SSD recommended
Recommended
- OS: Windows 10 (64-bit)
- CPU: Intel Core i7-4790 or AMD Ryzen 3 3200G
- Memory: 12 GB RAM
- GPU: GTX 1060 6GB, GTX 1660 Super or Radeon RX 590
- DirectX: DirectX 12
- Storage: 70 GB of available space – SSD recommended
Author’s
- OS: Windows 10 (64-bit)
- CPU: Intel Core i9-10900K
- Memory: 32 GB RAM
- GPU: Nvidia GeForce RTX 3080
- DirectX: DirectX 12
- Storage: SanDisk Extreme Portable SSD
The above comes from Cyberpunk 2077‘s GOG store page and are for 1080p gaming. However, there are more details from GOG’s support page as seen in the following image.
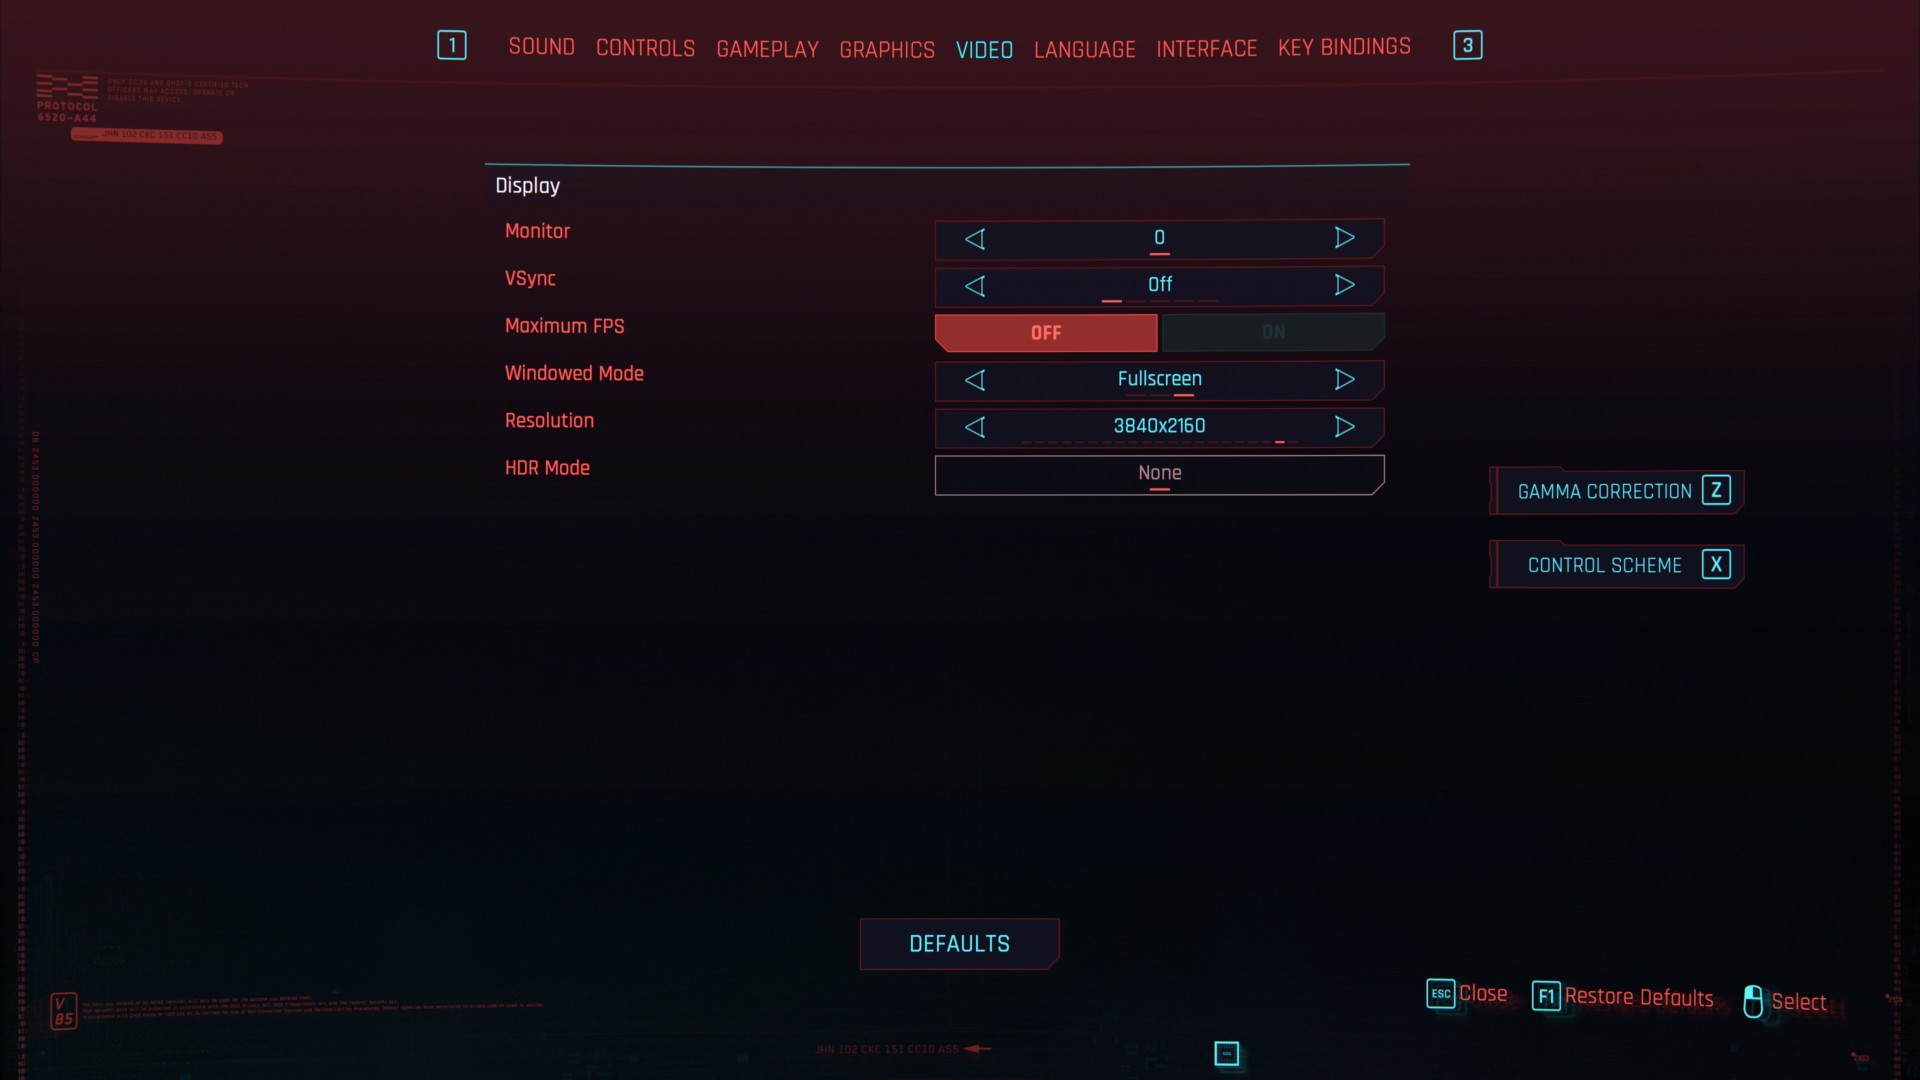
Video settings
You’ll see Cyberpunk 2077‘s video settings below. These include your chosen monitor, VSync, framerate cap, and resolution. In my case, I’m playing on a 3840x2160p/4K TV. Thus, the graphics comparisons and performance results that will be mentioned in a while are based on that.
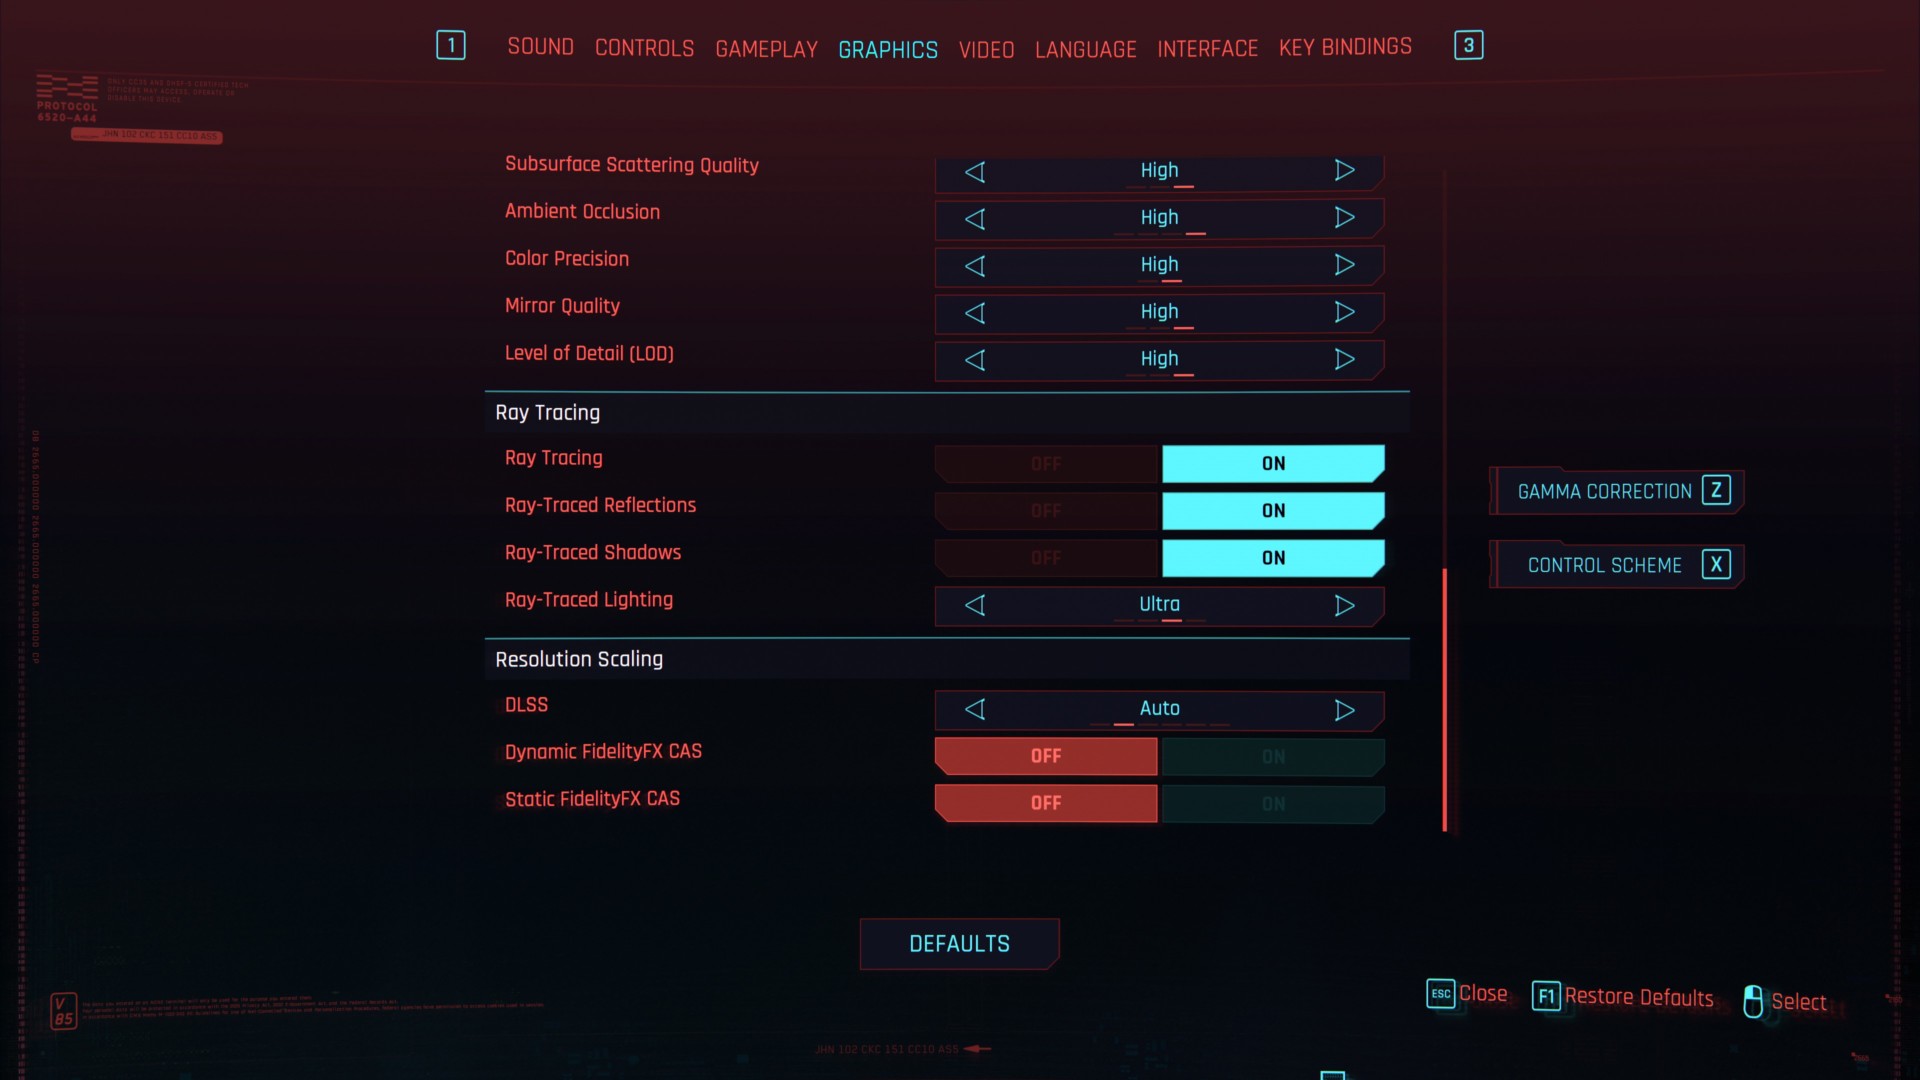
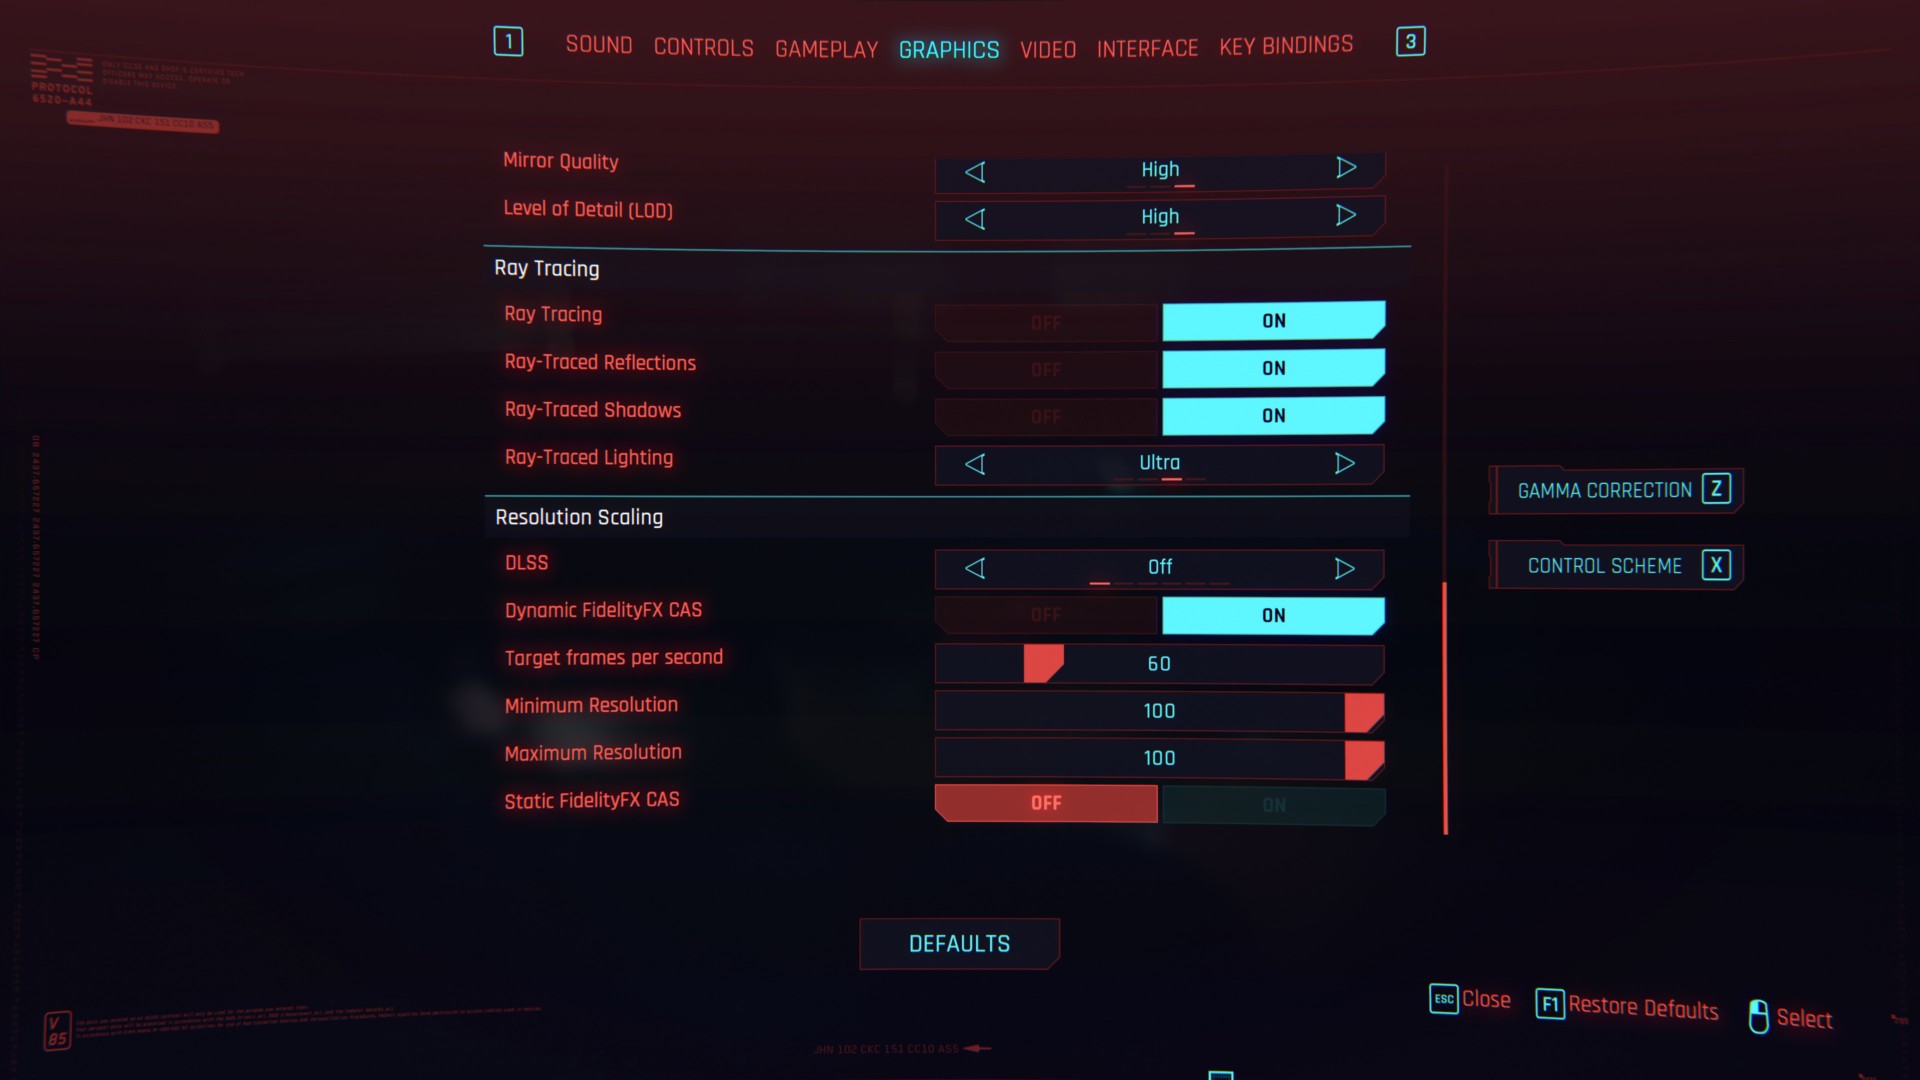
Graphics settings
The next two images show Cyberpunk 2077‘s graphics settings. There are tons of options here from shadow quality, lens flare, ambient occlusion, field of view, and more. Likewise, apart from “custom,” the game uses the following presets: low, medium, high, ultra, ray tracing: medium, and ray tracing: ultra.
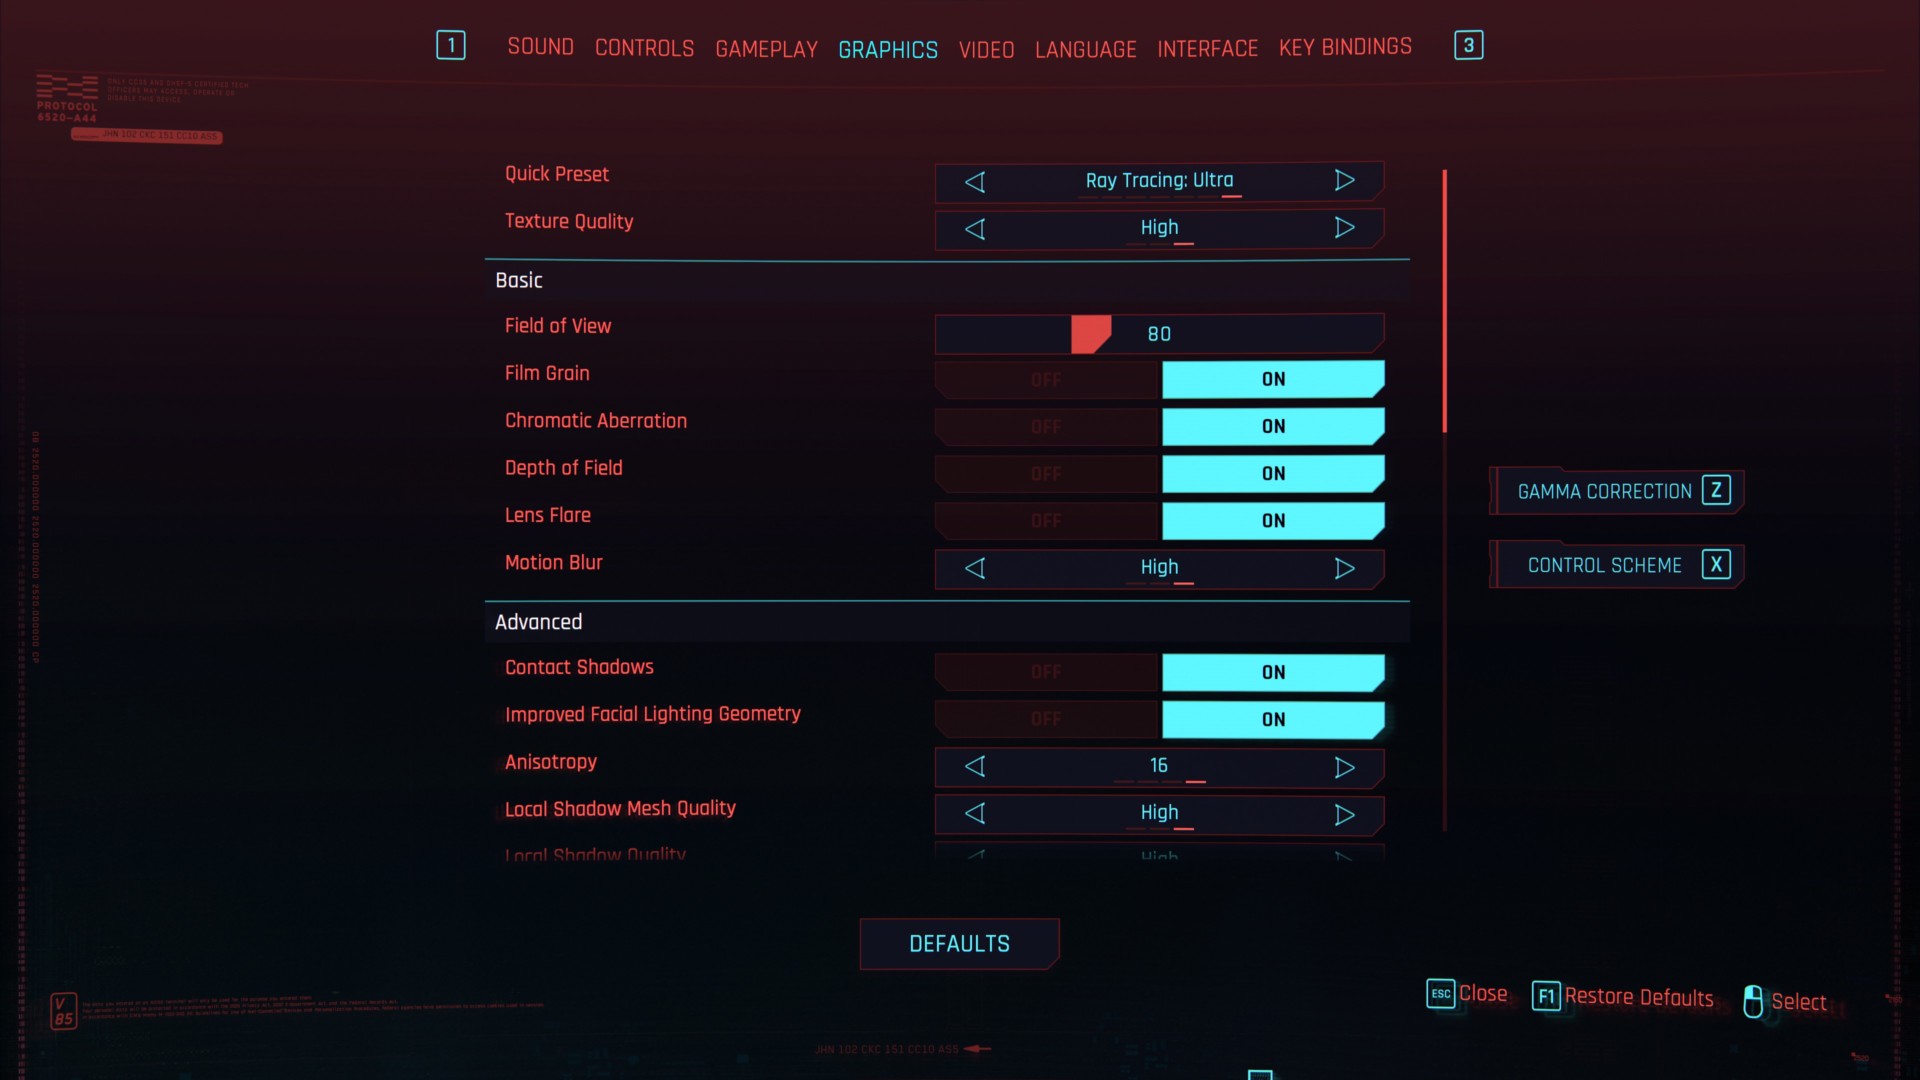
At the very bottom, you’ll see ray tracing and resolution scaling options. If you have an RTX card, then you can make the most out of this. Heck, I actually shelled out for an RTX 3080 (which is hard to come by in the Philippines) since I felt that this game’s a worthwhile means of “seeing the trend.”
As for resolution scaling, Deep Learning Super Sampling (DLSS) is available if you have an Nvidia RTX card. It tweaks the resolution ever so slightly to maximize your framerates even when using ultra or high settings. If activated, it has the following presets: auto, quality, balanced, performance, and ultra performance.
Alternatively, you can use AMD’s FidelityFX (Dynamic or Static), with the former able to target a specific FPS. I should add that the FidelityFX options can be used regardless of your video card.
DLSS vs. FidelityFX
Of course, if you have an Nvidia RTX card, then DLSS is the way to go due to a fairly obvious reason: DLSS and FidelityFX are mutually exclusive. If you enable ray tracing options in Cyberpunk 2077, then picking DLSS – Auto nets you stable framerates. But, if you use FidelityFX (disabling DLSS automatically), the game slows down to a crawl.
Here are a couple of images:


The visual difference, at least at a glance, is minimal. But, it’s the FPS we’re talking about here. Plus, considering that I’m getting higher FPS with ray tracing: ultra (DLSS – Auto) compared to ray tracing: off/ultra (Dynamic FidelityFX), then the former comes out ahead.
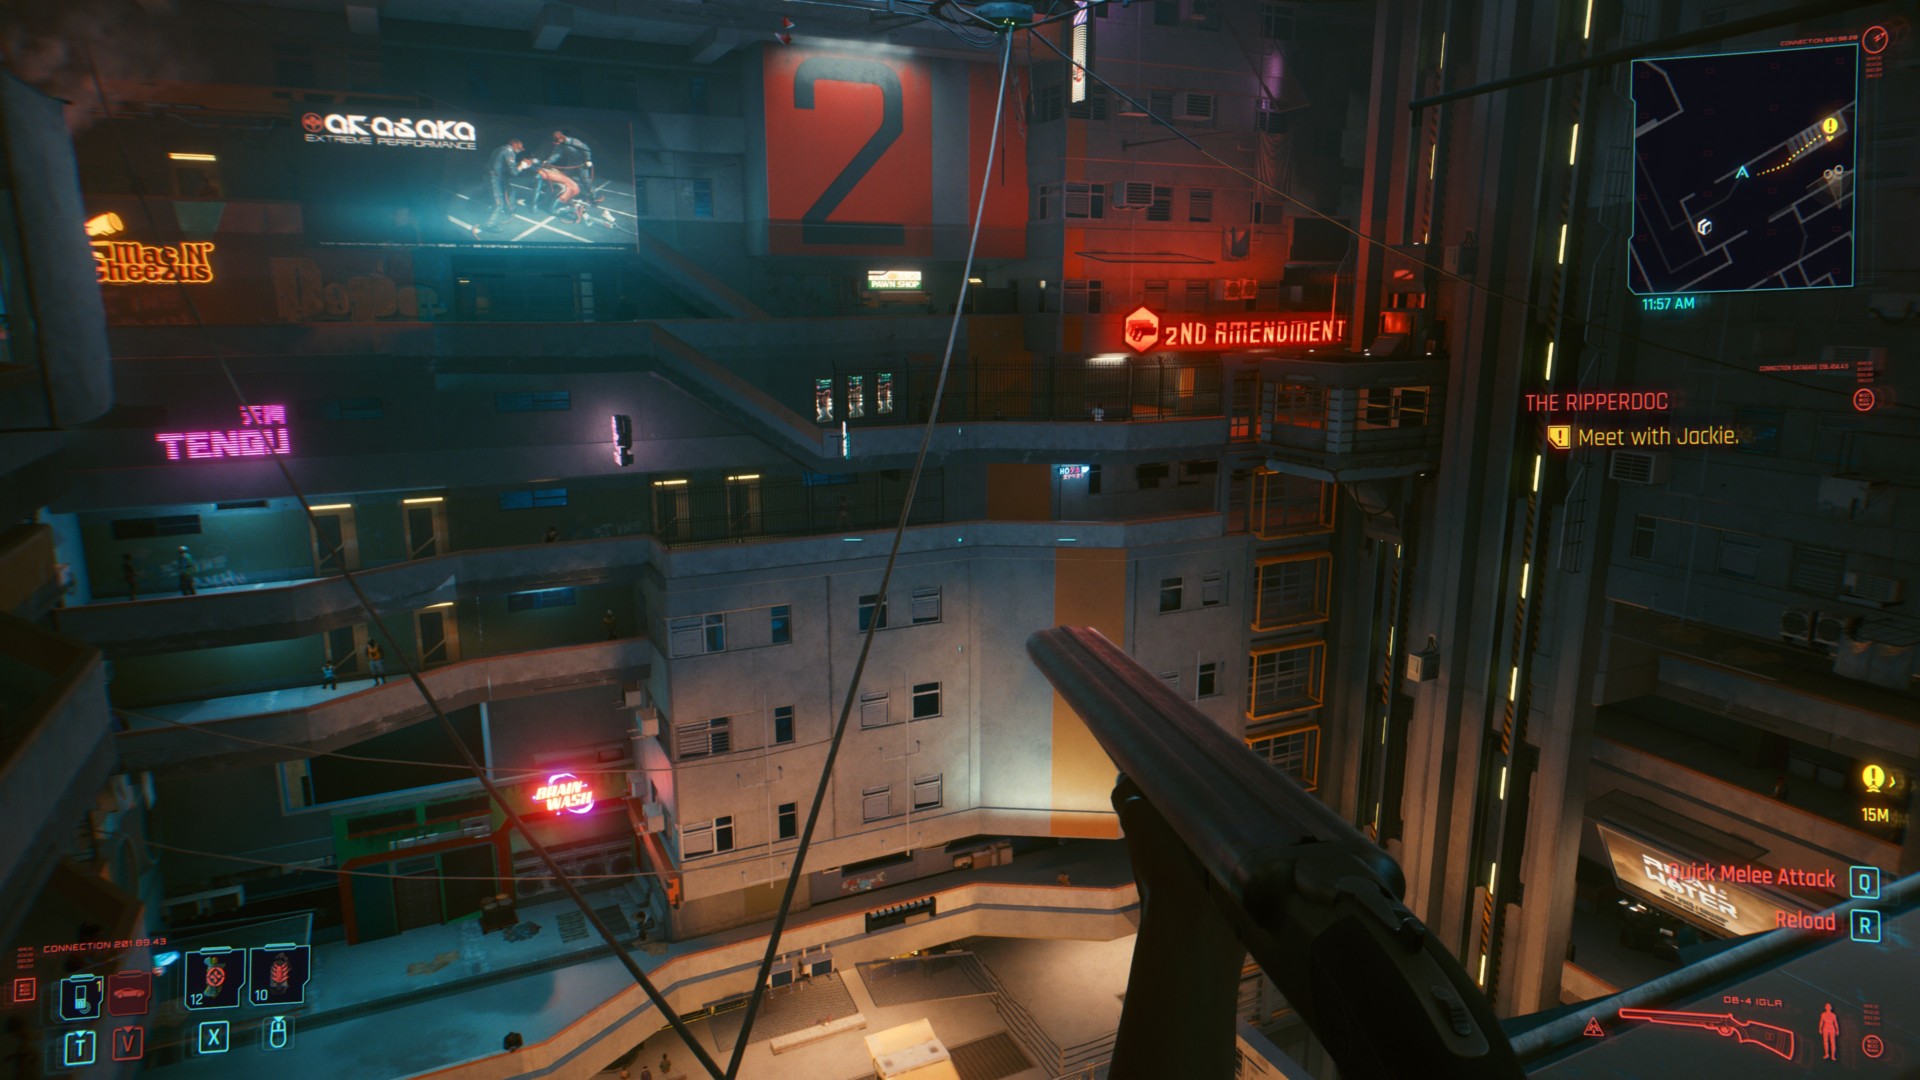
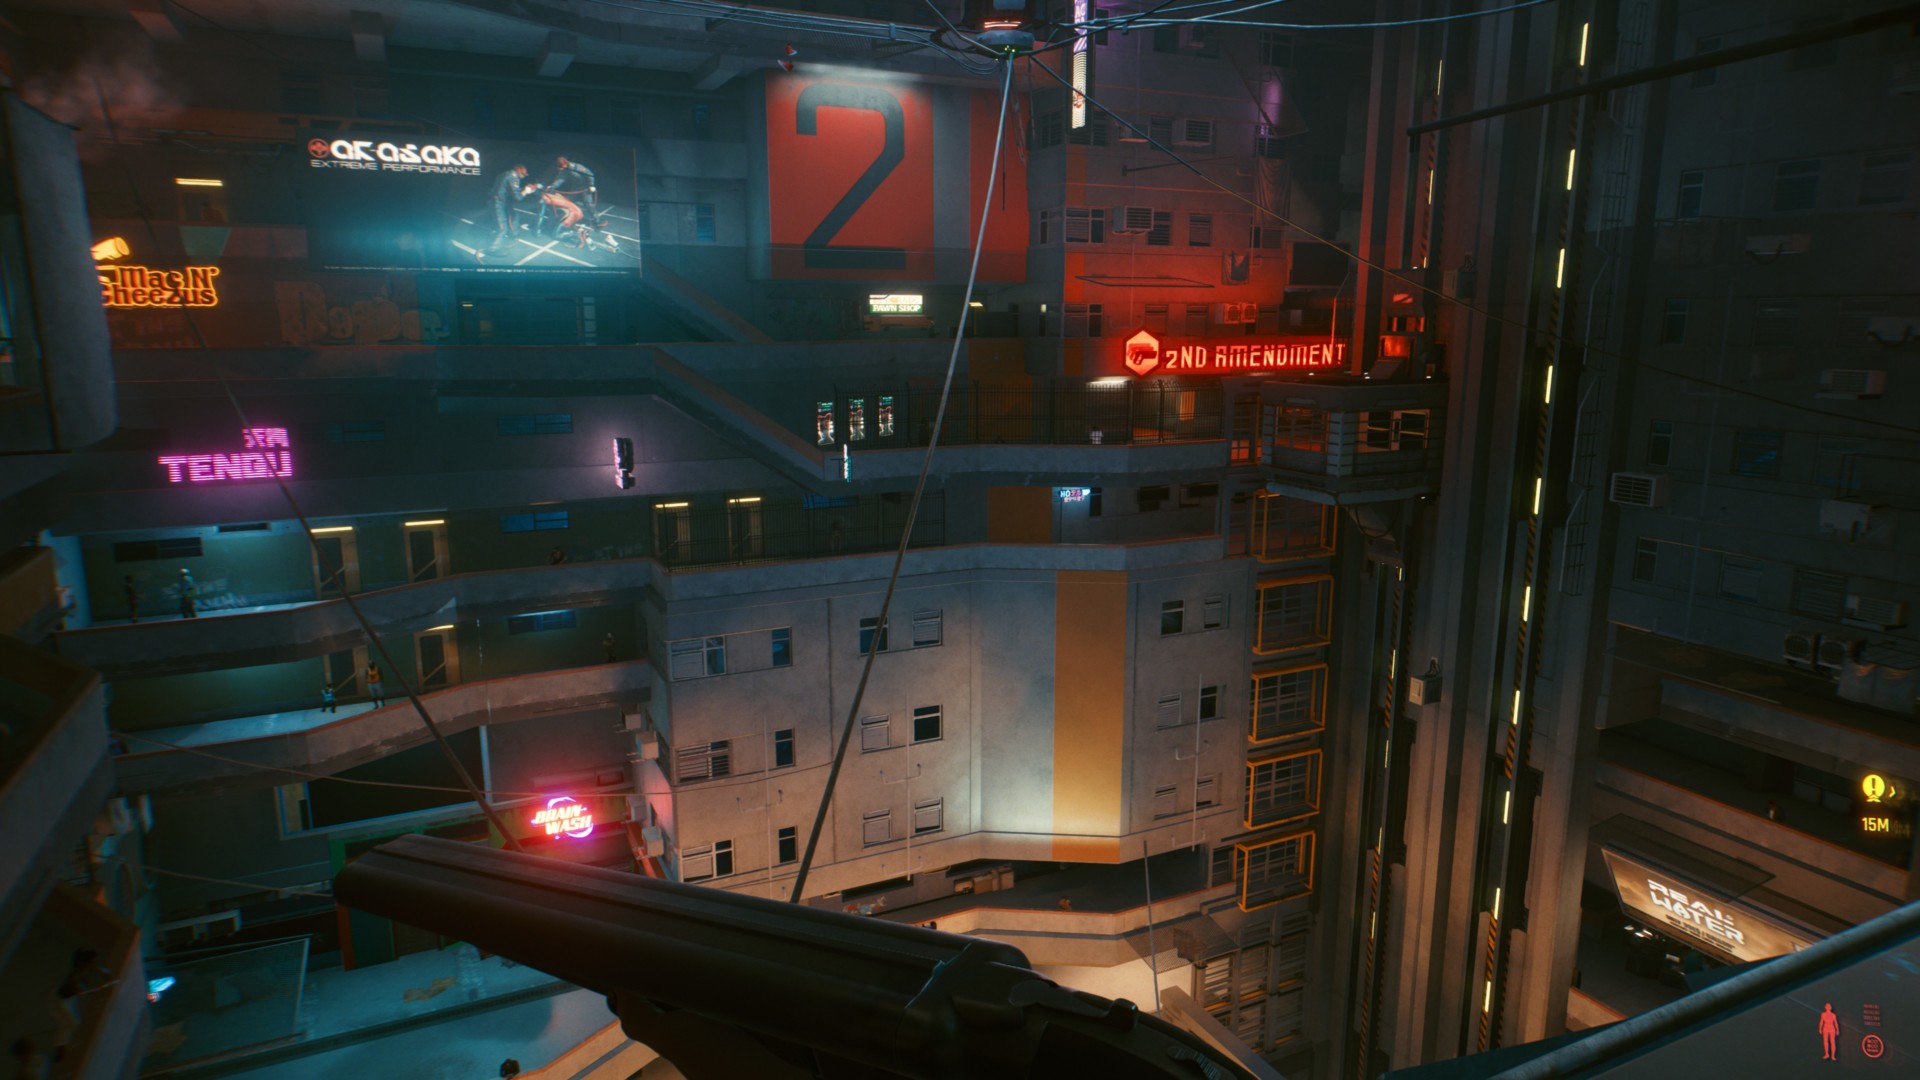
Ray-traced Lighting comparisons
In this section, we’ll have a quick look at the differences with the ray-traced lighting options in Cyberpunk 2077:


Graphics comparisons and performance
For this section, I’ve got three sets of images using different presets (all in 4K resolution). Likewise, I’ve added the average FPS I had in these locations. You can click on the images below for a larger view.
Corpo prologue: V’s terminal


| Preset | DLSS | FPS |
| Ray Tracing: Ultra | Off | 20 |
| Auto | 60 | |
| Quality | 40 | |
| Performance | 60 | |
| Ultra Performance | 80 | |
| Ray Tracing: Medium | Off | 30 |
| Auto | 75 | |
| Quality | 50 | |
| Performance | 75 | |
| Ultra Performance | 95 | |
| Ultra | Off | 45 |
| Auto | 100 | |
| Quality | 75 | |
| Performance | 100 | |
| Ultra Performance | 125 | |
| High | Off | 55 |
| Auto | 110 | |
| Quality | 85 | |
| Performance | 110 | |
| Ultra Performance | 135 | |
| Medium | Off | 65 |
| Auto | 130 | |
| Quality | 100 | |
| Performance | 130 | |
| Ultra Performance | 155 | |
| Low | Off | 85 |
| Auto | 145 | |
| Quality | 120 | |
| Performance | 145 | |
| Ultra Performance | 160 |
Corpo prologue: A slick ride


The framerates I got for these kinds of locations were similar to the ones above.
Lizzie’s Bar: Exterior


| Preset | DLSS | FPS |
| Ray Tracing: Ultra | Off | 5 (I’m not kidding.) |
| Auto | 55 | |
| Quality | 35 | |
| Performance | 55 | |
| Ultra Performance | 75 | |
| Ray Tracing: Medium | Off | 30 |
| Auto | 65 | |
| Quality | 50 | |
| Performance | 65 | |
| Ultra Performance | 80 | |
| Ultra | Off | 45 |
| Auto | 90 | |
| Quality | 75 | |
| Performance | 90 | |
| Ultra Performance | 110 | |
| High | Off | 55 |
| Auto | 100 | |
| Quality | 80 | |
| Performance | 100 | |
| Ultra Performance | 125 | |
| Medium | Off | 70 |
| Auto | 120 | |
| Quality | 100 | |
| Performance | 120 | |
| Ultra Performance | 135 | |
| Low | Off | 85 |
| Auto | 130 | |
| Quality | 120 | |
| Performance | 130 | |
| Ultra Performance | 145 |
Note 1: We’ve been discussing a lot about graphics settings, ray tracing, and performance in this technical review. Assuming you’ve got an Nvidia card, don’t forget to download Nvidia’s latest driver which has optimizations for Cyberpunk 2077.
Note 2: One more thing, CD Projekt RED has told us that Denuvo might impact performance. The game version that I’m using currently has Denuvo active. But, it’ll be DRM-free once Cyberpunk 2077 officially launches. I do need to switch to the release build which is going to take a while.
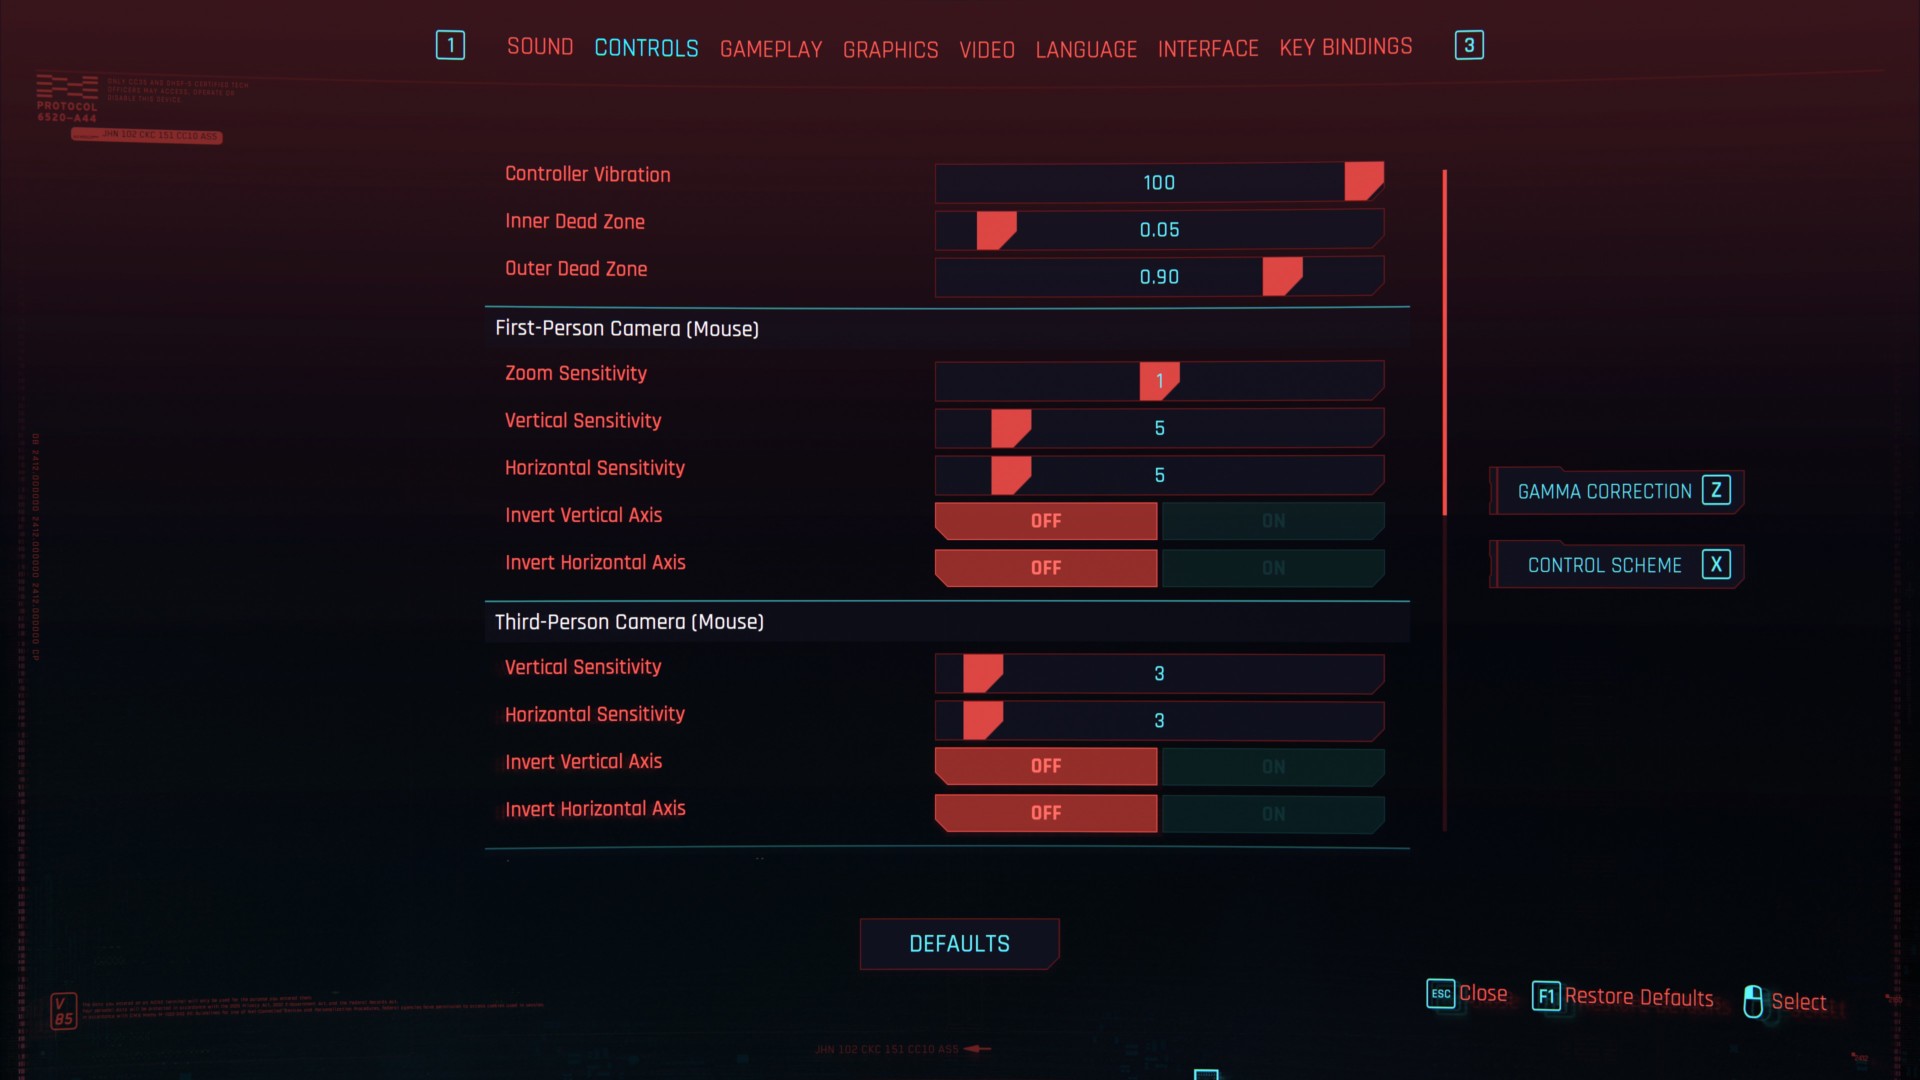
Control settings
Anyway, we’re done with Cyberpunk 2077‘s graphics and performance. Now, let’s take a look at the controls.
Here are some general control settings:
This is the control scheme if you’re using an Xbox controller:

Meanwhile, here are some keybindings (“C” to skip dialogue and “N” for photo mode are quite important):

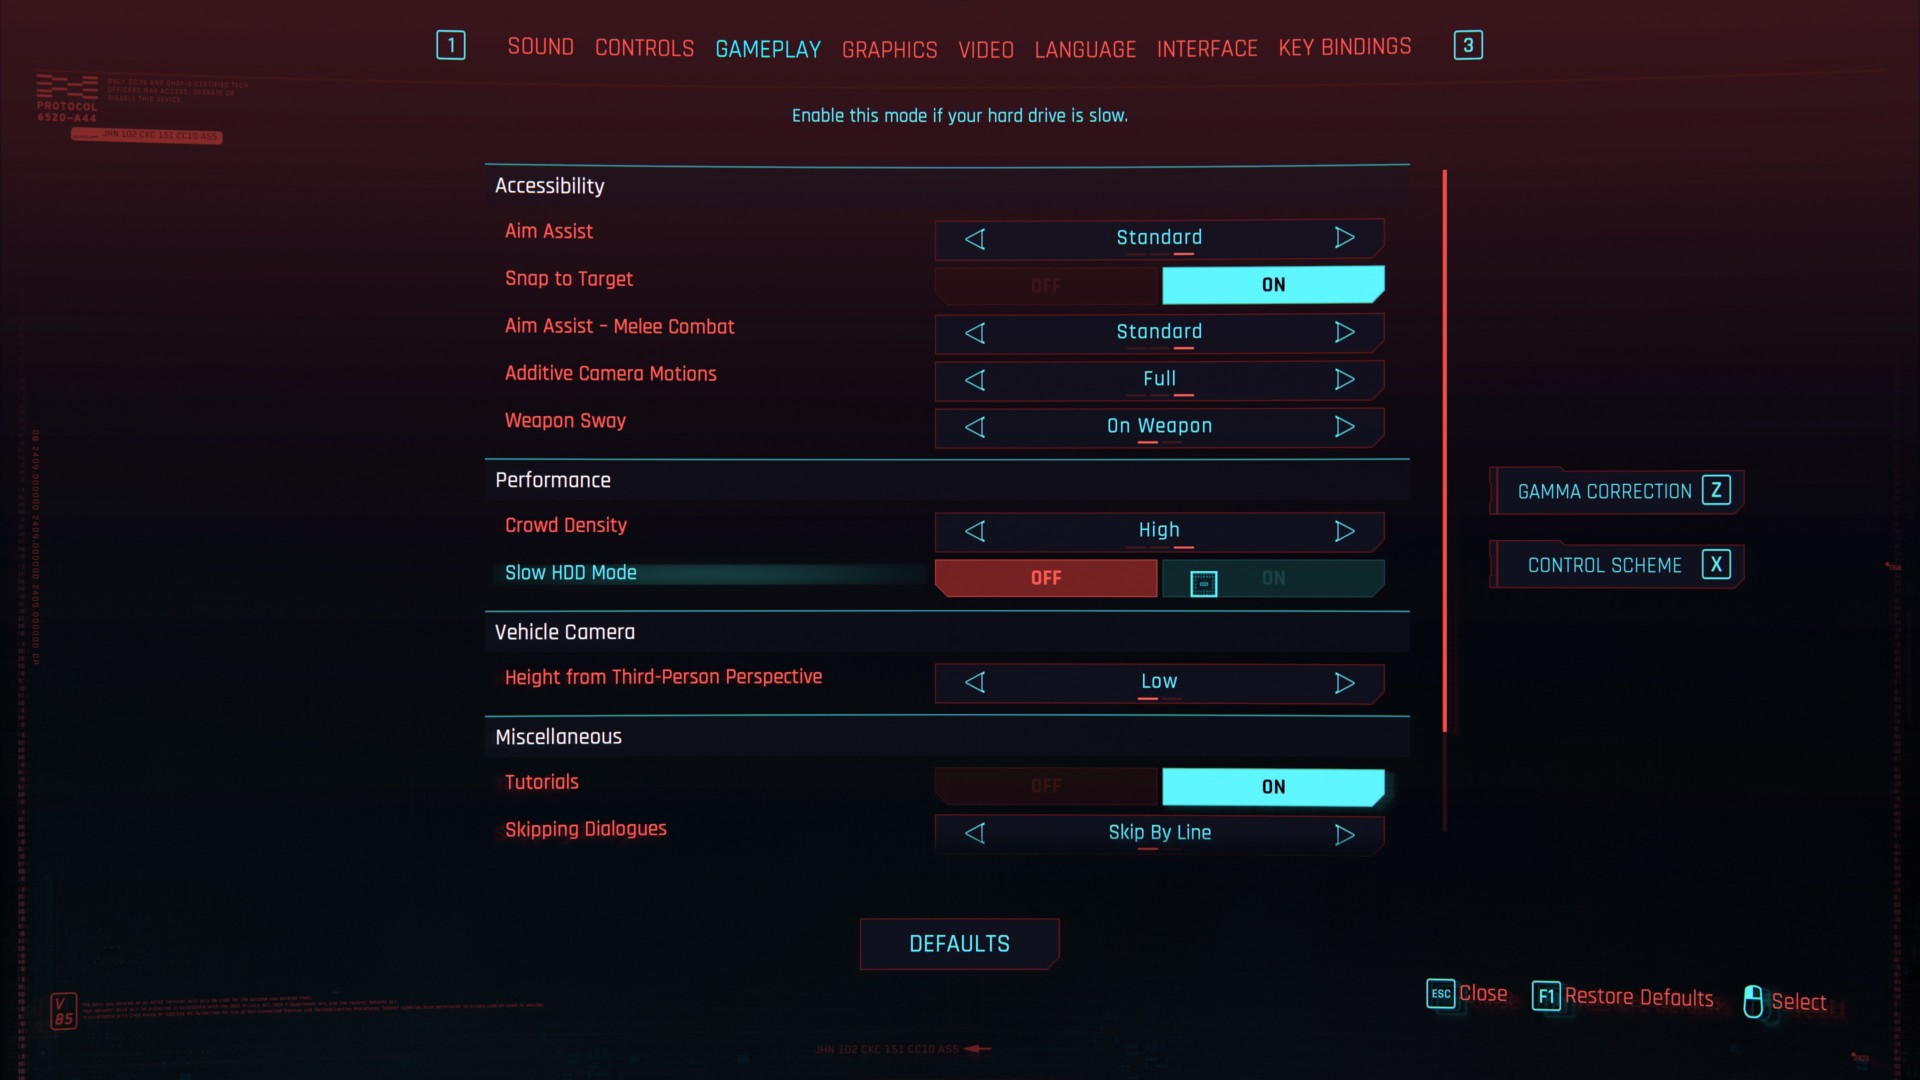
Gameplay settings
The gameplay settings have accessibility options and some settings to help with performance. You could even tweak the crowd density in Night City as well as “Slow HDD Mode” in case Cyberpunk 2077 is installed in a hard drive instead of an SSD. Moreover, this panel also has settings for tutorials, dialogue skipping, analytics, and nudity.
Interface settings
This panel has the stuff for your HUD, including floating damage numbers, hit indicators, colorblind mode, and various bars and icons.
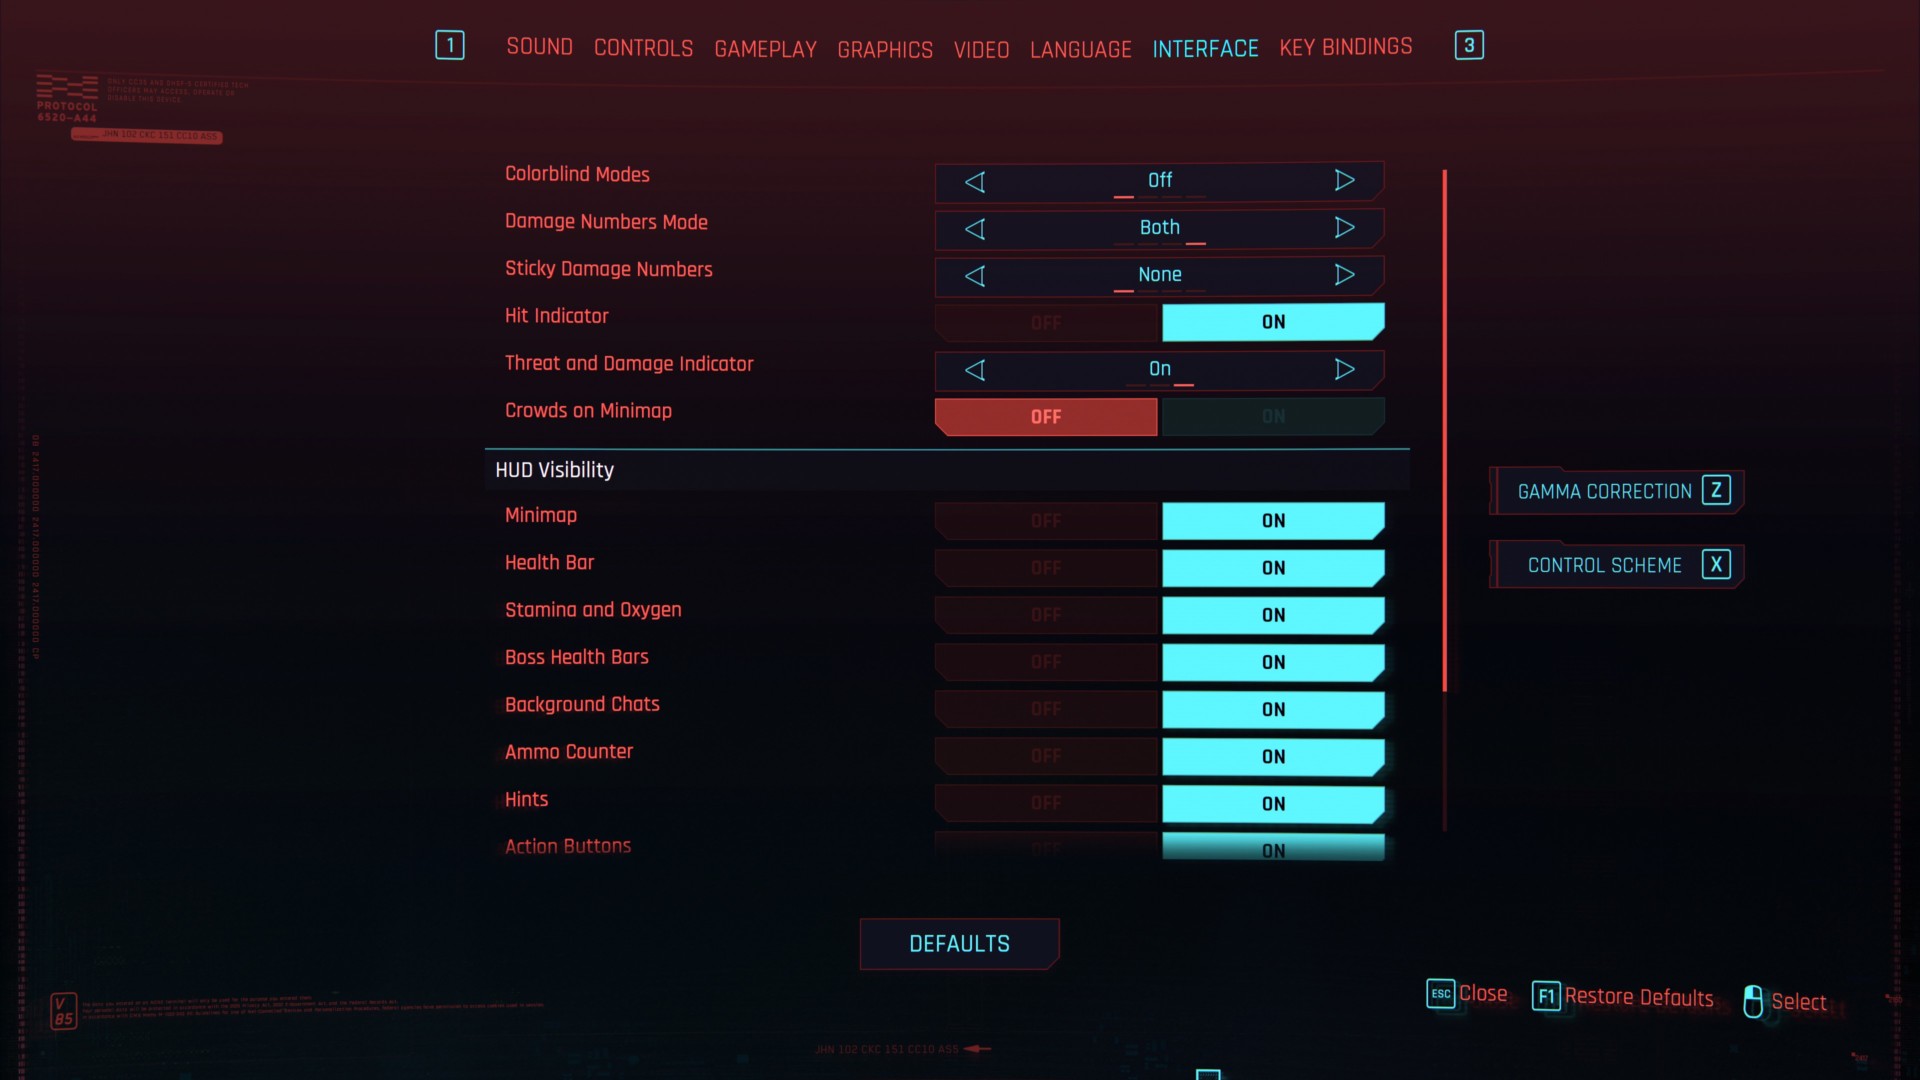
This is a screenshot with all the HUD elements enabled:
And this one has everything disabled to make the HUD look less cluttered:
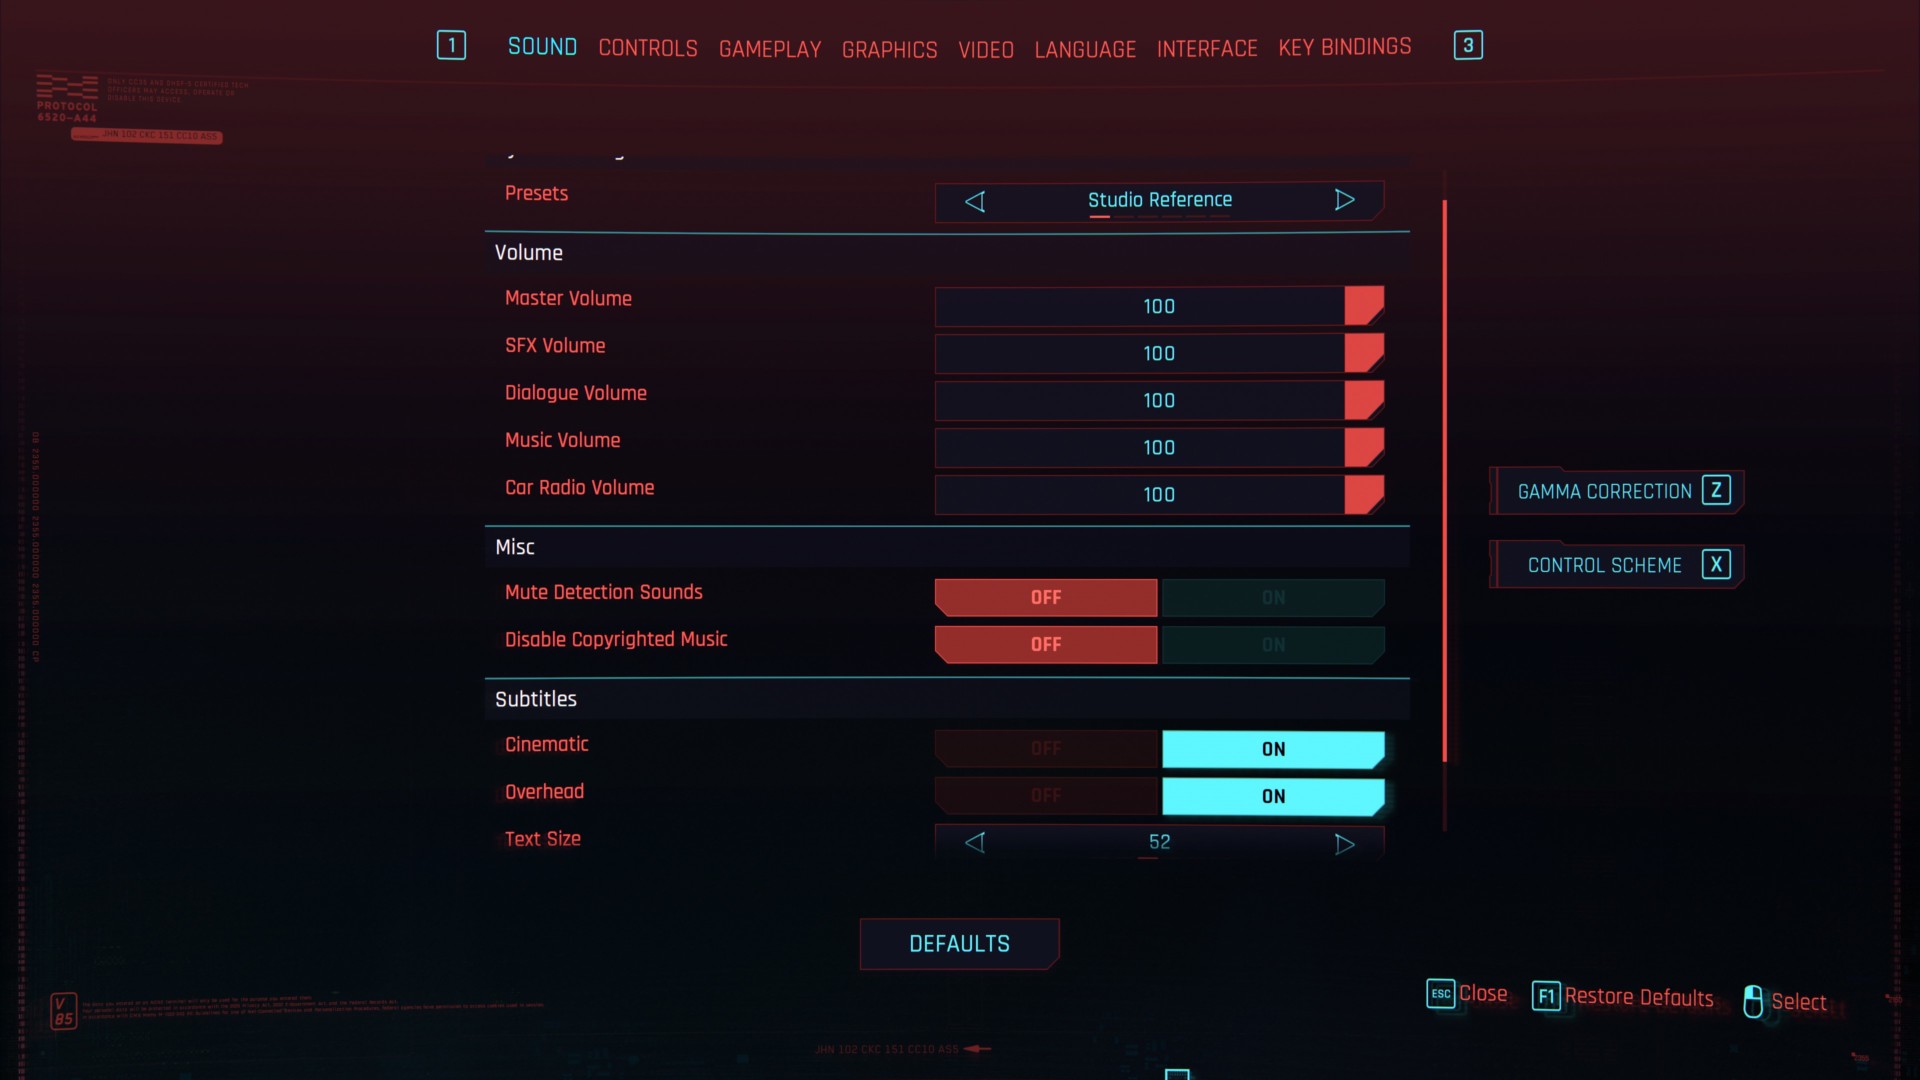
Audio and language settings
The audio settings have volume and subtitle options:
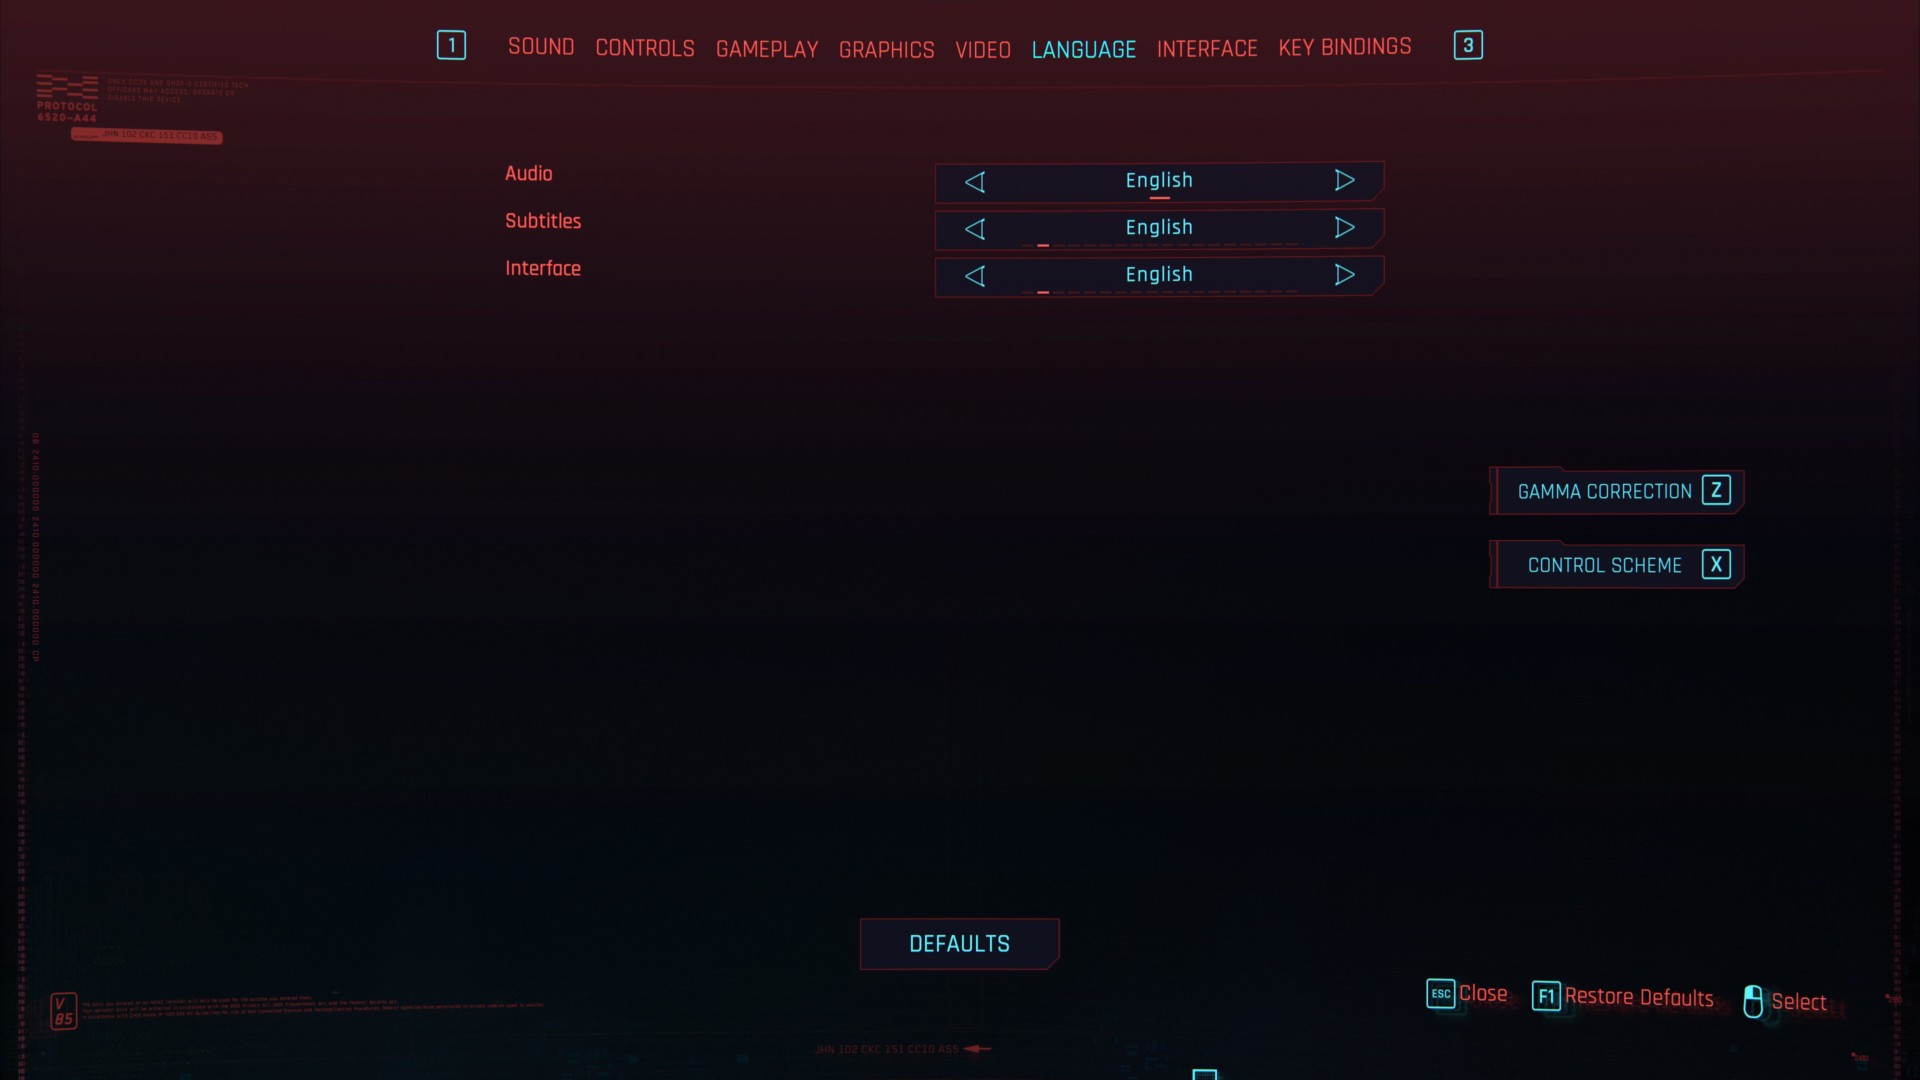
And here’s the language panel:
Some minor issues
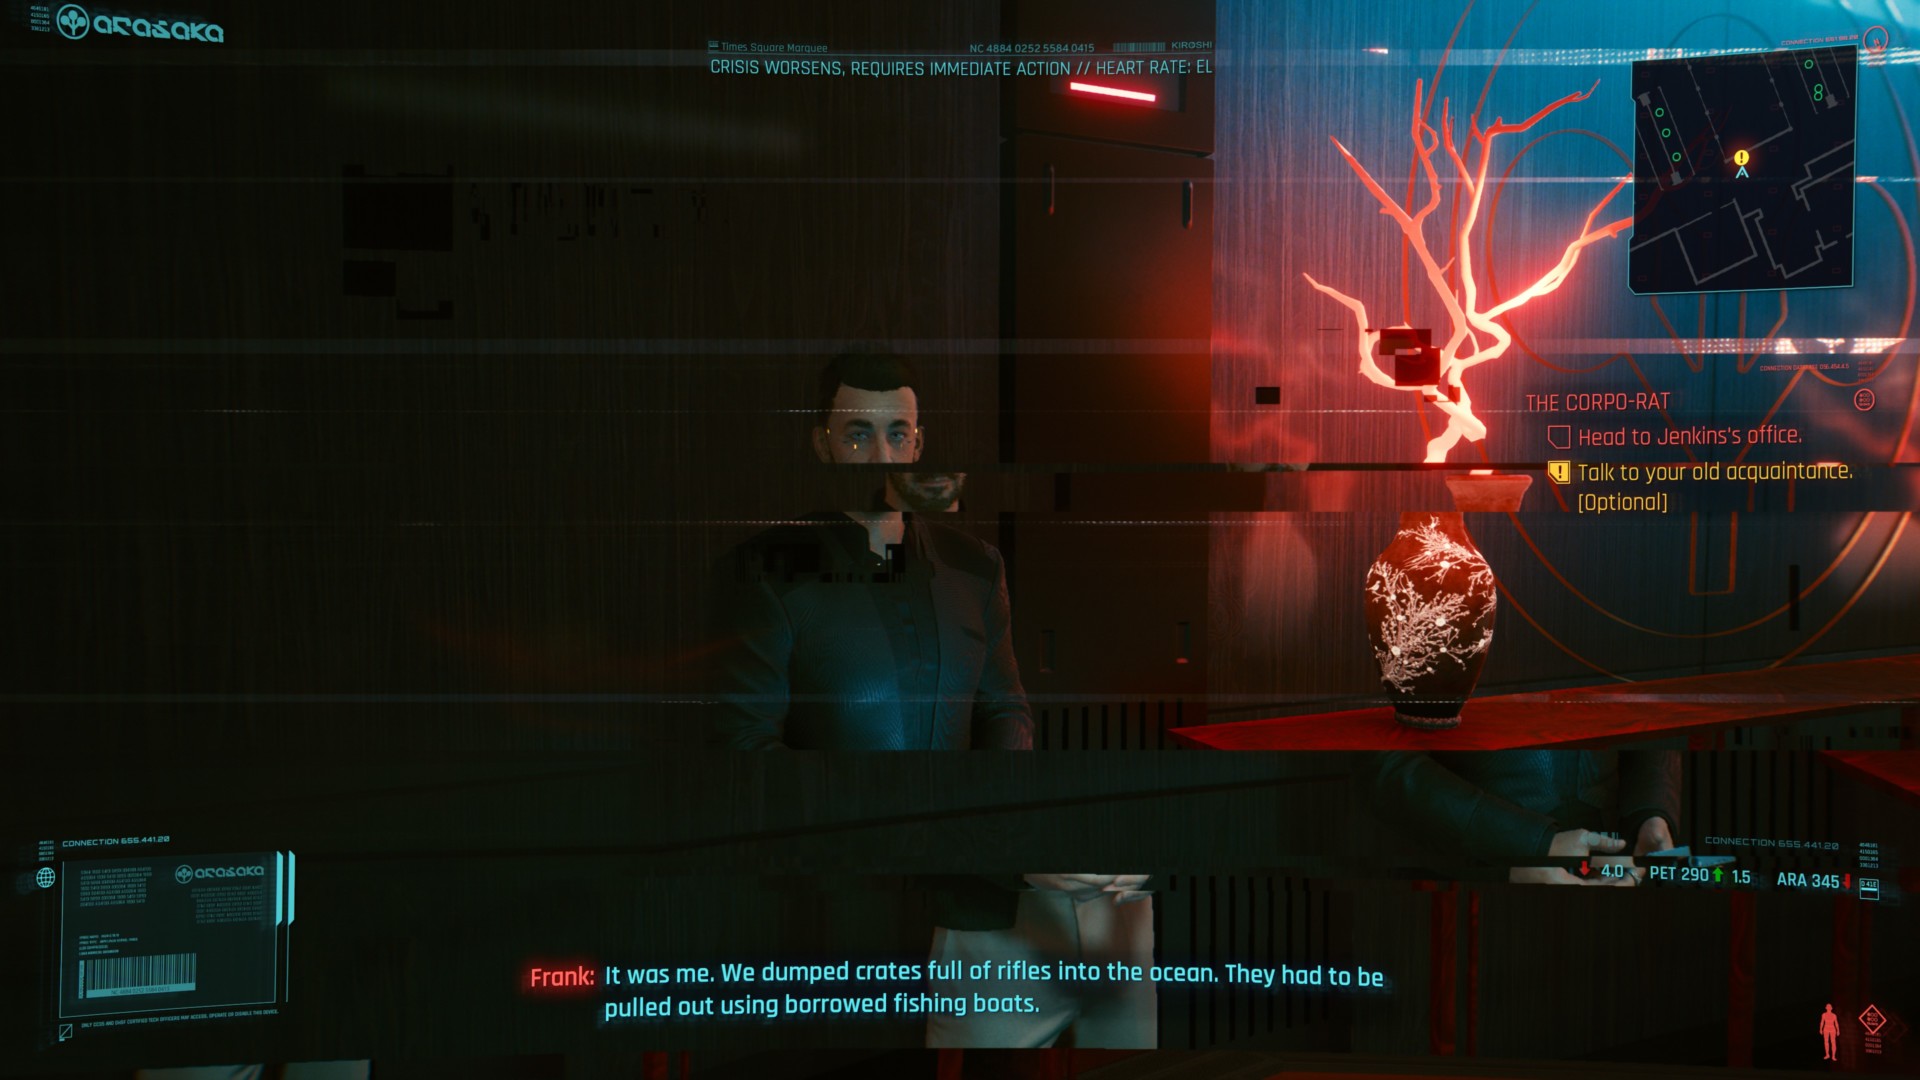
Anyway, not everything is fine and dandy in Night City. After playing Cyberpunk 2077 for only a few hours, I’ve noticed some minor issues mostly with photo mode. Granted, the game’s photo mode is absolutely phenomenal. Unfortunately, there were rare instances during dialogue sequences and cutscenes when characters would glitch out (with disembodied heads, T-posing, and floating limbs).
I also didn’t like how photo mode transitions and dialogue skipping are handled. The “glitch effect like someone’s hacking your screen” looks hip, but it does get annoying after a while.
Cyberpunk 2077: At a technical glance
Without a doubt, Cyberpunk 2077 is a visually breathtaking game. I told myself that I’d upgrade my rig just to keep up with the trends, and Cyberpunk 2077 was its first major test. I’m happy to say that it passed with flying colors.
The ray tracing options make the game look even more dazzling, with colors, shadows, and reflections that are so dynamic that they’d immerse you in Night City’s atmosphere. Plus, with DLSS enabled, I found that performance didn’t suffer a lot and the framerates were stable enough. Just bear in mind that, at least in my experience, there’s a huge disparity when DLSS is disabled versus when it’s enabled. For instance, ray tracing: ultra with DLSS – Off turns this title into a Microsoft PowerPoint slideshow.
In any case, I’m keen on seeing what the DRM-free version (which my build would switch to once the game has launched) provides assuming Denuvo affects performance. I’ll try to put even more hours into it, so stay tuned for our Cyberpunk 2077 official review. Lastly, if you’re still having problems with performance and FPS, take a look at our optimizations and tweaks mini-guide.
