
Destiny 2: Shadowkeep – Xenophage exotic quest guide
Here's our guide on how to complete the Xenophage exotic quest in Destiny 2: Shadowkeep. This exotic machine gun fires slow because why not?

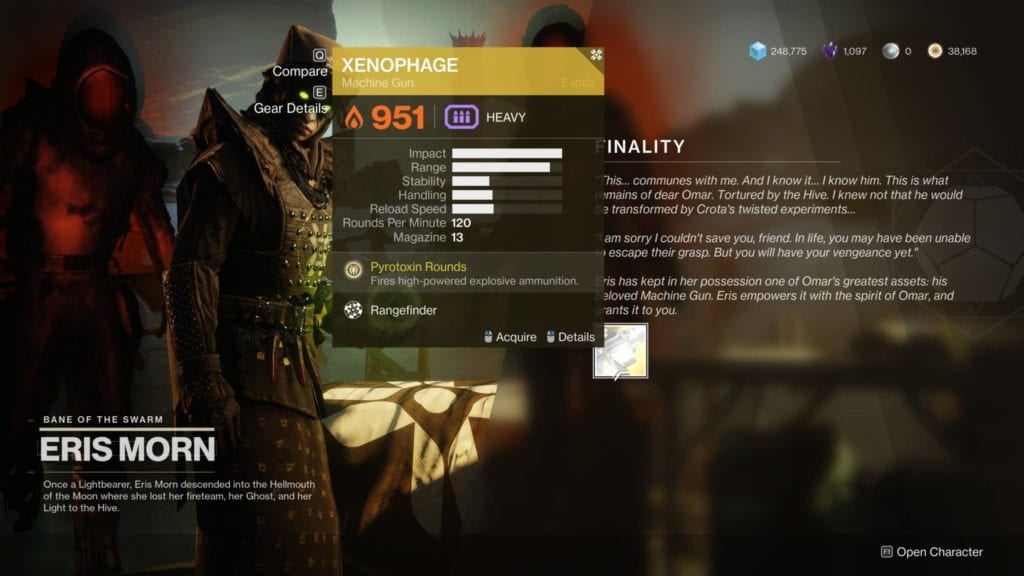
Another week, another Destiny 2: Shadowkeep content drop. This week has a slew of content from the Festival of the Lost, the Altars of Sorrow public event, and the Pit of Heresy dungeon. Oh, one more thing: Destiny 2: Shadowkeep owners will now be able to obtain the Xenophage exotic machine gun.
The Xenophage exotic machine gun’s perk, Pyrotoxin Rounds, allows it to fire high-powered explosive ammo. The weapon was only glimpsed for a few seconds in previous trailers (seen below). Now, an exotic quest will let you solve a few puzzles on your journey to obtain the weapon. The steps have been solved by Destiny 2‘s Raid Secrets community on Reddit and compiled by user AlexTheHuntsman.
Destiny 2: Shadowkeep – Starting the Xenophage exotic quest
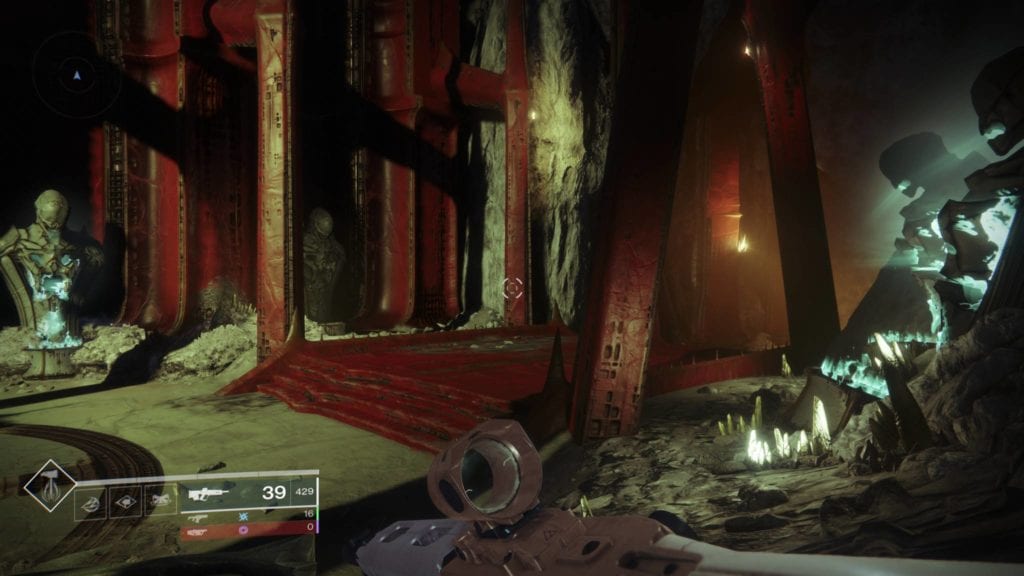
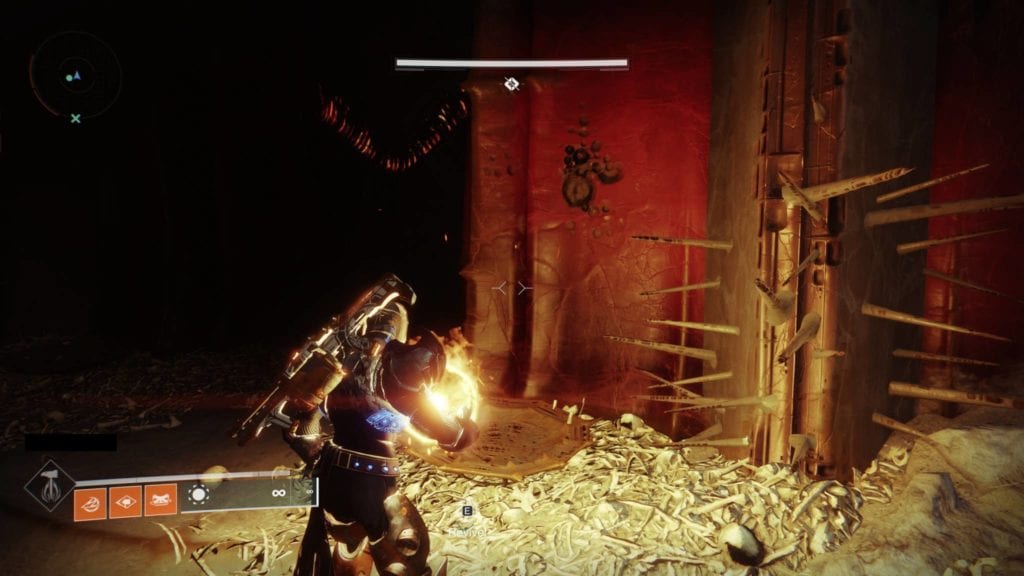
First things first, you’ll need to obtain the Xenophage’s exotic quest called “The Journey.” You’ll have to make your way to Eris’ sanctum on the moon (the one where all the ghosts of her dead fireteam members gather whenever you complete a weekly memory quest). If you’re lucky, blueberries would’ve opened the portal already if they’re doing quests. If not, fast travel to Sorrow’s Harbor and make your way to the entrance of the Scarlet Keep. Make a left turn and follow the winding cavern where you began Destiny 2: Shadowkeep‘s campaign. There’s a ledge that brings you to Eris’ sanctum.
In this area overlooking the pyramid, you’ll spot four statues. You’ll have to make all four of them light up. Interacting with certain statues may cause the flames to disappear, so I just did a bit of trial and error. When all four statues have been lit, a chest will spawn that contains the Xenophage exotic quest.
The Anchor of Light Puzzle
The Xenophage’s exotic quest will give you a few hints about “anchoring yourself to the light.” There’s only one place with that name and that’s the Anchor of Light zone on the moon so make your way there.
You’ll have to pick up the “light” (flame) from one of the buildings and take it to various altars around the zone. Refer to the video below from YouTuber WoW Quests:
If you’d like an overhead view of the zone, check out this image courtesy of Redditor Dopmeister:
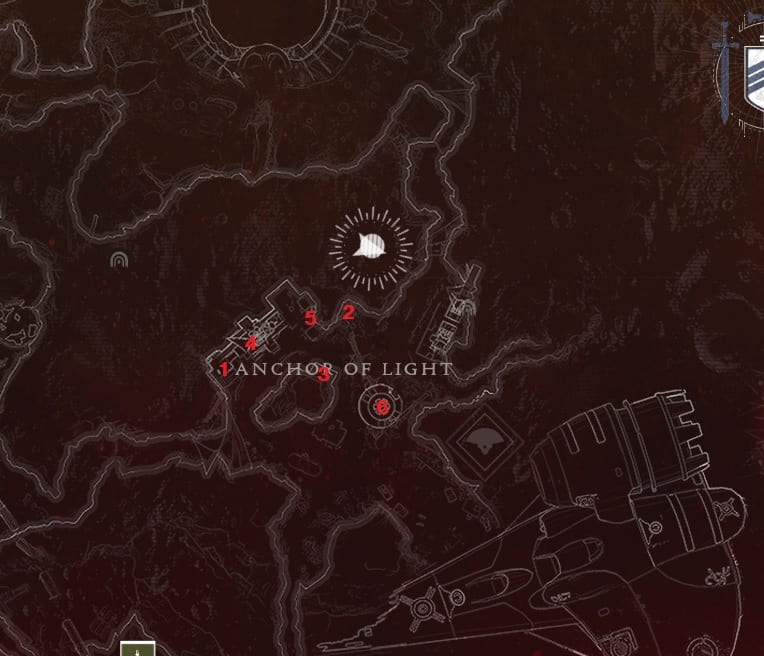
Familiarize yourself with the locations of the altars that you need to light. You only have a minute before the flame dissipates and dying will also cause you to restart from the beginning. Once you’ve lit the 6th and final altar, you can interact with a Hive pillar nearby to start the next step.
The Lost Sectors Puzzles
The next exotic quest step takes you to various lost sectors on the moon. The goal here is to find a wall panel that has runic symbols on it in each lost sector. You’ll have to shoot the symbols in sequence to make sure that everything matches the main symbol above the panel. This will spawn a chest that provides you with another fragment for the Xenophage.
Think of this panel as a 3×3 grid which would look like this if numbered:
[Main symbol]
1 – 2 – 3
4 – 5 – 6
7 – 8 – 9
We’ve added the solutions below as well as an accompanying video from Wow Quests.
K1 Communion (Anchor of Light): 7-9-2-2
K1 Logistics (Archer’s Line): 1-7-5-6
K1 Crew Quarters (Hellmouth): 3-4-5-8-9-9-8-8
K1 Revelations (Sorrow’s Harbor): 6-4-5-5-4-2-8-5
The Pit of Heresy Dungeon
The final steps of the Xenophage exotic quest will lead you to the new Pit of Heresy dungeon. In order to access the activity, you’ll need to complete an attunement quest from Eris Morn.
Note: If you still need to gain access to the Pit of Heresy dungeon, head over here for details on how to get to this part. If you do have the dungeon already unlocked, you can check our complete Pit of Heresy dungeon guide.
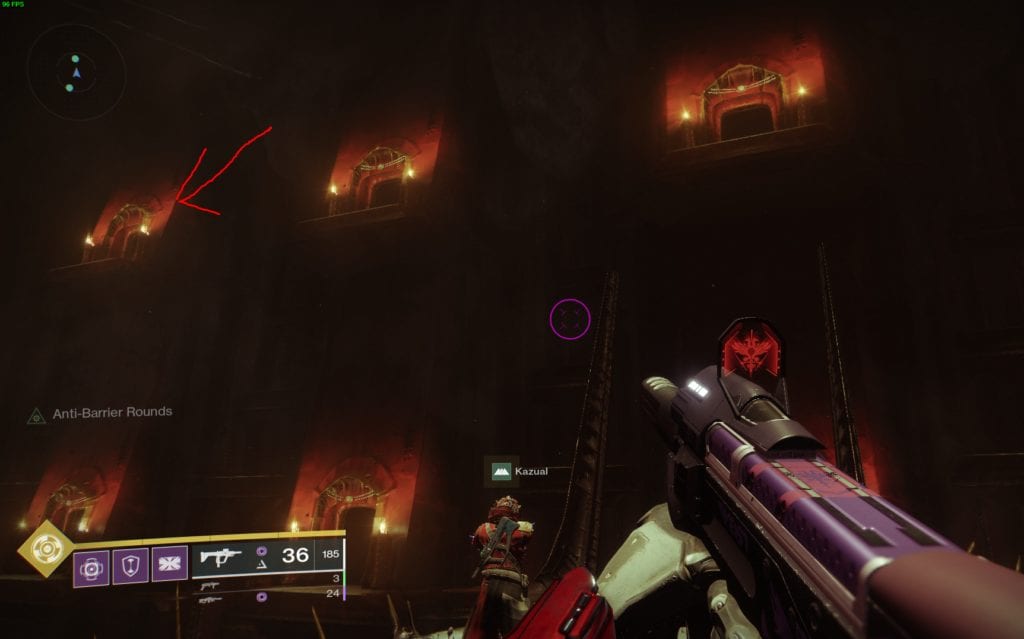
Let’s move on. So, once you finish the first Pit of Heresy encounter, you’ll eventually find yourself in an area with multiple doorways. The fragment can be found inside one of the upper doorways. Redditor AlexTheHuntsman has added an image below:
The next fragment is found during the pariah ogres encounter. Do not, under any circumstances, complete this encounter by using the heretical knight orbs to open the forcefield. This will lead you to the next encounter inside the Chamber of Suffering and you won’t be able to complete the Xenophage part of the run.
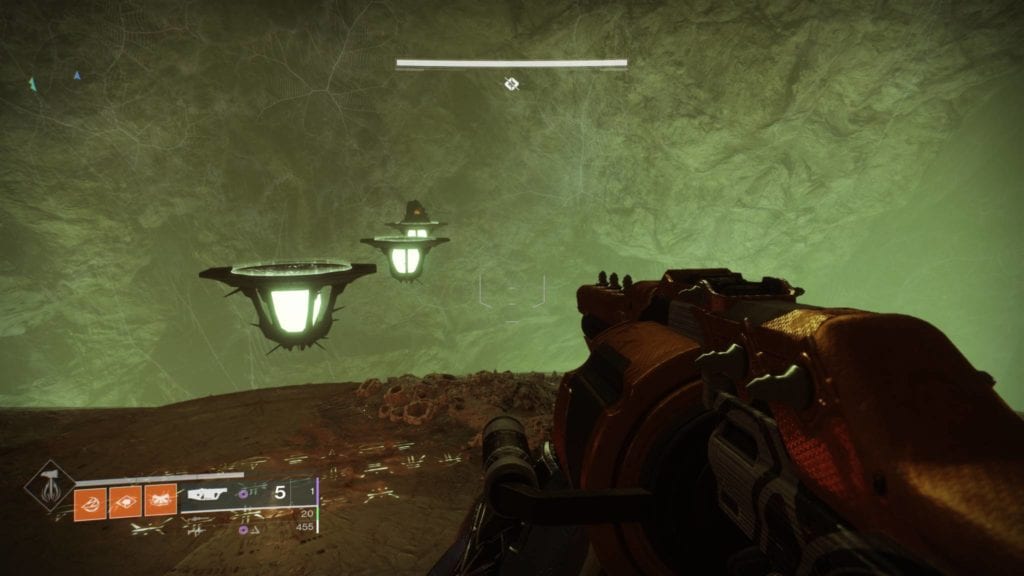
Anyway, once you reach the ogre encounter area, make a left and follow the narrow path along the cliff. You’ll find a Hive ritual plate (with the same runic symbols). Activating it will make platforms spawn. Pick up the light orb/flame at the end.
Remember the part where you had to light the altars in the Anchor of Light zone? Well, you need to do the same thing here.
You’ll have to carry the flame and find the altars around this cavernous space. The altars are right next to one of the side doors. From the entryway, look towards the right-hand fork. The doorway with the altars is the fourth from the right.
Try to avoid getting melted by the ogres because a team wipe will have you restart this encounter. You might have to go through the smaller underground passageways to evade the ogres if need be.
Once the altars have been lit, the door will open and you can make your way to the next area. You’ll also complete this part of the Xenophage exotic quest.
If you find yourself lost in this area of the Pit of Heresy, you can refer to this map made by Twitter user @Dumbledreg:
https://twitter.com/Dumbledreg/status/1189651334875828224
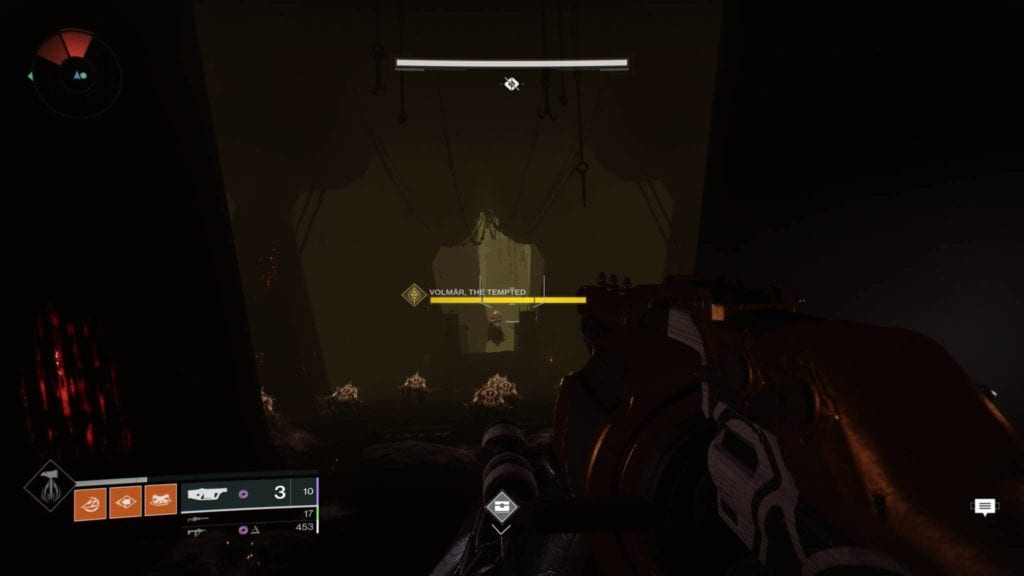
Volmar the Tempted boss fight
The final part of the Xenophage exotic quest is a boss fight against a Hive wizard called Volmar the Tempted. It can be slightly challenging due to the mechanics and the layout of the room.
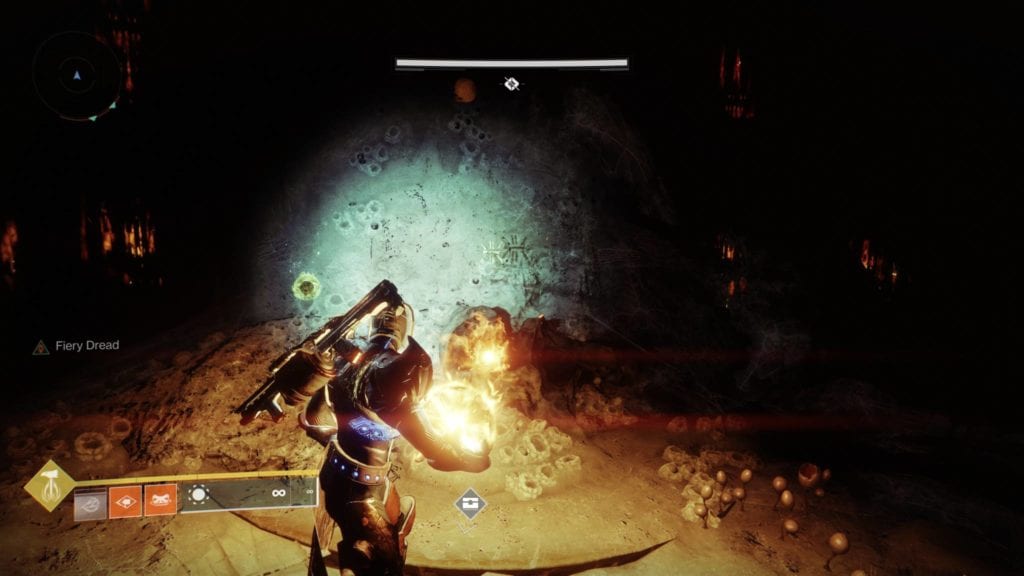
The gist is that Volmar can only be damaged with specific types of attacks. These attacks are dependent on your “dread” which you’ll see on the lower left-hand corner of the HUD:
- Abyssal Dread – void damage
- Fiery Dread – solar damage
- Thunderous Dread – arc damage
- Neutral Dread – kinetic damage
In order for you to do damage, you’ll need to activate your dread. Look at the center of the boss fight area and you’ll see that Volmar’s guarding the light orb.
You’ll have to pick up the orb and deposit it in the correct altar corresponding to your dread. Your two other teammates may have different dread buffs, but they’ll have to pick up the orb as well and dunk it in the correct altar so they can also do damage.
Refer to this image for the room’s layout:

Just to be clear, if you don’t have any weapon or subclass for that corresponding dread, then that means you won’t be able to do damage. You could just hang back so as not to risk a wipe, or you could die so you can get a different buff (provided your teammates are still alive, of course).
In my case, I had the Abyssal and Neutral Dread one after the other. This allowed me to use my Swarm of the Raven and Izanagi’s Burden.
Once Volmar is dead, that’s it, you’re done with the Xenophage exotic quest. Just head back to Eris Morn and you’ll have your brand new exotic machine gun. Congratulations, Guardian!
Note: If you want to continue onwards with the activity, check out our Pit of Heresy dungeon guide for more info.
That does it for our Xenophage exotic quest guide. For more information about Destiny 2: Shadowkeep, you can head over to our guides and features hub. If you’d like to experience the game, you can find it via its Steam store page.