
Securement Silo Theta walkthrough – Once Human
How to solve the puzzles and challenges of Securement Silo Theta.
Running through the various Securement Silos dotted around Once Human is a fantastic way to farm resources like Energy Link. Securement Silo Theta isn’t the easiest of them, but it has some lucrative hidden bosses and areas that will give you a boost to your Once Human character.
Where to find Securement Silo Theta
In the Northeast of the Lone Wolf Wastes, you will find the Securement Silo Theta. it is located just to the north of the Blackfell Oil Fields, not too far from the teleportation tower there. This area isn’t recommended for beginners, and you should ensure you and your team are around level 45 before attempting it.

How to clear Securement Silo Theta
Stock up on healing items and ammo, and ensure you have some high-level weapons as well. This walkthrough for Securement Silo Theta will face you with two bosses and plenty of Once Human enemies. I would recommend something that can work for crowd clearance, as well as something with some accurate range. If you are heading into the Silo with a group, split the responsibility.
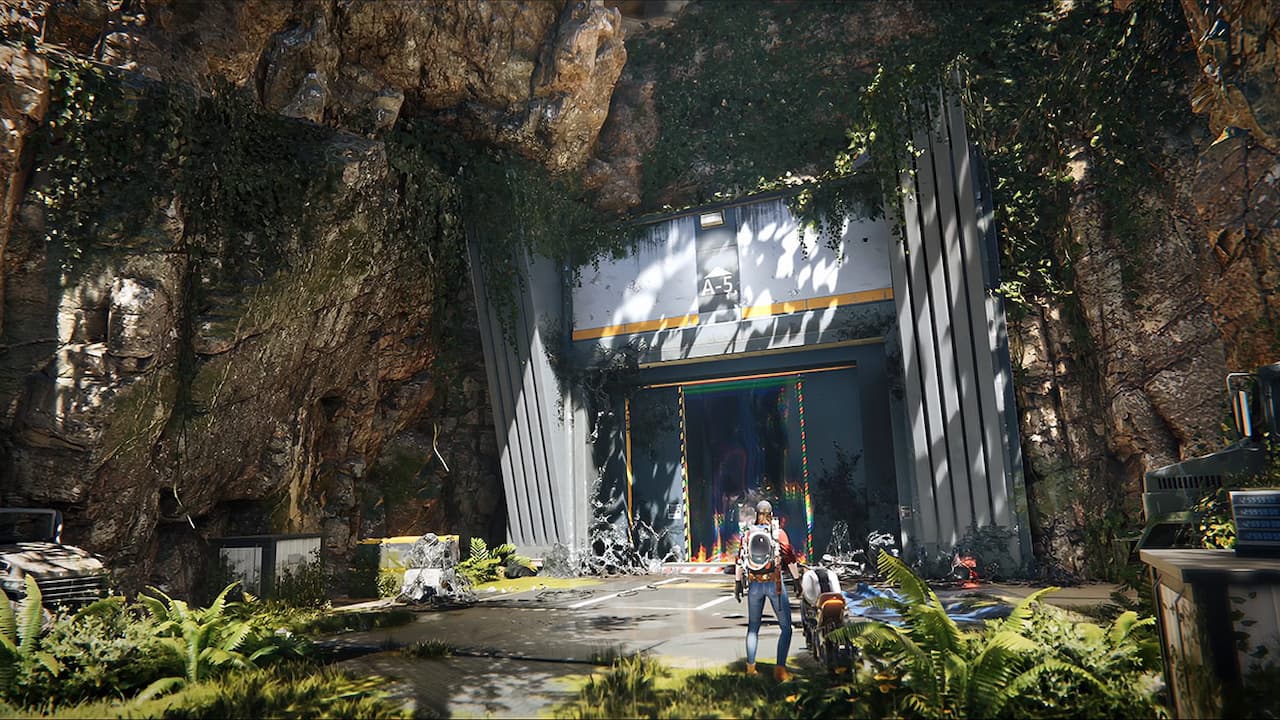
- Head through the gate and enter into Securement Silo Theta to begin. Once you’re in, drop down the levels into the sewer complex.
- At the fork, take a left to avoid unnecessary amounts of enemies. Clear out the low-level nest, using the barrels as much as possible to create area damage and save ammo.
- You will come to a four-way junction in the Securement Silo Theta dungeon. Here, you should head left to continue with the walkthrough, but there are small amounts of loot at the other forks.
- Continue down the tunnels, clearing out ADS and the nest on your left. The way forward is straight down to the end of the tunnel, but there is a bit of loot hidden around the various dead ends leading off the corridor. Head to the end and open up the door to enter an open area with a few spawn nests inside.

- I suggest grabbing the barrels around this room and throwing them at the nests as soon as possible. The room can quickly become overwhelmed with Once Human ADS, so focus your fire on these spawn nests. Clear the nests, then the remaining enemies, and get ready for your first boss battle in this Once Human Securement Silo Theta walkthrough.
- Clear this room of loot, including up a central ladder that will take you to an overhead platform.
- Enter the area for the optional boss by heading to the far side of the room from where you entered and through the barred gate. Pick up the weapon crate before interacting with the statue to initiate the boss level.
Optional statue boss – Securement Silo Theta
This optional boss has given a lot of players grief in Once Human due to the statue puzzle that is required to unlock it. Once you have reached the room with the six statues, they must be turned to face the correct direction to activate the boss fight. The statues in Securement Silo Theta must be rotated in this order…

- First Left – Facing right.
- Second Left – Facing away from the entrance.
- Third Left – Facing left.
- First Right – Facing Right.
- Second Right – Facing left.
- Third Right – Facing towards the entrance.
The boss will appear once you have correctly arranged the statues. Its weak point is the purple area on its back. However, when it attacks with the exploding balls, it is hard to hit. Avoid the balls it drops around the map and focus fire on its body, aiming for the weak point.
Kill this enemy and collect your Energy Link, Stardust Source, and other loot before heading back where you came. You can reenter Securement Silo Theta by interacting with the first statue to continue with the walkthrough.
How to reach the final boss
Back in the central room, head through the arched door and down the tunnel. Be careful of the enemies that will come from the water and the spitters on the wall. Once you reach the end of this tunnel, double back on yourself to enter the next room.
This room is a little platforming area that will require you to jump from one safe area to the next. Take your time and make sure to pick up both the Gear Chest and loot on the penultimate platform. Once you have reached this, you will see the pipe that leads to the final boss of Securement Silo Theta.
How to defeat Securement Silo Theta boss
This boss is in Toxic Waste, so the first thing you need to be aware of is staying on the 4 platforms around the arena. You can jump between them using the various floating items in the water but do try to stay out of it.

Once the boss emerges from the water, immediately focus fire on its feet and legs. There are glowing purple points that can be destroyed. Once they have been destroyed, it will initiate the stagger stage. Once the boss is staggered it will bend down, opening its head. If you are overwhelmed by ADS at this point, I would suggest trying to clear some of these up. If not, unload what you can, using the thrown barrels for added damage to hit the weak point exposed by the open head.
Along with the spawned enemies, this Securement Silo Theta boss will also throw out a shockwave that must be jumped over. The real trick to this enemy is to keep moving between the platforms and avoiding the enemies it spawns.
Once you have defeated this boss, head to your rewards and collect those Energy Link and Stardust.