
Destiny 2: Deep Stone Crypt raid — Beating Taniks, the Abomination
Taniks, the Abomination, is the final boss of Destiny 2: Beyond Light's Deep Stone Crypt raid. Here's our guide to help you beat him.
Taniks has no house, but he probably doesn’t need one. That’s because he’s the final boss of Destiny 2: Beyond Light‘s Deep Stone Crypt raid. In this instance, he’s known as Taniks, the Abomination. Here’s our guide to help you out.
Note: For more information, check out our Destiny 2: Beyond Light guides and features hub as well as our full Deep Stone Crypt raid guide. You can also try an alternative strategy when fighting Taniks, the Abomination. Lastly, please be reminded that this article contains minor spoilers.
Destiny 2: Beyond Light – Deep Stone Crypt raid fourth encounter guide (Taniks, the Abomination)
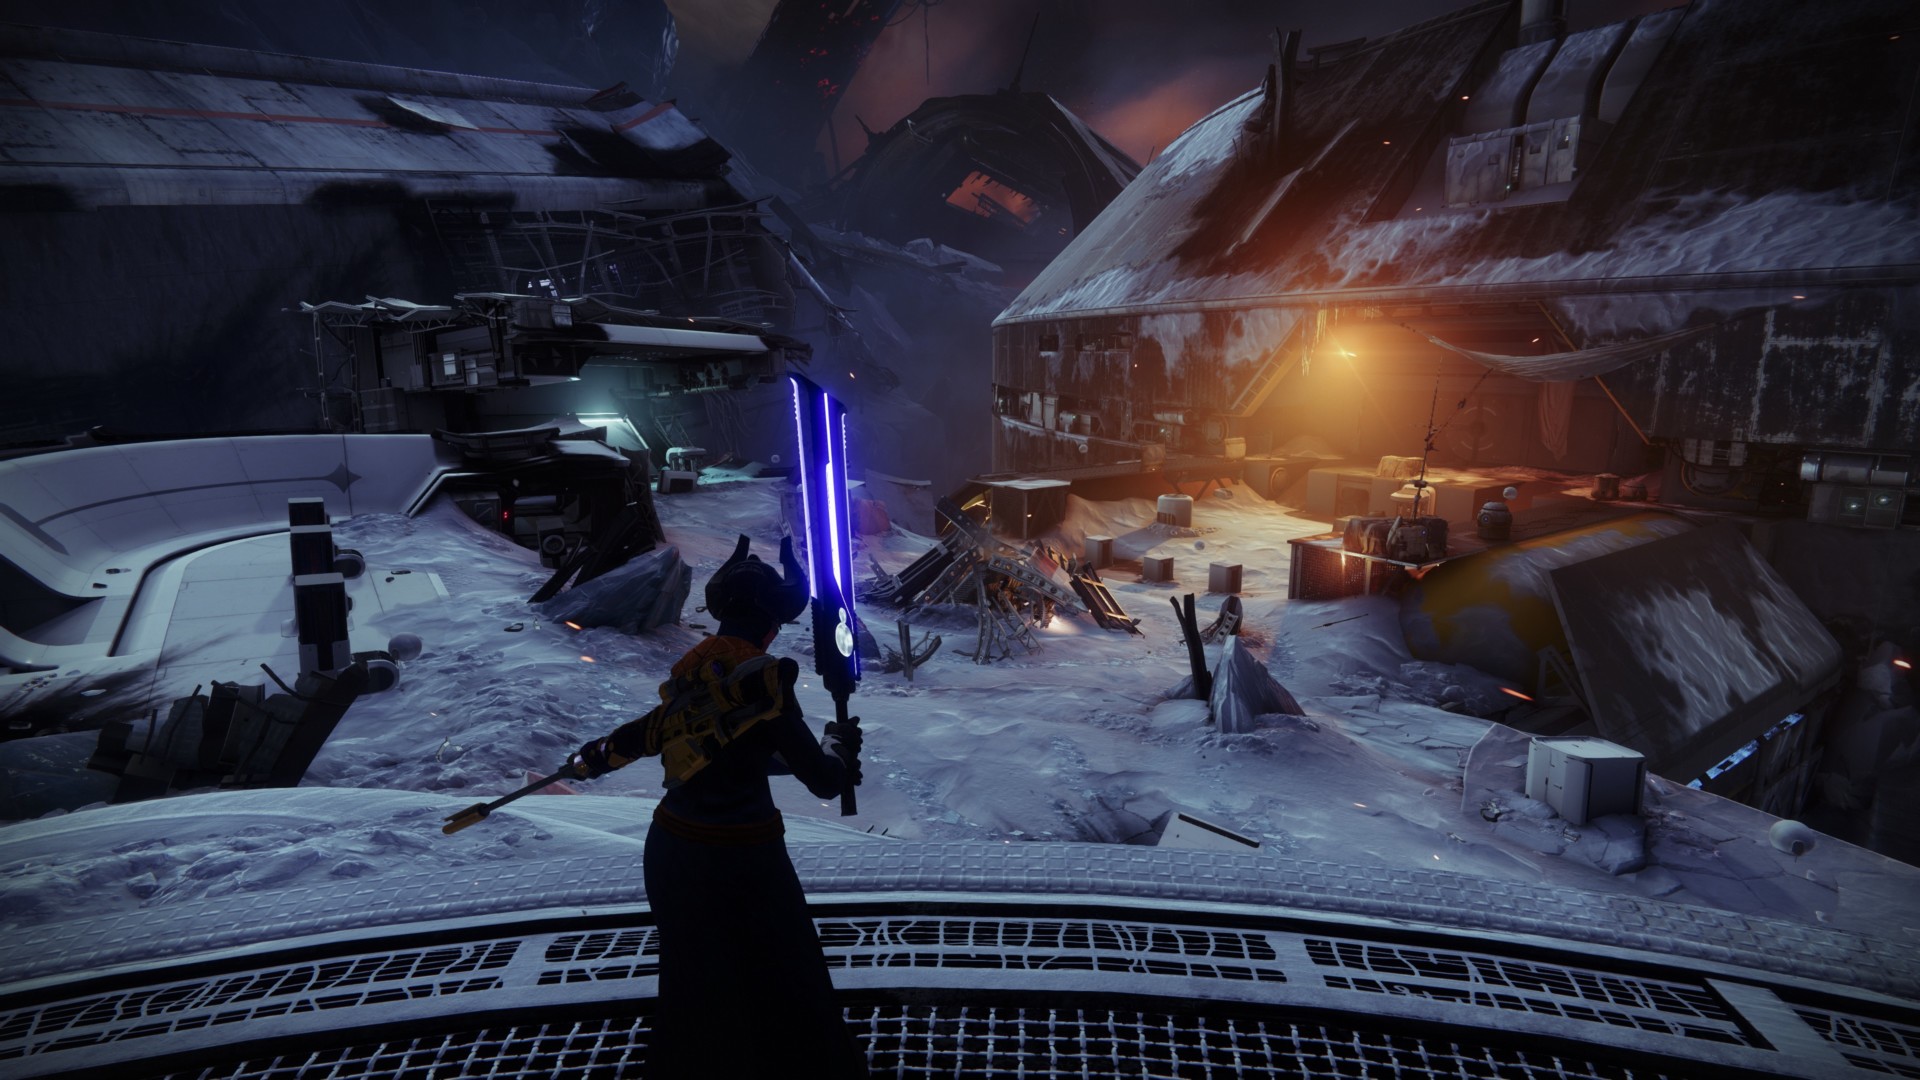
After completing the Rapture/Crash encounter, you’ll finally face the big bad of the Deep Stone Crypt raid: Taniks, the Abomination. The goal of the Taniks boss fight in Destiny 2: Beyond Light is to whittle down his health until he reaches the final phase (25% HP). To do that, you’ll need to be mindful of your roles/buffs, placement of nuclear cores, and your DPS output.
Map layout
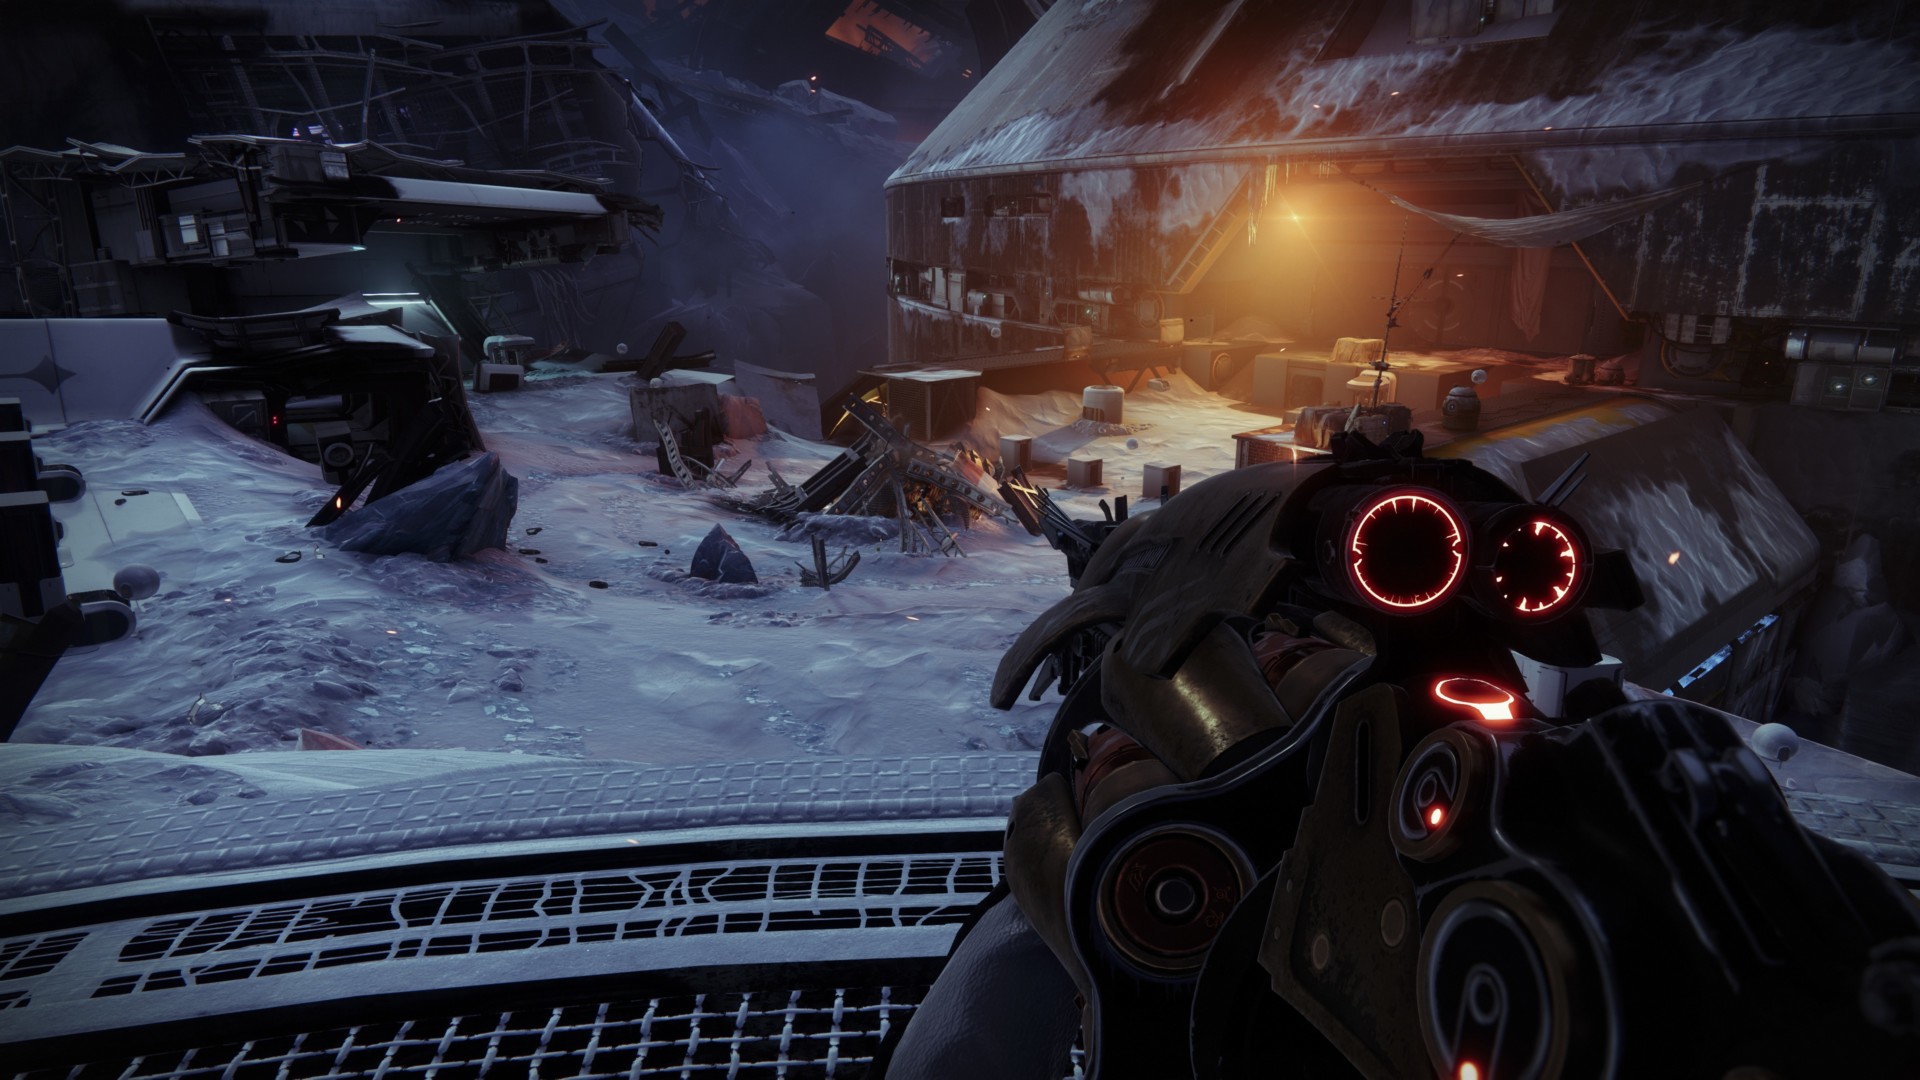
The Taniks boss fight in the Deep Stone Crypt raid takes place in a large open area. Depending on your group, you might hear different callouts for various sections:
- Spawn/white – This is closest to where the fireteam spawns at.
- Left/blue – This is to your left when facing the boss.
- Right/orange – This is to your right when facing the boss.
Each section has:
- Two boxes/chests/banking slots that only the player with the Scanner buff can see (more on this mechanic later).
- One augmentation device used to deposit and pass the buffs around.

Loadouts/subclasses
For subclass picks, you’d want to have at least one Titan with the Ward of Dawn bubble. Hunters, meanwhile, should run Golden Gun with Celestial Nighthawk. Finally, Warlocks should use Nova Bomb; one Well of Radiance definitely helps, too.
Regarding weapons, I personally used an auto rifle (False Promises), sniper rifle (Adored), and the Anarchy exotic for my first clear. Likewise, I’ve seen that some players preferred running with the Izanagi’s Burden, or a slug shotgun with the “Vorpal Weapon” perk (i.e., First In/Last Out or Bonechiller), plus the Falling Guillotine sword.
The sword can be very helpful when clearing adds (i.e., Void-shielded captains and a handful of dregs), but you probably won’t use it to damage the boss anyway. Likewise, make sure that one teammate has Divinity for the DPS phase.
Teams/roles
Anyway, divide your team into three teams of two. The idea is to have two players assigned to each section (white/blue/orange). These positions aren’t necessarily static because you’d still need to move and roam around if in case Taniks float your way or you need to readjust.
However, do keep in mind that the player who’s with you is, technically, your “partner.” If someone needs to “pass” a buff (or nuclear core), then your partner should be ready to help out.
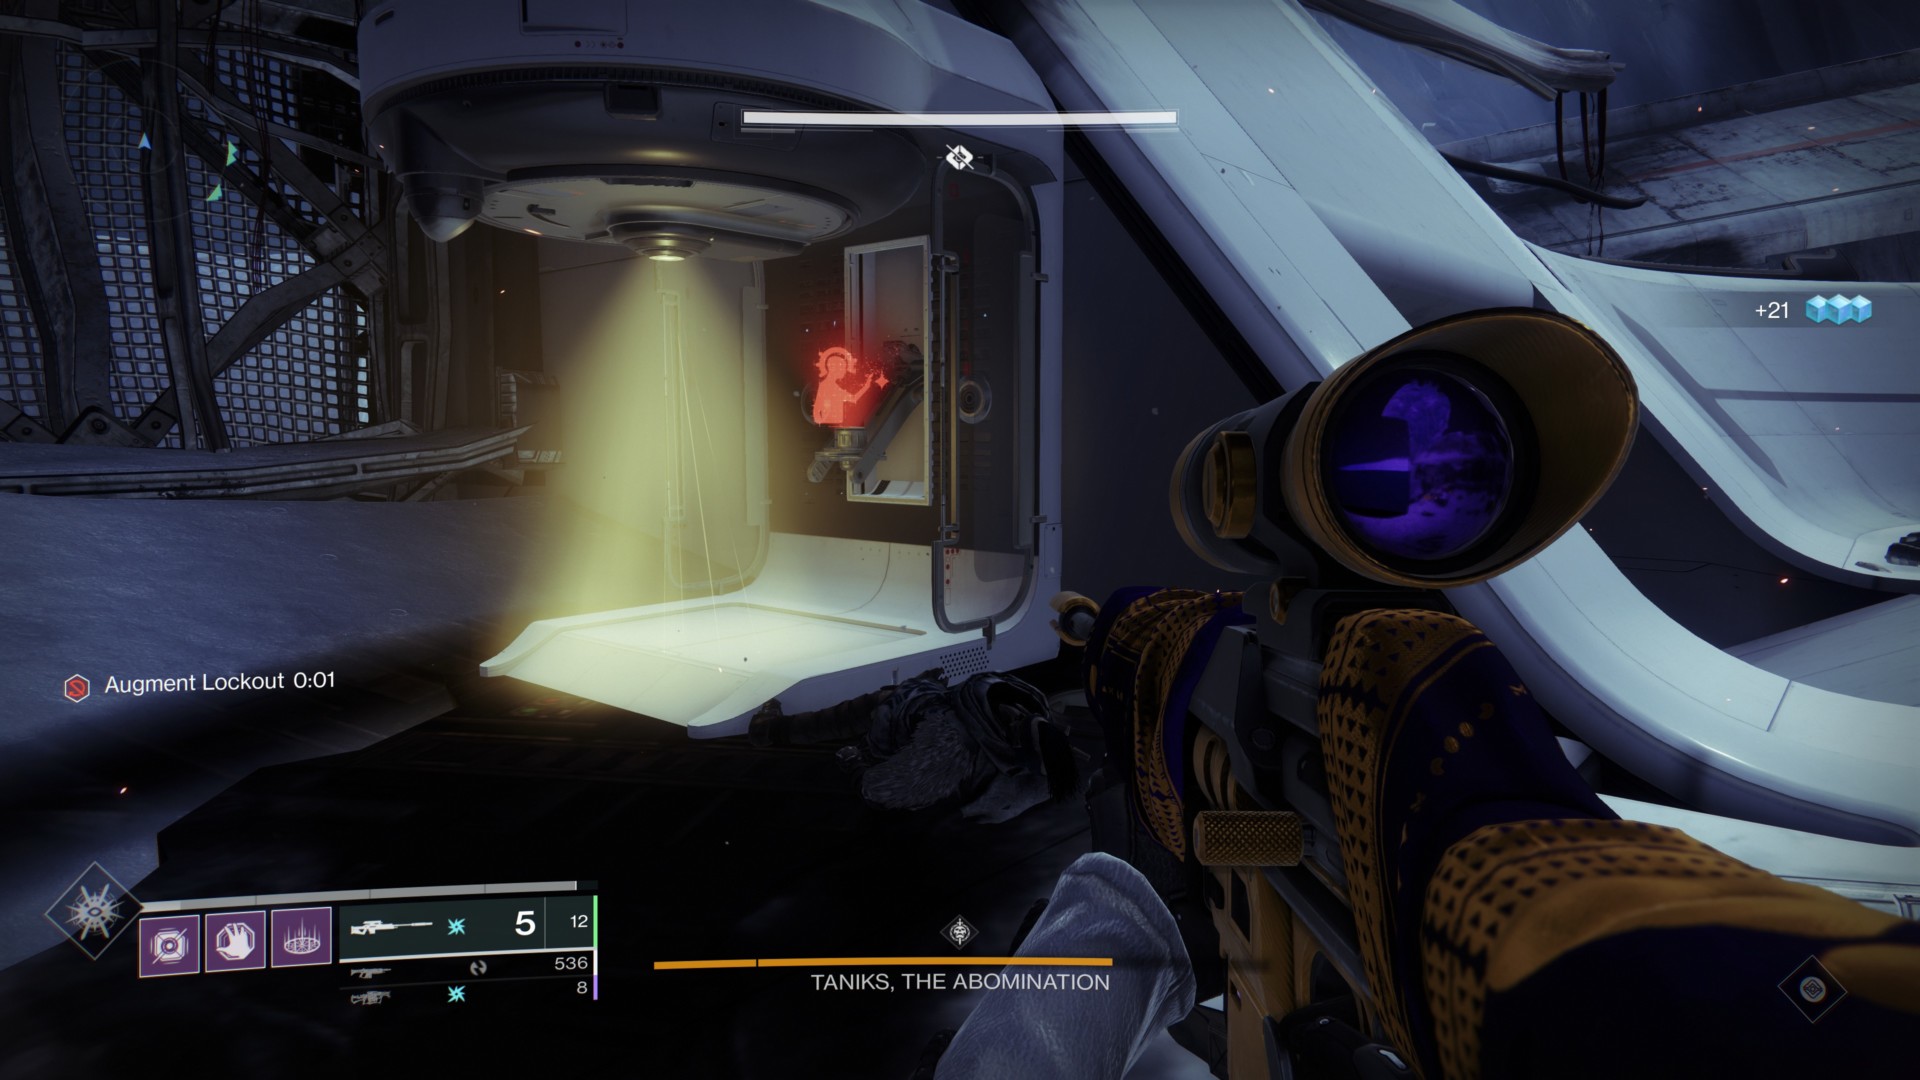
Scanners
One player in the fireteam is designated as the main Scanner. You’ll be able to pick up the buff at the blue section of the map from a roaming vandal.
Periodically, you’ll see the boxes/chests that are glowing. These are the spots where teammates need to deposit/bank their nuclear cores.
Callout examples:
- Blue 1; Orange 2.
- Blue left; Orange right.
- BL; OR.
Note: I don’t have any images as the Scanner since this wasn’t my role during the Taniks boss fight.
Suppressor
The Suppressor can pick up the blue buff from a roaming vandal that spawns at the orange side. Your role is to help out your teammates with mobs and, once Taniks does his channeling spell, look for the three security drones. Standing under these will let you damage Taniks and eventually stun him. This also opens up the banks and lets your teammates deposit nuclear cores. Still, there’s an important instance to take note of here which I’ll explain in a while.
Note: I don’t have any images as the Suppressor since this wasn’t my role during the Taniks boss fight.
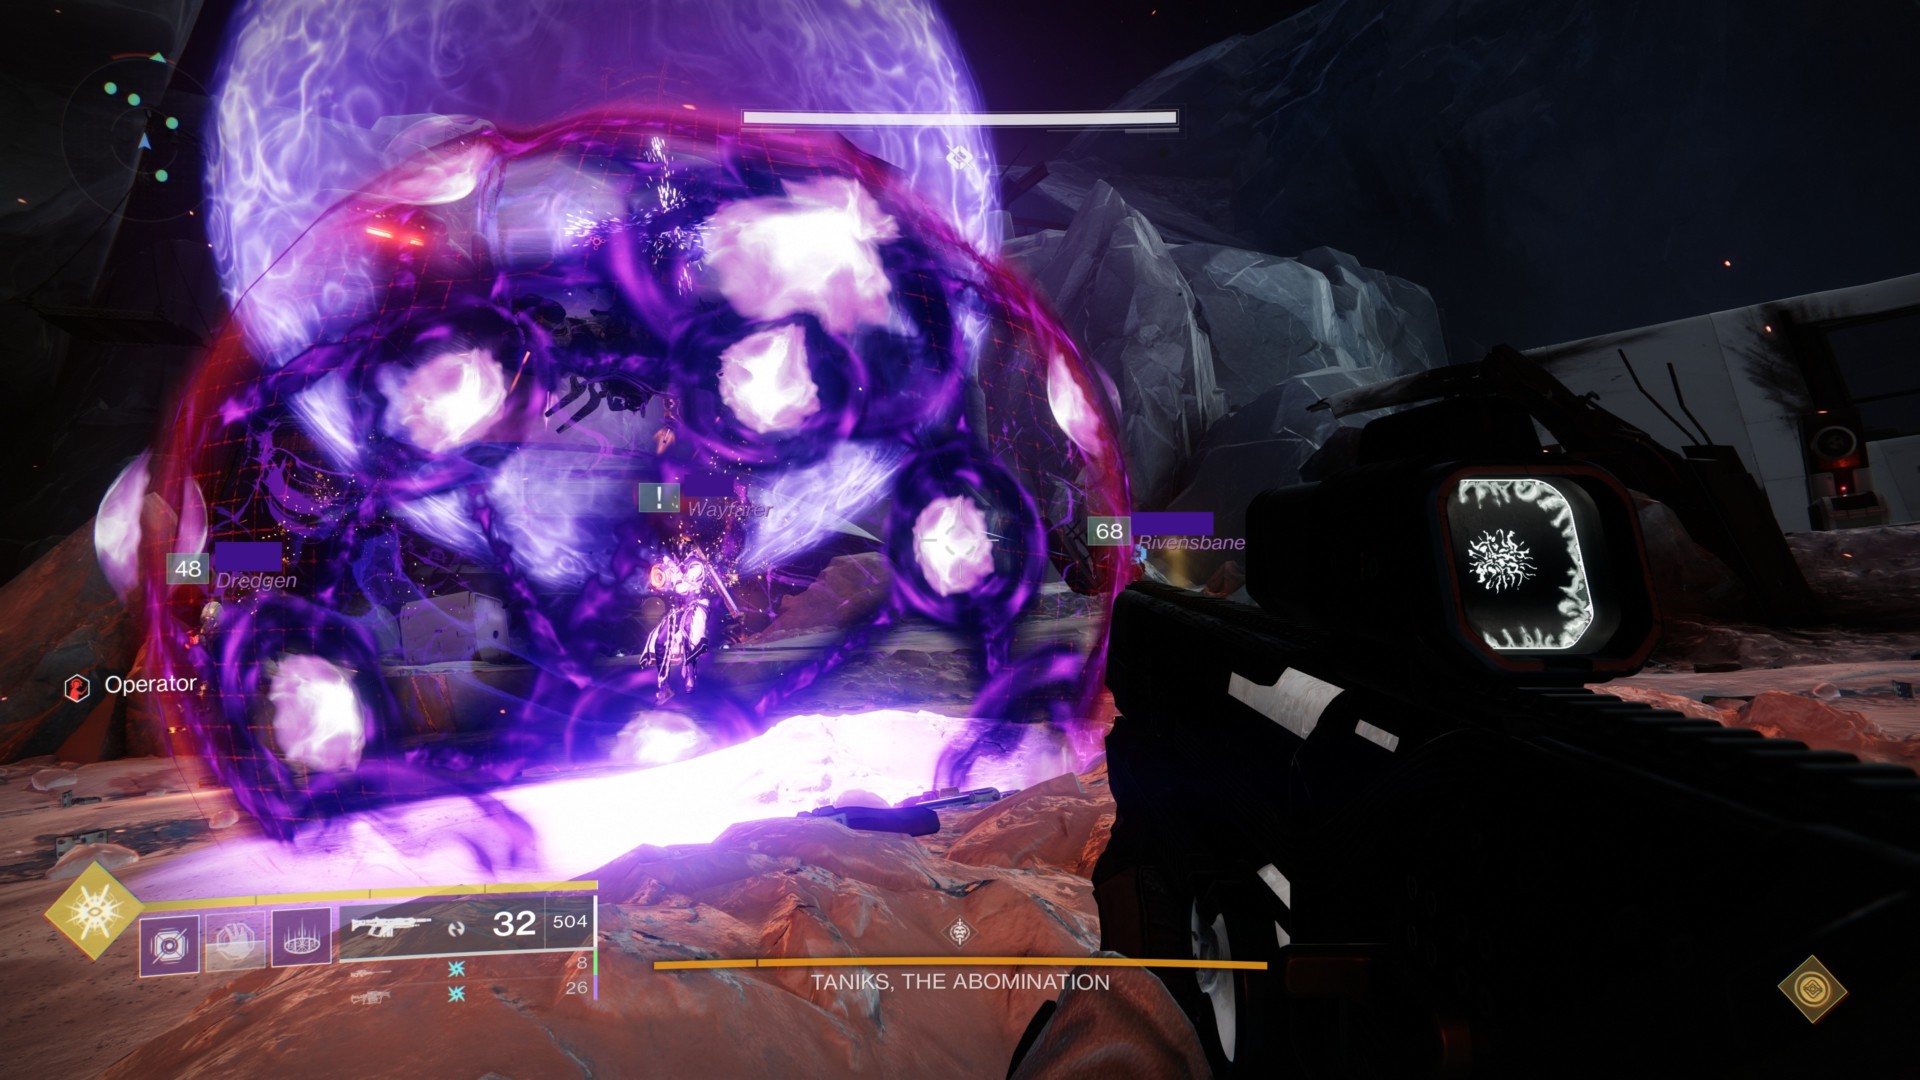
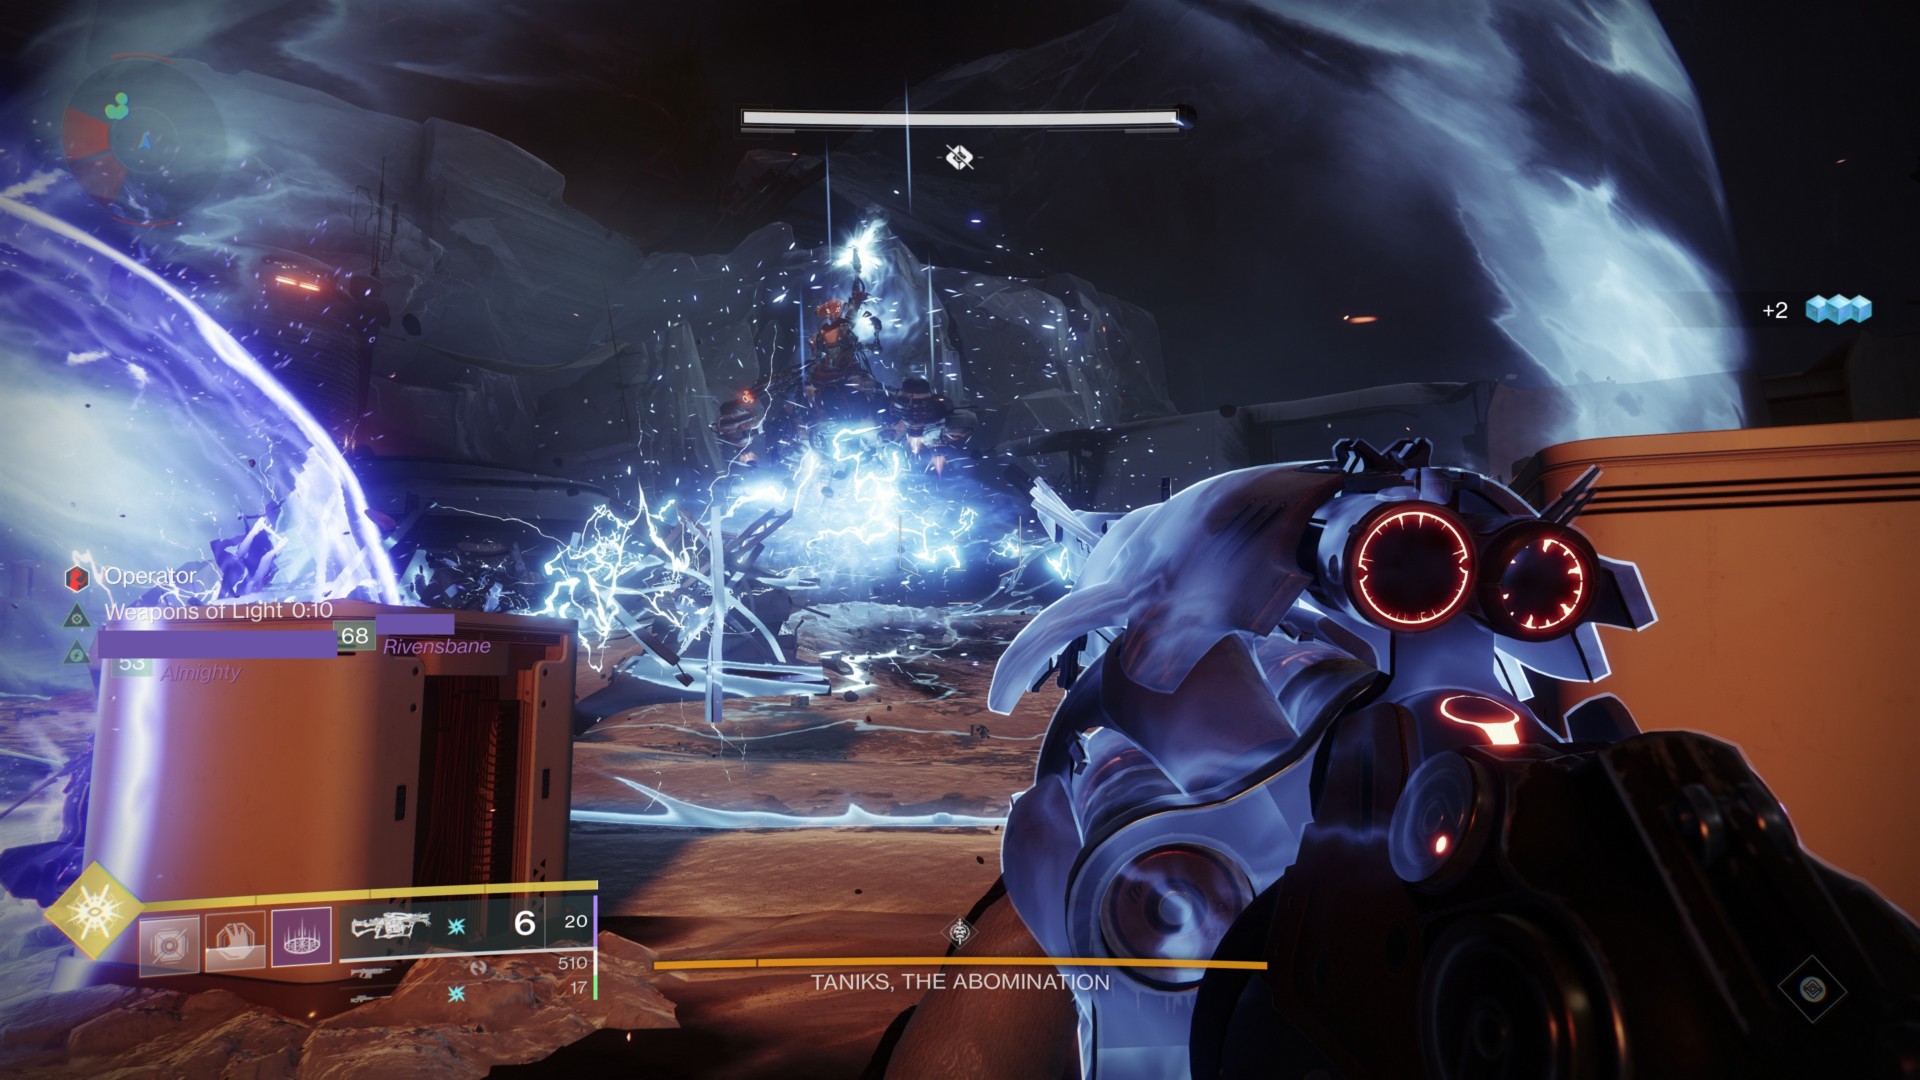
Operator
The Operator vandal spawns at the white side of the arena and the job of the player with the Operator buff is to shoot teammates that have been detained by Taniks’ bubble. The detainment field is only cast after the boss’ nuclear cores have been dropped and people are carrying them to the banking areas.
A couple of shots on the “crit spots” (i.e., the bright purple circles on the bubble’s surface) should be enough to remove the detainment field.
Also, keep in mind that the detainment can continue to happen while the banking is going on. You might need to free two teammates in succession or, sometimes, three or four. This is entirely dependent on when the Suppressor stuns the boss.
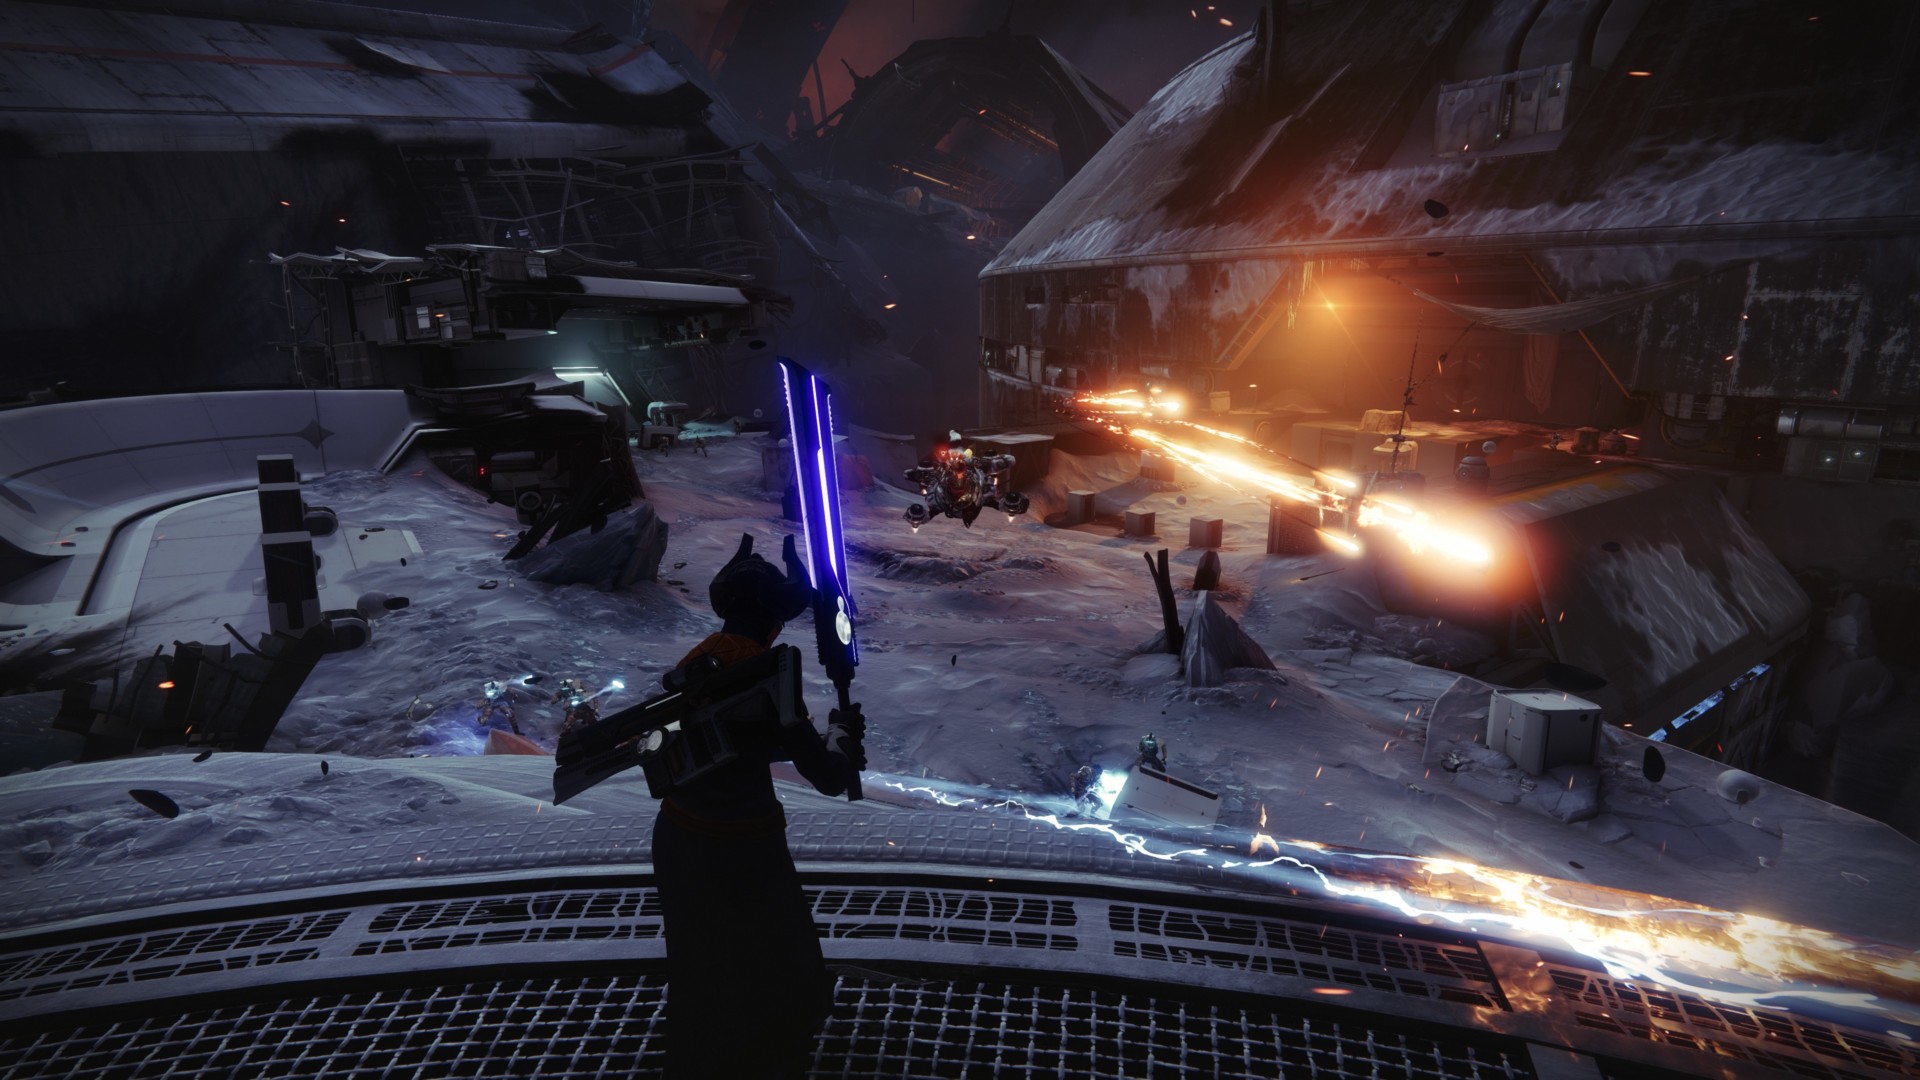
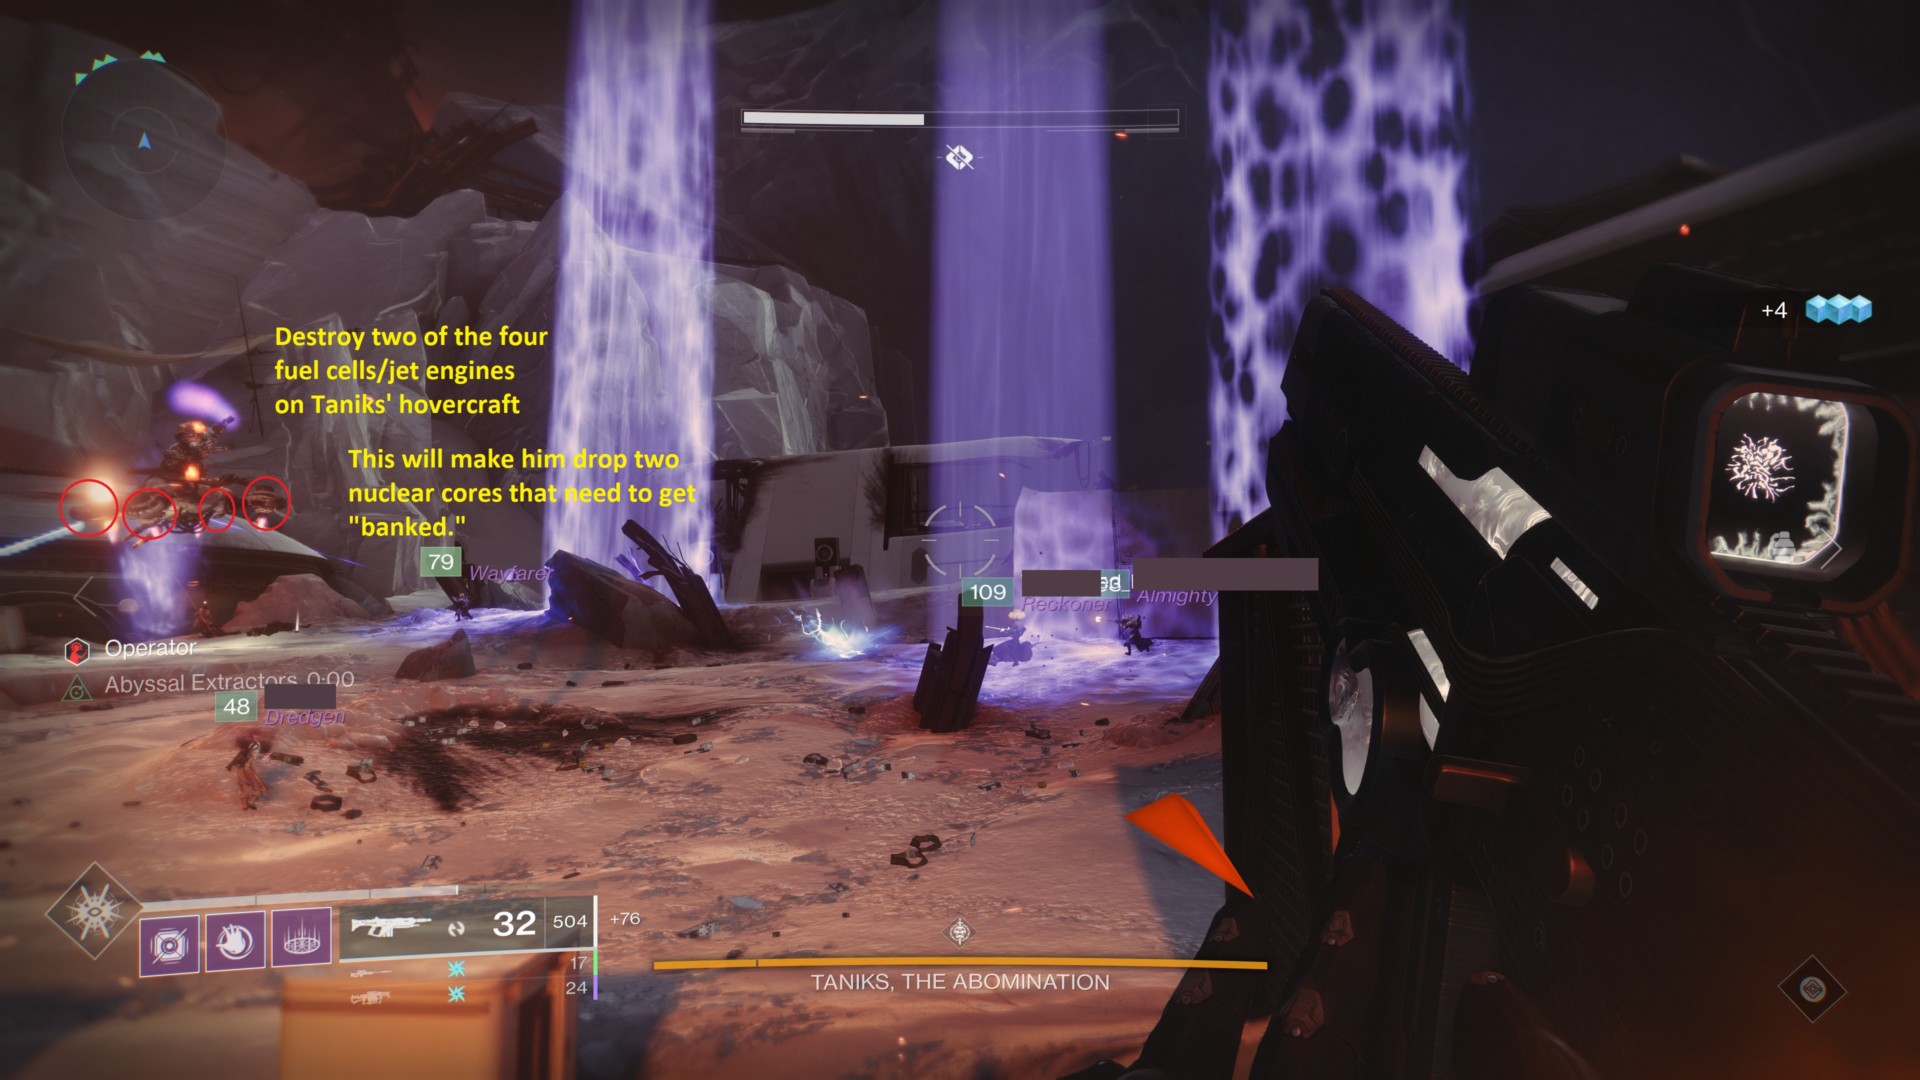
Nuclear cores and orbital bombardment
Apart from his scorch cannon, Taniks casts an orbital bombardment from time to time. These are purple beams that you need to move away from since the explosions can kill you. When this is cast, you need to shoot the fuel engines/thrusters on Taniks’ vehicle/hovercraft. Ideally, you’ll want to destroy two of these which will spawn the two nuclear cores.
Anyone can pick up these nuclear cores except for the Operator and Suppressor. The former needs to free teammates from detainment fields and the latter has to engage the drones and open up the banks.
Assuming you picked up a nuclear core, you’ll see a “Radiation” debuff at the bottom-left corner of your HUD. The amount will stack and, if it reaches 10 stacks, you’ll die. As such, the idea is to have a buddy/partner pick up the nuclear core from you. Whenever you don’t have the core, the “Radiation” debuff will slowly dissipate over time.
In any case, your objective is to deposit two nuclear cores to the correct banks and then two more after a short lull. After depositing four, you’ll start the DPS phase.
Deactivated augmentations and passing the buff
Here’s where things can get a bit tricky. Remember the Suppressor’s job where they need to stun Taniks? Well, whenever this happens, Taniks will deactivate the augment/buff of a random player. As such, it’s possible for the Scanner, Operator, and Suppressor to get their buff nullified.
When this happens, run to the closest augmentation device and deposit your buff. You can pick it up again later once your timer has expired. Alternatively, another teammate can pick it up.
Note 1: In some cases, there’s enough time between “critical moments” when you actually need the buff. That means you could just tell your teammates that you’ll still grab it later.
Note 2: If the Suppressor delays a bit before stunning the boss — i.e., once players are close to the bank/s and after two detainment bubbles have been destroyed — you can avoid some of the confusion, too. It’ll lessen the chances that the Operator gets their buff disabled when a detainment bubble has to get shot.
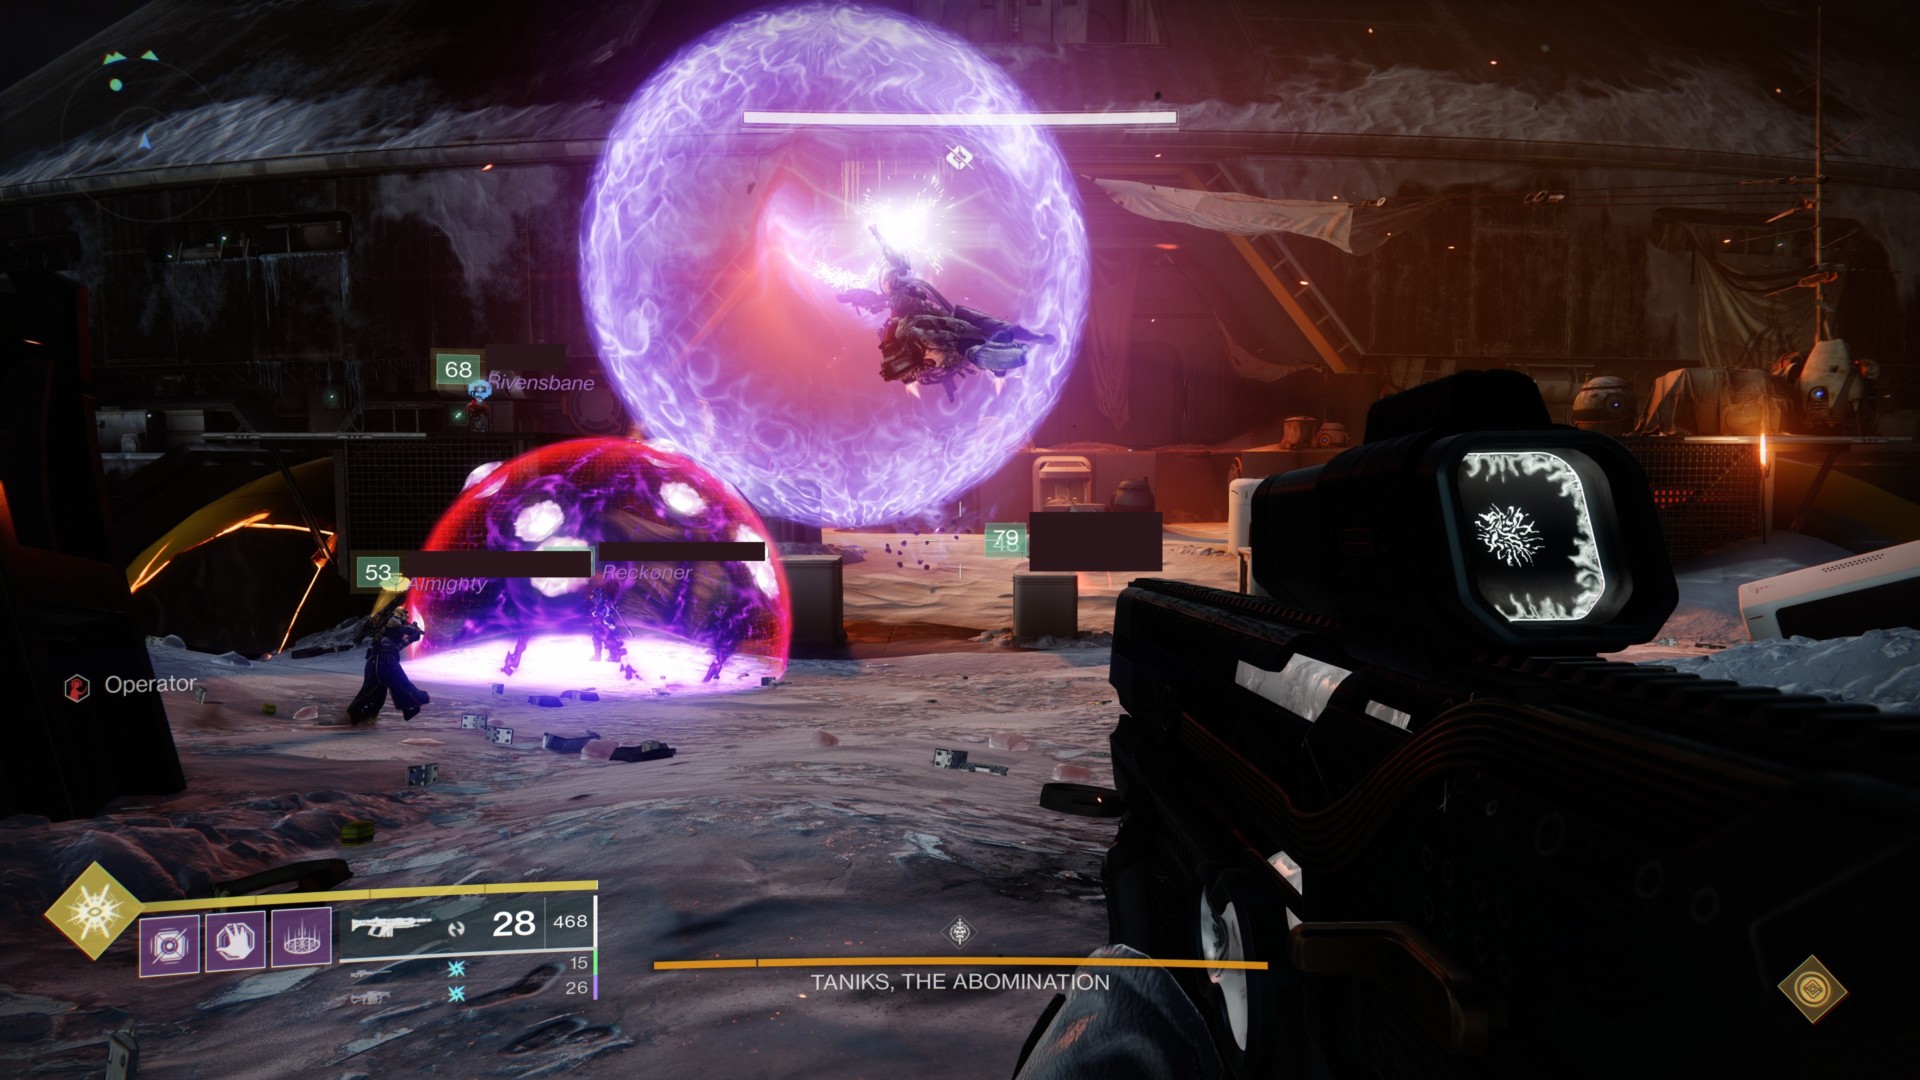
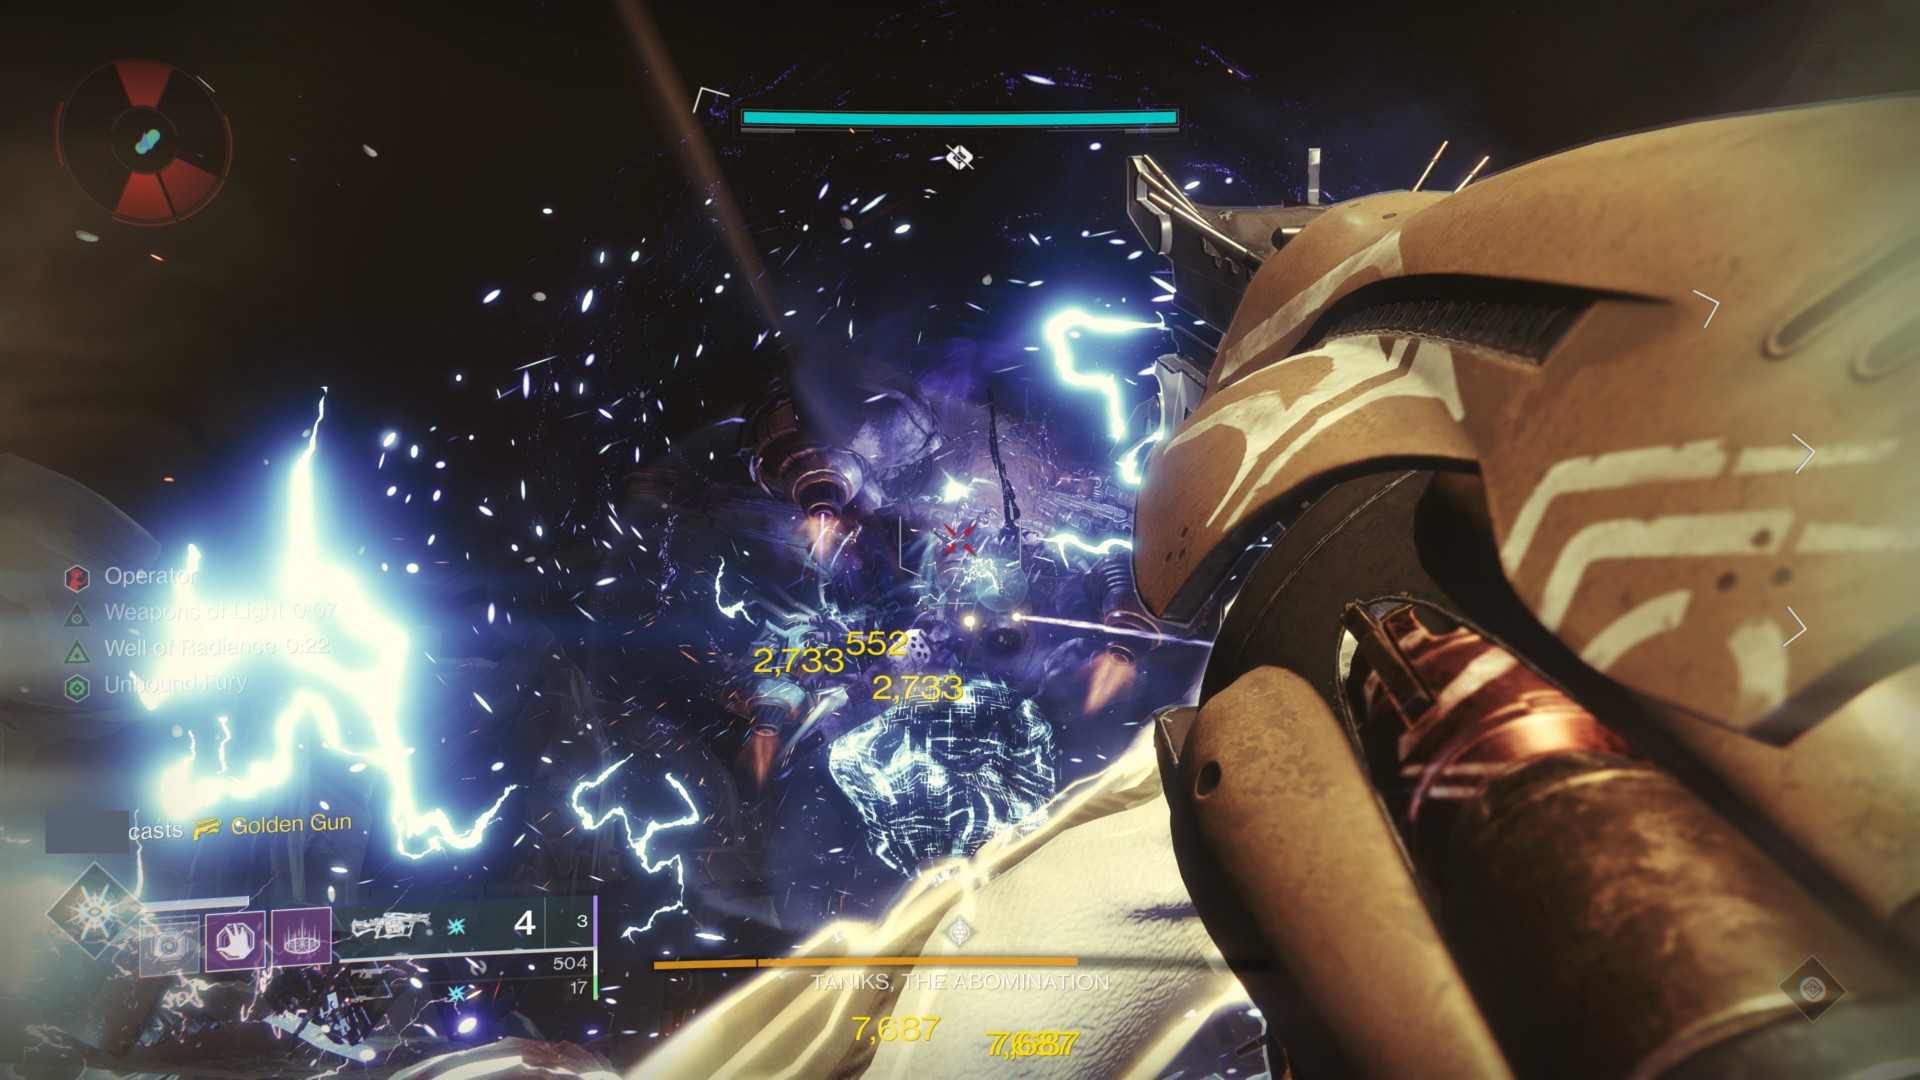
DPS phase
Let’s say you managed to deposit four nuclear cores. This will make Taniks teleport to the middle of the arena.
Pop a Ward of Dawn so players can gain a buff and be ready for the DPS phase.
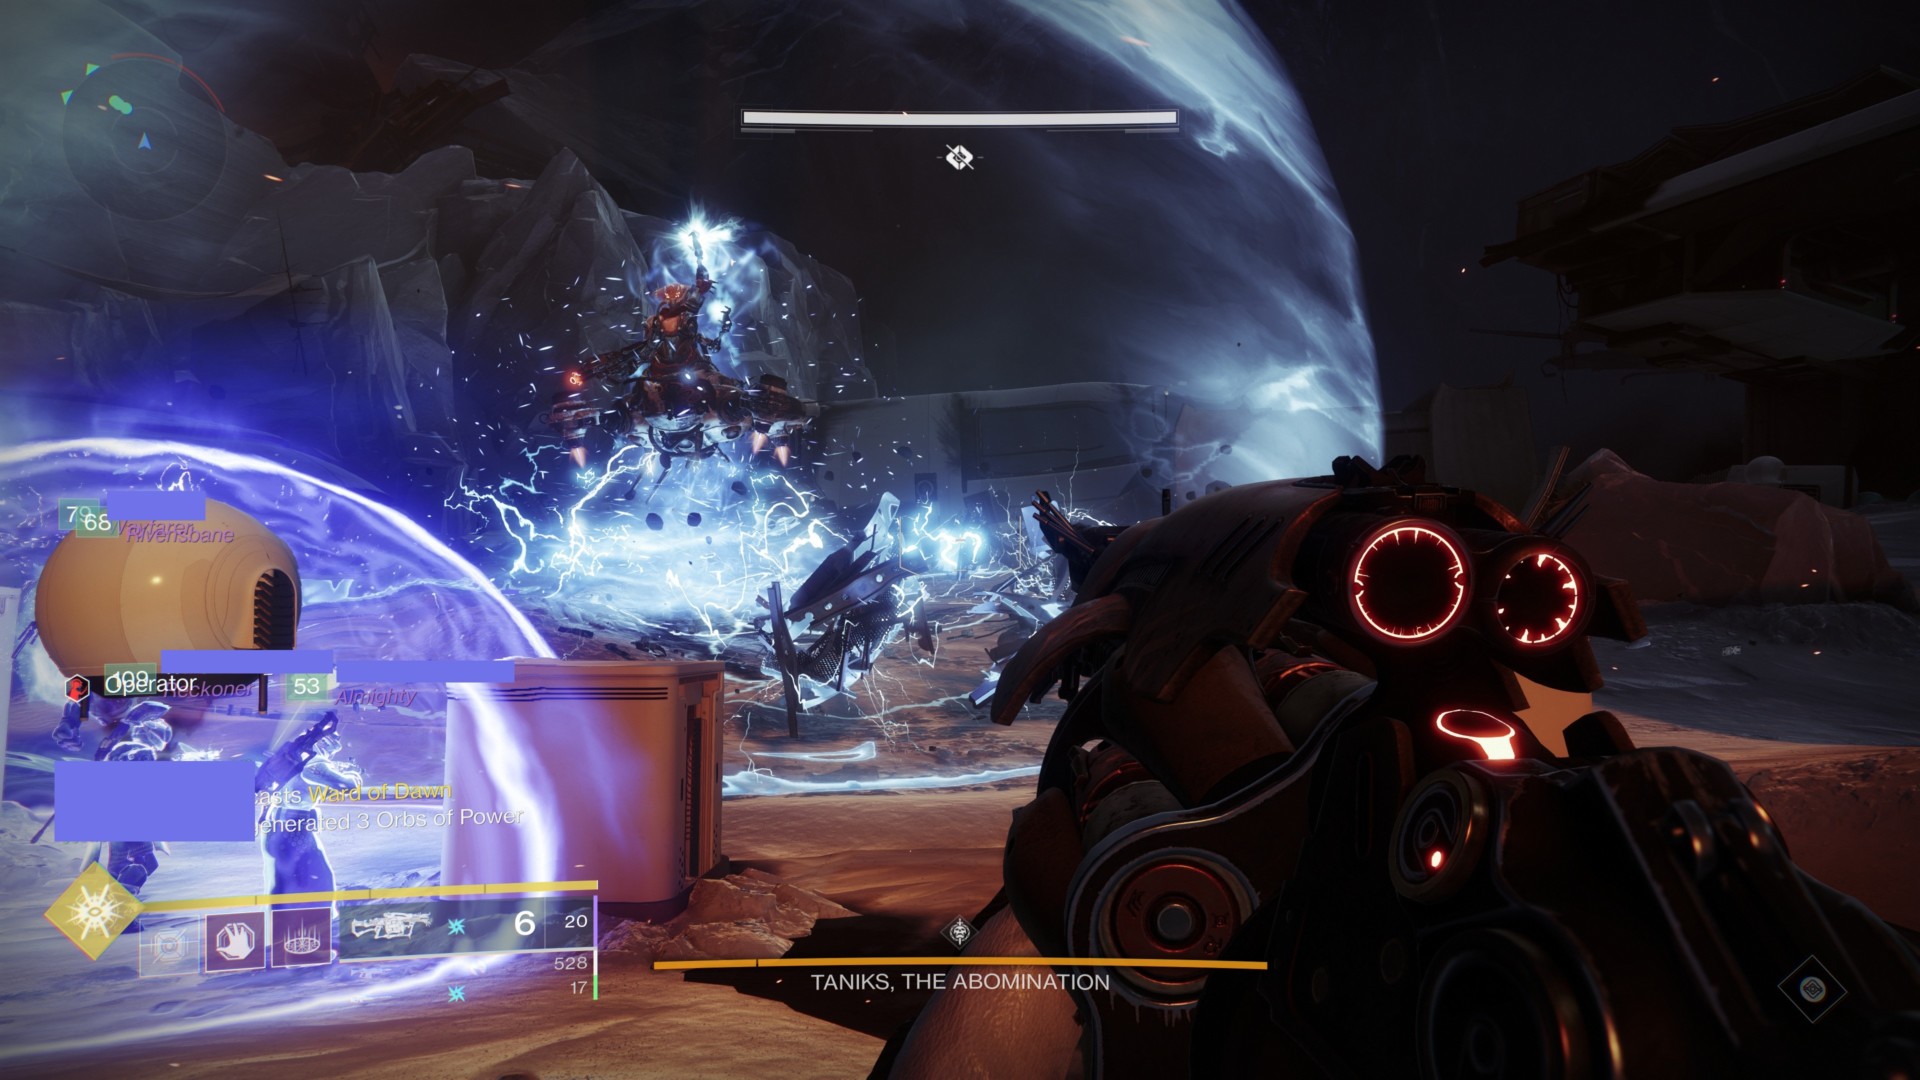
Taniks will surround himself with two rings:
- The outer ring has debris circling around it. If you jump onto these, you’ll get pushed out and you’ll likely lose a lot of DPS time. If you’re just standing or walking and the debris hit you, you’ll end up dead.
- The inner ring (very close to the boss) has an energy field that’ll constantly damage you until you’re dead.
Your team’s goal, therefore, is to stand between these two rings. If you have multiple Warlocks, go ahead and pop a Well of Radiance. The player with Divinity continues shooting the boss, giving you a crit spot underneath him.
Keep in mind that the boss will “boop” you outside after a few seconds, so you need to jump back in between the two rings and continue your DPS.
Furthermore, it’s almost mandatory that you get Taniks down to at least a third of his health bar — i.e., the “O” or the “N” in “Abomination.” This ensures that you can easily beat him down to get him to the final phase/last stand prior to his enrage.
The final phase/last stand
The final phase/last stand of this Deep Stone Crypt boss fight can be somewhat hectic. Taniks will be teleporting all over the map and you’ll need to burst him down as much as possible.
Use your remaining sniper shots, supers, heavies, and so on. You need to take out that last remaining chunk of health before he wipes your fireteam.

Getting your loot
Once you succeed, you’ll be able to check out the chest for completing this Deep Stone Crypt encounter. Unique to other battles in Destiny 2: Beyond Light, you not only get a piece of loot, but the chest also lets you pick the reward you want. You can spend 20x Spoils of Conquest (obtained from completing various raid encounters) to obtain an item you already have, although the rolls will be different.
Alternatively, you can spend 60x Spoils of Conquest get a random piece of gear from a particular grouping:
- Security Spoils – Arms, legs, class item, scout rifle.
- Replication Spoils – Arms, legs, class item, sniper rifle, shotgun.
- Disarmament Spoils – Chest, arms, class item, hand cannon.
- Abomination Spoils – Head, chest, legs, sword, machine gun.
If you’re interested, you can also try an alternate strategy known as The Core Four. Anyway, here’s a clip of the “world’s first” completion from Team Luminous: