Specials
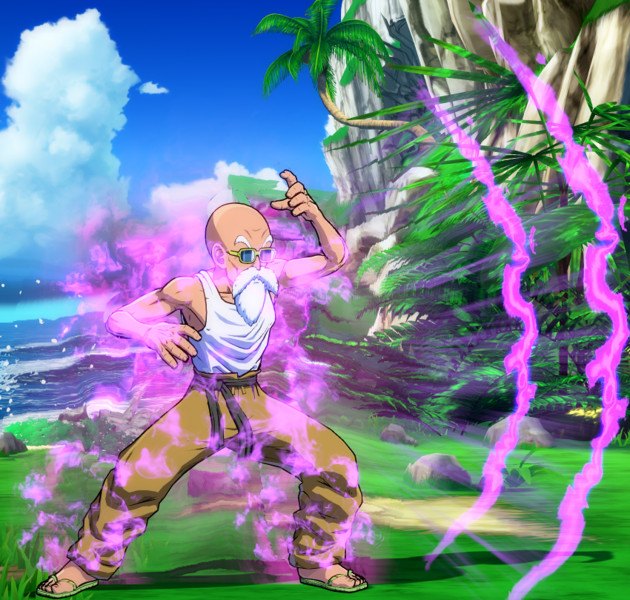
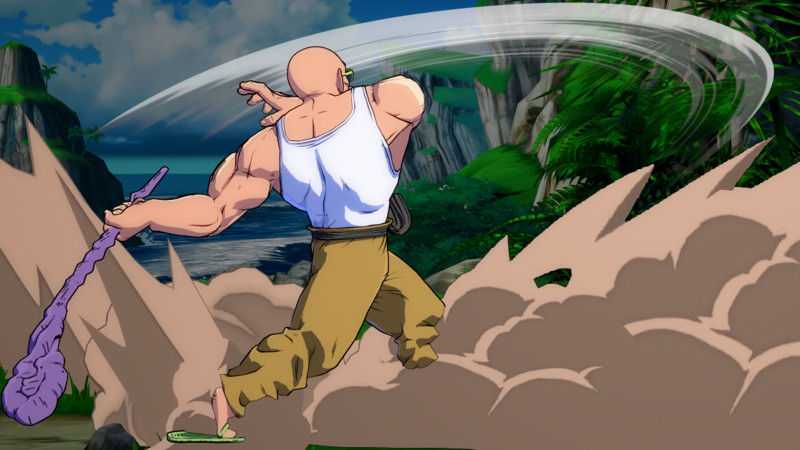
Thunder Shock Surprise (214+S)
One of Master Roshi’s best moves, Thunder Shock Surprise is unblockable in the air. It is also modular, and can be aimed at a steeper angle upwards by holding the down direction after inputting the move. This makes it great for when the opponent is floating when you run under them, or if their back is against the wall. Despite its appearance, this move is not a beam, and will not clash with other beams. It will lose outright. Technically, the move is considered a command grab, so it can be avoided with a backdash.
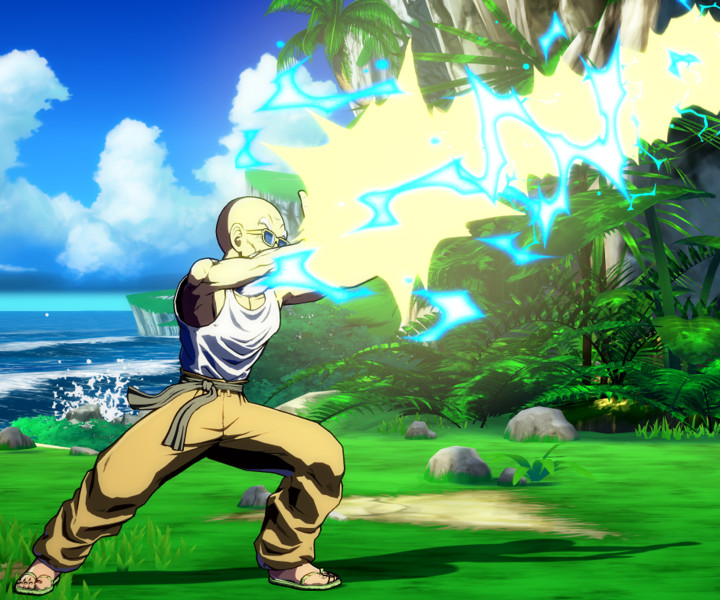
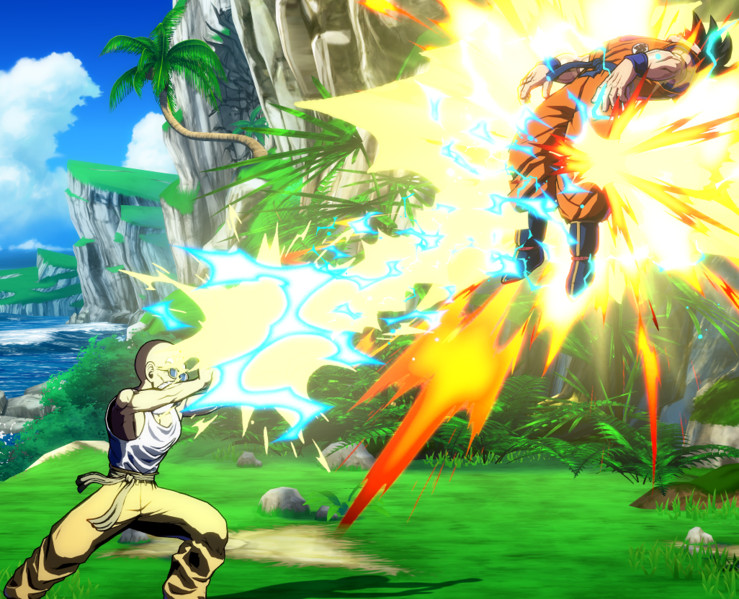
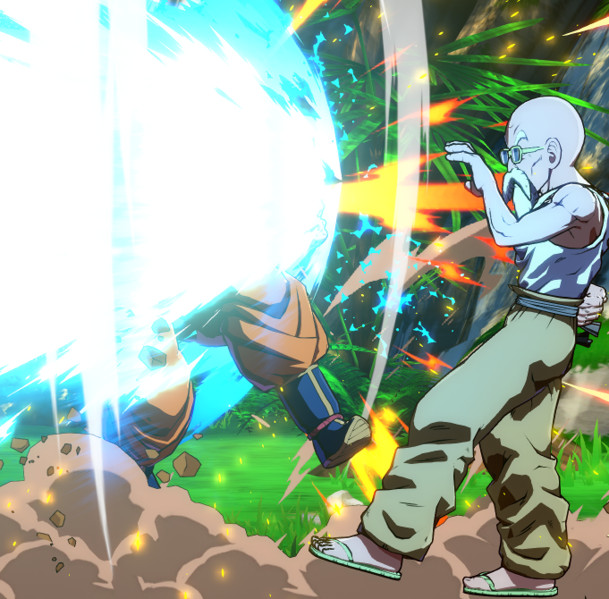
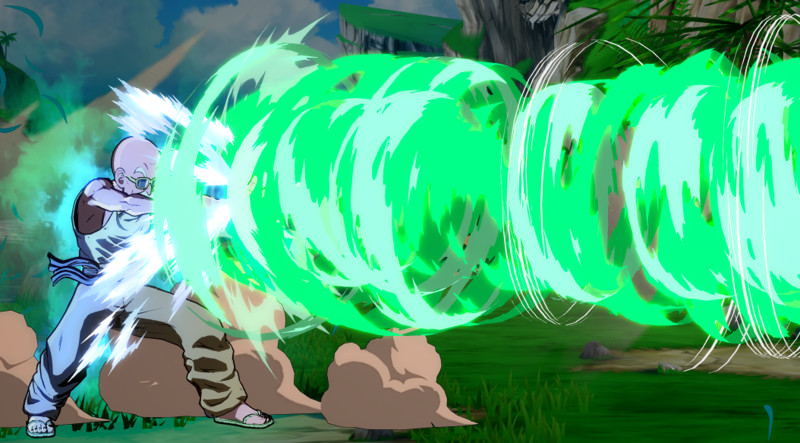
Kamehameha (236+S)
A basic beam attack. It’s only one hit, unlike most beams in the game, and the actual beam is much thinner than most. The beam causes a wall splat on hit, and is good after a Dragon Rush at the end of a long combo if you haven’t used Thunder Shock Surprise.
Lullaby Fist or “Sleepy Boy Technique” (2,2+S)
An unblockable command grab that puts the opponent into a crumple state, allowing you to follow up with any combo you like. At 28 frames of startup, it is slower than most command grabs, as a normal “slow” command grab starts at 24 frames. In the end, though, four frames don’t make that big of a difference. If you were going to get hit by a command grab anyway, those extra four frames won’t save you.
It is also great for canceling into after Roshi’s 5LL string. Since each hit of that move is cancelable, you can sneak one of these in pretty easily. Between this and Thunder Shock Surprise, Roshi has plenty of unorthodox ways to open up the opponent that a good player playing against him will have to be constantly aware of.
Wise Warrior (236+L/M/H)
This move will cross up the opponent as long as it touches them, on hit or block, even in the corner. Roshi will fire a ki blast on the other side on hit. The M version causes a wall splat, while the H version causes a wall bounce on a smash hit. Can be followed up in the air with his air super dash, the Reverse Kamehameha. It is only -5 on block and can jail the opponent. Great when paired with a lockdown or beam assist.
Martial Spirit (214+L/M/H)
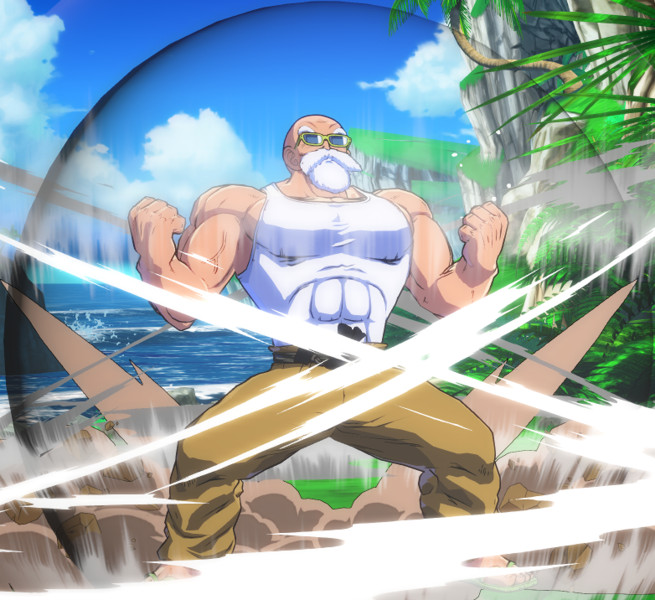
One of Roshi’s most interesting and versatile moves, Martial Spirit will cause Roshi to go buff and hit the opponent with a follow-up punch. It is very similar to Nappa’s “Too Bad” special move. It has a guard point, meaning that it functions like hyper armor and can eat an incoming attack and strike back at the opponent. Master Roshi is armored basically the entire time he is buffed up and the guard point works against ki blasts and has 10 hits of armor for non-super move physical strikes and projectiles.
The H version is active on frame 1, making it an effective reversal as well. You can hold the button down to delay the second hit of the move to catch your opponent trying to avoid or bait the attack. There is a 3 frame gap between the first and the second hit on block so it is hard to punish outside of an instant reversal or other invincible moves. The first attack causes a ground bounce on hit, and the second attack can auto-correct on side switch. The M version also causes a smash on the second hit. The H version causes a smash on the third hit that causes a wall splat. There is also a 4 frame gap on block between the second and the third hit for the H version. Definitely one of Roshi’s most efficient moves that has a lot of usability.
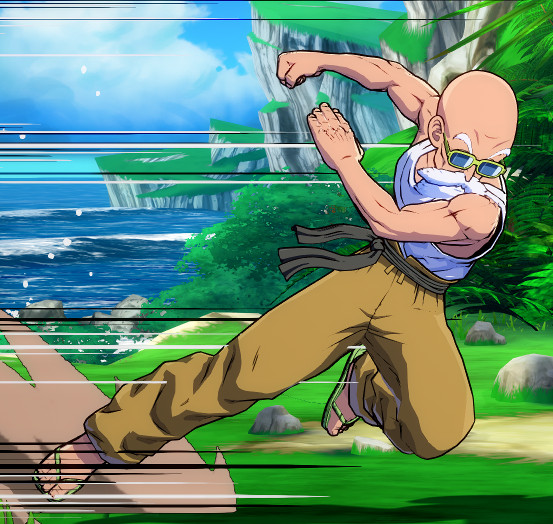
Jumping Splits (2,2 L/M/H)
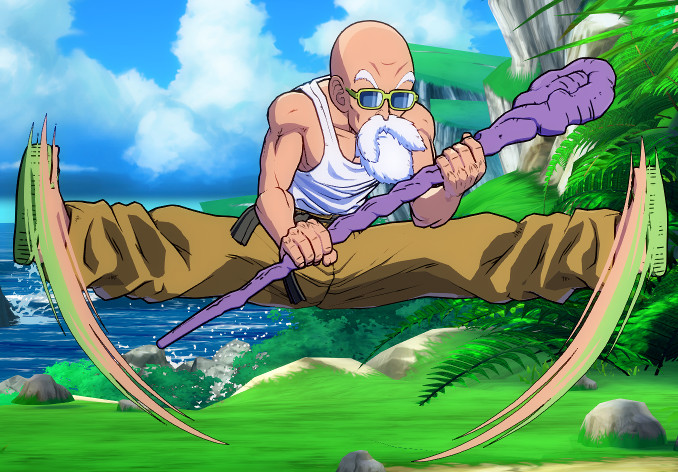
Roshi does a jumping split in the air. Roshi is considered airborne so low attacks will miss when he uses this move. The L version causes a sliding knockdown and also makes Roshi jump backwards a little bit. This is his best ender for blockstrings that keep him on the same side. The M version is also a safe blockstring ender. The H version leaps in place and a smash hit causes a wall bounce into sliding knockdown. It is active on frame 1. The M version can also be comboed after the H version near the corner. If you are in the corner though, this can put the opponent there instead with a Wise Warrior side switch or vanish.
Supers
Evil Containment Wave or “Mafuba” (236 + L+M)
The only super that causes a snapback on hit. The snapback has variable timing, so the opponent can sometimes tag back in quickly. However, this move is still great when trying to snap in another member of the opponent’s team with a lot of blue health. It will also do a little bit more damage if done on the opponent’s last character. Can only be DHC’d before the beam hits, which means you cannot utilize the snapback.
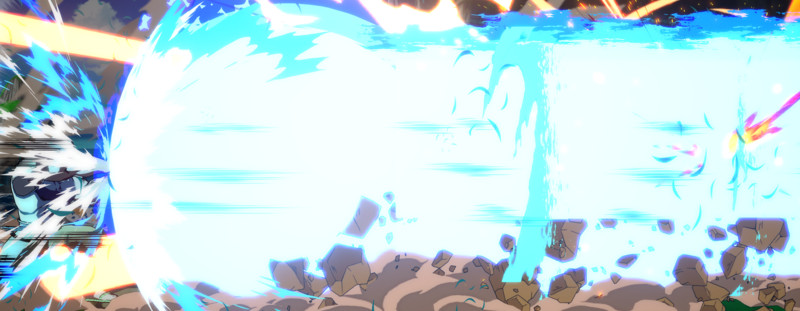
Turtle Hermit Extraordinaire (236 + H+S)
This is Roshi’s main DHC super. You can hold the button down to burn an extra meter to tag on a Full Power Kamehameha at the end for extra damage. It also doesn’t use up your smash hit if you DHC before it hits. It is one of the highest-damage level 1 supers in the game, and is the highest-damage level 2 super in the game. Also allows for combos into supers with long startup like Charged Special Beam Cannon and Super Spirit Bomb.
The Greatest Kamehameha (214 + L+M)
Your standard level 3 beam super. Good for punishing beams at full screen, but it doesn’t have great follow-ups after since your opponent is so far away after the super ends. It also only does 264 more damage than his level 2. Outside of very specific situations, it is usually just better to stick with his level 2.
Last up are Roshi’s assists, and how he makes up for his lack of a super dash.


Published: Sep 22, 2020 09:00 pm