The world opens up when you leave Mirogana, giving you access to tons of rewards if you seek them out. If you’re struggling in the great outdoors, here’s our Star Wars Outlaws Mirogana Valley treasure guide, which shows how to get all treasures and their locations.
How to get every treasure in Mirogana Valley
Five treasures are up for grabs in Mirogana Valley, and the toughest part of your task is finding them. You must be in close proximity for them to show up on your map, and they are easy to miss.
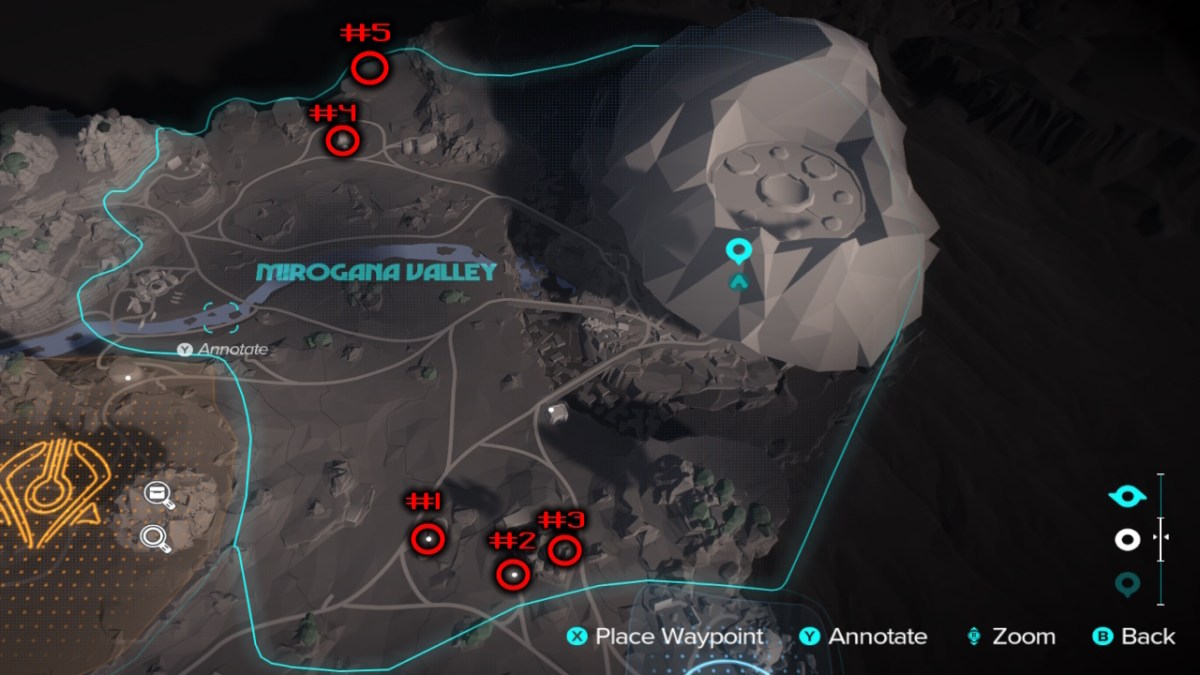
Here’s a map of their locations. I’ve numbered each one so you can check out how to reach the treasure and if it’s worth your time.
Before diving in, you may be interested to learn that Star Wars Outlaws is canon and takes place just after other recent Star Wars games.
#1 Dabah Power Station
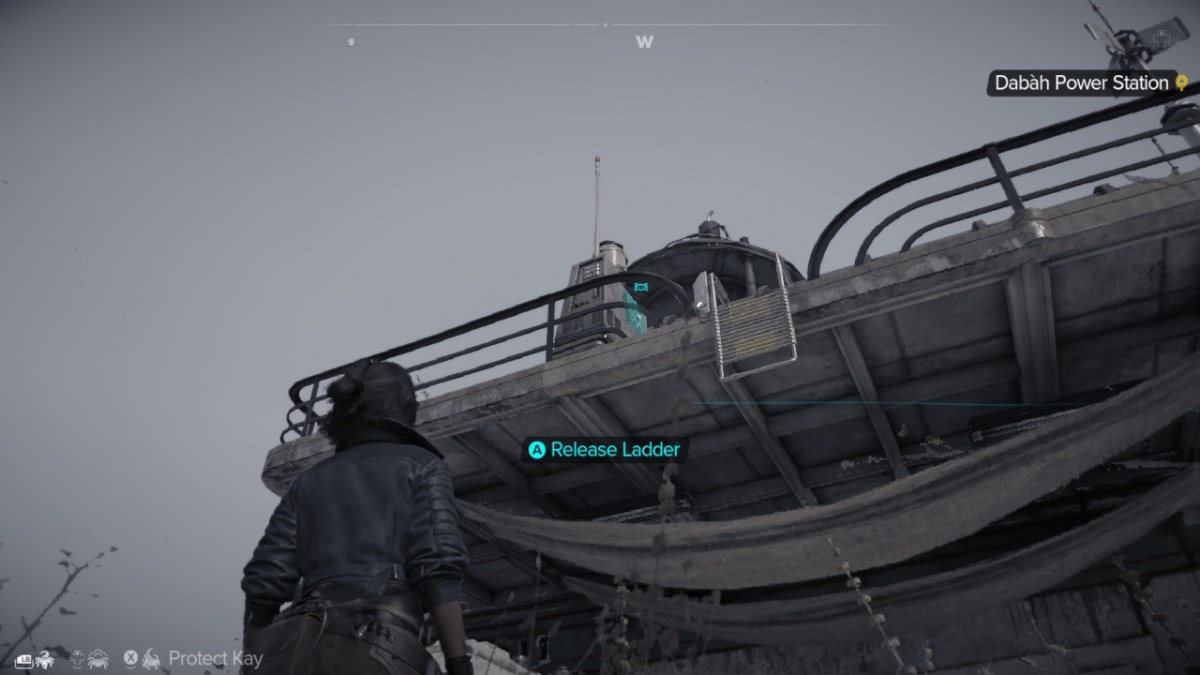
The treasure at Dabah Power Station is easy to reach, and there’s no combat as everyone is friendly. You can see the chest from outside, and it’s on the roof of the building. The issue is that there are no stairs inside the Power Station.
Fortunately, the solution is simple. Stand by the locked ladder outside, located on the backside of the building away from the road, and send Nix to the control panel next to it. Nix will release the ladder which you can climb to claim your prize.
You earn the Commander Paint Job for the Speeder, and some valuables are up for grabs, too.
It’s worth leaning by the bar inside for some intel about a stash behind a Waterfall, which you can collect at your leisure. You can look for that while searching out the Crashed Speeder location.
#2 Abandoned Cantina
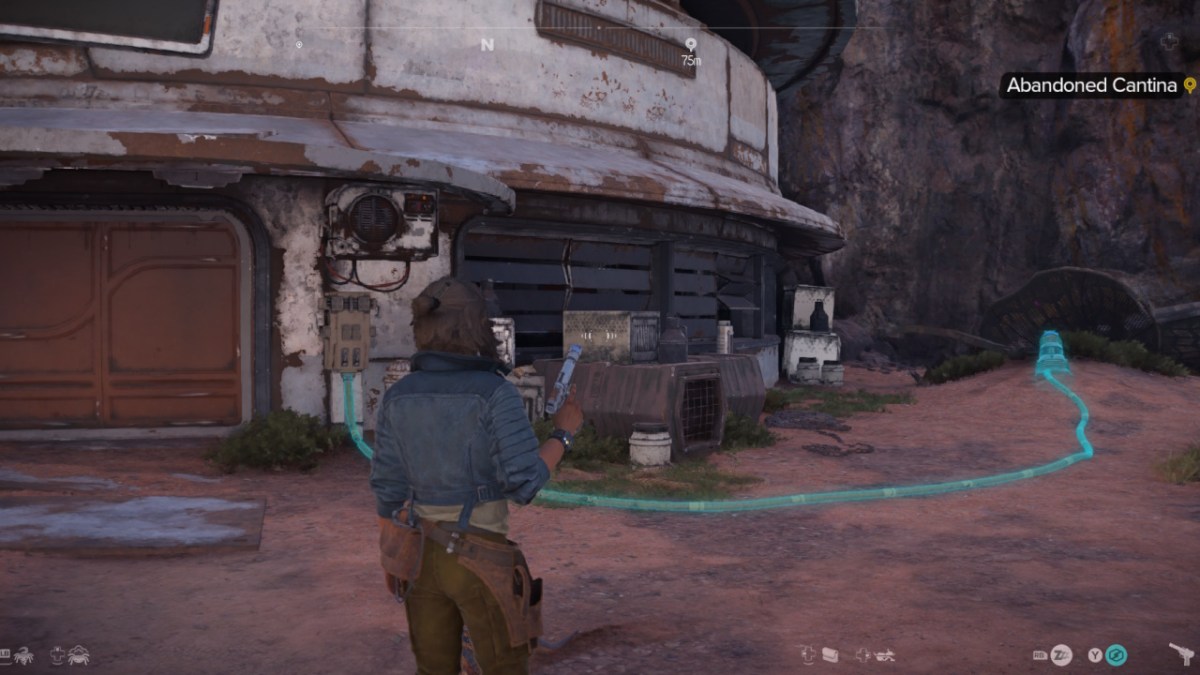
The Abandoned Cantina is guarded by a pair of surprisingly tough creatures that will maul you if you let them come close. Defeat them from a distance with your blaster, and only explore when it’s safe.
Your treasure is inside the Cantina, and you can unseal the door by shooting the generator in the image above. You must shoot with the Ion (blue) Module on your blaster; otherwise, you can’t restore power to the door. This is also a useful trick for blue shield enemies.
Once inside, head to the red gap in the wall to the left and order Nix to press the visible switch. A door will open to the right, and you can head inside to claim your prize.
There’s a Scout IV Vehicle Trinket in the chest and a few miscellaneous crafting materials up for grabs in the storage room.
The front door to the Cantina won’t stay open for long. If you get locked in, look through the shuttered window and shoot the generator from this position to escape.
#3 Bosan Mound
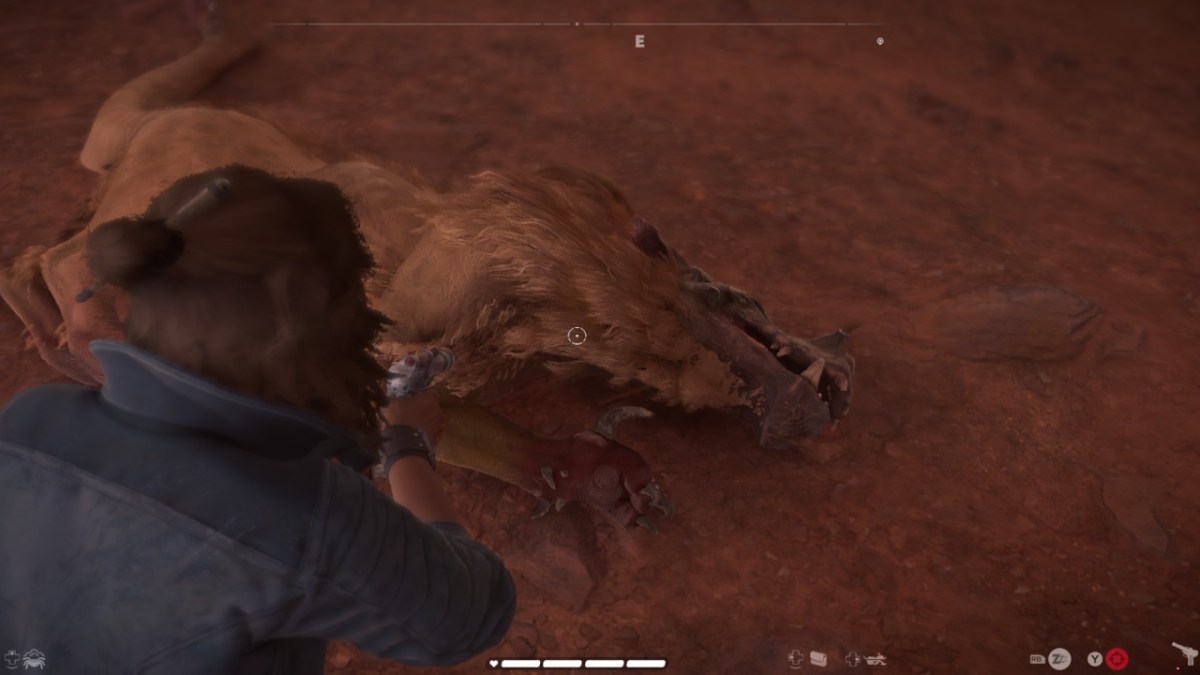
You may as well complete the Abandoned Cantina first, as you can walk onto the roof to access Bosan Mound.
The Mound is home to one of the creatures you fought outside the Cantina. It shouldn’t cause too much trouble, but the area is small and claustrophobic, so be on your guard.
Once the coast is clear, head to the corner full of bones to claim your prize. You can collect leather crafting materials from the chest, and a few valuables are scattered on the ground.
Honestly, there’s nothing too remarkable here, but crafting materials always come in handy and can be hard to find (I’m looking at you, Elastic Durafiber Fabric).
#4 Dusty Sinkhole
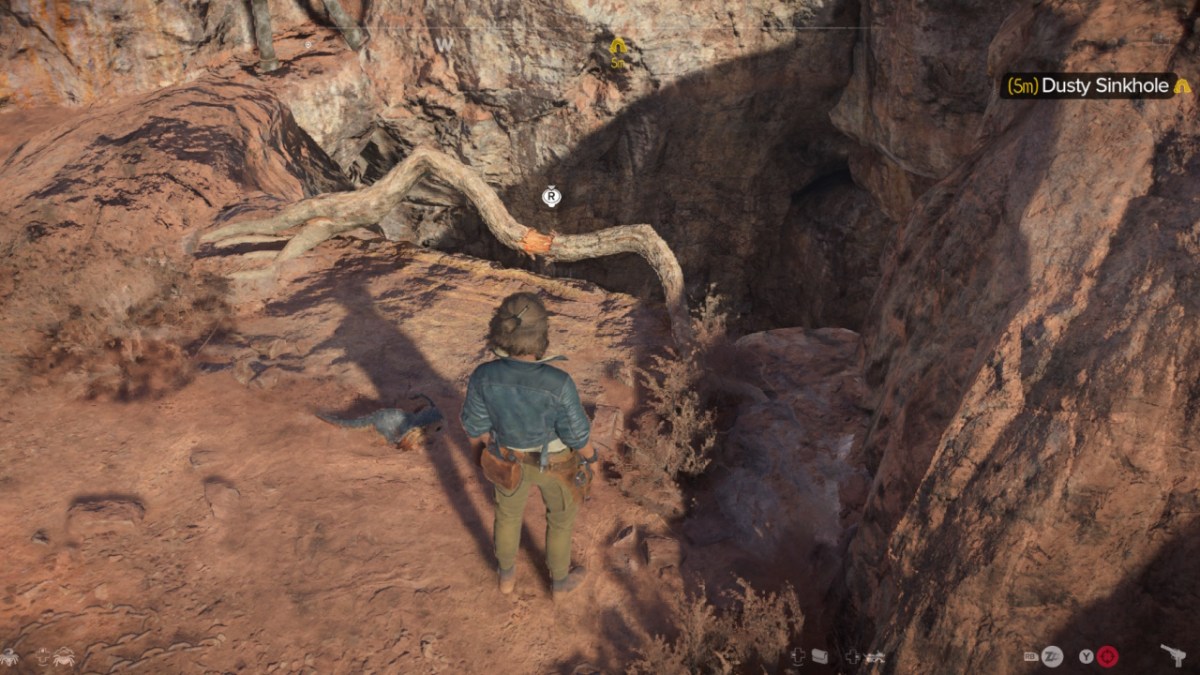
The Dusty Sinkhole is easy to find but can’t be accessed without a specific Blaster Upgrade. You must have the Power Module upgrade, which will allow you to break cracked orange walls.
Sadly, there’s no way to bypass this. You can’t even drag a grenade launcher over to break the wall. If you have the correct Blaster Module, you can break the wall and access the hidden box.
A Red Keffi Speeder Paint Job is up for grabs, and a couple of miscellaneous valuables are on the ground.
#5 Smuggler Cache 54
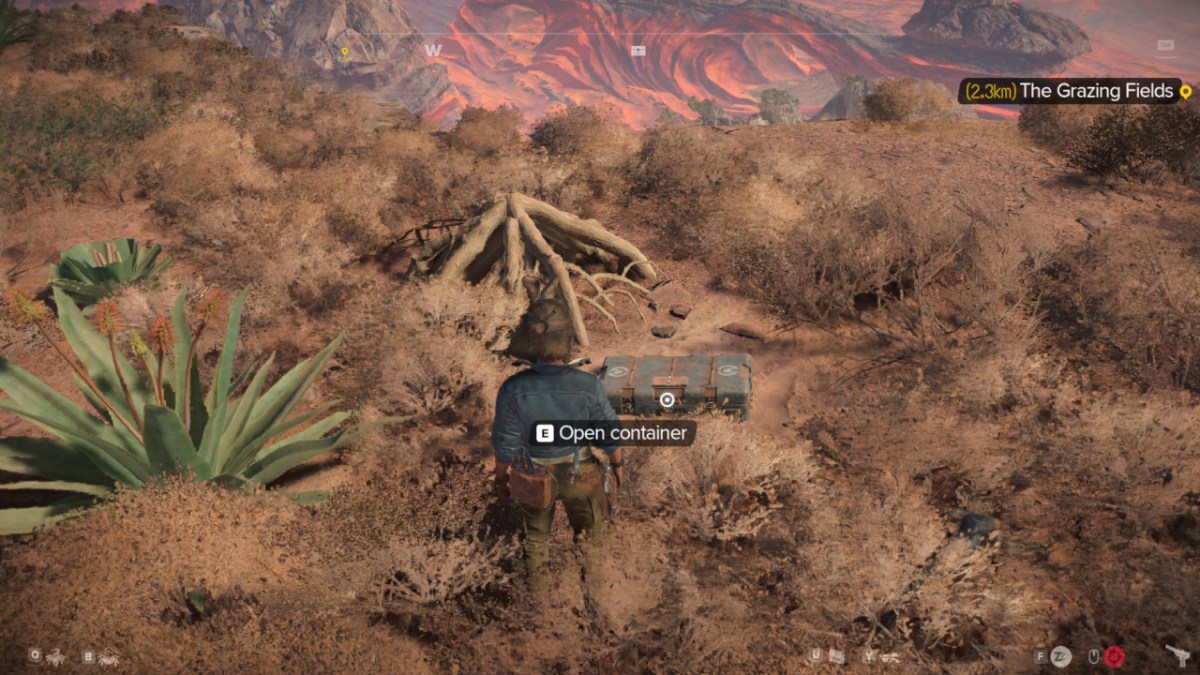
The Smuggler Cache is hidden near a pile of sticks at the northmost point of Mirogana Valley. This treasure took me the longest to find, as the chest doesn’t show up on the map until you’re practically on top of it.
Sadly, the box only contains a few basic materials and 500 Credits. Still, it’s worth it to complete the Mirogana Treasure Hunt and remove that pesky “undiscovered” marker from your map.
Mirogana Valley has a decent selection of treasures up for grabs, but it pales compared to the Mirogana settlement.


Published: Sep 2, 2024 12:51 PM UTC