
Street Fighter 6 is the most approachable entry the series has ever had. Capcom is clearly hoping to bring some new blood into the scene, but what do you do if you can’t get the hang of the controls? Fortunately, you can map the buttons however you please, but some layouts make more sense than others. With this in mind, let me show you the best control settings and button mapping in Street Fighter 6. If you’re still on the fence about diving into the game, let our review put your mind at ease.
Best Controls Settings and Button Mapping for Street Fighter 6
Controller bindings are personal and differ from player to player. By default, Street Fighter 6‘s controls are well thought out, but this is my setup and the reasons why. I use a PlayStation DS4 controller and have listed the Xbox equivalents in brackets:
- Square (X) – Light Punch
- Triangle (Y) – Medium Punch
- Cross (A) – Light Kick
- Circle (B) – Medium Punch
- R1 (RB) – Heavy Punch
- R2 (RT) – Heavy Kick
- L1 (LB) – Medium Punch + Medium Kick (Drive Parry)
- L2 (LT) – Light Punch + Light Kick (Throw)
The idea behind this layout is to make any move that requires two buttons more comfortable.
As a rule, I like to avoid pressing my thumb against multiple buttons on the front of the controller. Your mileage may vary, but I have slender thumbs and sometimes mis-input if I aim for the gap between two face buttons. This is doubly true on an Xbox Controller, as the buttons are more pronounced.
With this layout, I can make a ‘pinch’ motion with my thumb on the front of the controller and my index or middle finger on R1 or R2. This motion means I can throw out Overdrive attacks without ‘smudging’ my thumb.
To avoid that ‘smudge’ motion, Drive Parry is on L1, and Throw is on L2. If I had paddles on my controller, I’d put Heavy Punch and Heavy Kick (Drive Impact) on one, but manually pressing R1 + R2 is fine.
If you’re used to pressing two face buttons for Throw, see how Drive Impact feels having its own dedicated button instead.
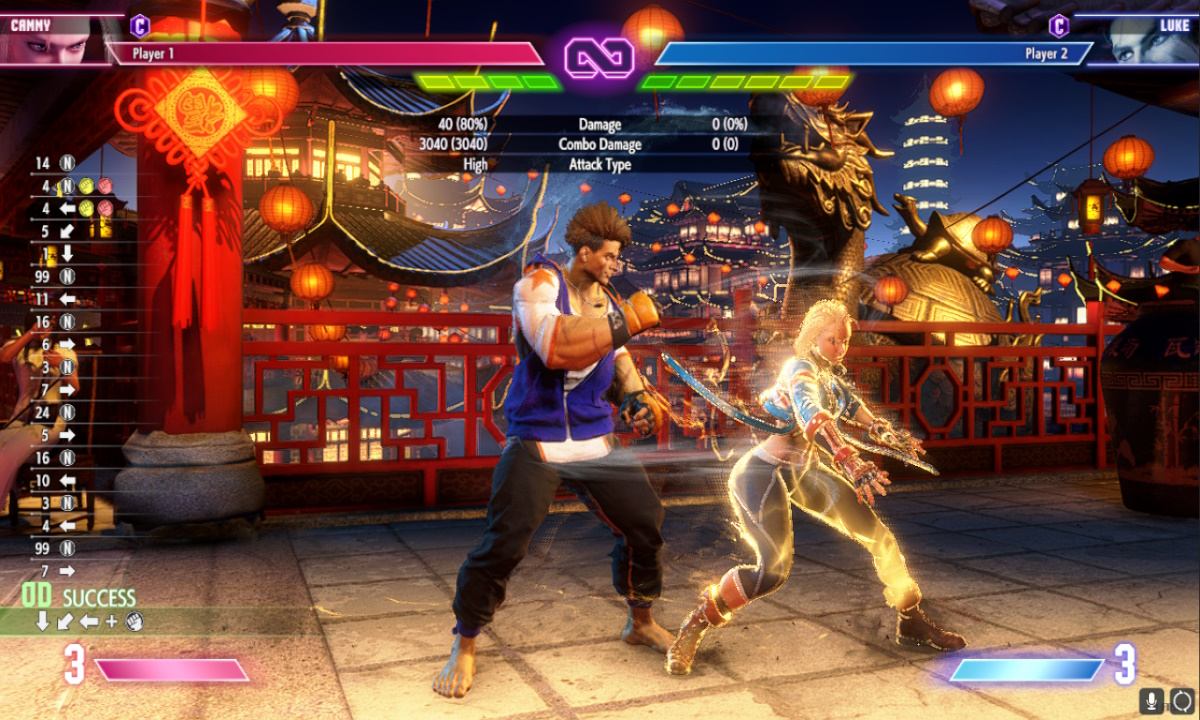
Image by PC Invasion
Should I change my button mappings on an Arcade Stick?
The default binds work perfectly on my Hori RAP4. I’ve experimented with a dedicated button for Drive Impact and Drive Parry, but go with your gut on this one. Button inputs don’t get more complicated than plinking two at a time in Street Fighter, so unless you have specific problems, I would be reluctant to change anything here.
Do I really need to change my control bindings?
Controls are 100% a personal preference. Street Fighter 6‘s default bindings are comfortable and intuitive. For Modern controls especially, I wouldn’t tinker with them unless you’re having problems.
The bindings detailed in this guide work for me, and I’ve used an almost identical layout since SF3: 3rd Strike. If the defaults work for you, keep them but ensure you can do clean inputs and utilize the shoulder buttons.
Should I use D-Pad or Analog Stick with these bindings?
Once again, this is a personal preference. I’ve never been able to get precise direction inputs with the Analog Stick, so I use the D-Pad. For things like a double ‘Quarter Circle Forward,’ I often get the angle wrong, which doesn’t happen if I use buttons.
The downside to the D-Pad is the sliding motions start to wear on your thumb. Rolling your thumb as you press the buttons does alleviate this, but it will take practice.


Published: Jun 2, 2023 01:23 am