Much of the work in a Darkest Dungeon 2 run is completed before the run has even officially begun. The party creation stage, where you choose which four heroes you’ll be taking with you, is incredibly important, outweighing most of the individual decisions you’ll make out on the road or in battle. It’s important to pick the best heroes for the job, of course, but it’s equally important to arrange them into a party that makes sense, and has the internal synergy necessary to carry you through to the Mountain. If you want some suggestions on squads that can do just that, then read on for our guide to the best team comps in Darkest Dungeon 2.
The best team comps in Darkest Dungeon 2
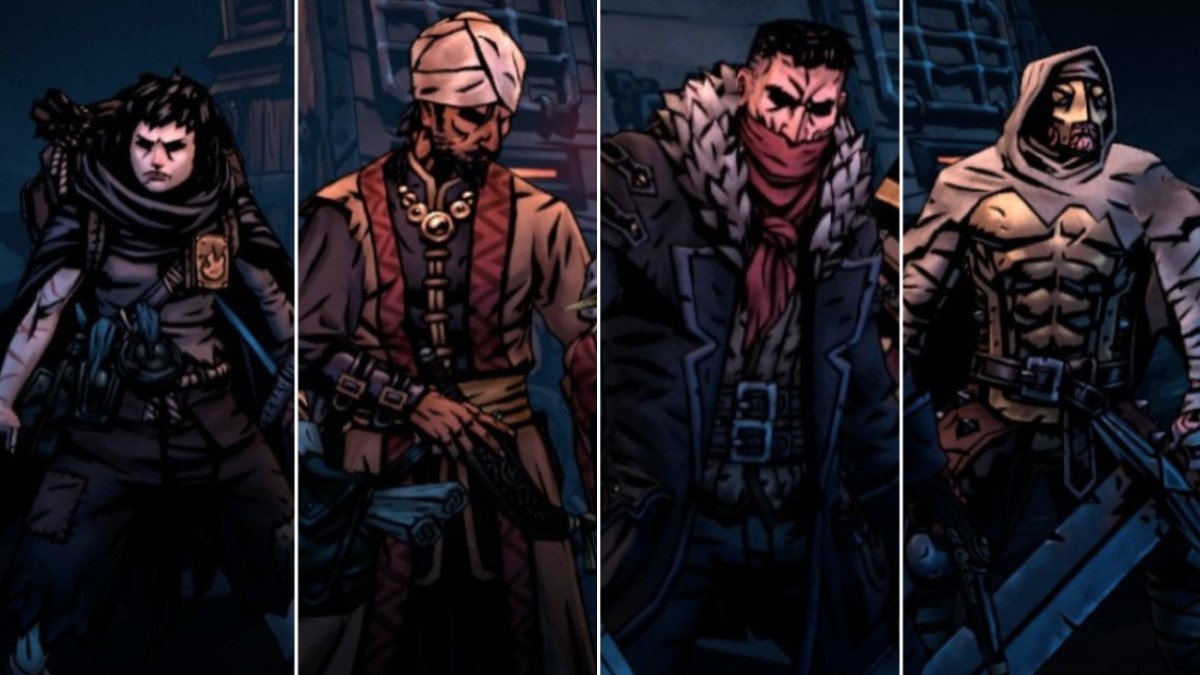
The ol’ reliable
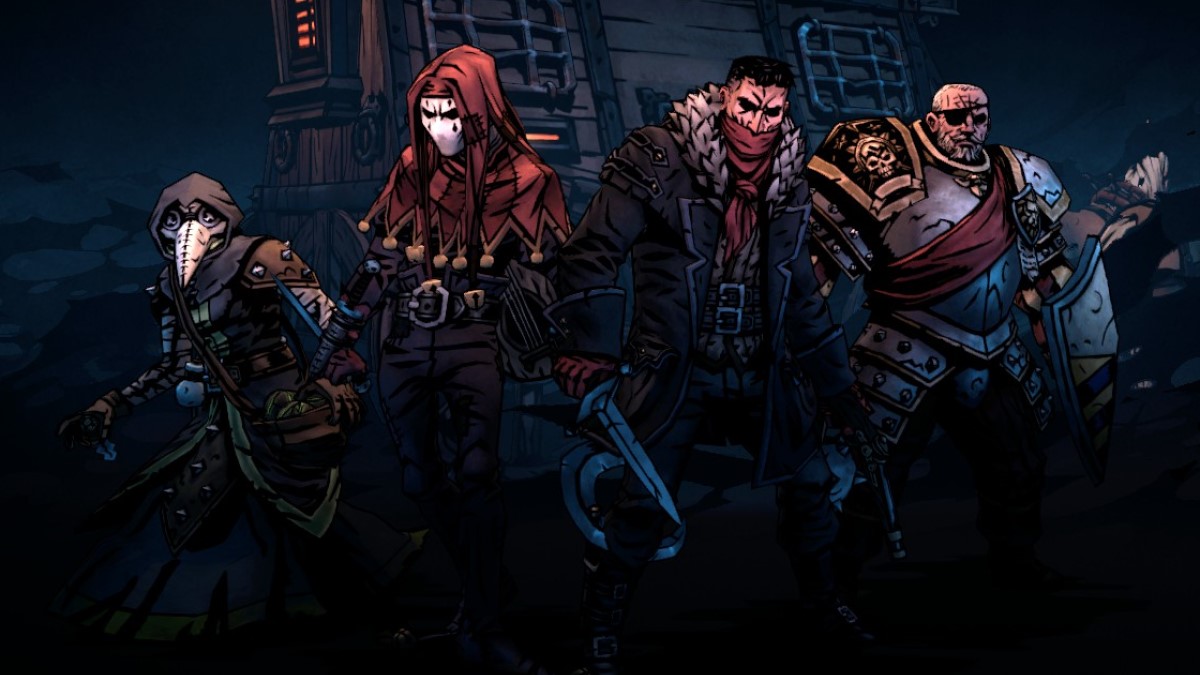
Image by PC Invasion
This is the team comp you’ll see most often in Darkest Dungeon 2, and for good reason: it provides the best, most balanced set of abilities possible, and can get you through runs very consistently. The fact that it’s almost entirely composed of characters unlocked by default shows that Red Hook Studios does have a heart, somewhere in there.
| Plague Doctor | Jester | Highwayman | Man-at-Arms |
| Path: Alchemist | Path: Virtuoso | Path: Sharpshot | Path: Vanguard |
Skills:
| Skills:
| Skills:
| Skills:
|
We’ll start with the Man-at-Arms. In this comp he does what he does best: lead the party from the front and support his teammates as they carry you to victory. Vanguard is our path of choice here, providing a solid health and damage boost while the Man-at-Arms is in your front rank. Defender is his primary skill, letting you protect one of your other heroes from a couple of attacks. This is great when someone is low on health, or when they’re gearing up for a big attack and you don’t want them getting disrupted by status effects. On top of this we use Bolster for Stress healing with incidental Block gain, Hold the Line to recover from rank disruption moves like Categorize, and Bellow to slow down enemies and prevent them from landing devastating critical hits. We top things off with Crush, a solid attacking move, especially on the Vanguard path, and one that can provide crucial healing in a pinch.
Next up is the Highwayman, the party’s main damage dealer. On the Sharpshot path, all of his ranged attacks get a sizable damage boost, and we’ve chosen to lean hard into that here by including all three of them: Pistol Shot, Grapeshot Blast, and Double Tap. All three have their uses in different scenarios, but before you use any of them you should open each combat with Take Aim, which guarantees two critical hits once upgraded. Take Aim followed by Grapeshot Blast is a reliable opening sequence, dealing big damage to the front ranks while maintaining a Strength and Crit token for your next turn as well. Double Tap is the most damaging of your attacks here, especially on foes below 50% health, so when you have the chance to use it, do so. Pistol Shot is no slouch either, however, and can reach the back ranks, making it a great choice against utility enemies who hide in the back and provide support to their allies. Finally, we finish off with Highway Robbery, a skill that can remove, and once upgraded, steal, positive tokens from enemies. This is particularly useful in Cultist battles and boss fights, and can save you from a lot of damage if timed correctly.
The Jester is up next, and he fills a few different niches in this party. He can apply Combo tokens with Razor’s Wit, Blind with Fade to Black, Bleed with Harvest, and deal big damage himself with Finale. Harvest is a great opener against enemies with Block or Dodge, since it hits two ranks at once and can eat through those pesky tokens in order to clear the way for the Highwayman to deal full damage. Razor’s Wit can set up a double-damage Finale from the Jester himself or a heal on the Man-at-Arms via Crush, and it can also get the Jester in position for the former as well, since by default he’s unable to use it. Finally, we have Encore. This grants an extra turn to another party member, and it has a huge array of possible uses in this comp. One solid line is to start the Highwayman off with Take Aim, then have the Jester use Encore on him, allowing for an immediate critical hit. It can also allow for crucial heals, of HP or Stress, by targeting the Plague Doctor or Man-at-Arms, respectively.
Last but not least, we have the Plague Doctor, who serves as a healer and support unit for the party in this comp. We include both of her healing skills, Battlefield Medicine and Indiscriminate Science, as both are great in different scenarios; the former when dealing with status effects, and the latter when dealing with debuffs. While Battlefield Medicine barely benefits from being mastered, Indiscriminate Science most certainly does, so get that done as soon as possible. We also use Emboldening Vapours, which lets us apply the Strength status to either the Highwayman or the Jester for a huge hit next turn. Finally, we round things off with two Blight-inflicting skills: Noxious Blast and Plague Grenade. Both are ideal on large targets, and can soften them up nicely for your damage dealers to finish off later, but Plague Grenade in particular is extremely useful, as it can hit both of your back-rank foes at once, removing Block and Dodge and inflicting Blight all at once. Particularly in Cultist battles, this is a valuable skill to bring.
The combo meal
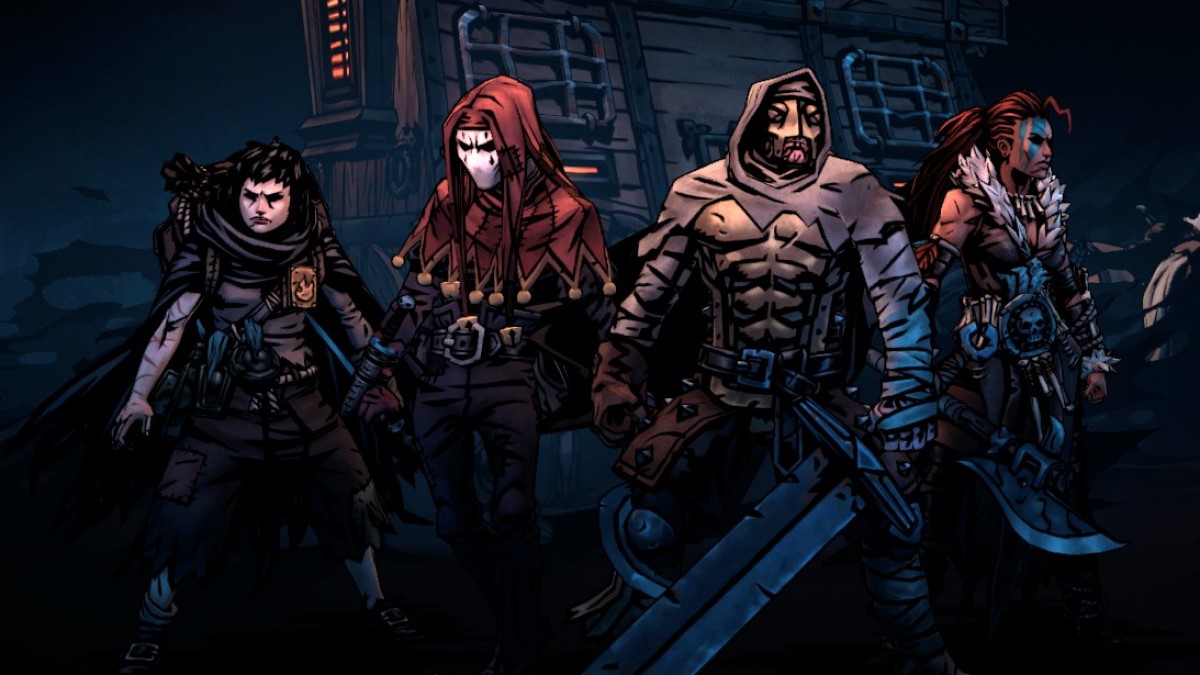
Image by PC Invasion
While our first build emphasized balance and synergy, our second is more of an all-in strategy, going for the most damage possible in the fewest number of turns. Hellion, Leper, and Jester are all capable of big damage, and all make great use of Combo tokens, which the Runaway and Jester can set up reliably each turn.
| Runaway | Jester | Leper | Hellion |
| Path: Orphan | Path: Virtuoso | Path: Tempest | Path: Ravager |
Skills:
| Skills:
| Skills:
| Skills:
|
The Hellion is our frontline fighter in this comp. The Ravager path gives her 20% extra health and 25% extra damage as long as she remains in that rank, two significant bonuses that simultaneously let her last longer and ensure that your enemies won’t. They also play nicely with her innate passive ability, which grants 25% extra damage while she’s below 50% health, and an additional 25% damage when she’s below 25% health. In this comp, we’re funneling all of that juicy extra damage into Hellion’s attacking moves: Wicked Hack, Iron Swan, and Howling End. Hack is the most basic, and will be your go-to in most scenarios. It deals solid damage, and deals even more if the target has a Combo token. Iron Swan is more specialized, hitting the back rank exclusively, and is handy in battles with annoying support units that like to hang out there. It also applies a Combo token when mastered, which plays very nicely in this comp. Howling End is immensely powerful, but it applies Winded and pushes Hellion back into rank 2: two things you could very much do without. For that reason, it should mainly be used as an emergency kill button and not as a powerful opener, tempting as that may be. Beyond damage, we have a couple of support moves: Adrenaline Rush, which offers healing and a means of removing the Winded tokens inflicted by Howling End, and Raucous Revelry, another heal that can also provide significant party-wide Stress healing.
The Leper is next in our lineup of heavy hitters, and while he can’t do as much damage as the Hellion most of the time, he can take a lot more, which gives him a strong defensive niche within the party. His core attacking move is Chop, which deals big damage to enemies in rank one or two, but often leaves the Leper Blind afterwards. This can be an issue, but we have several ways of working around it. Firstly, Combo tokens. Chop always hits, regardless of Blind, if the target enemy has a Combo token. Given how easily you can apply those in this comp, you’ll be relying on this aspect of the skill a lot. Secondly, you can remove Blind using Reflection, a skill which also provides incidental Stress healing and removes the rare Combo tokens enemies place on the Leper. This skill gets a lot better when mastered, since it heals more Stress and can be used without a cooldown, so throw a point into it when you can. The Leper’s other attacking move here is Bash. It doesn’t deal much damage, but it locks the target in place, which can be handy, and it also applies a Combo token when mastered, tying in nicely with our comp. We top this solid base off with Solemnity, which is an incredible healing option for both health and Stress, and Withstand, which lets the Leper tank up and take hits for the rest of the party for a while. This is particularly useful when the Hellion is running low due to frontline exposure, or when she’s been pushed back due to Howling End.
The Jester plays much the same as he did in the ol’ reliable comp above in this one: he applies Combo tokens with Razor’s Wit, doubles up on powerful skills with Encore, and occasionally lands a killer blow himself with Finale. The latter scenario is much more likely here, however, given our easy access to Combo tokens, meaning the Jester will get to share more of the spotlight this time around. He still does plenty of supporting though, using Fade to Black to shut down powerful enemy attackers, and Battle Ballad to apply Strength to either the Hellion or Leper: whoever’s next in the turn order. Battle Ballad also pushes the target forward one rank, which makes it a great way of reorganizing the party post-Howling End.
Finally, we have the Runaway. She’s at her best in a support role, and that’s what she plays here, setting up enemies to take huge damage from the Leper and Hellion, and offering situational healing in a pinch. Smokescreen is her best skill, and one of the best setup skills in the game, applying a Combo token, Blind, and, once mastered, Vulnerable, to a single foe. This all but ensures that the next Wicked Hack, Chop, or Finale that hits the enemy in question will finish it off, unless it’s a boss such as the Dreaming General of course, while also reducing the threat of the enemy via Blind. Hearthlight removes Stealth from all enemies, which is niche at best, but it also removes Blind from the entire party when mastered, which is the reason for its inclusion here. This works particularly well for the Leper, of course, but Blind is also fairly common throughout the game, so it’s good to have an accessible cure on-hand when you need it. Cauterize is an admittedly-situational healing skill, but it’s great when it works, and Bleed is common enough for it to be viable. In addition to these support moves, we’re also running two Burn-inflicting skills here: Firefly and Firestarter. The Orphan path boosts the Burn inflicted by each, while also letting Firestarter grant you a Crit token on use. Both can be useful in drawn-out boss battles, and in between cooldowns on other skills, but generally Runaway should focus on supporting your other three party members in this build.
The light and darkness
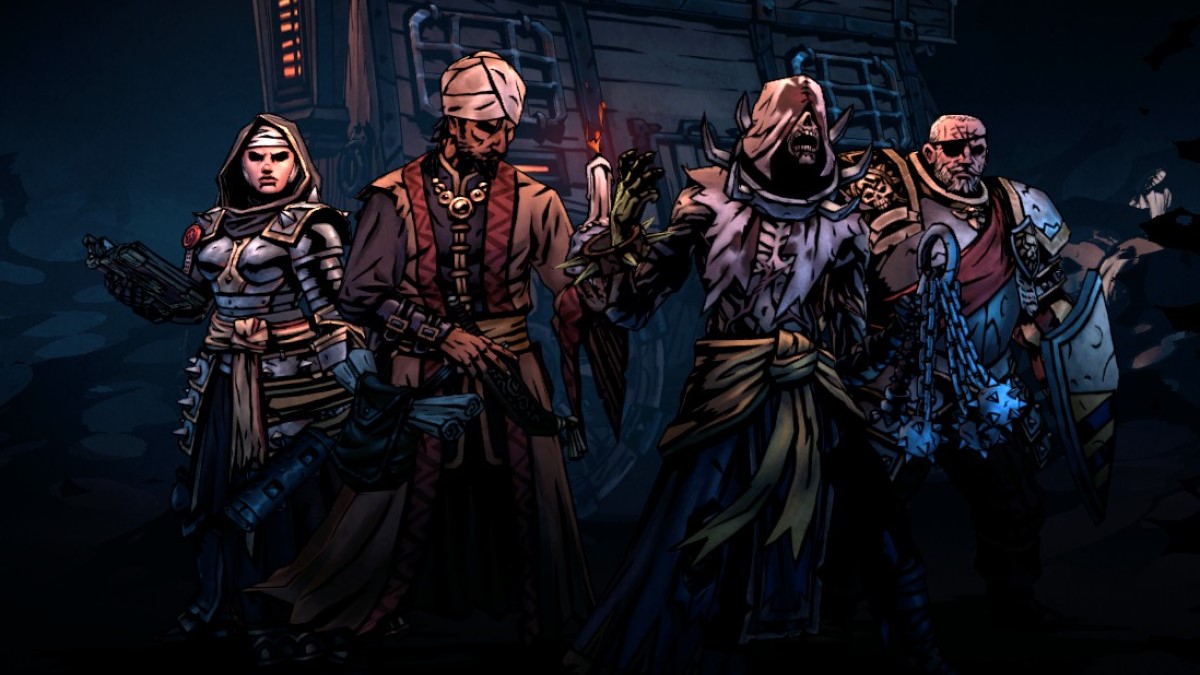
Image by PC Invasion
A nice thematic build as well as a mechanically powerful one, the light and darkness comp sandwiches two of the game’s most evil characters between two of its most virtuous. The Man-at-Arms and Vestal provide two-sided support to major damage dealers in the Occultist and Flagellant here, forming a build that can hit hard and get hit hard in equal measure.
| Vestal | Occultist | Flagellant | Man-at-Arms |
| Path: Seraph | Path: Warlock | Path: Wanderer | Path: Vanguard |
Skills:
| Skills:
| Skills:
| Skills:
|
Man-at-Arms does what he does best in this comp: protects your other party members from danger. He does this via Defender and Retribution primarily, the former of which literally guards another member from a couple of attacks, and the latter of which draws the next two enemy attacks to him before dishing out damage in return. Retribution gets a nice boost since we’re on the Vanguard path, but it’s the Taunt aspect we’re most interested in, as it allows us to keep the heat off of the Flagellant and Occultist. Bolster and Hold the Line let you deal with Stress and party lineup disruption with ease, while Crush provides a solid attacking move to use in a pinch, also backed by a boost from the Vanguard path. Overall, the Man-at-Arms helps you keep your party alive, which is absolutely vital.
The Flagellant is one of the more complex characters in the game, and the role he plays here is complex as well. He simultaneously provides solid damage, Blight, and support in one twisted package, making him feel a bit like a ‘dark world’ version of the Man-at-Arms. Punish is a solid attacking move that inflicts Blight as well, making it your go-to on most turns. Acid Rain functions very similarly to Plague Doctor’s Plague Grenade, letting you disrupt the enemies in the back ranks, remove their Block and Dodge, and apply some Blight to soften them up. Lash’s Gift is a self-heal and a buff all in one, best used after a couple rounds of Punish and Acid Rain, and best applied to the Occultist, since he can make best use of the Strength and Block tokens. More! MORE! Is similar to Retribution, drawing fire to the Flagellant while providing him a benefit in return, in this case self-healing. This can be used when your other heroes are running low, or when the Flagellant himself is, and it’ll work great in both scenarios. Finally, we have Sepsis: probably the Flagellant’s most powerful move, providing damage, self-healing, and Blight all in one. When you fall low enough to use this, you almost always should, since it can turn the tides of a battle in a single turn.
The Occultist is our primary damage dealer in this comp, relying mainly on his devastating Burning Stars skill to demolish your foes in a single hit. His immense power comes with two significant tradeoffs: his own frailty and lack of health, and his reliance on Unchecked Power tokens, which put more pressure on his already-limited life by regularly applying the Burn status to him. Because of this, a lot of this comp is dedicated to protecting the Occultist from harm so that he can make the best use of his high power level. The Burning Stars requires two Unchecked Power tokens to use, so we’ve included Chaotic Offering here as an easy means of generating them. Combined with the Warlock path, it’s possible to generate two Unchecked Power tokens a turn with Offering, which will allow you to use The Burning Stars every turn, as it doesn’t have a traditional cooldown. For turns when the Stars don’t quite align, we have our other skills. Weakening Curse is an ideal setup move, applying Weak alongside a Combo token, while Abyssal Artillery and Daemon’s Pull are alternative ranged attacks that benefit from the Warlock path while giving you additional options. Pull in particular is great, as it can bring pesky utility enemies to the front, within range of the Man-at-Arms and Flagellant.
And to top off our morality sandwich, we have the Vestal. She plays a support role here, using the Seraph path to maximize the power of her Consecration skills, then using said skills as much as possible to spur the other team members on to victory. Consecration of Light boosts damage, and should therefore be applied to the Occultist at the start of every fight, as the five turns it lasts should be enough to boost two to three uses of Burning Stars. Consecration of Fortitude can be used on either the Man-at-Arms or the Flagellant, whoever needs it more at the time. It raises defenses, and is ideal for supporting the tanky playstyle we use on the frontlines. We also run Mantra, which is a solid healing skill with a wide usage window, thanks to the extended lengths of our Consecrations. These three skills will be what Vestal is using most of the time, but her other two slots allow for some extras. Illumination removes both Stealth and Dodge, which can be handy to ensure you don’t miss with The Burning Stars, and Judgement is a solid ranged attack that can hit any rank, and deal decent damage after you amass two Conviction tokens by using your Consecrations. With the Vestal, you should cycle between setting up Consecrations, removing Block and Dodge with Judgement and Illumination, and healing with Mantra when necessary.
The rogues’ gallery
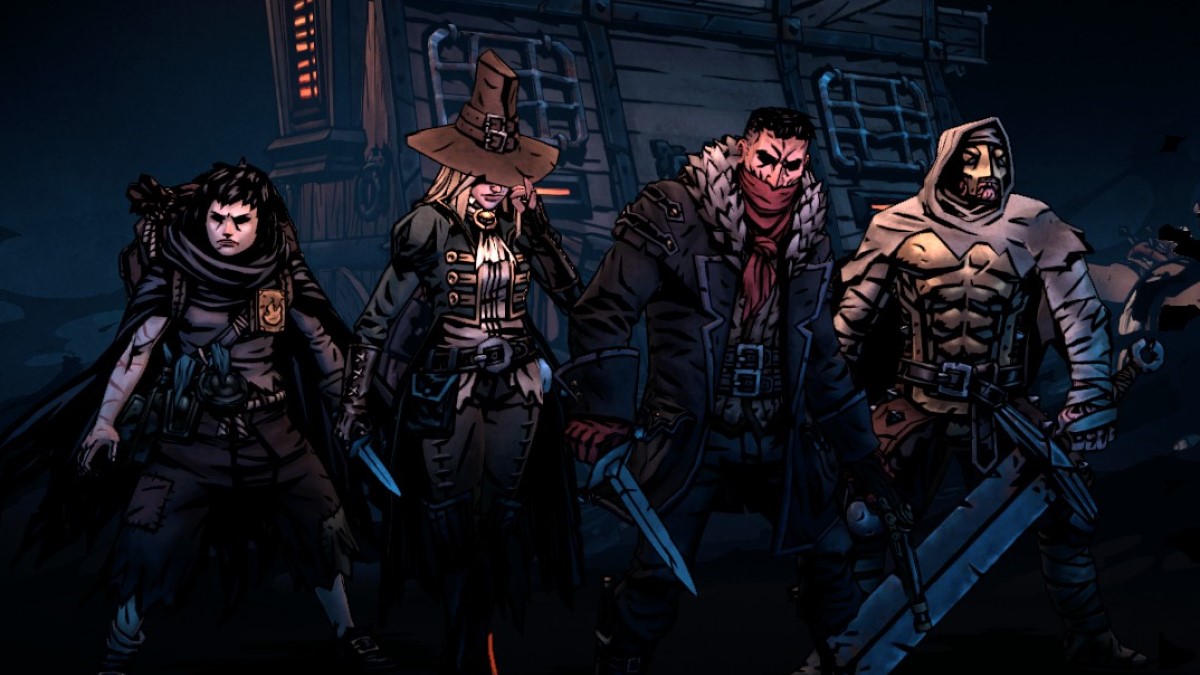
Image by PC Invasion
Our final team comp is one of our most complex: a collection of the darkest-hearted heroes in the game, arranged into a party that makes extensive use of movement skills and off-kilter tactics to win the day. If you’re looking for a more dynamic and interesting way to play Darkest Dungeon 2, then this is the party for you.
| Runaway | Grave Robber | Leper | Highwayman |
| Path: Arsonist | Path: Nightsworn | Path: Poet | Path: Rogue |
Skills:
| Skills:
| Skills:
| Skills:
|
We begin with high-damage favorite the Highwayman, albeit on the Rogue path this time rather than his usual Sharpshot. As a Rogue, the Highwayman gets a significant damage boost while in rank one, as well as a free Riposte token after each use of Point Blank shot, a powerful skill that can only be used from rank one. For this reason, we start him out in rank one, but he’ll be jumping back and forth between one and two for most of each fight. This is due to Point Blank Shot, which sends him back a rank, and Duelist’s Advance, which brings him forward one. Neither of these skills have cooldowns, so you can switch ranks at will. While up front, you’ll generally just be using Point Blank Shot and fading back again, whereas in rank two you have more options. You can use Pistol Shot to reach more of your enemies, or set up for increased damage with Tracking Shot and Take Aim. He’s effective in both ranks, but his position also determines which skills are available to our next hero in line, the Leper.
By choosing the Poet path, we relegate the Leper to more of a support role than a damage-dealing one in this build. With less damage but more self-healing, he can afford to spend more time taking hits for the party rather than dealing them out himself. We still bring Chop, of course, as it’s quite powerful even with the damage reduction, and it’s good to use on the off turns in between self-healing and support moves. Withstand is vital, and should usually be your opener, as it lets the Leper tank through a lot of hits for the party. Solemnity and Reflection are your self-care skills, great for keeping health high and Stress low in an intense battle where the Leper is taking most of the heat. Intimidate is an incredible support move, acting as another source of Taunt alongside Withstand, while simultaneously weakening any target’s next two attacks. It also, bizarrely, lacks any kind of cooldown or use limit, meaning you can spam it with impunity once you’ve exhausted your supply of Withstand to keep the taunt train chugging along nicely. It does require the Leper to be in rank one, however, so you’ll need to time it right, and use it when the Highwayman has slipped back to rank two.
Next up is the Grave Robber, the party’s resident Stealth expert. While choosing the Nightsworn path reduces her health by 20%, it provides a huge 50% damage boost while in Stealth, making the objective of this build clear: acquire Stealth, and attack from it as often as possible. To achieve this, we have two skills: Dead of Night and Shadow Fade. The former requires an enemy corpse to use, but it provides healing and corpse clearing alongside two Stealth tokens. The latter is more accessible, but provides no additional benefits, outside of sending the Grave Robber back two ranks. Once you’re in Stealth, the usual line is to use Lunge, followed by Pirouette on the next turn. Both of these are high-damage skills with high Crit rates, which combine very nicely with the 50% damage boost that Stealth affords the Grave Robber here. They allow you to focus down the enemies in the front ranks, before retreating to the back to wait out your cooldowns. They also both move you around, Lunge forward by two, Pirouette back by three, meaning they can unlock some position-dependent skills for our last party member, the Runaway. While these are the Grave Robber’s core moves, we also run Poison Dart for a reliable attack option that can be used without changing rank, for turns when doing so would mess up larger plans.
Finally, the Runaway rounds things off, adopting a Burn-focused moveset alongside the Arsonist path, for obvious reasons. She retains Smokescreen and Hearthlight from her moveset in our combo meal comp, to support the damage-dealing efforts of the Leper and Highwayman, but this time she leans harder into a Burn theme with Controlled Burn. This is an excellent skill that sets a permanent fire in an enemy rank, inflicting Burns over time. She can only use it from rank three onwards, meaning you’ll need to shift her position via the Grave Robber, but this is easily done with either Shadow Fade or Pirouette. Beyond this she uses Firefly and Firestarter for full Burn coverage, letting her bring down her vengeful flames on any enemy, wherever it is. The Runaway should alternate between setting fires and setting up damage, using Smokescreen whenever possible, and softening up enemies with Burn on the off turns.
So there you have it: the best team comps in Darkest Dungeon 2. These four party setups each have a lot of internal synergy, a coherent gameplan, and, most importantly, the capacity to get you to the end of a run. Some are trickier to master than others, and some will be more interesting to play over multiple runs than others, but all four will serve you well on your quest to reach the Mountain.


Published: Jun 18, 2023 05:46 pm