Darkest Dungeon 2 is a game about the characters in your party above all else. Their Skills, their fears, their relationships with the other characters in your squad: these are the elements that truly matter when it comes to the failure or success of a given run. Of all the characters you have access to in the game, the Flagellant is by far the least traditionally heroic, even among a lineup that includes a Grave Robber and a Highwayman. A suffering-obsessed undead warrior, the Flagellant looks more like an enemy you’d face in a battle than an ally you’d fight alongside. That said, he can be a very useful character in a tough fight, for reasons we’ll cover in our Darkest Dungeon 2 Flagellant character guide.
Getting the most out of the Flagellant in Darkest Dungeon 2
Overview
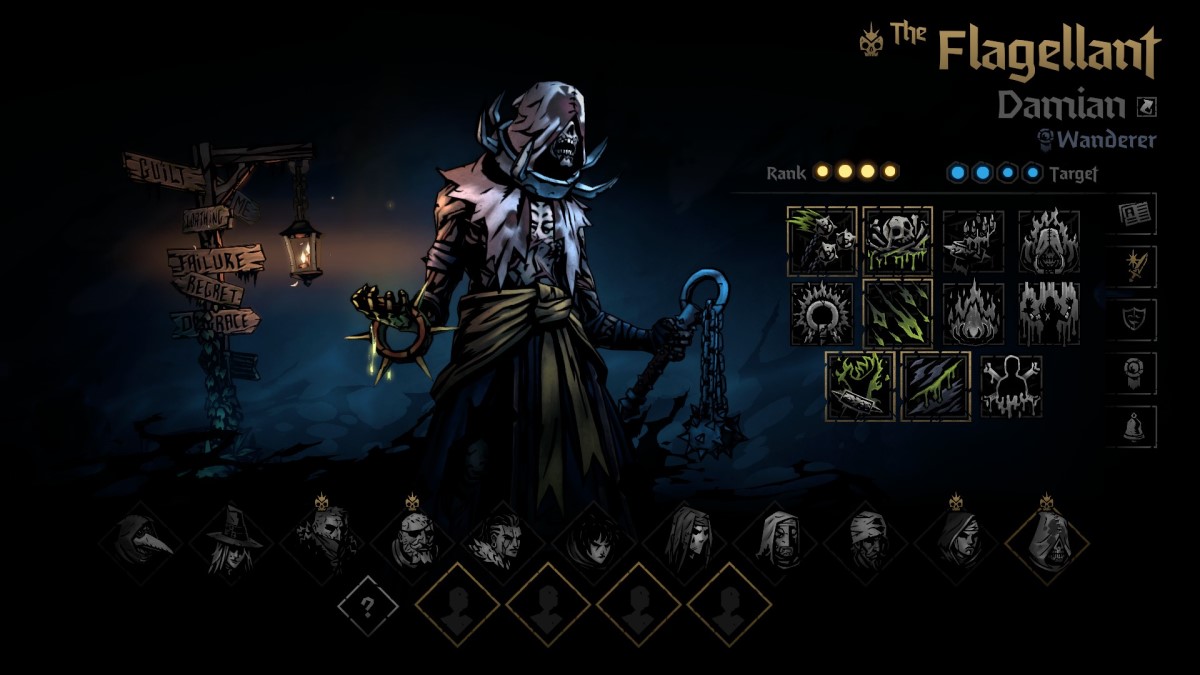
Screenshot by PC Invasion
The Flagellant, like every other unlockable character in Darkest Dungeon 2, can be unlocked via the Living City section of the Altar of Hope, for the cost of eight candles. He’s the last character other than the mysterious Bounty Hunter if you’re going by list order, but you can unlock him whenever you’d like.
In terms of Skills, the Flagellant focuses on a few key areas: inflicting the Blight status on foes, dealing damage to himself (and taking advantage of that via other Skills), and ‘absorbing’ the damage and debuffs inflicted on the rest of your party onto himself. To compliment this playstyle, he also has a large Max Health pool, beginning with 50 in total.
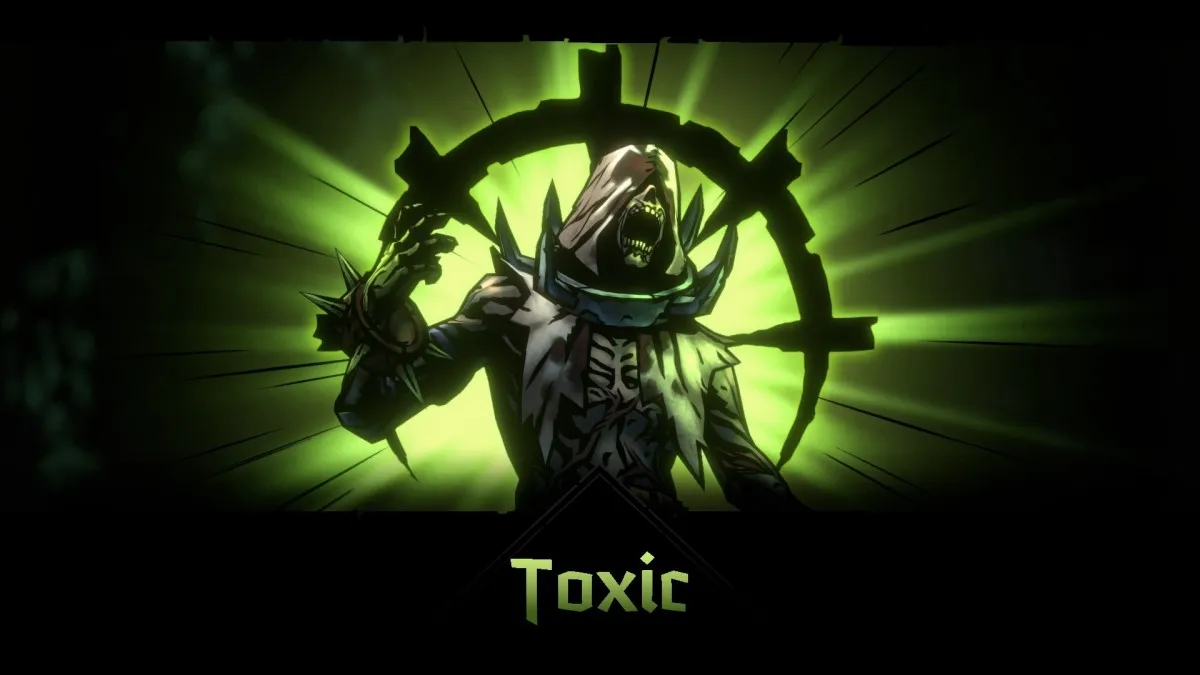
Screenshot by PC Invasion
He also interacts with the Stress system in a unique way, becoming ‘Toxic’ rather than staying Resolute or having a Meltdown when his Stress level reaches 10. This heals the Flagellant and adds a unique buff that grants Blight to those who attack him, but it also reduces his Affinity with everyone else in the party, much like a Meltdown does.
These attributes make the Flagellant an ideal front-line fighter, capable of taking a lot of damage and then dishing it back via powerful Skills that activate below certain health thresholds. While there are many examples we could give here, we’ll let the Skills do their own talking on this one.
Skills
Below you will find a full list of the Flagellant’s available Skills. A unique aspect of the character is the way in which your choice of Path impacts certain Skills in your lineup. As with every other character, the Flagellant has three additional Paths you can unlock via the Altar of Hope, these being the Maniac, Exanimate, and Scourge. Each Path alters four of your Skills, sometimes completely changing their functionality and viability in the process. The table below shows the variants of each Skill on each Path.
| Skill Name | `Wanderer | Maniac | Exanimate | Scourge |
| Punish Melee Use: Ranks 1-3 Target: Enemy Ranks 1-2 | DMG: 3-6 Crit: 5% Self: 10% DMG Target: 3 Blight +30% Blight RES Piercing when target has a Combo Token | DMG: 3-6 Crit: 5% Self: 10% DMG Target: 2 Blight, Knockback 1 | DMG: 3-6 Crit: 5% Self: 10% DMG Target: 2 Blight If HP < 50%: +2 Blight dealt, +30% Blight RES Piercing when target has a Combo Token | DMG: 3-6 Crit: 5% Self: 10% DMG Target: 3 Blight +30% Blight RES Piercing when target has a Combo Token |
| Fester Ranged Use: Any Rank Target: Any Enemy Rank | Requires Target Corpse Target: Clear Corpse Adjacent Monsters: 3 Blight | Requires Target Corpse Target: Clear Corpse Adjacent Monsters: 3 Blight | Requires Target Corpse Target: Clear Corpse Adjacent Monsters: 3 Blight | Requires Target Corpse Target: Clear Corpse Adjacent Monsters: 3 Blight |
| Deathless Use: Any Rank Target: Any Rank | Cooldown: 1 Self: 20% DMG Target: Heal 25% | Cooldown: 1 Self: 20% DMG Target: Heal 25% | Cooldown: 1 Self: 20% DMG Target: Heal 25% | Requires Self HP < 50% Cooldown: 2 Uses: 3 Self: Heal 35% Target: Heal 25% |
| Endure Use: Any Rank Target: Any Rank | Self: +2 Stress Target: -2 Stress | Self: +2 Stress Target: -2 Stress | Self: +2 Stress Target: -2 Stress | Self: +2 Stress Target: -2 Stress |
| Lash’s Gift Use: Ranks 2-4 Target: Any Rank | Requires Self HP <50% Cooldown: 2 Self: Heal 25% Target: Strength, Block, +1 Stress | Requires Target has Negative Token Cooldown: 2 Self: Heal 20% Target: Steal all Negative Tokens | Requires Self HP <20% Cooldown: 2 Self: Heal 10%, Crit, Dodge, Remove all Negative Tokens, Remove Combo Token | Cooldown: 1 Self: Horror 1, Remove Bleed, Blight, and Burn |
| Acid Rain Ranged Use: Ranks 1-2 Target: Enemy Ranks 3+4 | DMG: 2-3 CRIT: 5% Self: 10% DMG Target: 2 Blight +30% Blight RES Piercing when target has a Combo Token | DMG: 2-3 CRIT: 5% Self: 10% DMG Target: Weak | DMG: 2-3 CRIT: 5% If HP <50%: +2 Blight Dealt, +30% Blight RES Piercing when target has a Combo Token | DMG: 2-3 CRIT: 5% Self: 10% DMG Target: 2 Blight +30% Blight RES Piercing when target has a Combo Token |
| More! MORE! Use: Ranks 1-2 | Cooldown: 1 Self: When Damaged: Pain (1 Turn), Taunt x2 | Cooldown: 1 Self: When Damaged: Pain (1 Turn), Taunt x2 | Cooldown: 1 Self: When Damaged: Pain (1 Turn), Taunt x2 | Cooldown: 1 Self: When Damaged: Pain (1 Turn), Taunt x2 |
| Suffer Use: Any Rank Target: Any Rank | Requires Target Bleed, Blight, or Burn Cooldown: 1 Self: +10% Deathblow RES (3 Turns) Target: Steal Bleed, Blight, and Burn | Requires Target Bleed, Blight, or Burn Cooldown: 1 Self: +10% Deathblow RES (3 Turns) Target: Steal Bleed, Blight, and Burn | Requires Target Bleed, Blight, or Burn Cooldown: 1 Self: +10% Deathblow RES (3 Turns) Target: Steal Bleed, Blight, and Burn | Requires Target Bleed, Blight, or Burn, or Requires Target Horror Cooldown: 1 Self: +10% Deathblow RES (3 Turns) Target: Steal Bleed, Blight, and Burn, Steal Horror |
| Sepsis Melee Use: Ranks 1-2 Target: Enemy Ranks 1-2 | DMG: 4-8 Crit: 5% Requires Self HP <50% Cooldown: 2 Uses: 3 Self: Heal 35% Target: 4 Blight +30% Blight RES Piercing when target has a Combo Token | Requires Self has Negative Token or Requires Self HP <50% Cooldown: 3 Uses: 2 Ignores Blind Self: Heal 35% Target: Transfer All Negative Tokens | Requires Target Blight and Requires Self HP <50% Cooldown: 2 Uses: 2 Self: Heal to 45% Target: Deals 75% of remaining Blight on Target as DMG, and removes Blight | Requires Target Blight Cooldown: 2 Target: Deals 50% of remaining Blight on Target as DMG, and removes Blight unless Target has a Combo Token |
| Undying Use: Any Rank Target: Any Rank | Self: 10% DMG Target: 3 Regen | Self: 10% DMG Target: 3 Regen | Self: 10% DMG Target: 3 Regen | Self: 10% DMG Target: 3 Regen |
| Necrosis Melee Use: Ranks 2-3 Target: Enemy Ranks 1+2+3+4 | DMG: 3-6 CRIT: 5% Requires Target Blight Cooldown: 1 Self: Heal 5% | DMG: 3-6 CRIT: 5% Requires Target Blight Cooldown: 1 Self: Heal 5% | DMG: 3-6 CRIT: 5% Requires Target Blight Cooldown: 1 Self: Heal 5% | DMG: 3-6 CRIT: 5% Requires Target Blight Cooldown: 1 Self: Heal 5% |
That’s a lot to take in, but the differences can be summarized as follows: Wanderer is the balanced, vanilla path; Maniac shifts focus from inflicting Blight to inflicting other debuffs like Blind and Weak; Exanimate boosts the power of your skills when your health is low; and Scourge doubles down on moving damage and debuffs from the rest of your party onto you.
Strategy
-
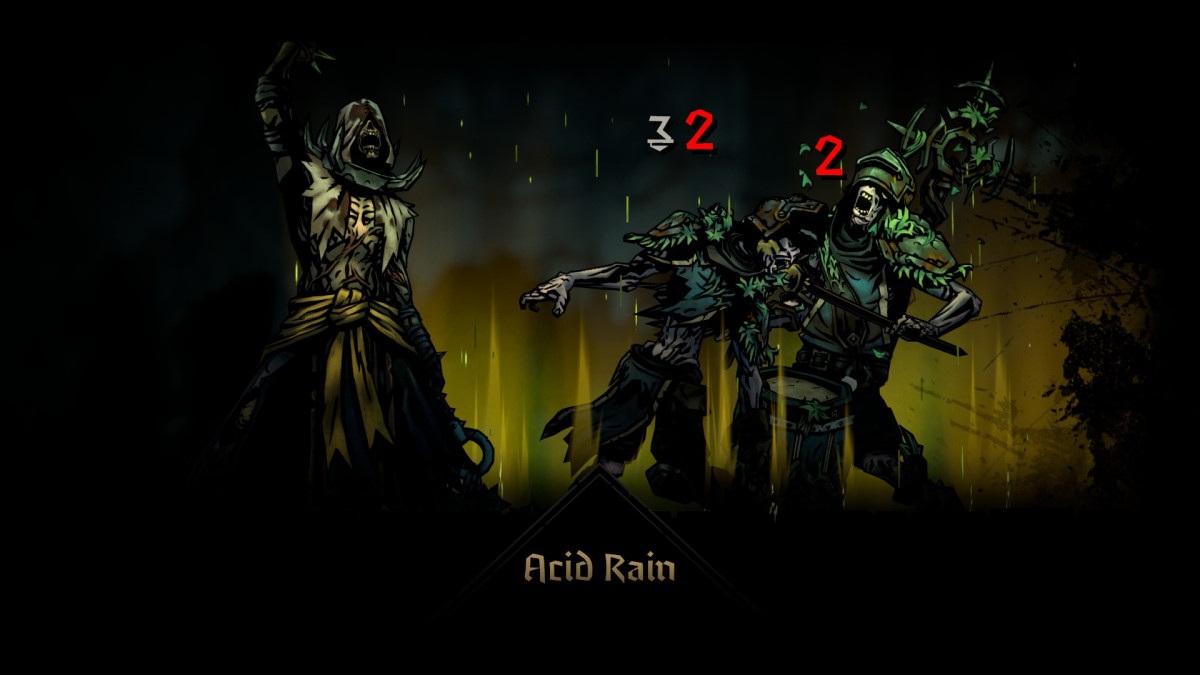
- Screenshots by PC Invasion

Now that we’ve covered all of his Skills and traits, let’s talk about how you can best use the Flagellant in your own runs. He’s a flexible character, with different applications based on the Path you choose for him, but in general we’d recommend going in one of two directions: either a dedicated damage/debuff healer, or a risky all-out damage dealer. Naturally, you’ll want to take the Scourge Path for the former and the Exanimate Path for the latter.
In terms of Skills, Punish and Acid Rain are a great pair of attacking moves, providing full coverage of the enemy ranks while dishing out Blight in the process. You’ll also want to use Lash’s Gift and Sepsis in nearly every situation. These are powerful self-healing Skills that also provide additional effects, buffs in the former case and damage in the latter. For your final slot, you’ll likely want to include either Deathless or Endure, depending on whether you need health or Stress healing more in your current setup.
Once you’ve chosen your Skills, slot the Flagellant into the second rank of your party for the best possible Skill coverage. With a setup like the one described above, we managed to get our first Denial clear alongside a Man-at-Arms, Highwayman, and Vestal, with the Flagellant making great use of the Maniac Path to play a supporting healer role throughout. With the helpful information you’ve just learned from our Flagellant character guide, you’ll be scourging your way to Darkest Dungeon 2 success in no time.


Published: May 12, 2023 10:47 am