The Sundial is the main activity in Destiny 2: Season of Dawn. Osiris, ever the incompetent Warlock, asks you to help him in reversing the results of multiple Cabal incursions in various timelines. Just like the Menagerie and the Vex Offensive, there’s matchmaking for up to six players. Here’s our mini-guide on how to complete this activity and farm for weapons.
Note: For more information, check out our Destiny 2: Season of Dawn guides and features hub.
Starting out
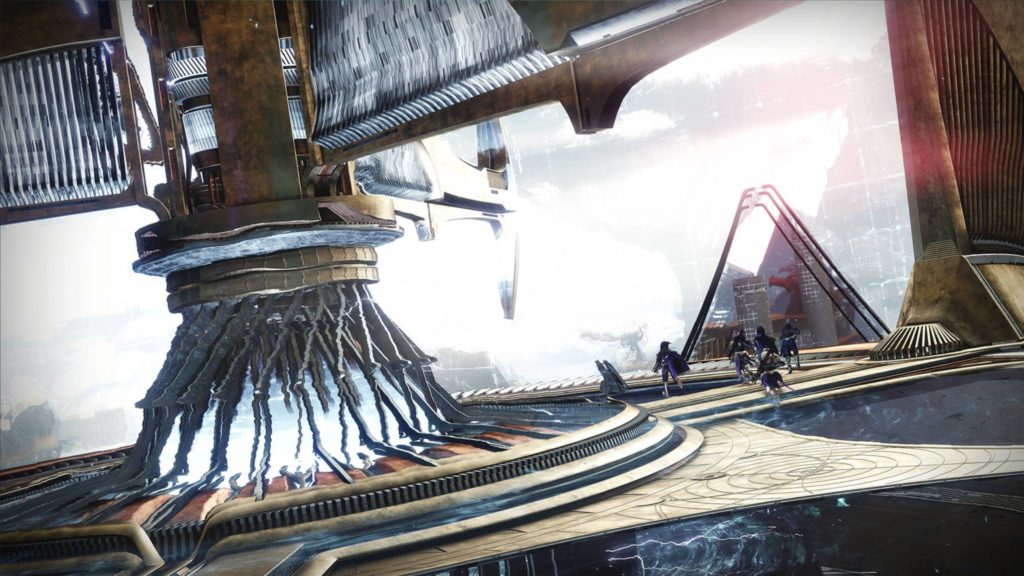
Watch the new opening cinematic, then speak to Ikora, who will tell you about the success you’ve had in Destiny 2‘s Season of the Undying. But, there’s no rest for the weary since a new task awaits you. Open the Director and you’ll notice that there’s a location on Mercury. Head over there.
Once you land, you’ll spot several Vex and Cabal fighting in front of a mysterious structure. Defeat them, including the champions, and Osiris will pop up. He’ll have a few tasks for you to sort out first — such as the activation of Obelisks to acquire loot — but, for this guide, we’ll just focus on the Sundial activity.
The Sundial activity basics
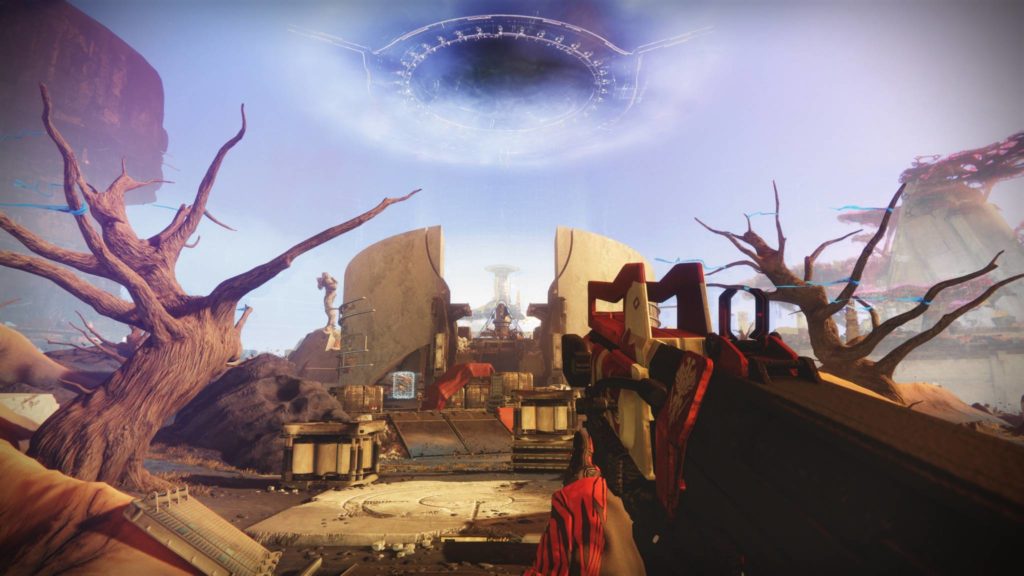
If you’ve played Destiny 2‘s Curse of Osiris DLC, then you’ll be familiar with the locations on Mercury. The Season of Dawn‘s Sundial activity takes place on the three timelines that converge. Each timeline/area will have an encounter for you to complete within a limited time, and the order is randomized. Be sure to check the modifiers that are active to play to your strengths. Likewise, don’t forget to drop a rally flag to get your ammo and supers back before each encounter.
Once you fill-up the Sundial’s overall progress bar, you can take on the final boss. There’s no way you can fail the Sundial activity, so don’t worry about it.
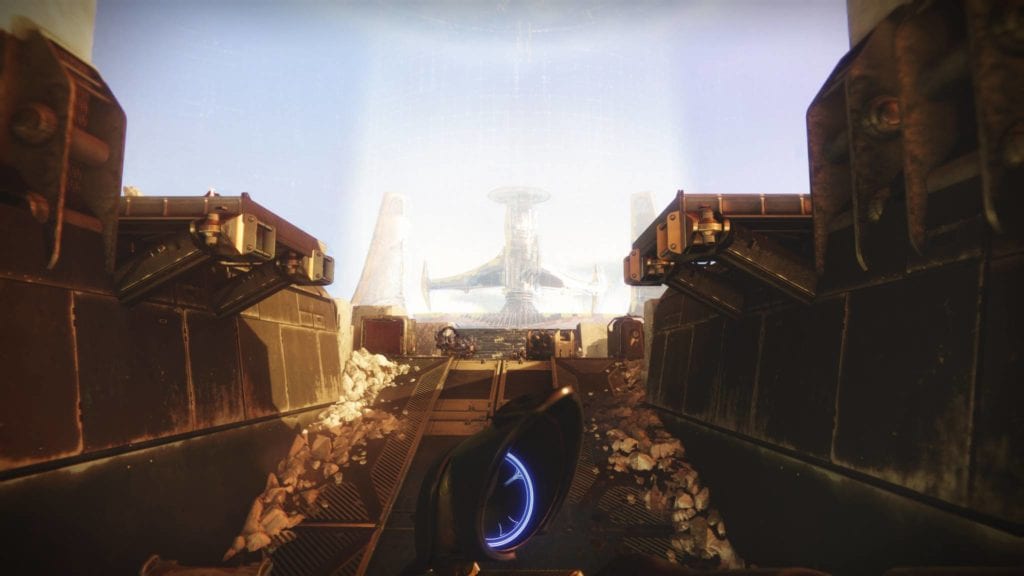
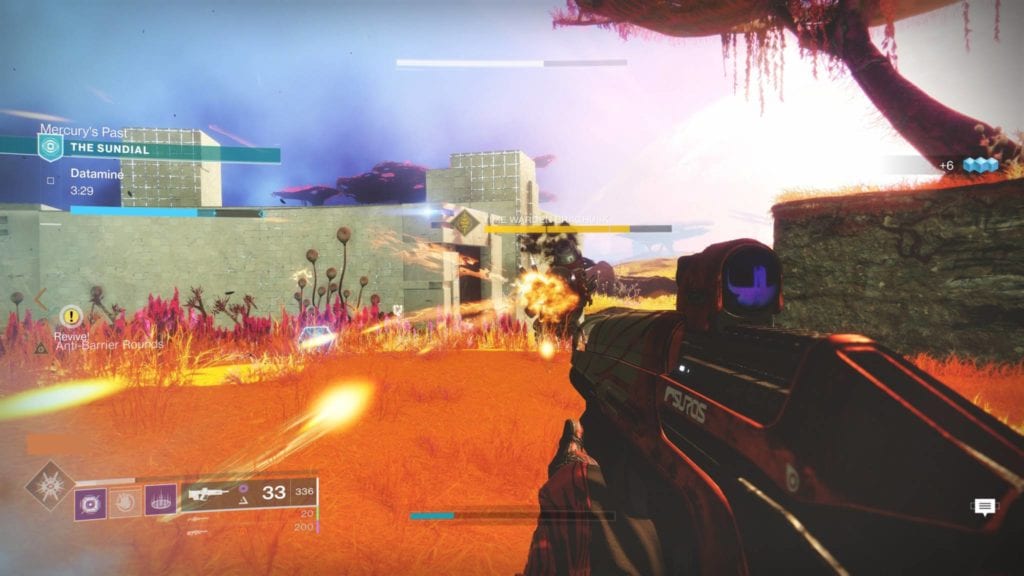
Gatecrash (Mercury present)
- Defeat the Vex minotaurs that spawn further ahead of you.
- Pick up the orbs and dunk them in one of three receptacles near the spawn area.

- Once all three receptacles have been charged, a Cabal boss spawns. Kill it to gain a lot of progress.
- Repeat the steps as necessary.
- Ideal loadout: A void weapon for minotaurs and anti-barrier mods for the Cabal colossi barrier champions.
- Ideal subclass: Any will do.
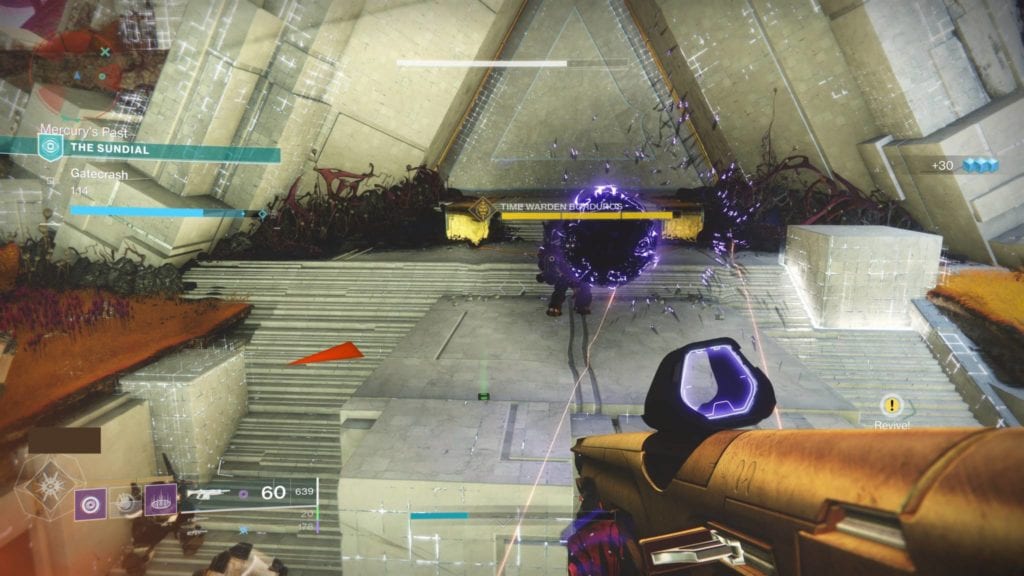
Datamine (Mercury past)
- Stand on the plate to fully charge it.
- Every few seconds, a shielded Psion (much like the Calus boss fight on the Leviathan) will spawn. It’ll prevent the plate from getting charged, so rush up to it and melee.
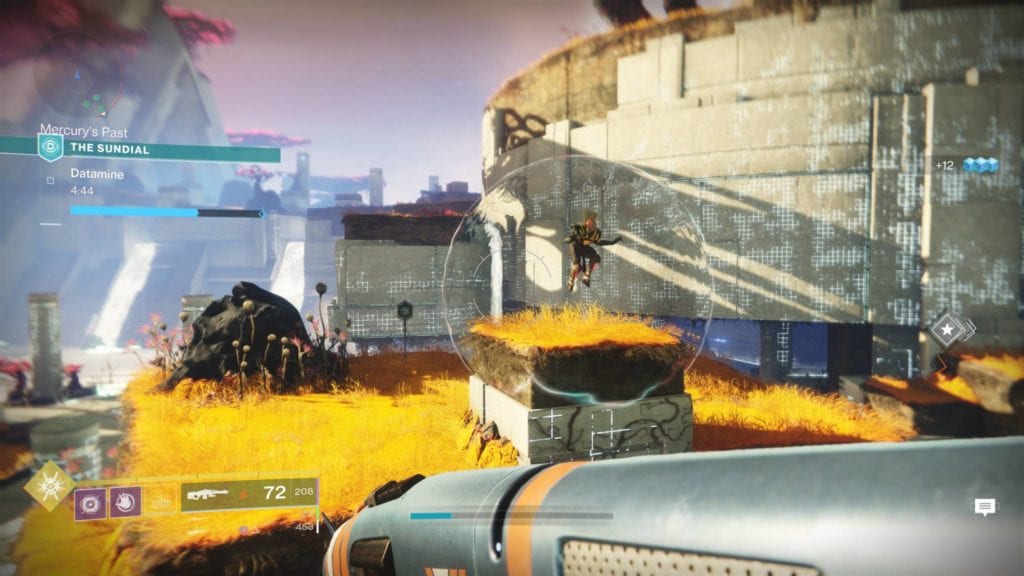
- Once the plate is fully charged, a Cabal boss will spawn. Kill it to gain a lot of progress.
- Extra plates will spawn for successive rounds. You’ll want to split up if you want to complete the next parts. Alternatively, just charge the initial plate again and kill the boss that spawns.
- Ideal loadout: Any will do, but take note of unstoppable champions (incendiors) that spawn here.
- Ideal subclass: Dawnblade with Well of Radiance, Defenders with Ward of Dawn, and Nightstalkers with tether.
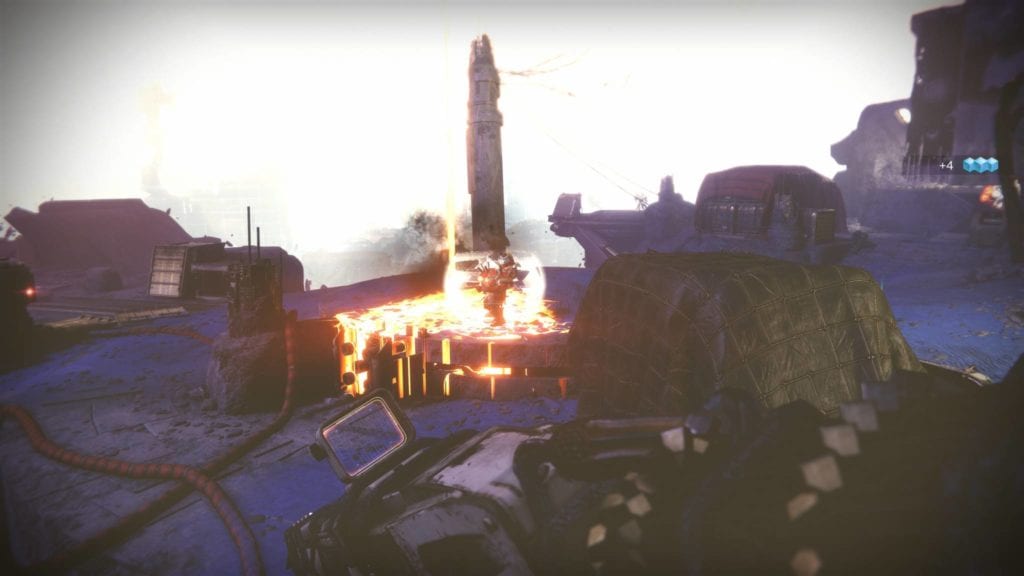
Bombardment (Mercury future)
- There will be Cabal centurions roaming around. They’ll drop an orb if you kill them.
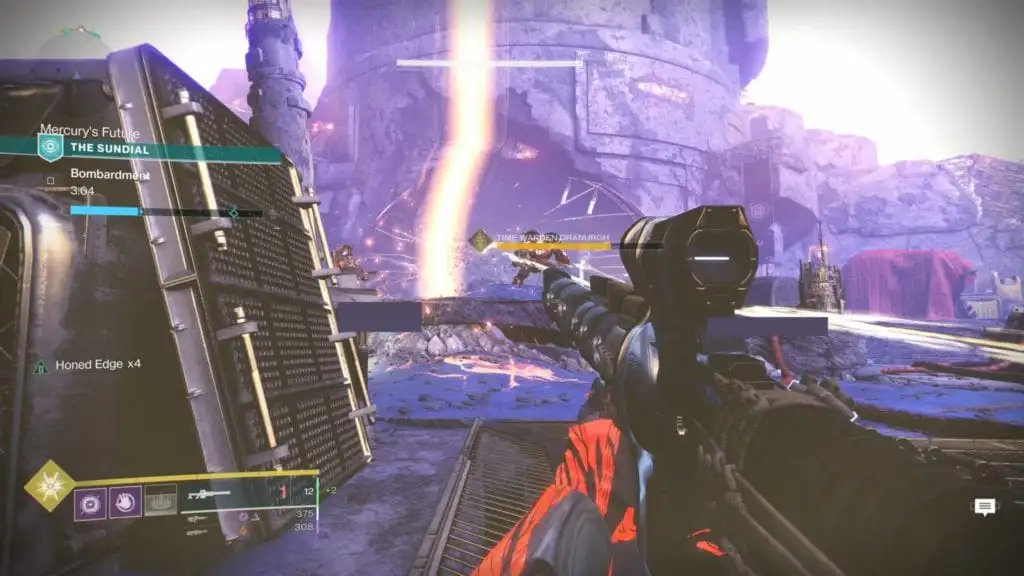
- Throw this orb directly at the boss at the center of the arena. It’ll cause a solar beam to fire, which will slowly deplete its shield.
- You’ll need a couple of direct hits with the beam to break its shield, and it tends to move around a lot.
- Once the shield is broken, DPS as much as you can until it’s dead.
- Repeat the steps as necessary.
- Ideal loadout: Solar weapons for the centurions and Izanagi’s Burden to quickly nuke the boss when its shield is down.
- Ideal subclass: Any will do, but Well of Radiance and Ward of Dawn do help.
The Sundial bosses
The Sundial has several bosses that are on rotation each week. They’ll have different mechanics that are easy enough to learn.
Week 1: Niruul, the Hollow Voice
- Find the shielded Psion and melee it to break the immunity.
- Take out the boss’ shield and do as much damage as you can.
- If you’re detained, shoot the weak spot on the detainment bubble to break free.
- Repeat the same steps until the boss is dead.
- Check out the video below from YouTuber Ehroar:
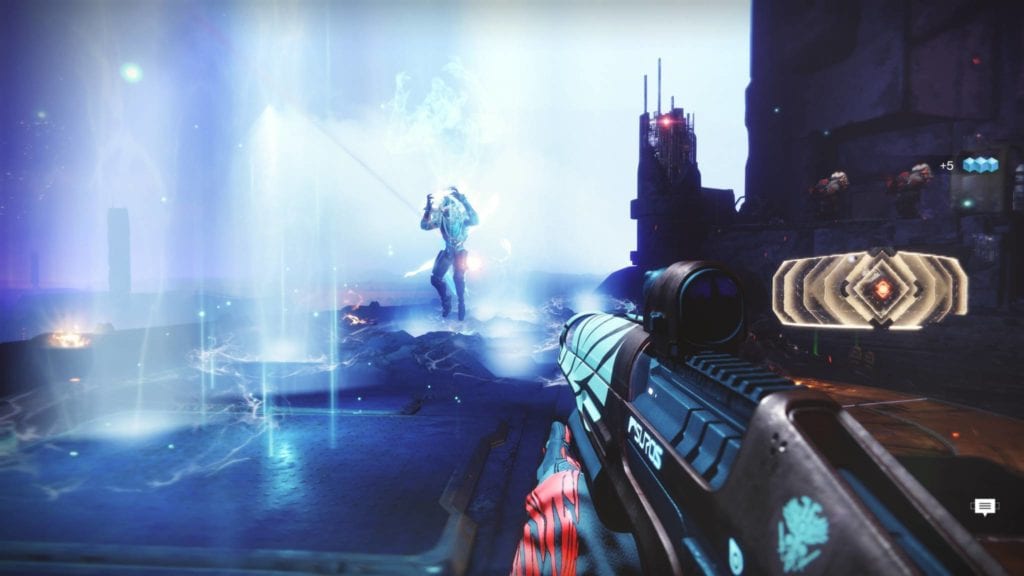
Week 2: Ozletc, the Sky-Piercer
- The same mechanics apply. Do damage when the boss isn’t shielded. If it pops a shield, find the psion and melee it to break the immunity.
- Nuke with everything you have, then lather, rinse, and repeat.
- Also, when the boss’ shield is broken, it’ll call a thunderstrike on various spots in the arena. Make sure to avoid the blue beams.
When you’ve killed a boss, you’ll be teleported back to the Sundial’s main area. Interact with the panel to grab your loot. One thing to note: there’s currently a bug mentioned by Reddit user Bigmac558. The bug lets you use weapons for infusion fodder while still being able to get rewards.
As for the rewards themselves, they’re tied to the Obelisks that you’ve activated and linked to the Sundial, so head over to our Obelisks guide to learn more about them. Completing your first Sundial run will also provide you with the Lantern of Osiris artifact. The artifact is unlocked for your alts as well.
That does it for our Destiny 2: Season of Dawn Sundial activity guide. Destiny 2: Season of Dawn is currently available on Steam. For more information, check out our complete guides and features hub.


Published: Dec 19, 2019 03:05 am