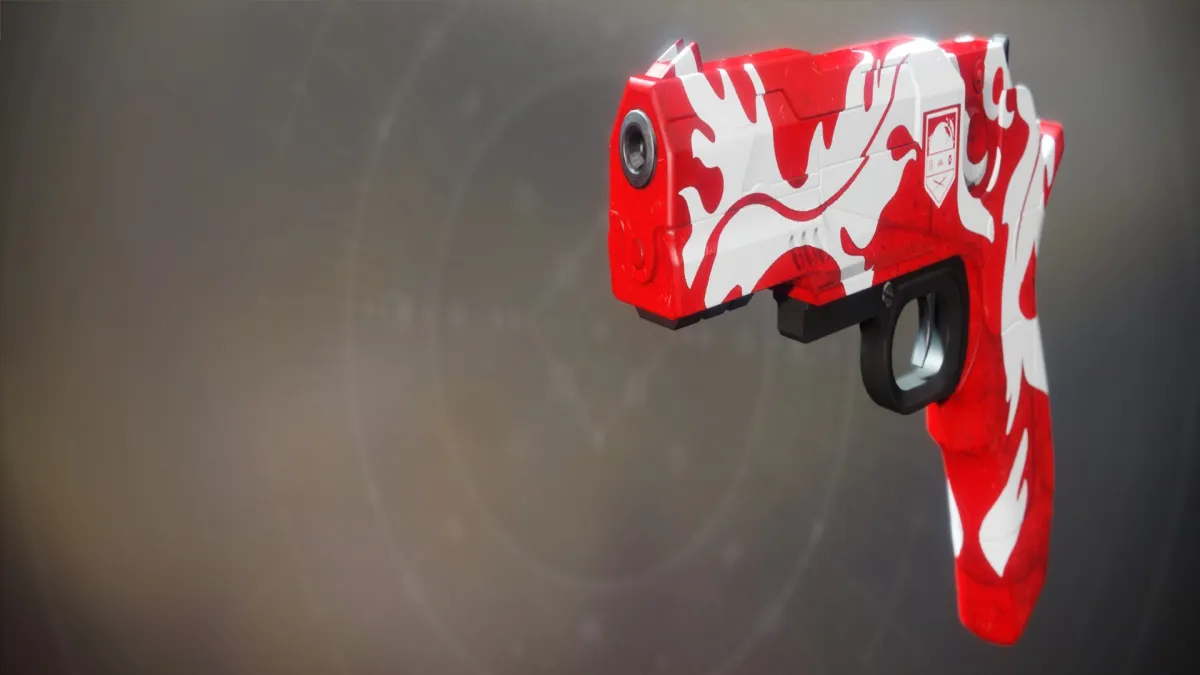
Back in July, Destiny 2: Season of Arrivals brought us the Exodus: Preparation questline. It took a couple of months, but we’ve finally reached the next stage — Exodus: Evacuation. After completing all the tasks, you’ll obtain the Traveler’s Chosen exotic sidearm.
Note: For more information about all the other activities and content for this season, check out our Destiny 2: Season of Arrivals guides and features hub.
Destiny 2: The Exodus: Evacuation quest to obtain the Traveler’s Chosen exotic
If you’re like me and you’ve been waiting for a good reason to check Destiny 2: Season of Arrivals once more, then the new Traveler’s Chosen exotic sidearm might pique your interest. It’s the final reward after completing the Exodus: Evacuation questline, one that follows a set of objectives. All of these objectives have already been datamined via Light.gg, but, before we go into the specifics, let’s discuss the general progression.
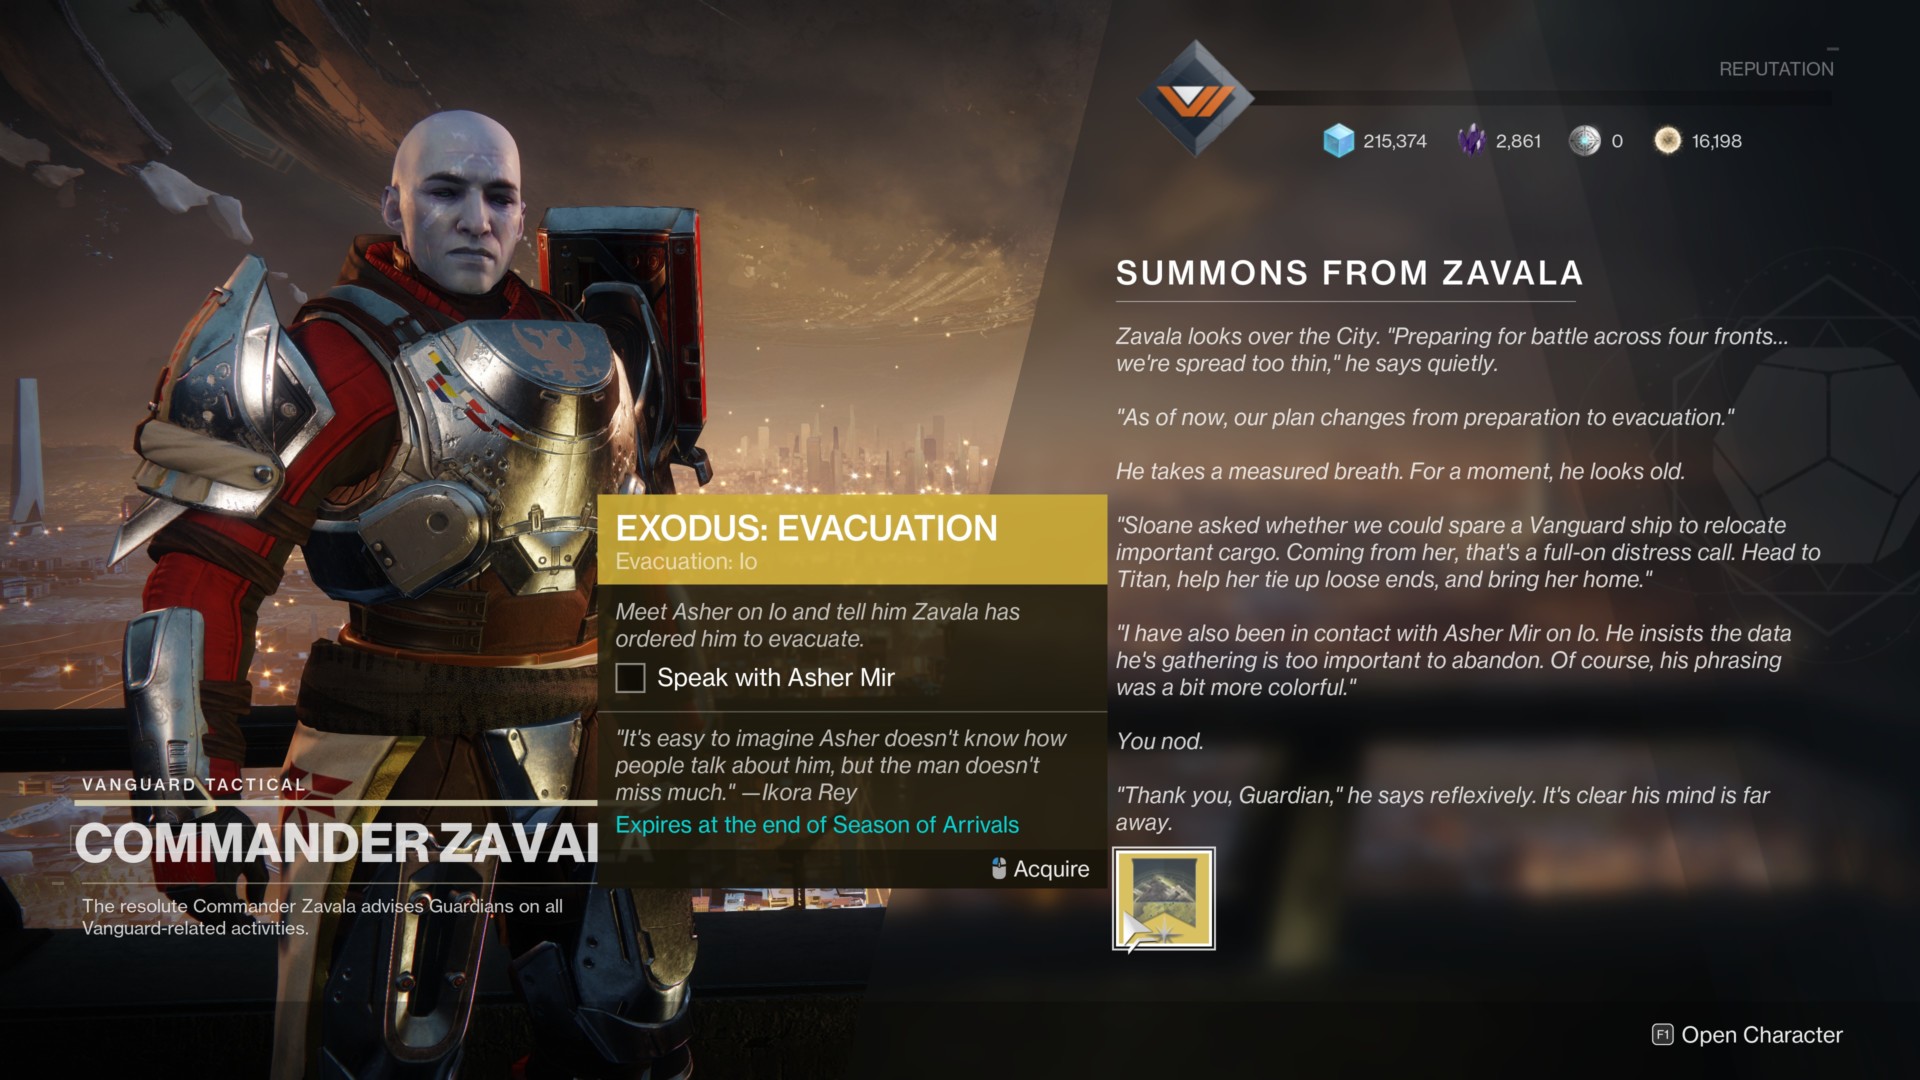
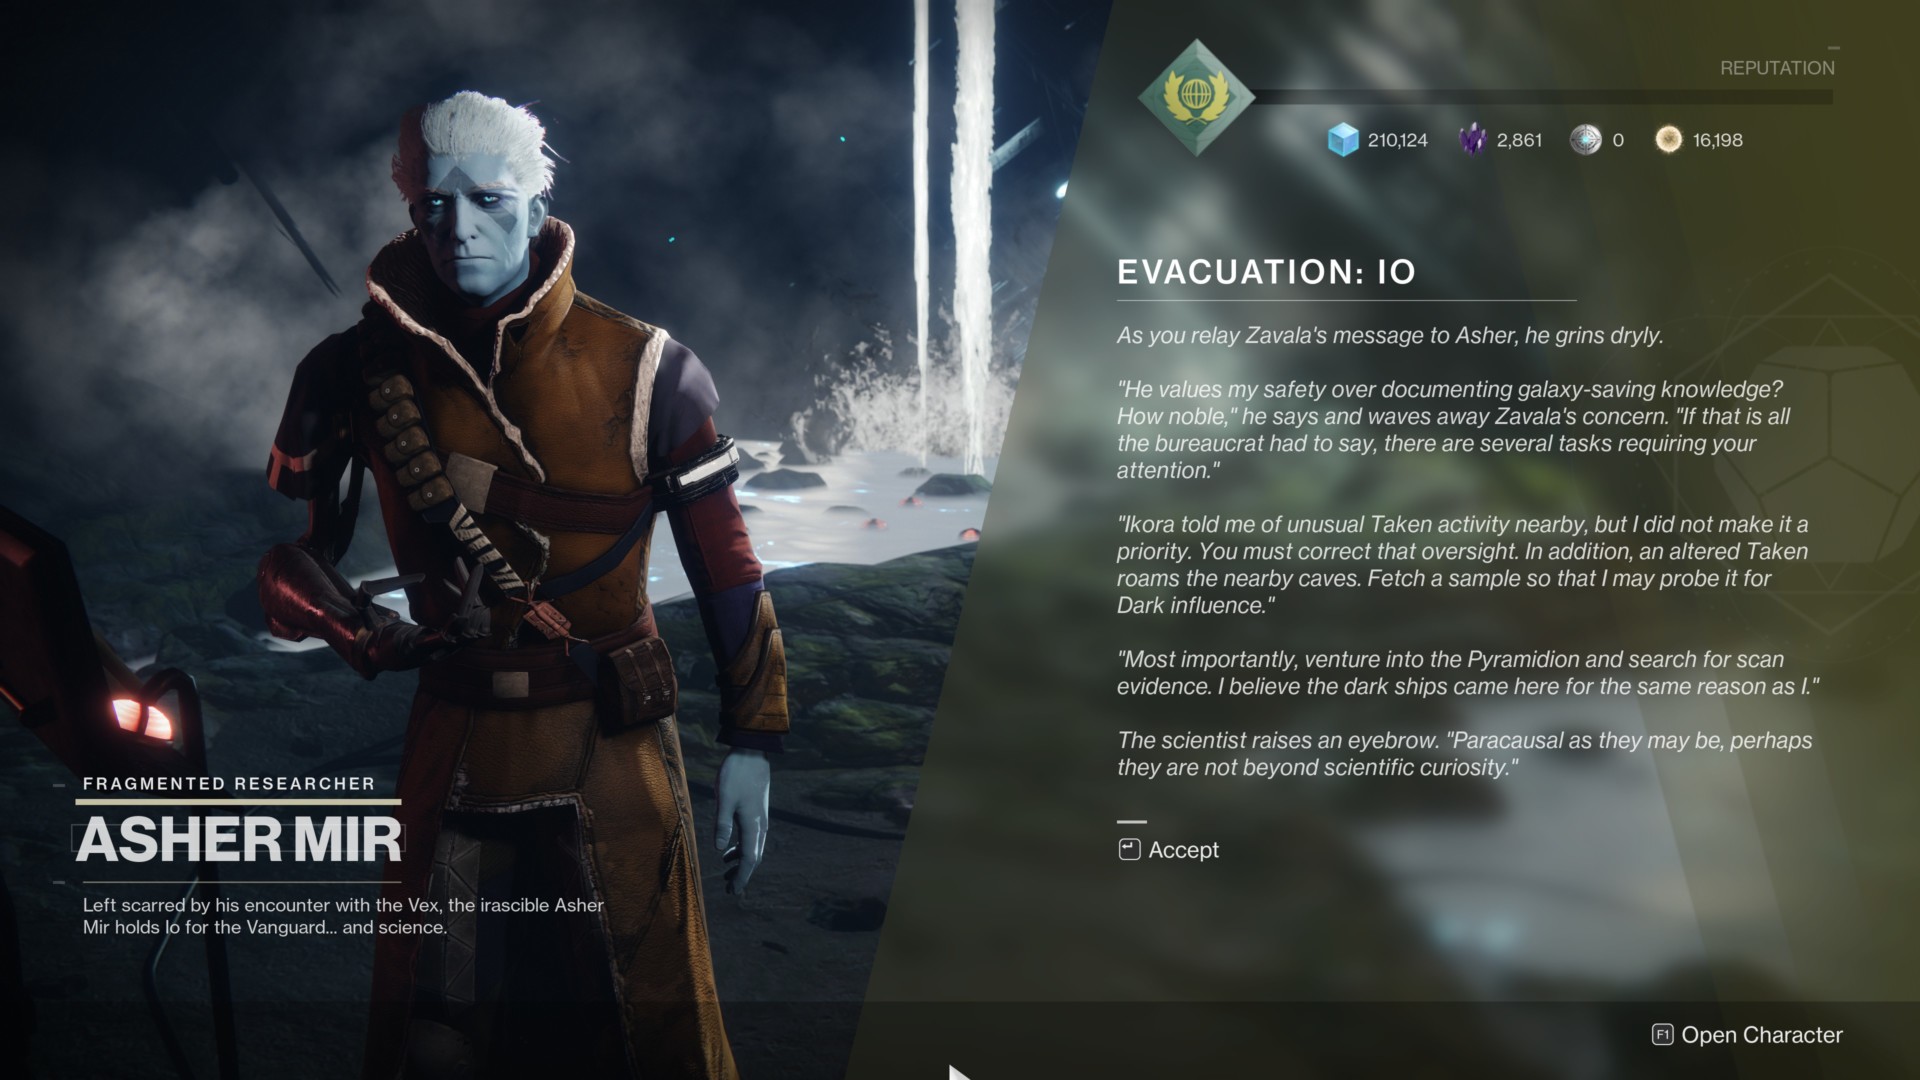
Firstly, you’ll need to speak with Zavala to pick up the Exodus: Evacuation questline. The entire questline itself will involve visiting various planets to talk to the NPCs there. For instance, after speaking with Zavala, your next task is to talk to Asher Mir on Io.
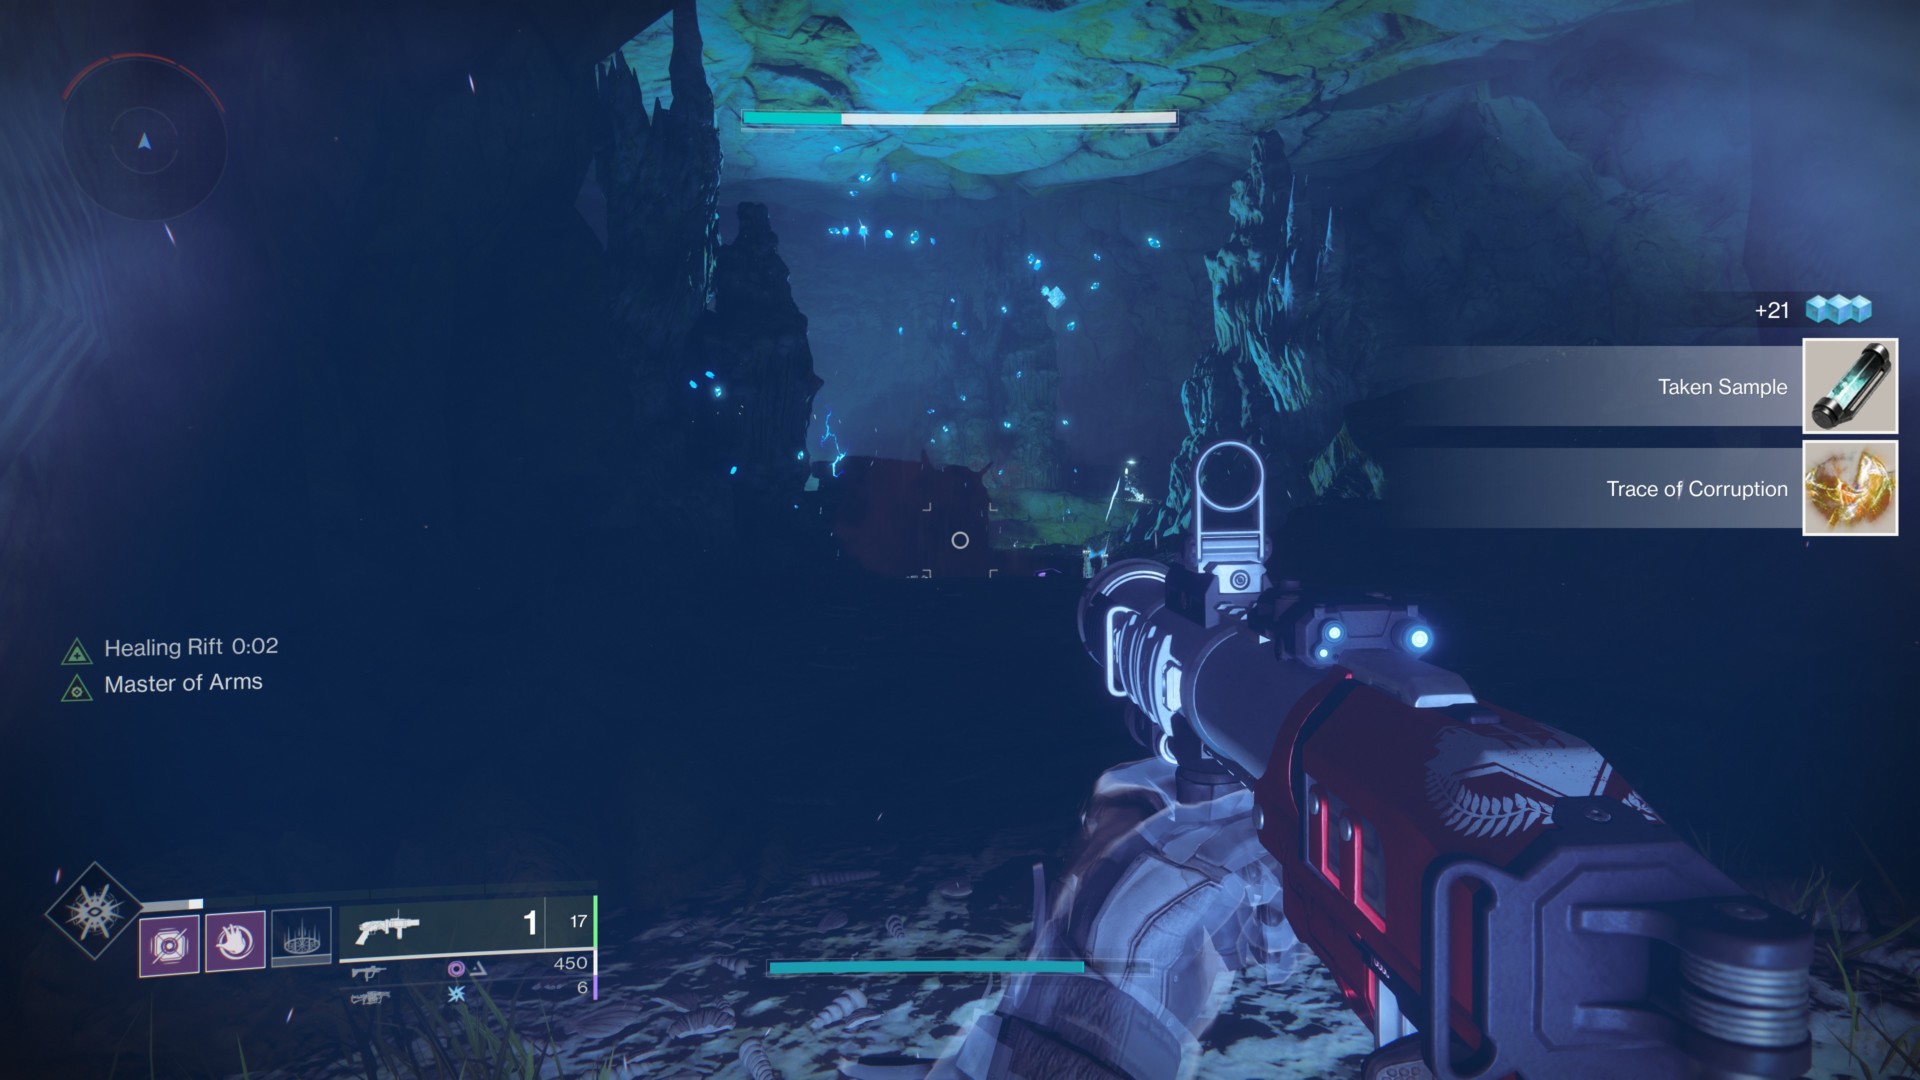
After speaking with the destination’s NPC, you’ll need to enter a specific lost sector on that planet. Inside, you’ll need to defeat a uniquely named enemy, and then open the lost sector’s chest. You’re also expected to collect various amounts of fragments from specific enemy races in a particular destination.
This will lead to the next part of the quest (i.e., completing a strike on that planet or another objective).
There might be another task such as running through a heroic adventure on that planet. This is marked on your director/map with a blue icon with a crown:
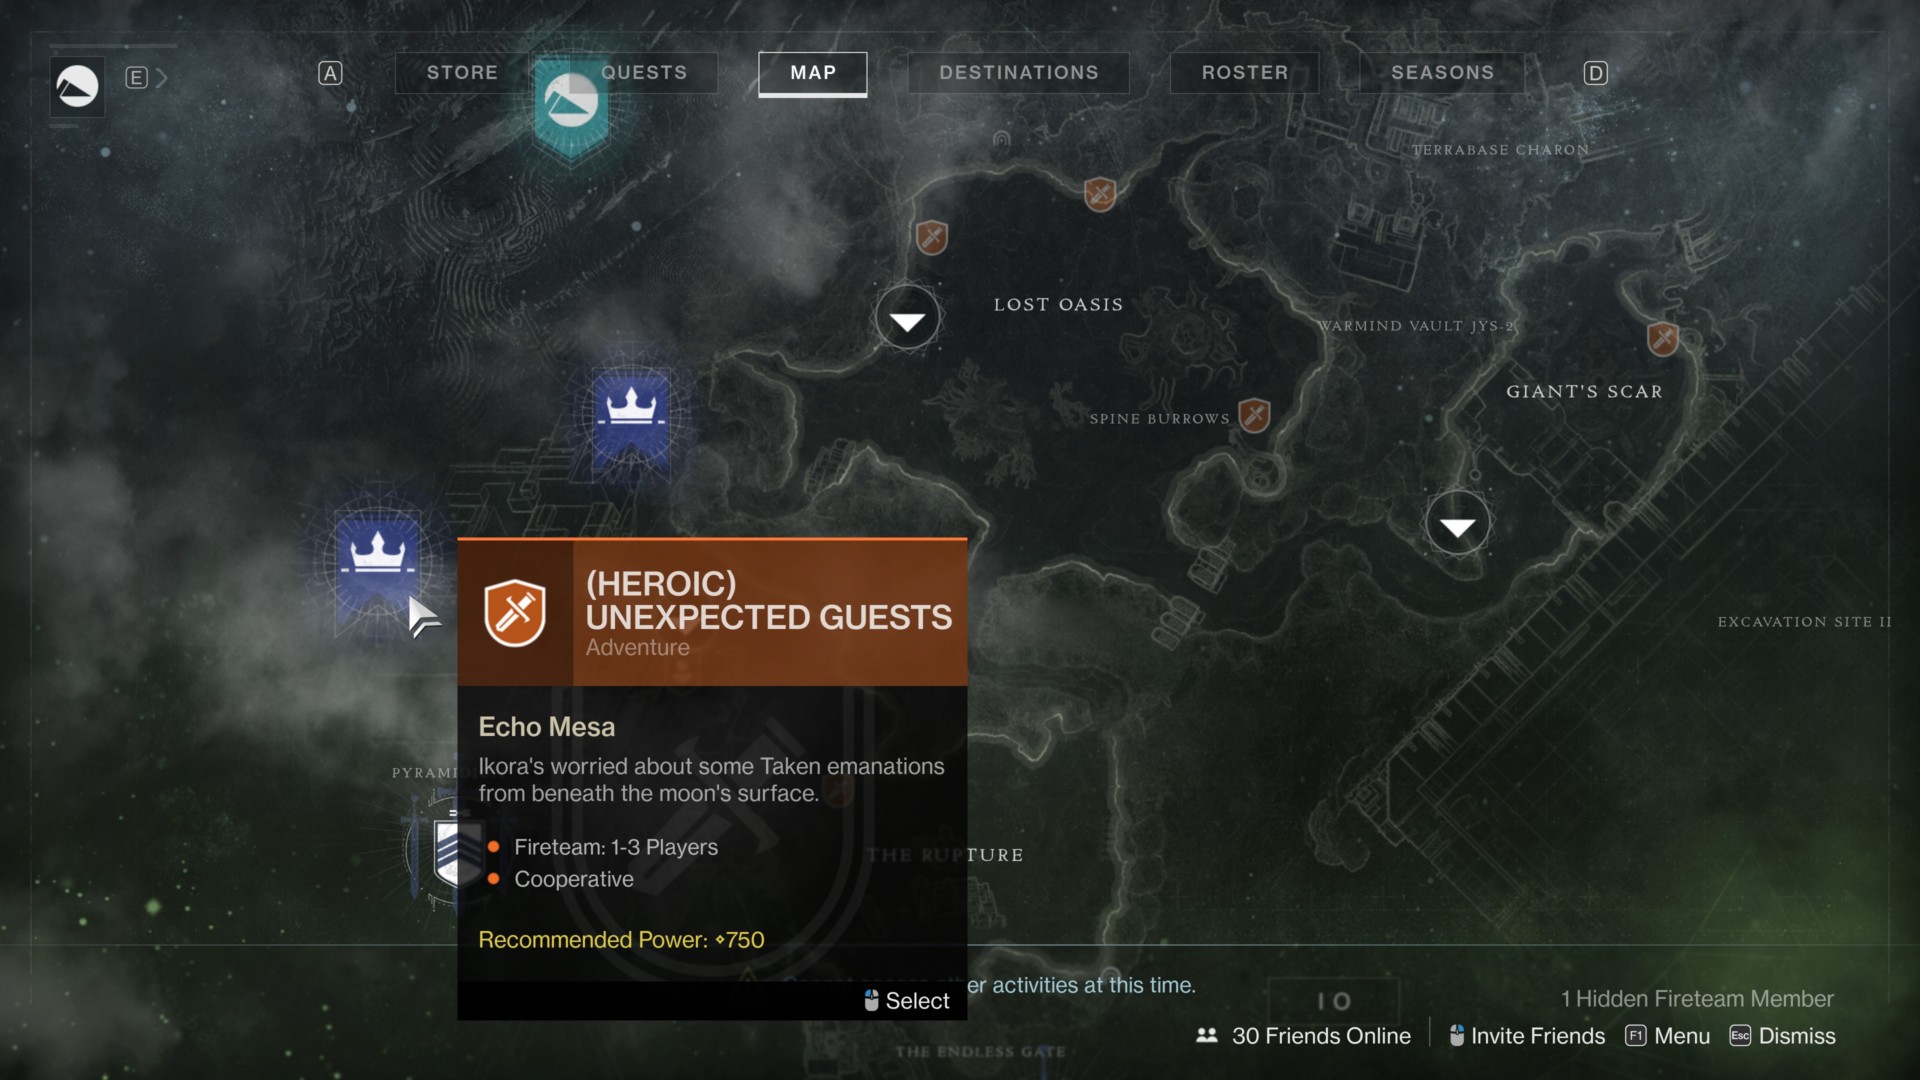
The heroic adventures themselves will be very straightforward even if you haven’t tried them out before, so no worries there.

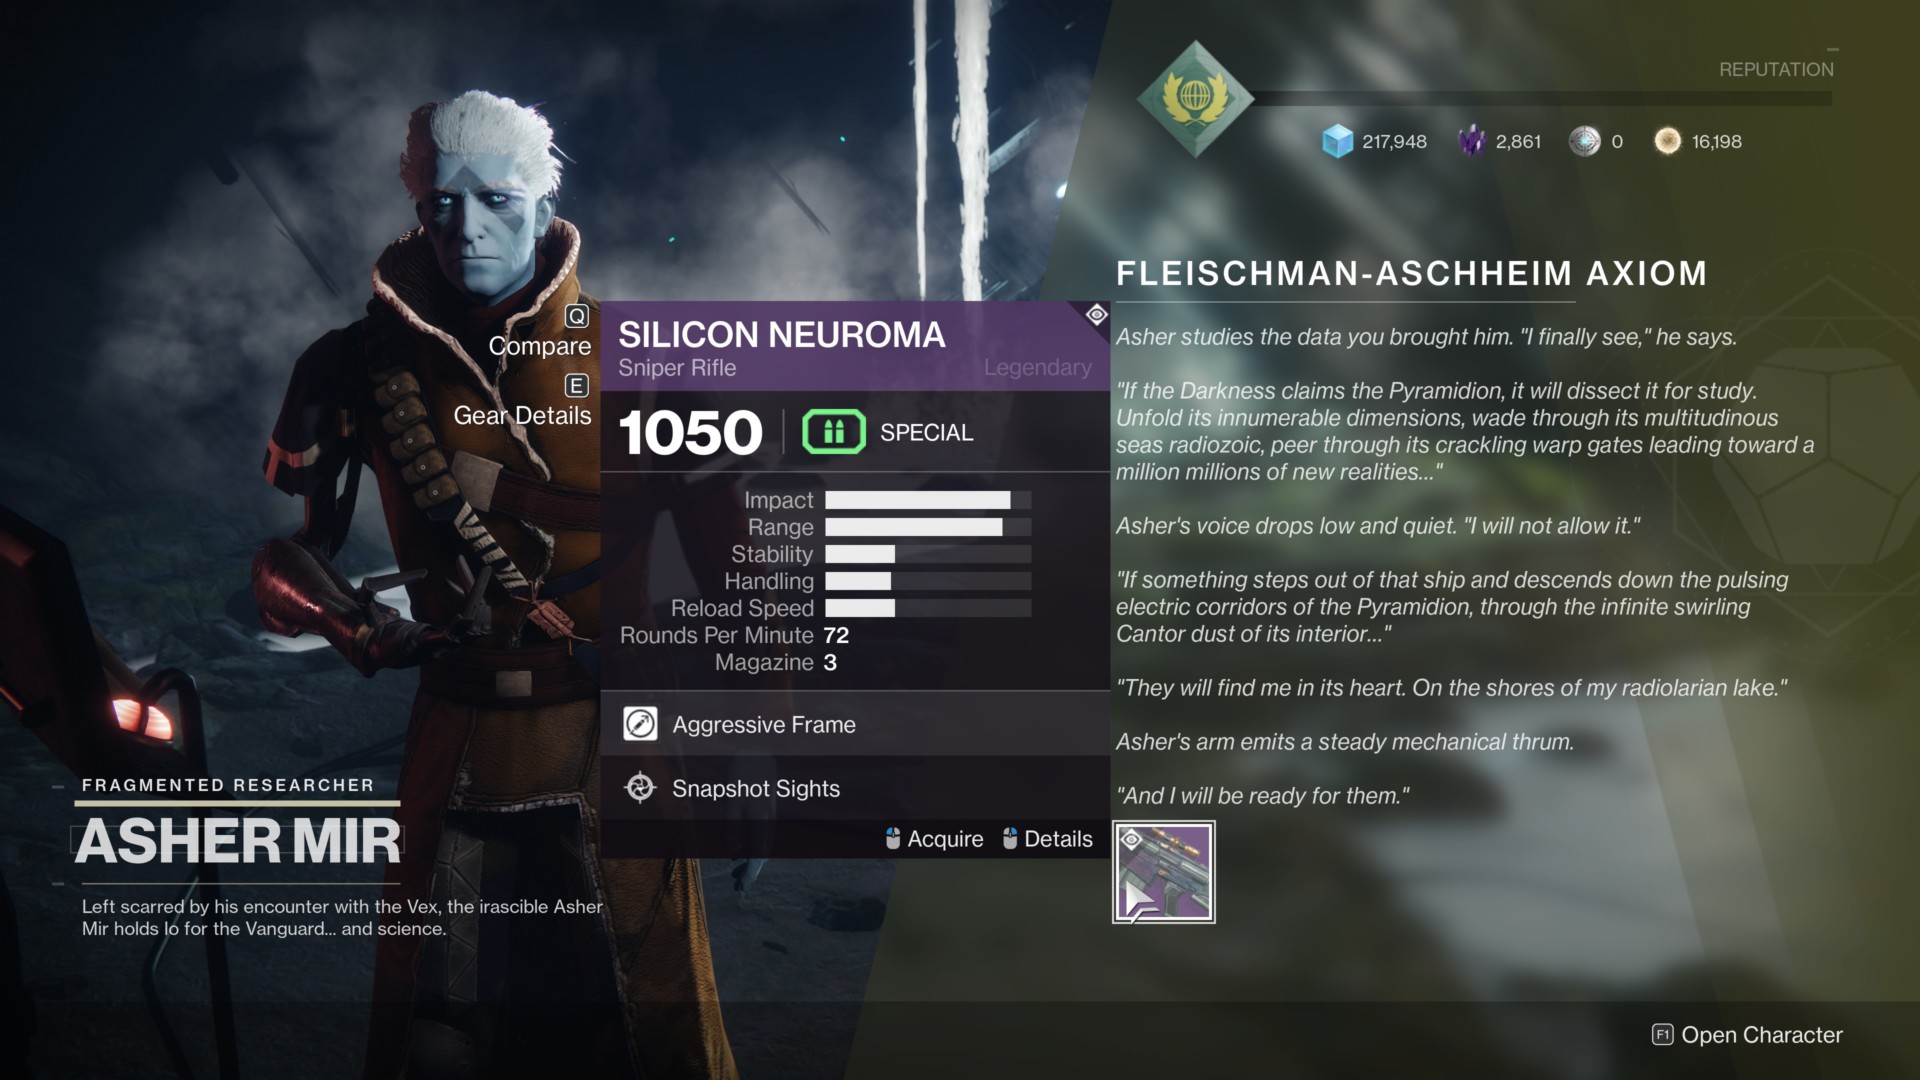
After you’ve completed the final step in a destination, speaking with the NPC there will reward you with an item drop from that destination’s Nightfall Strike (i.e., the reward from Asher Mir on Io is the Silicon Neuroma sniper rifle).
In any case, let’s go ahead and discuss the quest steps after you’re done talking to Zavala.
Io
- Speak with Asher Mir.
- Collect 25x fragments from Taken mobs; defeat a unique enemy inside the Sanctum of Bones lost sector; open the Sanctum of Bones chest.
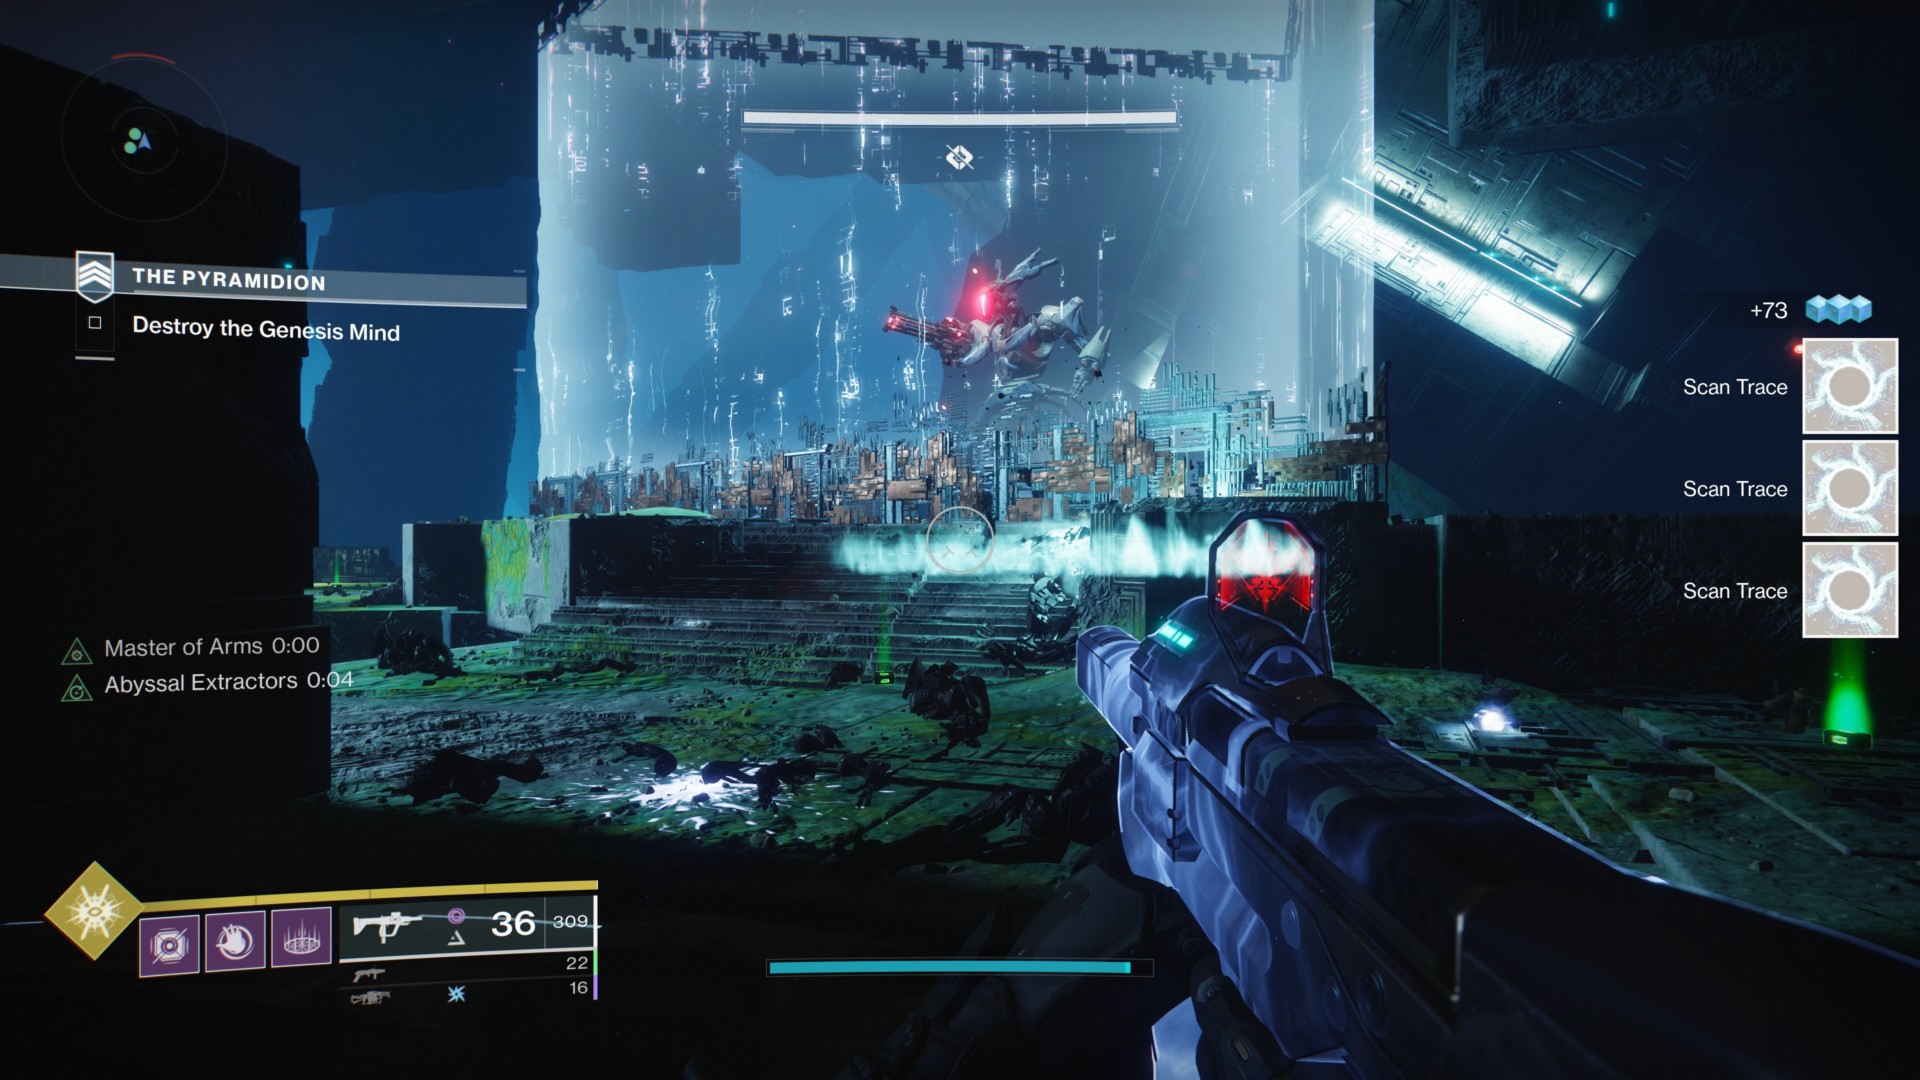
- Complete the Pyramidion Strike; collect 40x fragments from Vex mobs.
- Complete the Unexpected Guests heroic adventure.
- Return to Asher Mir.
Titan
- Speak with Sloane.
- Defeat a unique enemy in the Methane Flush lost sector; open the Methane Flush chest.
- Open chests guarded by Hive ultras (bosses) in the Festering Halls and Solarium zones.
- Complete the Savathun’s Song strike; collect 25x fragments from Hive ogres, wizards, and knights.
- Return to Sloane.
Mercury
- Speak with Brother Vance.
- Complete A Garden World strike; collect 15x fragments from Vex minotaurs, hydras, and cyclopes.
- Complete the Tree of Probabilities strike; collect 40x fragments from Cabal enemies.
- Complete the Bug in the System heroic adventure.
- Return to Brother Vance.
Mars
- Speak with Ana Bray.
- Investigate the Mindlab: Rasputin zone.
- Collect 5x fragments from bosses in the Escalation Protocol public activity.
- Complete the Deathly Tremors heroic adventure.
- Return to Ana Bray.
When you’re done with all the tasks, head back to Zavala in the Tower and he’ll reward you with the Traveler’s Chosen exotic sidearm. This looks like the last exotic we’ll get during the Season of Arrivals too. Don’t forget that you can buy the ornament via Eververse (if you’re into those sorts of cosmetics). You can see how it looks at the top of this guide.
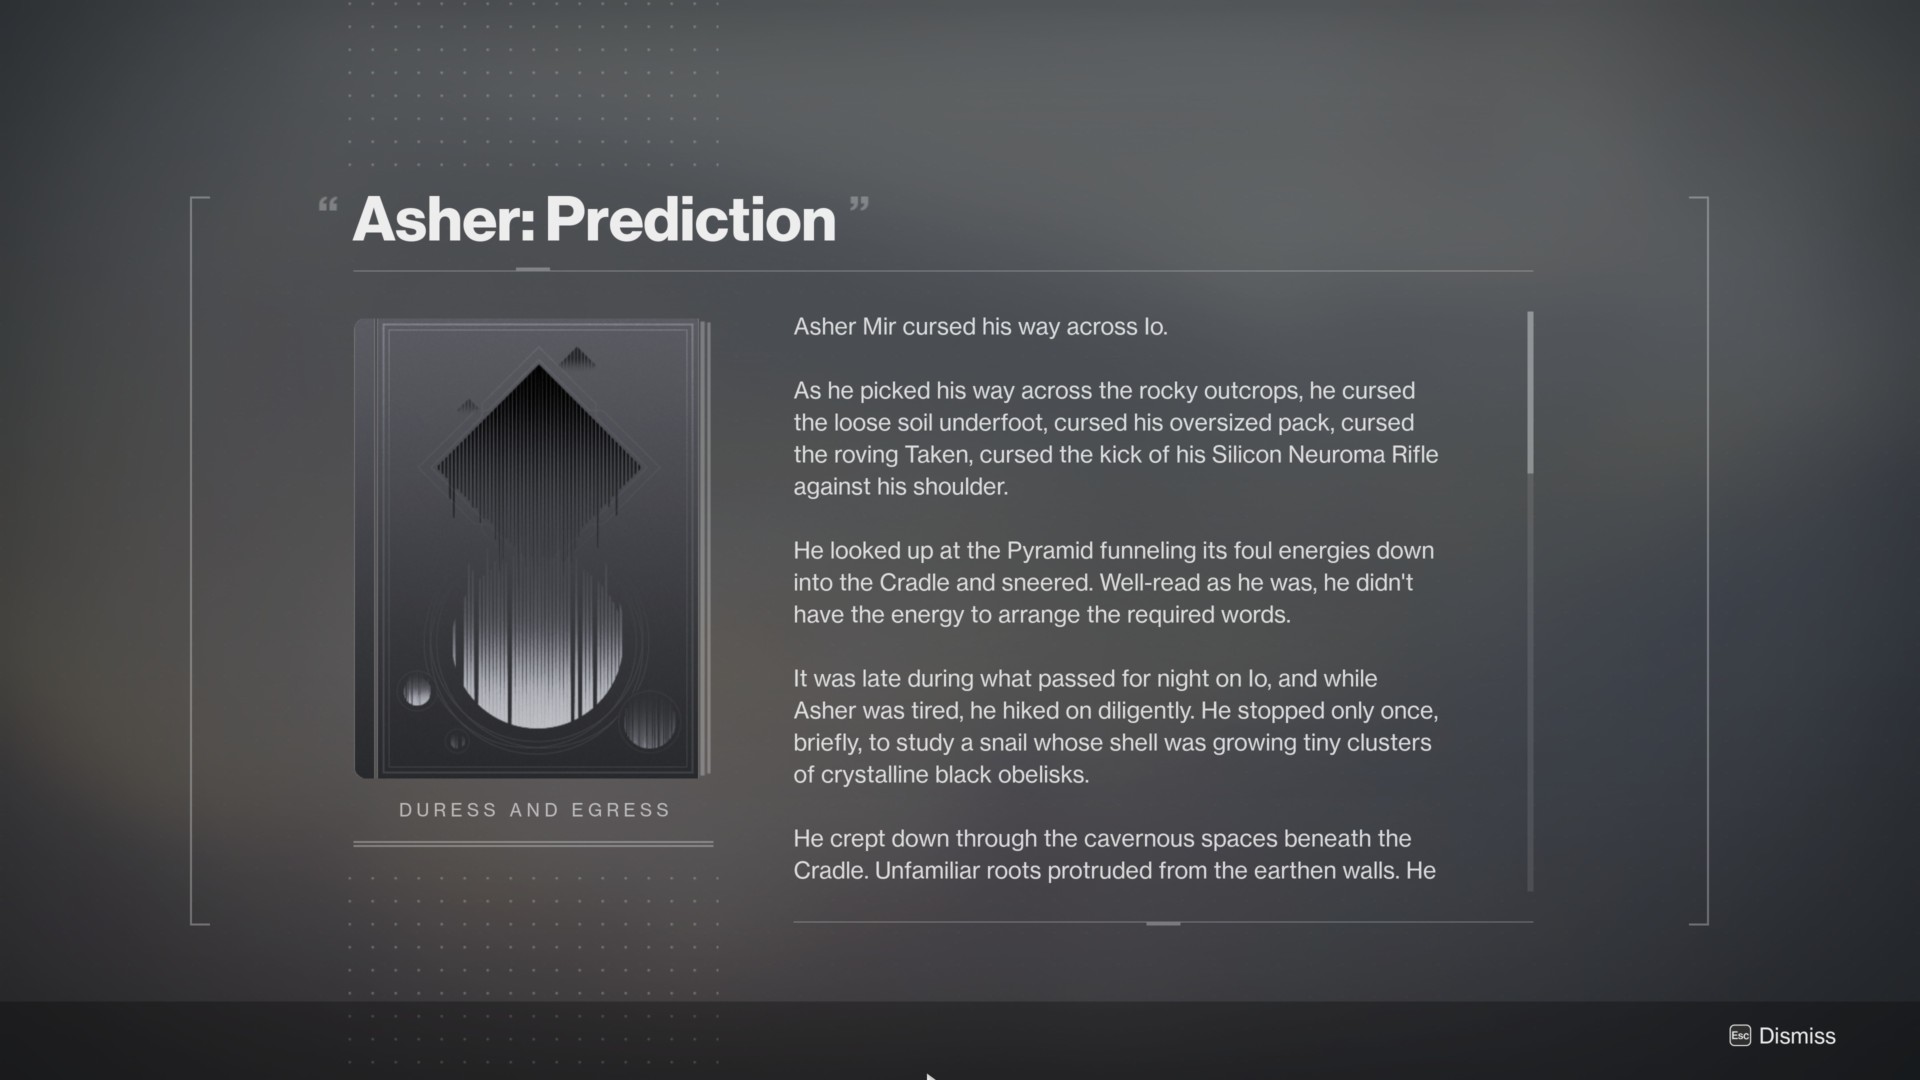
Apart from this, the Exodus: Evacuation questline does give you a lot of lore fragments related to several characters you’ve met throughout your journey in Destiny 2. For instance, you’ll learn a bit regarding Asher Mir’s and Eris Morn’s past interactions. Additionally, the haughty scribe’s closing remark (after giving you the Silicon Neuroma) suggests that he’ll wait for the arrival of Savathun and the Taken “on the shores of his radiolarian lake.” Let’s just say that these events will set the stage for the Beyond Light expansion, likely explaining why we won’t be able to explore certain destinations in the game.
In any case, you can watch a video below from YouTuber The Phoenix showing Zavala’s closing lines while giving you the Traveler’s Chosen exotic sidearm:
The Traveler’s Chosen exotic perks
The Traveler’s Chosen exotic sidearm is actually a fairly nifty kinetic weapon to use in Destiny 2: Season of Arrivals. It has a couple of notable perks:
- Gathering Light – Kills with the weapon grants a stack of Gathering Light. Consuming stacks of Gathering Light recharges your melee, grenade, and class ability energy depending on the number of stacks.
- Gift of the Traveler – Each stack of Gathering Light improves weapon handling, target acquisition, and reload time.
You’ve got a couple of options after defeating an enemy and obtaining Gathering Light: you could either keep its effects to boost the capabilities of the weapon, or you could consume those stacks to recharge your abilities. Five stacks will usually refill half your bar, and all 10 stacks would fully charge everything but your super.
The stacks themselves won’t disappear if you swap to your energy or heavy weapon, and there’s no restrictive duration too (you’re not going to experience those Tarrabah frustrations). Lastly, Guardian kills will count as three stacks of Gathering Light, so it’s viable to use in the Crucible. For instance, you can see YouTuber ZkMushroom bursting opponents down using the Traveler’s Chosen in PvP:
Here’s another PvP clip with various findings and impressions from YouTuber IFrostbolt:
Destiny 2: Season of Arrivals is available on Steam. For more information, check out our guides and features hub.


Published: Sep 9, 2020 02:21 am