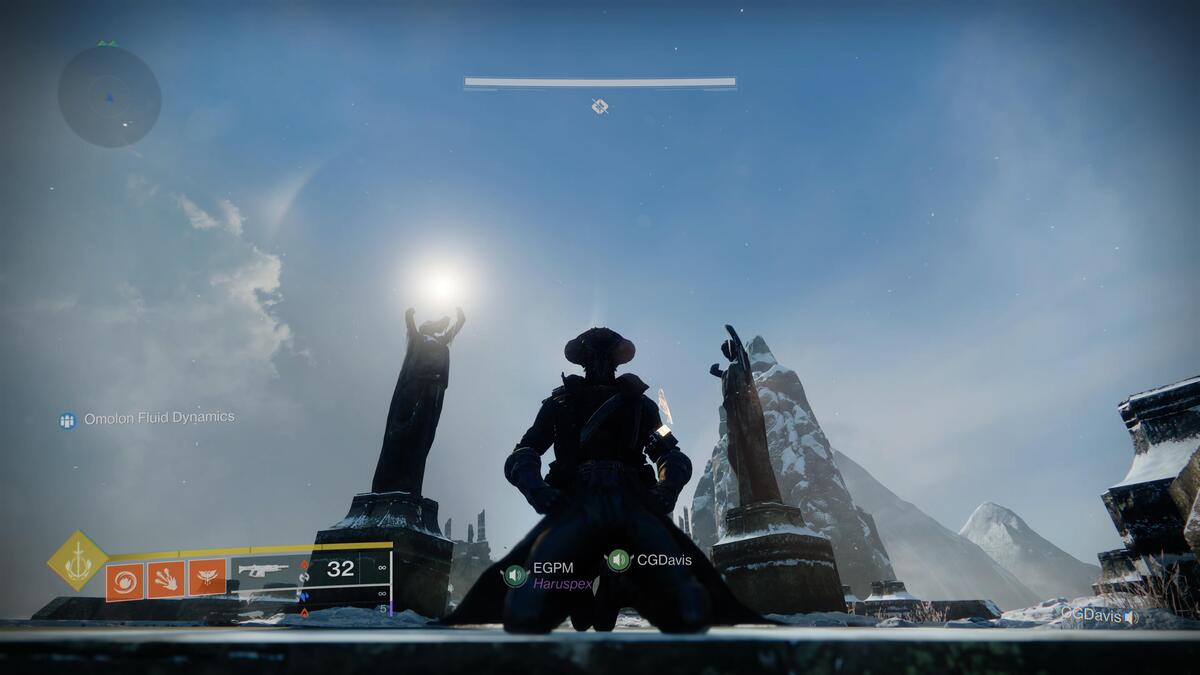
As you work your way through the In the Shadow of the Mountain quest in Destiny 2, you’ll need to find 10 bones in Warlord’s Ruin. I’ve found all 10 myself, so I can help you get all Hefnd’s Bones in Destiny 2 Warlord’s Ruin.
How to find all bones in Destiny 2 Warlord’s Ruin
To get all the Hefnd’s Bones in Destiny 2 Warlord’s Ruin, you need to progress the In the Shadow of the Mountain quest by collecting the first bones which sits to the left of the final boss chest. I’ve got you covered if you need help clearing the final boss.
How to Dispel Taken Corruption (level one, two, and three) in Destiny 2 Warlord’s Ruin
All the Ahamkarah Bones are hidden behind Taken Corruption doors with level one, two, and three locks on them. To get past them, you need to make progress through the In the Shadow of the Mountain quest.
After collecting the tenth bone at the final boss chest, you can now unlock level one Taken Corruption doors. Once you collect three more bones, you get access to level two, and three more bones get you access to level three Taken Corruption Doors.
So, bones two, three, and four are behind level one Taken Corruption Doors, bones four, five, and six are behind level two Taken Corruption doors, and bones seven, eight, and nine are behind level three Taken Corruption doors. They aren’t located in chronological order as you progress through Warlord’s Ruin, so you’ll need to play through it a few times to Dispel all the Taken Corruption doors and get all the bones.
Related: How to get Buried Bloodline Exotic Sidearm in Destiny 2
Destiny 2 Warlord’s Ruin Hefnd’s Bone #1
- First Bone – Across the bridge inside the first fort, before an arresting Knight assails you.
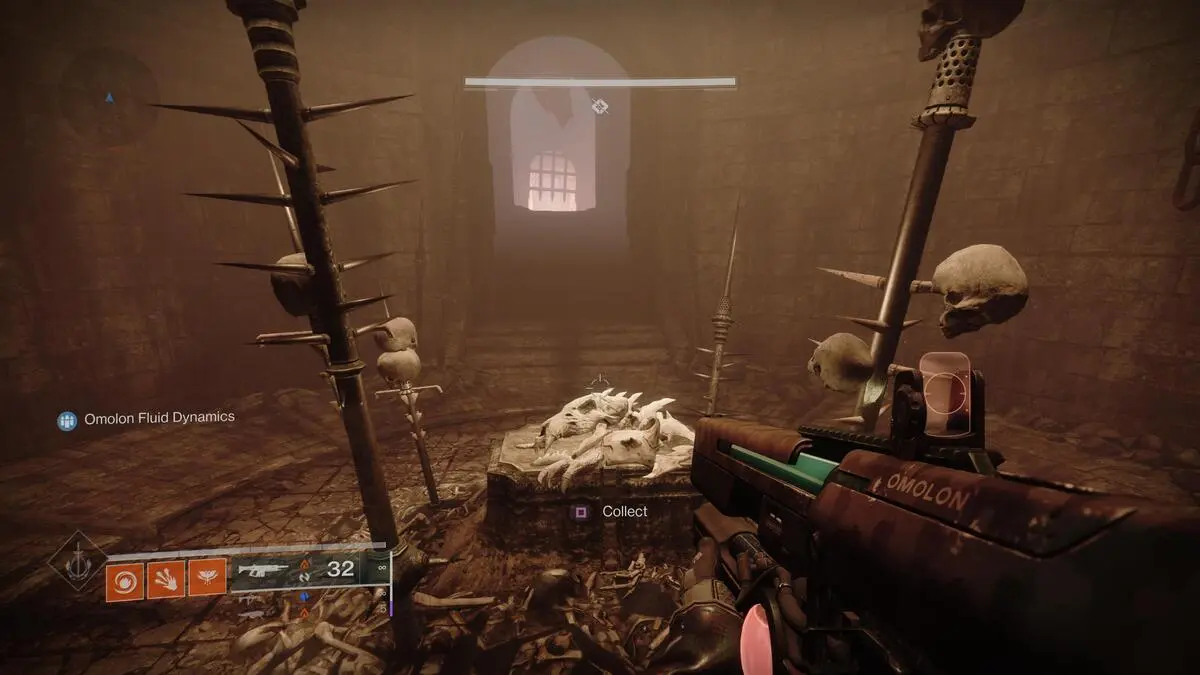
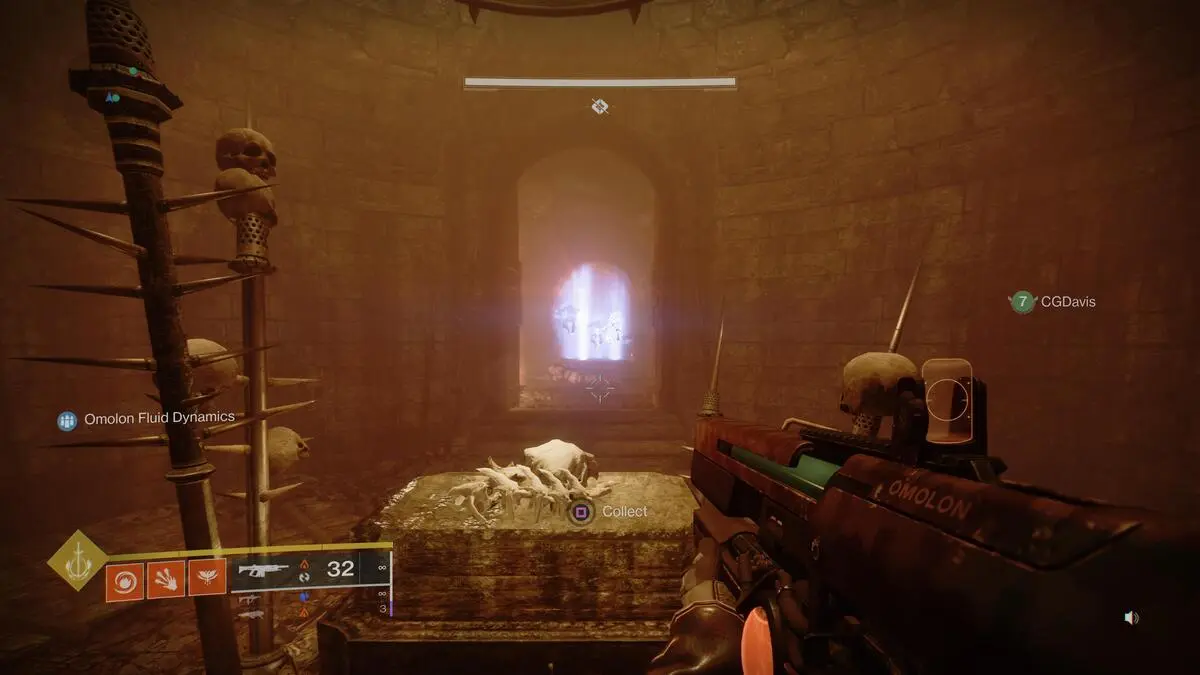
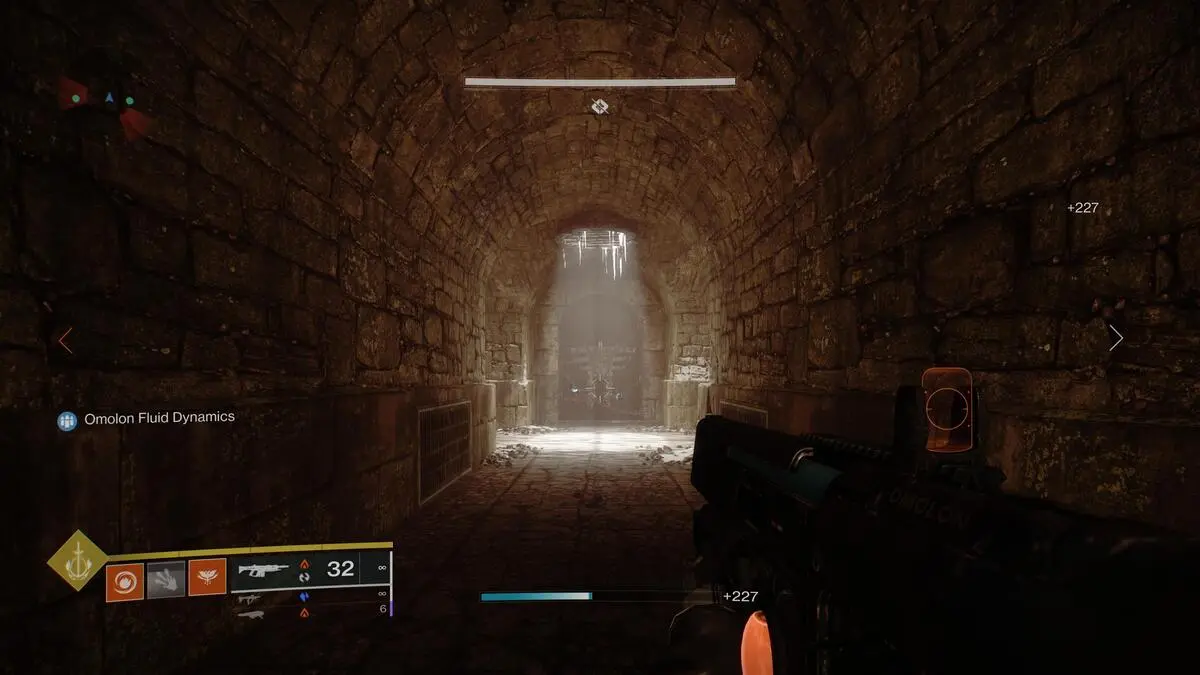
The first Hefnd Bone isn’t hard to find. After crossing the bridge at the very beginning and sliding through the gate into the castle, continue going straight to find your first Taken Corruption door. The bones are in the room beyond.
Destiny 2 Warlord’s Ruin Hefnd’s Bone #2
- Second Bone – Across from imprisonment, after ascending through the ceiling.
After breaking out of jail and jumping up through the ceiling hole in the blue room, the second Hefnd Bones are past the door on the right which is directly past the first set of spikes that you need to jump over.
Destiny 2 Warlord’s Ruin Hefnd’s Bone #3
- Third Bone – At the top of the summit, face back from the cliff and find shelter.
For the third bone, you need to beat the second boss. Right before the big Taken room with the big black orb, continue climbing higher. You’ll see a door on the left hugging the mountain that has orange covers. Go inside to find the third bone.
Destiny 2 Warlord’s Ruin Hefnd’s Bone #4
- Fourth Bone – In the snowfallen maze, through the broken wall, seek the banner of kings.
The fourth Hefnd Bone is after the first boss but before the second. In the second stone maze with spike traps, the fourth bone is directly straight when following the main path — you can’t miss it.
Destiny 2 Warlord’s Ruin Hefnd’s Bone #5
- Fifth Bone – Cross into the Tempest, through the portcullis, at the sewer’s mouth.
Once you get to the bridge section with tons of adds and the final boss, instead of continuing forward by entering the sewer on the left side of the castle, you’ll want to go to the right side and enter the sewer there. This is where the fifth bone is.
Destiny 2 Warlord’s Ruin Hefnd’s Bone #6
- Sixth Bone – At the summit’s base, find shelter off the beaten path. Too far, and the Taken will descend upon you.
The sixth bone was the last one I found; it gave me a lot of trouble. Directly after the Taken room with the large black orb in the center, you’ll defeat a bunch of Scorn and face a cliff. Instead of pressing on, about midway through that chamber on the left wall, you’ll find a hole. Jump into it and you’ll find the door concealing the sixth Hefnd Bone.
Destiny 2 Warlord’s Ruin Hefnd’s Bone #7
- Seventh Bone – Within the maze, stride spanning a pitfall, light called through the window.
Near the last parts of the last stone maze section, instead of jumping down the hole to progress forward, jump over it and run toward the cylindrical window. To the right of it is the seventh bone and your first level three door.
Related: How to get Wish-Keeper Strand Exotic Bow in Destiny 2
Destiny 2 Warlord’s Ruin Hefnd’s Bone #8
- Eighth Bone – The Taken roil at cave’s bottom sends you to scurry over boulders into a ruined alcove.
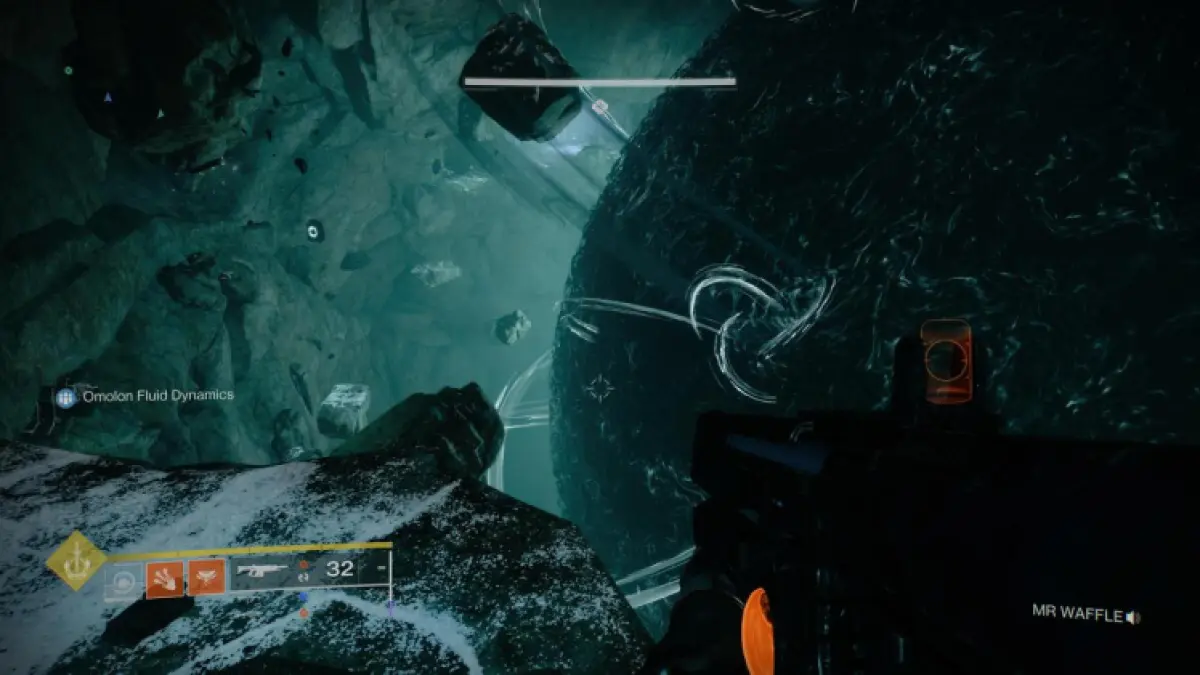
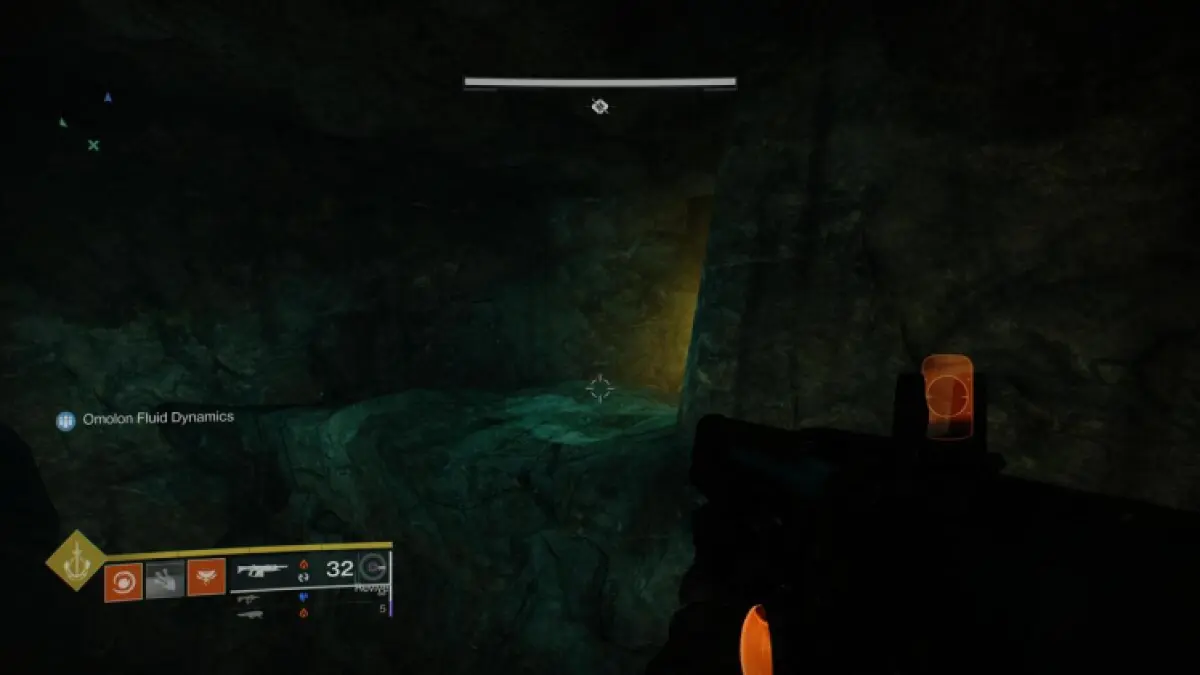
My Fireteam had a lot of fun getting the eighth Hefnd Bone because we kept dying to poor platforming skills and flying meteors. This bone is found in the Taken room with the large black orb. Instead of going up and out at the end of the cave, go directly down by hopping on the floating rocks. Near the bottom, you’ll see a glowing yellow light and a cutout in the mountain that houses the door and room for the eighth bone.
Destiny 2 Warlord’s Ruin Hefnd’s Bone #9
- Ninth Bone – Within a tunnel on the broken cliffs, brave the Taken storm.
Right when you get to the section with three mountainous spires with stone doors and a Taken black orb in the middle, go into the door that is directly in the middle; the one directly ahead behind the Taken black orb. Open the level three door and you’ll get the ninth bone.
Destiny 2 Warlord’s Ruin Hefnd’s Bone #10
- Tenth Bone – The location is directly left of the final boss chest.
This should technically be the first door you open, but if you don’t have it yet, the tenth bone is directly left of the final boss chest.


Published: Dec 4, 2023 05:20 pm