My first experience with The Cinder Drift was a mistake. I queued for a Trial Roulette while playing Final Fantasy XIV before going to bed, wanting to just get a few extra tomestones before sleep. Most of them are simple and fast, so unless it was The Chrysalis, things would be fine. Then — “Wait, I don’t recognize this Trial intro. Which one’s this? Wait. No. Is it…?” Yep. Ruby Weapon.
Oh, bums.
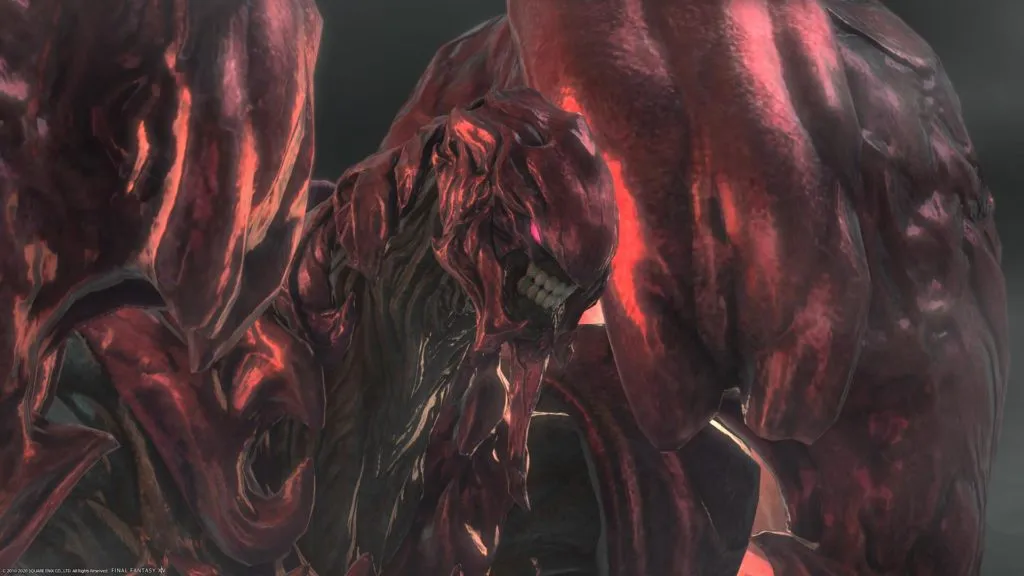
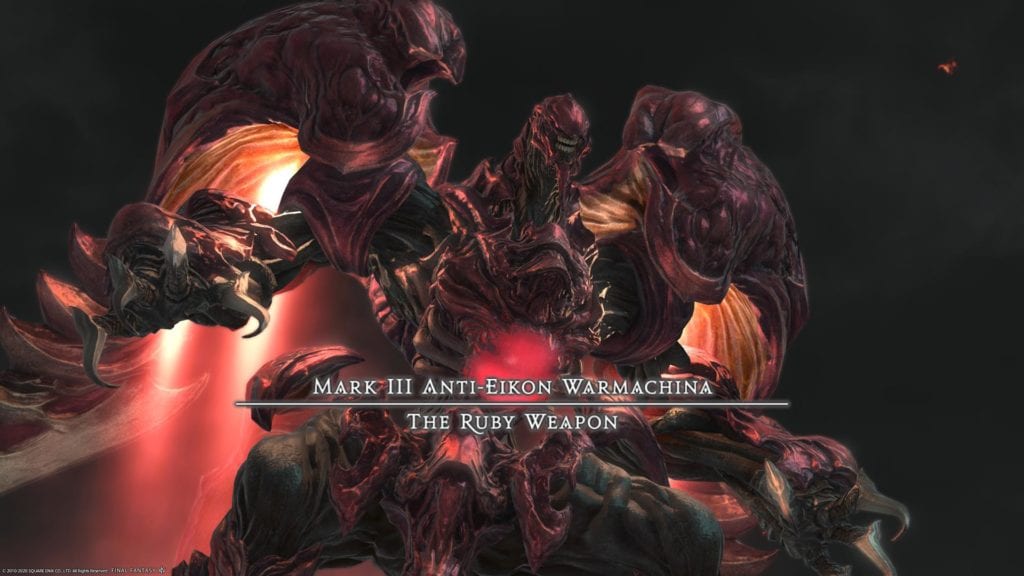
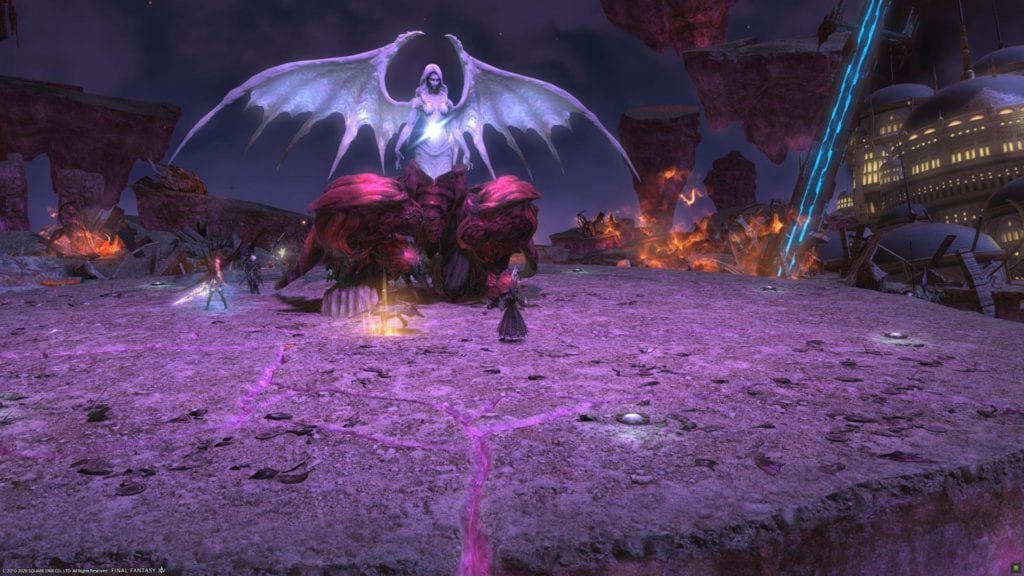
Thankfully, I’ve since done The Cinder Drift numerous times and repeatedly battered the Ruby Weapon – one of Final Fantasy VII‘s superbosses – into submission. I’ve gotten a pretty good grasp of how to deal with it. And now, you can batter it into submission too!
Ruby Weapon: the short version
Keep an eye out for the attacks that follow Flexiclaw. If it’s Ravensclaw, dodge the initial AoEs along the tremor lines and then get ready to either stand on – or run from – the tremor lines, depending on whether Undermine or Liquefaction follows it. If it’s Helicoclaw, stand at the very end of one of the spirals, wait for the blasts in front of you to pass, and then run towards Ruby Weapon to avoid all of the AoEs.
For Ruby Dynamics, run up to Ruby Weapon and then be ready to flee because Homing Lasers will follow, and the party needs to split. Conversely, High-powered Homing Lasers (two stack markers) require the party to split into two groups of four to share the damage.
Ravensflight is the other tricky one to avoid. I’ve found it’s best to find a spot that’s safe from the first few dashes and stay there, and then reposition after that. With direction markers covering the entire ground, it can be hard to plot its entire path – but if you can, then more power to you; you’ll be able to dodge it easily. The final dash tends to be directly across the middle of the arena, so keep that in mind.
Ruby Weapon’s attacks
One of the trickier bits is figuring out that you sometimes need to jump onto those big dangerous-looking cracks.
Stamp – Tankbuster. Mitigate as normal.
Optimized Ultima – Powerful raid-wide AoE damage. Heal through.
Flexiclaw – Ruby Weapon extends its claws. This doesn’t do anything by itself but leads into further attacks.
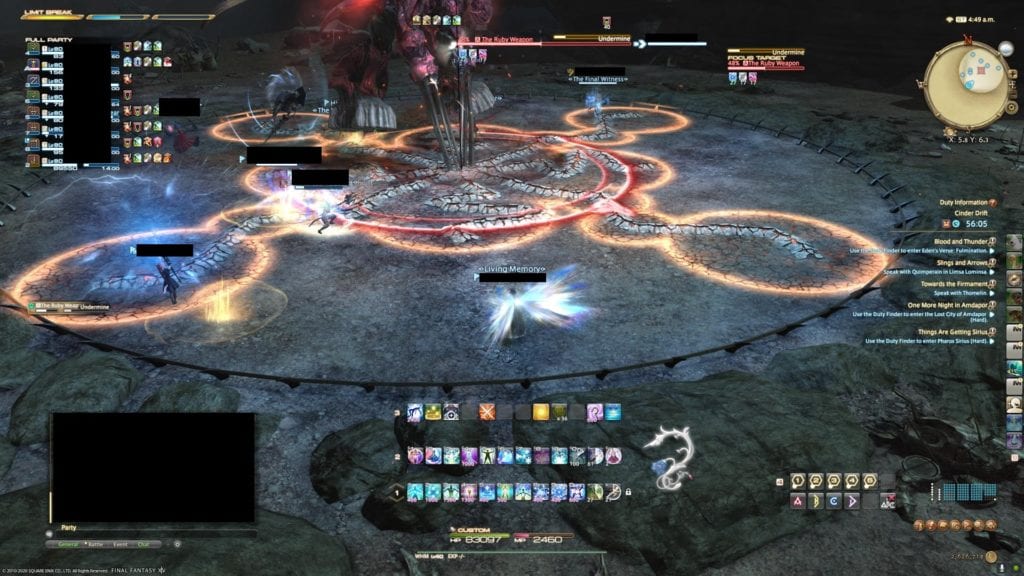
Ravensclaw – Used after the first cast of Flexiclaw. Tremor lines extend out of Ruby Weapon. Circular AoEs occur at the end of each tremor line, as well as one around Ruby Weapon.
Liquefaction – Usually used after Ravensclaw. The ground – with the exception of the tremor lines – will start to sink, with instant death if you sink into it too far. Stand on tremor lines to live.
Undermine – The other ability that can be used after Ravensclaw, usually used second. Anyone standing on the tremor lines takes damage. Avoid the tremor lines to live.
Helicoclaw – The other attack used after Flexiclaw. Spiral markers move out from Ruby Weapon, and AoE blasts follow along those lines. Stand roughly at the end of one line, at the very edge of the arena; when the blasts in front of you finish, move forward to avoid all blasts.
Ruby Ray – Ruby Weapon faces one direction. After a short period, it fires a blast roughly the width of its own model in that direction.
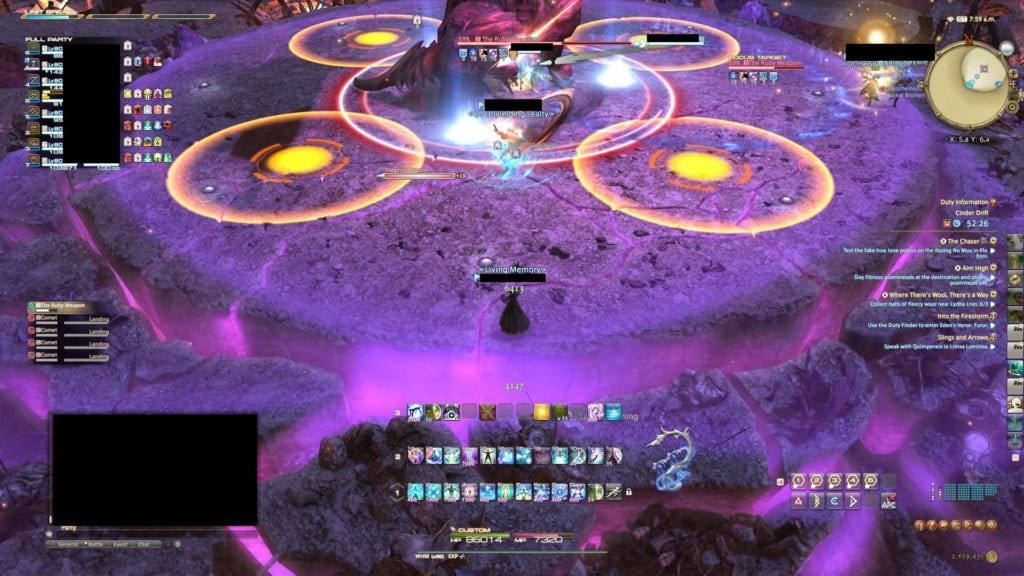
High-powered Homing Lasers – Two players are marked with stack markers. The raid should split between the two, four people per marker, to share the damage.
Ravensflight – Ruby Weapon launches into the air, and directional markers appear on the ground. The Weapon will rush to the edge of the arena along each, in order of appearance.
Homing Lasers – Everyone in the party is targeted with an AoE blast. This will be cast before Ruby Dynamics, but will hit after it.
Ruby Dynamics – Cast in parallel with Homing Lasers, this is an arena-wide AoE where the only safe space is next to Ruby Weapon. Stack up near Ruby Weapon to avoid Ruby Dynamics, then split up to avoid killing each other with Homing Lasers.
Optimized Ultima (Again) – Ruby Weapon starts the cast of this when low on health, with flavor text talking about a maximum power Ultima. I’ve never seen this go off as Ruby Weapon has always died beforehand, but I’m assuming it’s a DPS race to burn down the last of the Weapon’s health before the spell goes off.
The things to remember
When you see this, run in. And then as soon as it finishes, run out to avoid stacking a lot of Homing Lasers damage on everyone else.
Okay, that’s a lot of attacks, but they’re actually fairly easy to break down. Only tanks and healers need to pay attention to Stamp, and healers are the ones who need to panic about Optimized Ultima. If you can remember how to deal with the various Flexiclaw attacks (specifically, Ravensclaw and Helicoclaw) you’re in good shape. The only other really tricky move is Ravensflight, which will take some experience.
This might seem like stupid advice, but seriously, try to avoid as many attacks as you can – especially if you’re near the minimum item level. Ruby Weapon hits hard, and the vulnerability stacks you’ll get will make the difference between an Optimized Ultima dropping you to low health or outright killing you.
Final words
Just kidding. It’s not over yet.
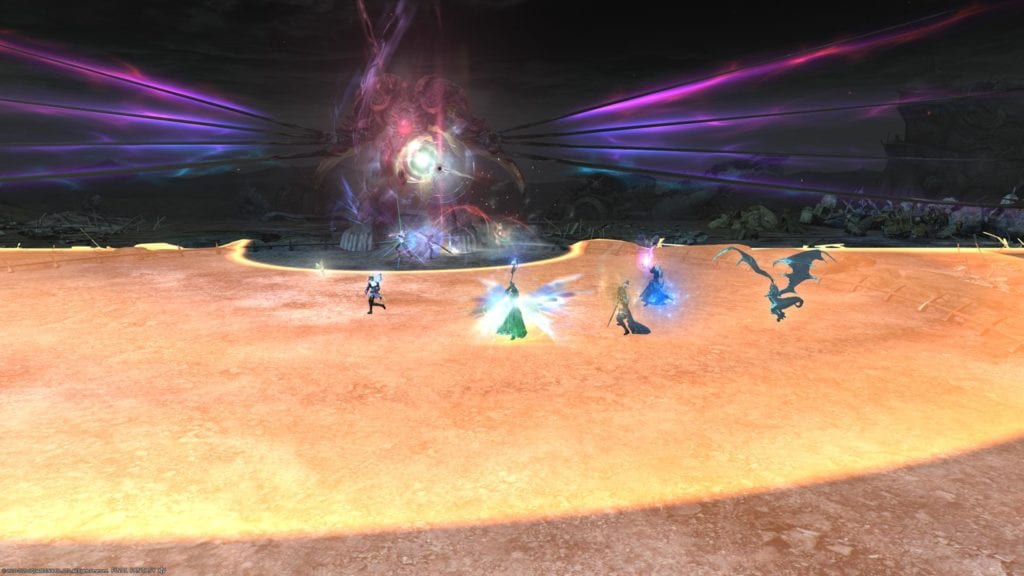
Phase 2: The short version
Oh, bums. Again.
Don’t worry: This phase is arguably easier as long as at least a few people know what they’re doing. There are really three things to pay attention to. First, kills the adds ASAP, and make sure the tanks are mitigating and being healed through their attacks. Second, make sure someone is standing on the comet landing spaces (track by arrows on the ground until they choose a resting spot) and that you destroy those too. Third, hide behind the rocks after they land.
Everyone is important – there’s a lot of single-target damage, a lot of healing required, and a lot of burst DPS needed to tear down the adds – but there’s far less opportunity for random members of the raid group to die. No complex mechanics to remember, thankfully.
Phase 2 attacks
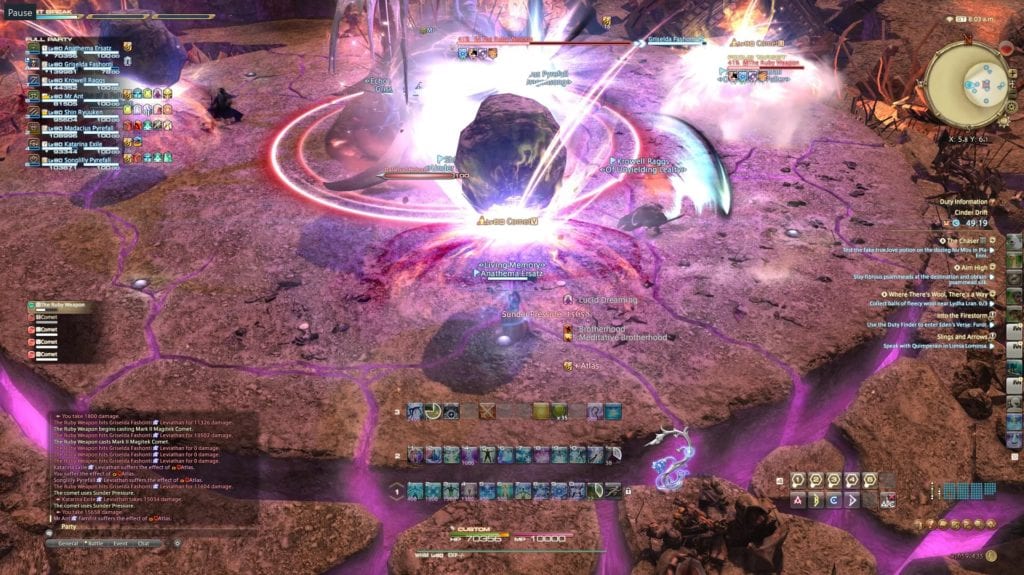
Stand on one edge, between two of the landing zones, to minimize damage from Magitek Comet.
Meteor Project – Fills the Dalamud Reborn meter and begins calling down Dalamud.
Negative Personae – Summons two Raven’s Image adds.
Ruby Claw – Used by the Raven’s Image adds. A multi-hit tankbuster that strikes around five times.
Meteor Stream – Targets four players (usually DPS) with hard-hitting AoE attacks.
Dalamud Impact – Used when Dalamud lands. Heavy damage to the entire party; ensure the adds are dead and everyone is topped off on health before this lands.
Magitek Meteor – Begins the summoning of a giant meteor.
Magitek Comet – Four AoE markers appear on the arena. Stand at one age of the arena, as far as you can get from all of them. Once the comets land, stand so that one is between you and the boss to avoid damage from the aforementioned falling meteor.
Mark II Magitek Comet – Arrows appear, signifying where each of four comets is going to land. One player needs to stand underneath the final placement to intercept and hold up the comet, while the other players destroy them ASAP.
Bradamante – Two line AoEs targeted at random players. Move out of the way.
Outrage – Unavoidable damage to the entire party.
Phase 2: Things to remember
It doesn’t matter who, but someone needs to catch the comets. Don’t ignore them and assume someone else will do it.
The only time you’re particularly likely to wipe is during Mark II Magitek Comet: People need to catch those comets, or the raid takes massive damage. It doesn’t matter a great deal who catches them as long as they’re burned down quickly. Whenever you see those arrows appear, at least position yourself near one of them so you can catch the comet if no one else is nearby.
Other than that, healers should be on their toes. The Ruby Claw used by Raven’s Image does a hefty chunk of damage and needs to be healed and mitigated through. Dalamud Impact will likely knock off 75% of the health of non-tanks, and towards the end of the fight, Ruby Weapon just starts spamming Outrage.
Final words (really)
If you can get through the first phase, you honestly shouldn’t have too much trouble with the second. Despite how imposing Ruby Weapon is (and despite how much trouble you may have avoiding some of the attacks in the first phase, at least initially), it honestly isn’t too difficult a boss. A Garlean warmachina has nothing on you. Follow this, and you’ll have Final Fantasy XIV‘s latest trial down in no time at all.
If you need more help with the newest Final Fantasy XIV content, have a look at our guide hub.


Published: Feb 24, 2020 06:45 pm