The Tower in Geometry Dash provides a completely new way to play the game. Your platformer skills get put to the test quickly with the “Fire in the Hole!” section in the second level, The Sewers. Let’s go over this section and how to beat it.
How Fire in the Hole works in Geometry Dash
Fire in the Hole in Geometry Dash is the unofficial name for a section in Stage Two of The Tower. It is named this way as the phrase gets yelled when it begins. You’ve heard that phrase a lot, I presume.
In this section, you’ll be on an elevator from hell, where you’ll travel up a column of platforms and hazards, all while avoiding spikes that’ll jut up out of the floor in waves. This is especially difficult for players looking to collect all of the coins for a Secret Star.
Halfway through, it’ll get even harder, with the spikes ramping up in intensity. This part is mercifully short, and your ride will finish after you’ve survived.
Related: What to do if you’re stuck at 9% in Dash Level in Geometry Dash
Geometry Dash Fire in the Hole walkthrough
Follow this walkthrough to get through the Fire in the Hole section of the Sewers in Geometry Dash and collect all the coins, so you don’t have to keep rerunning it. To prevent the spoiler of where the secret moon is, if there is a moon in this section, I’ve separated that information from the walkthrough. You’ll find it below.
The difficulty of this section lies in having to keep track of what the spikes will be doing next, avoiding them, and navigating the sinking platforms and hazards all at the same time. This sort of multitasking will deviate you from one thing or another. So, use this guide so you can predict where the spikes will come from ahead of time.
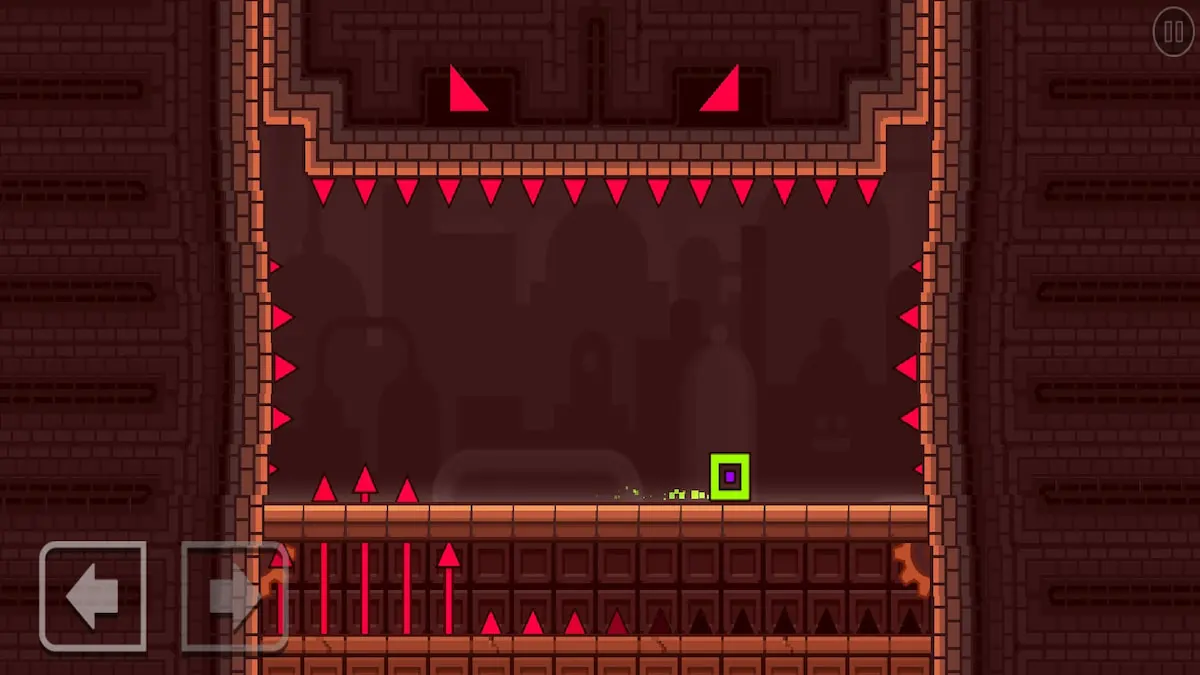
The first part
As soon as you walk through the first door in Stage 2 of the Tower, you’ll have to activate the elevator by jumping on the red button at the end of the platform.
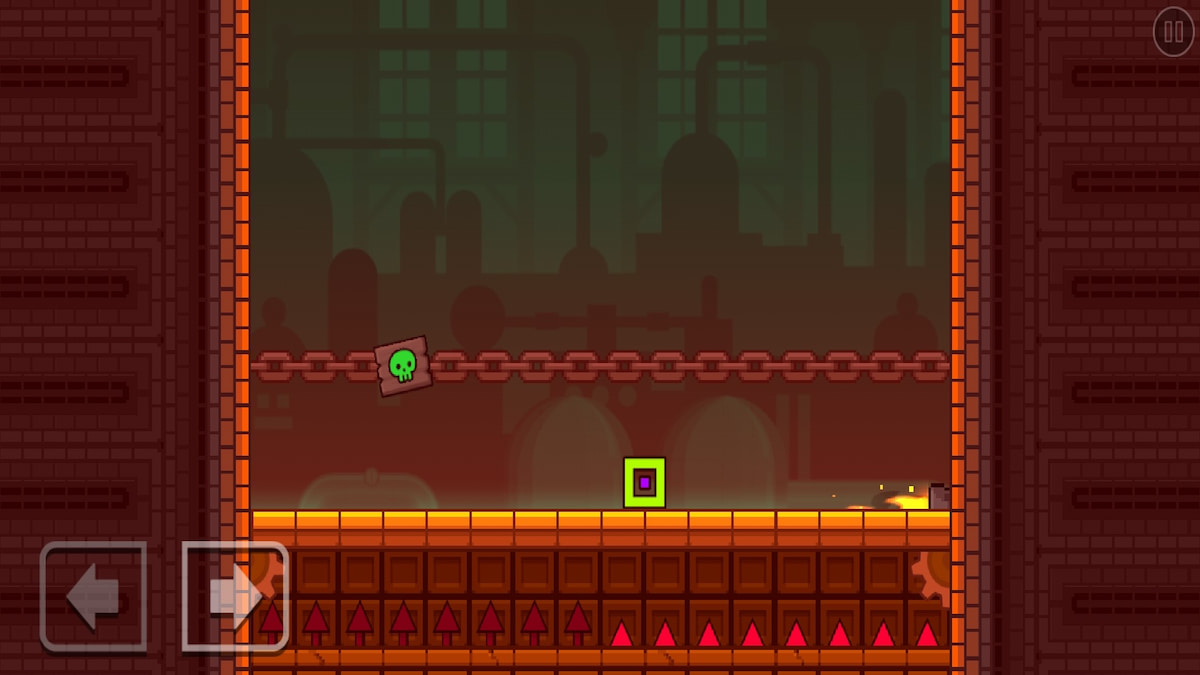
Immediately, three platforms will appear at different heights. Right away, you should jump over the first platform to the left to collect those before traveling under the middle platform to the right side, to collect those coins.

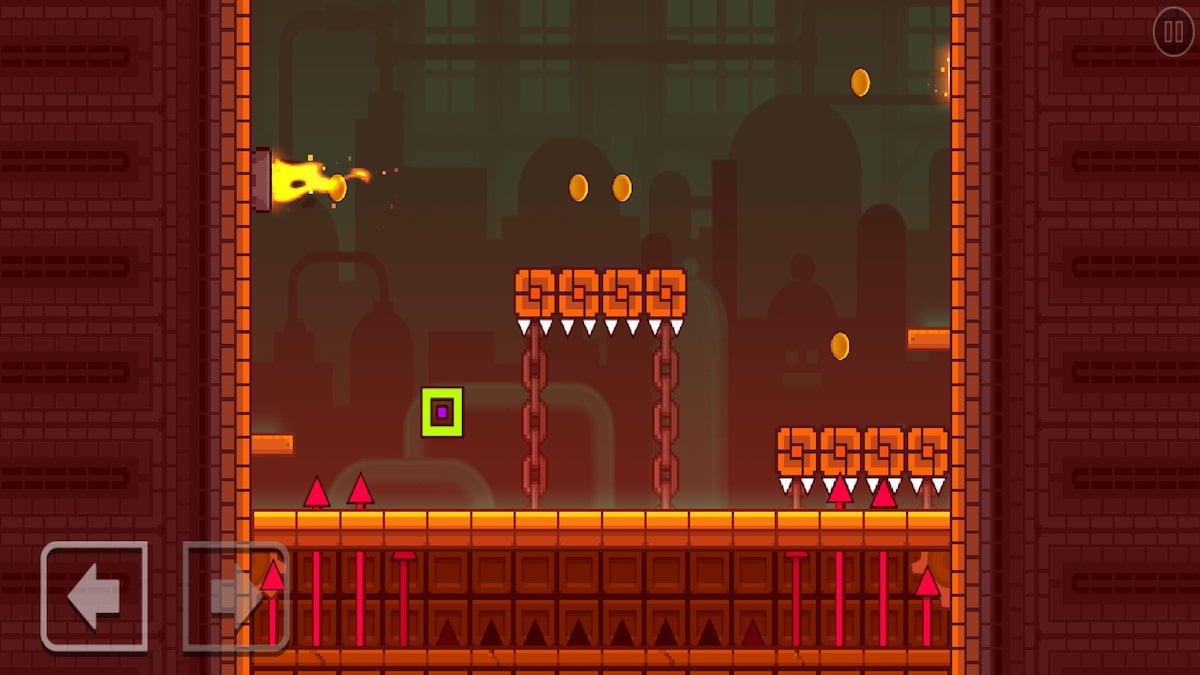
The spikes will now be traveling from left to right, so you can jump over them to reach the middle platform and collect those coins. Grab the coin next to the fire hazard quickly before it erupts again. Then grab the coin by the other fire hazard on the other side, you’ll have to jump to get it.
By now, the spikes are launching up in quarters. At this point, simply wait for the spikes under your cube to light up, then just left jump to safety.
To avoid this next wave of spikes, leap as quickly as you can to the small platform jutting out of the left wall. Before the spike-wave finishes, jump to the middle of the stage and grab the coin on the right side of the stage. It’ll be a very close call, but you can jump onto the small platform on the right wall before the spikes hit you.
Immediately grab the two coins on the platform now in the middle and the one next to the fire hazard before the spike-wave comes back around. While the spikes are launching toward you, run to the right and jump to grab the final coin before then jumping over the spike-wave.
Then, before the second phase starts, both halves of the floor will launch in spikes, starting on the left side, so be ready to jump from the right half to the left half as it’ll happen very quickly!
The second part
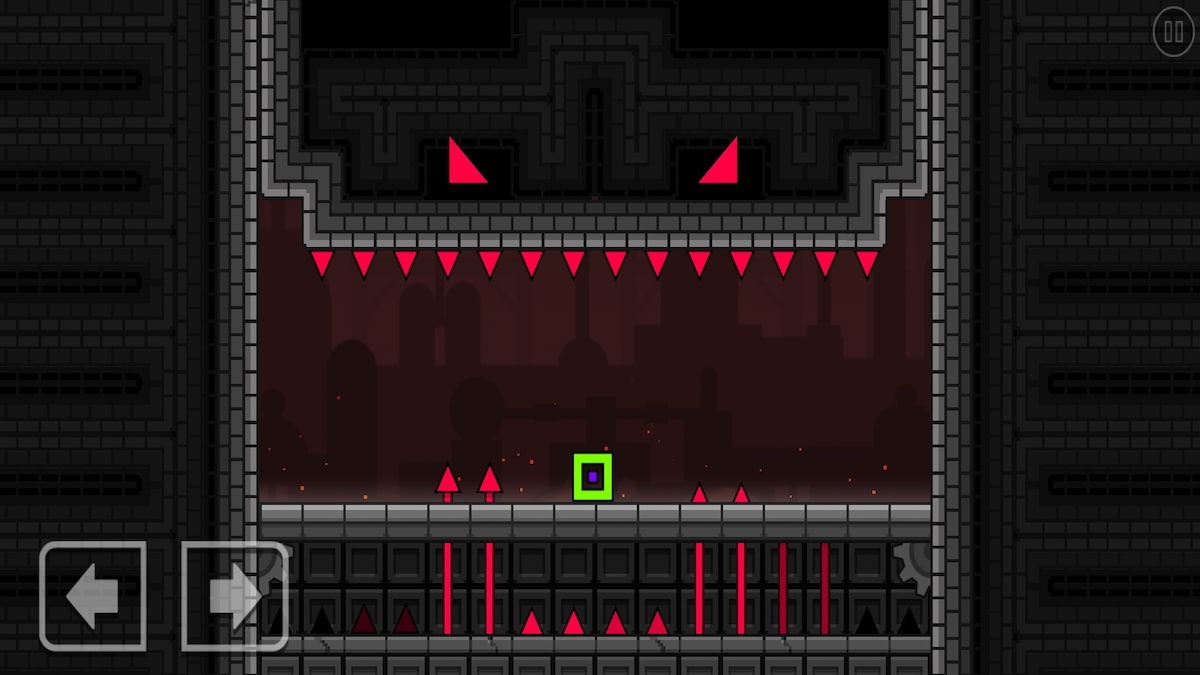
The game here will threaten you with certain death as all the spikes flash and you zoom in on your defenseless cube. However, what will happen is a sort of environmental boss fight. There are no coins to collect here, and your sole focus is avoiding the spikes that will be striking quicker and in stranger patterns.
The first two spike attacks consist of many waves, from left to right, then right to left. Don’t focus on the highlighted spikes like you would have for the previous part, but simply focus on the spikes above ground as they swim toward you. Simply jump over one wave, travel with them, then jump over the next.
Then, they will launch in twos, so simply move a little if you’re on top of a spike pair. Next, the other pairs will launch, so just shimmy a little to the other side. It would be wise to be central for those sections, as now, in twos from both edges, the spikes will close in on you in a wave, so you’ll have to jump over one of them. Then they’ll strike in twos again, although one will be slightly delayed.
Finally, two mini waves of spikes will travel from left to right. Make sure when you’re jumping over them that you jump into the middle, as suddenly, all spikes but the middle two will launch up.
After that ordeal, the elevator will ping, and the right wall will open up into a passage. Passing through there will, thankfully, bring you to the end of the level.
Finding the Moon in Fire in the Hole
I decided to separate this information to accommodate players who want to collect these things for themselves.
There is one Moon in Fire in the Hole, and it actually appears right at the very end. When the elevator pings and the ride stops, hug the left wall and jump. You will travel into a secret room where it’ll be floating above your head. Jump to collect it.
Now that you know how to beat Fire in the Hole, why not learn how the Swing works?


Published: Jan 3, 2024 09:49 am