Genshin Impact Asterism Shard Starshadow Lamp Astral Puzzle Guide

Genshin Impact: Starshadow Lamp and Asterism Shard star puzzle guide

Across a sea of stars.

Genshin Impact Starshadow Lamp and Asterism Shard star puzzle – Part 1

Recommended Videos

Let’s discuss the first part of the Starshadow Lamp and Asterism Shard star puzzles in Genshin Impact.


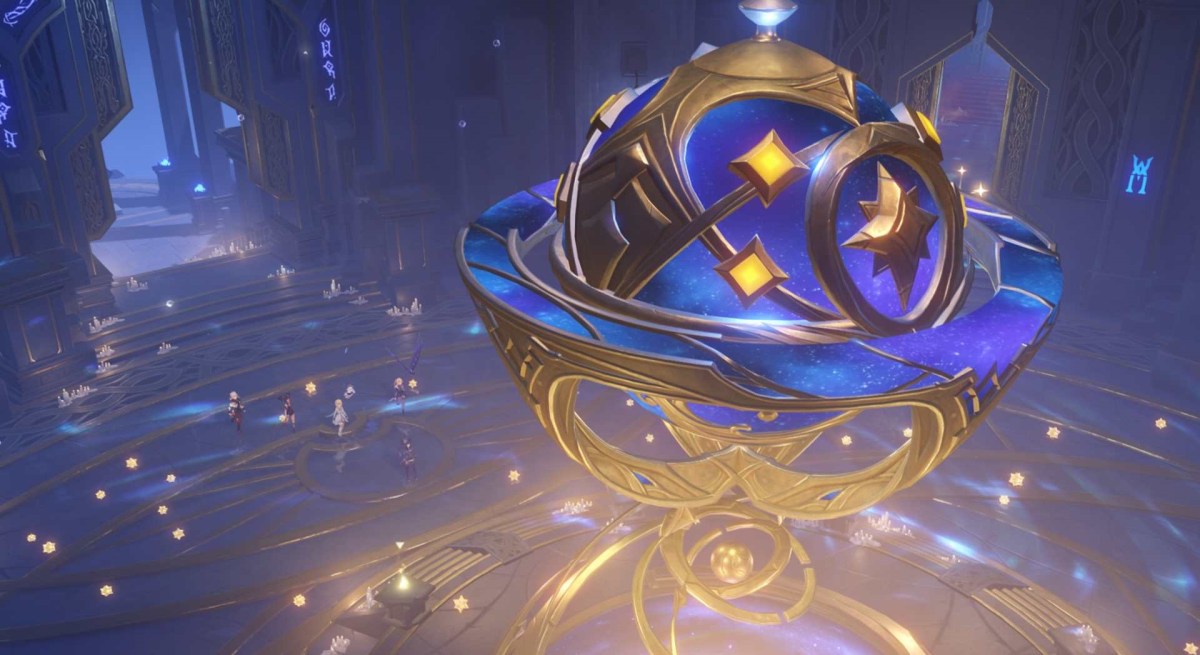
Central Chamber Puzzle

Check the central chamber for three glowing items. These are your initial Asterism Shards. Look for the Starshadow Lamp with the symbol seen below and place the shards accordingly.

Note: We’ve marked the shards that you need with arrows (i.e., up for the top slot and down for the bottom slot).

Genshin Impact Asterism Shard Starshadow Lamp Astral Puzzle Guide 1b

Room Puzzle

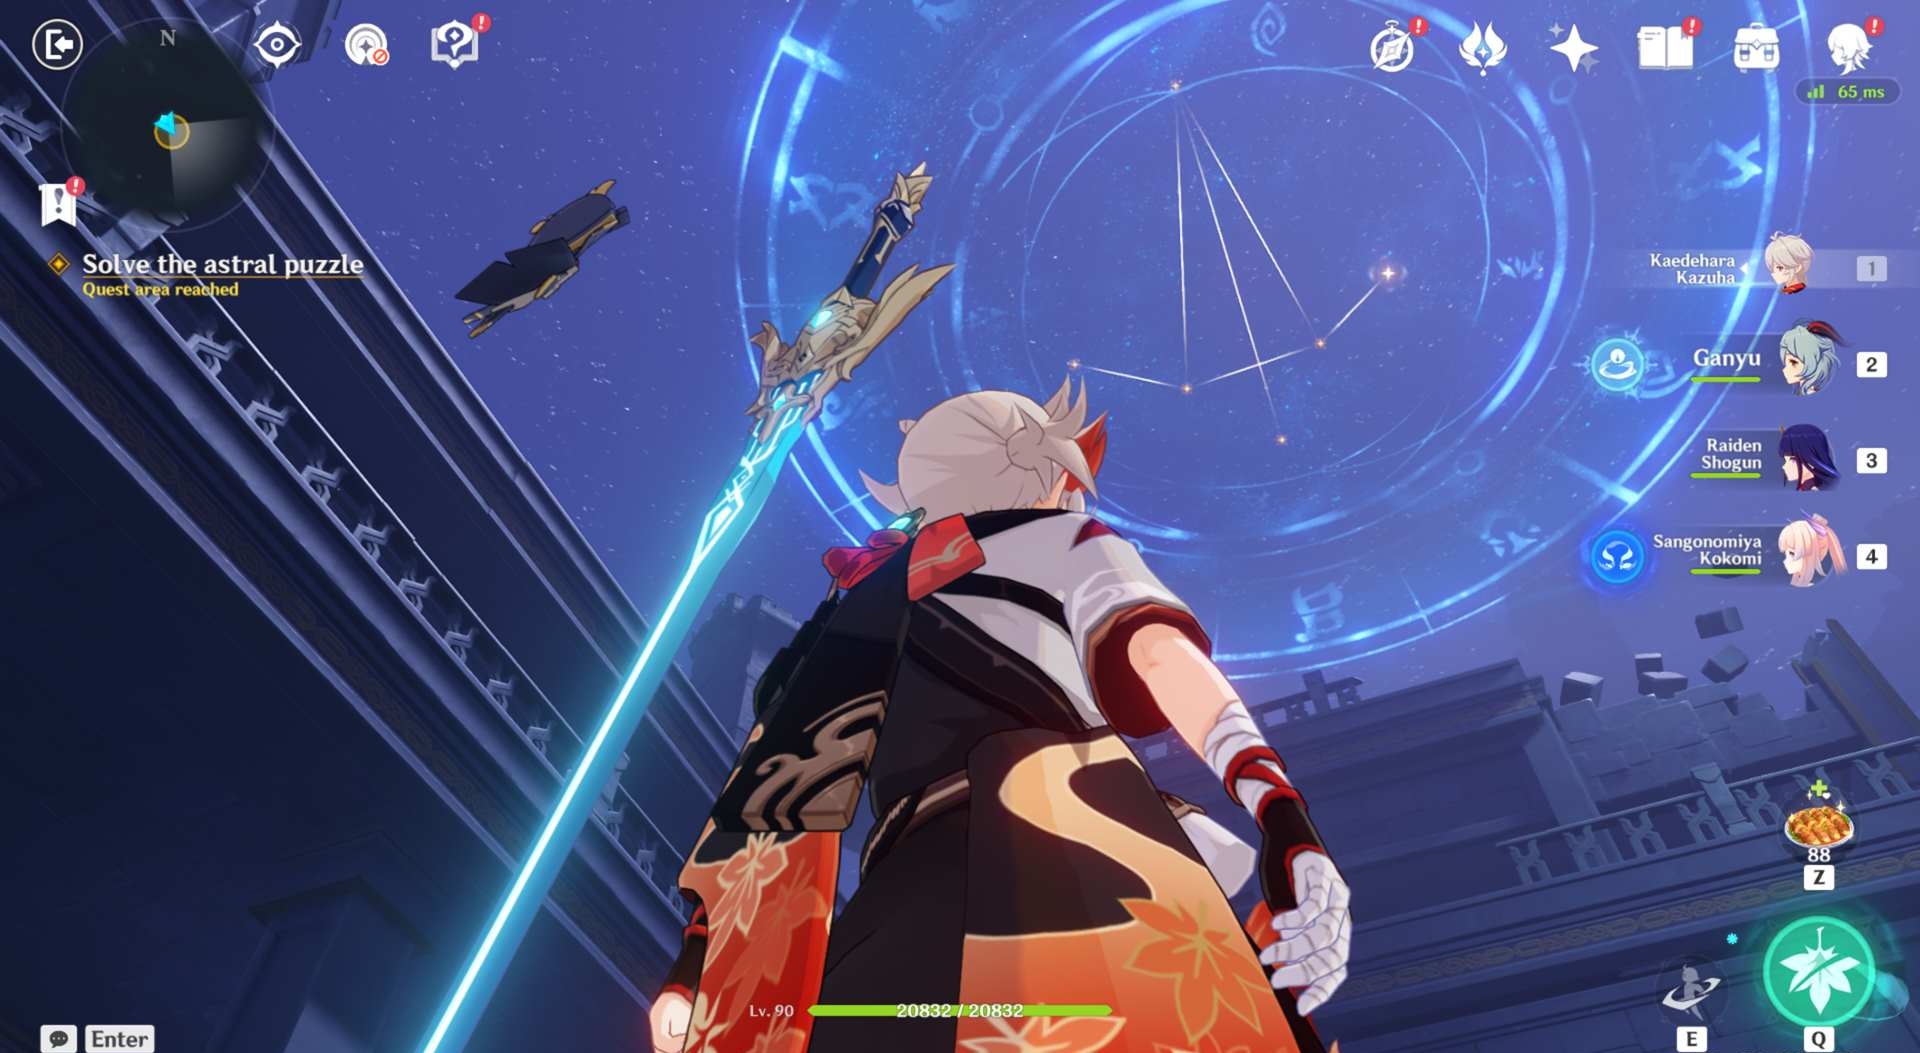
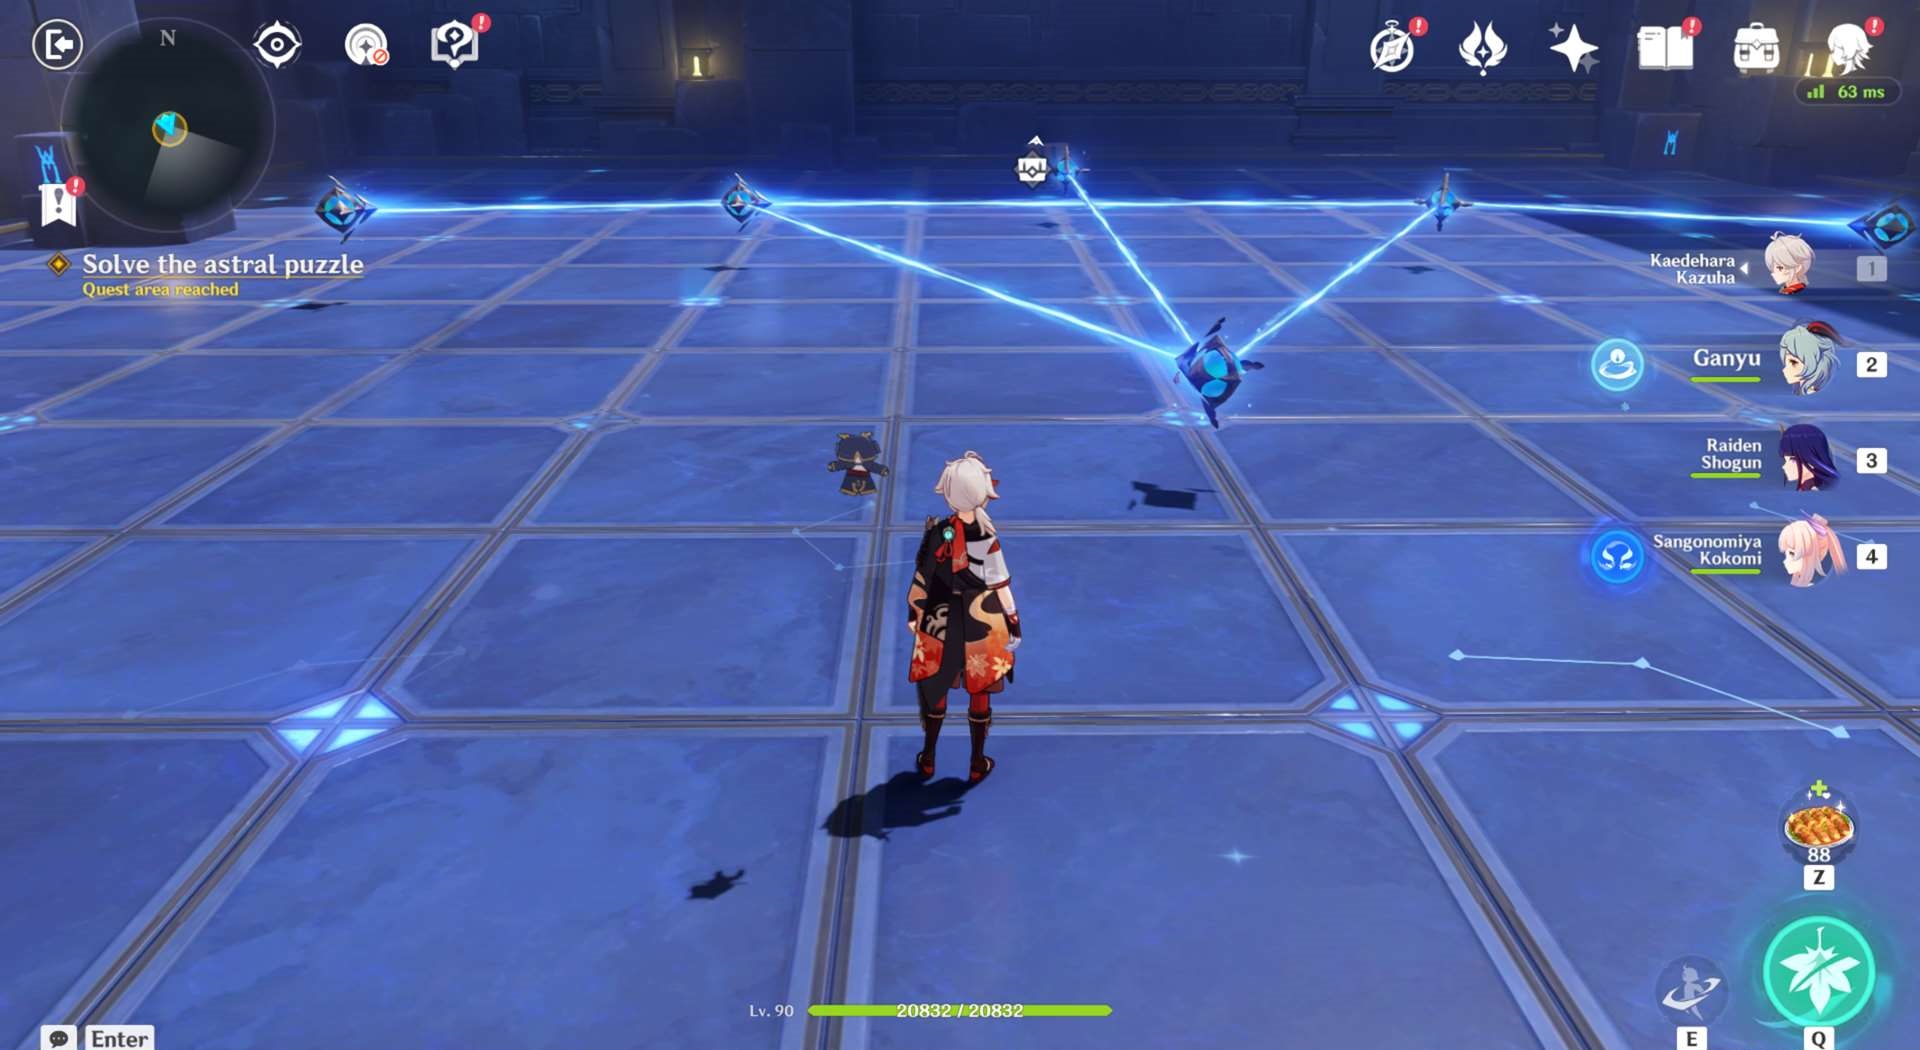
In the next room, check the ceiling for the Star Guide diagram. Smack and rotate the pedestals as necessary.

This will spawn a chest that has another shard. A floating star will also appear, which you’ll need to follow back to the central chamber.

Mirage Maze

The star will disappear inside the pool of water. Wade into it and you’ll control Mona in the mirage maze.

Follow the floating star through the winding and shifting corridors until Mona falls down a pit. You’ll then need to avoid getting hit by the projectiles for roughly 60 seconds to proceed.

Genshin Impact Asterism Shard Starshadow Lamp Astral Puzzle Guide 1f

Overworld

Once that’s done, you’ll be back in the overworld. The group will see a scrying pool that shows a particular location on Minacious Isle. Go to that location and interact with the shining marker to grab another shard.

All right, let’s move on to the next part of our guide.

Genshin Impact Asterism Shard Starshadow Lamp Astral Puzzle Guide 1g


PC Invasion is supported by our audience. When you purchase through links on our site, we may earn a small affiliate commission. Learn more
related content
Read Article Stellar Blade Simple Puzzle solution
Stellar Blade Simple Puzzle
Read Article How to activate the rail by supplying power in Stellar Blade
Stellar Blade Combat
Read Article Stellar Blade graphics modes explained: Performance, resolution, and balanced differences
Stellar Blade Lily
Related Content
Read Article Stellar Blade Simple Puzzle solution
Stellar Blade Simple Puzzle
Read Article How to activate the rail by supplying power in Stellar Blade
Stellar Blade Combat
Read Article Stellar Blade graphics modes explained: Performance, resolution, and balanced differences
Stellar Blade Lily
Author
Jason Rodriguez
Jason Rodriguez is a guides writer. Most of his work can be found on PC Invasion (around 3,400+ published articles). He's also written for IGN, GameSpot, Polygon, TechRaptor, Gameskinny, and more. He's also one of only five games journalists from the Philippines. Just kidding. There are definitely more around, but he doesn't know anyone. Mabuhay!