A staple feature in the burgeoning ‘Survivor-like’ genre is the ability to manipulate the choices you’re given upon leveling up. In Halls of Torment, this feature comes in the form of the Potion system, which lets you re-roll, double up, or permanently remove specific leveling choices a set number of times per run. Having these options available greatly increases the consistency of your character builds, letting you plan out a road to victory and stick to it each time. If that sounds good to you, then read on for our guide on how to get all the Potions in Halls of Torment.
How to brew every Potion in Halls of Torment
Speak with the Cupbearer

Screenshot by PC Invasion
Before you can begin your Potion-brewing quest, you’ll first need to rescue the Cupbearer from the game’s third stage, the Forgotten Viaduct. Once you do, you’ll find him waiting for you back at Camp after you’re done with your run. He’ll thank you for saving him, and offer to brew up some Potions for you in return, if you can bring him the right ingredients. The following is a full list of the Potions the Cupbearer can prepare for you:
| Potion Name | Effect | Ingredients Needed |
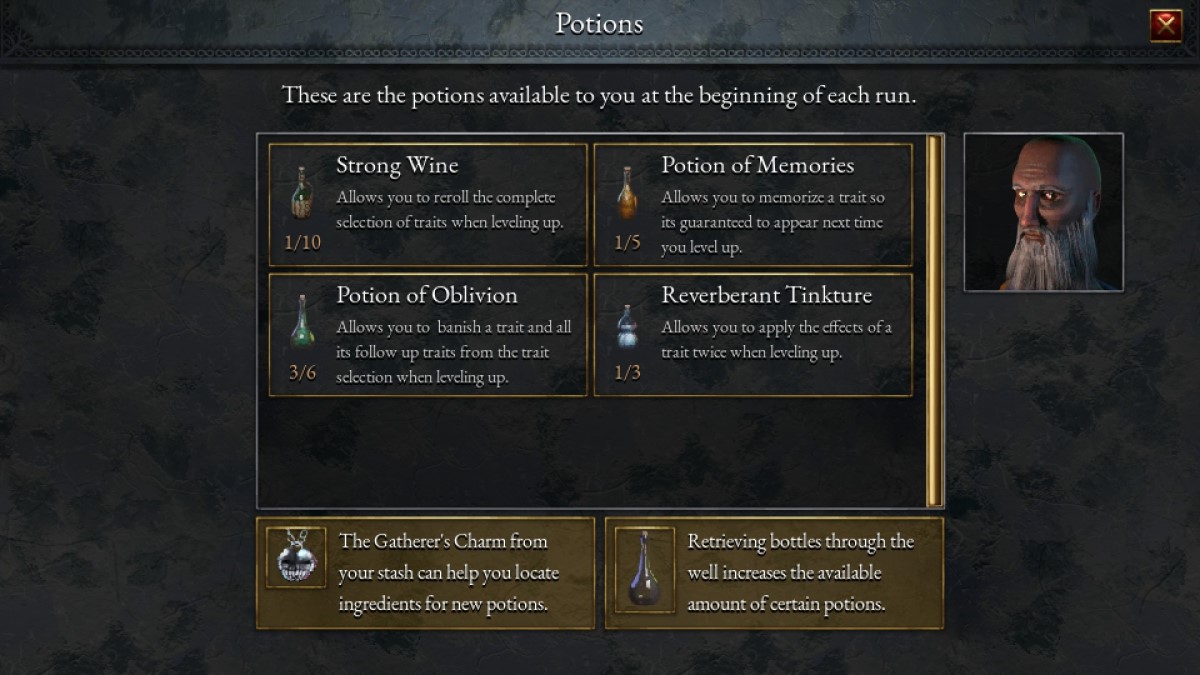
| Strong Wine | Allows you to reroll the complete selection of traits when leveling up. | Unlocked by default. |
| Potion of Memories | Allows you to memorize a trait so it’s guaranteed to appear next time you level up. |
|
| Potion of Oblivion | Allows you to banish a trait and all its follow up traits from the trait selection when leveling up. |
|
| Reverberation Tincture | Allows you to apply the effects of a trait twice when leveling up. |
|
As you can see, you’ll need to visit the Haunted Caverns and Ember Grounds to find the ingredients for the Potion of Memories and Potion of Oblivion, then the Forgotten Viaduct for the last two ingredients for the Reverberating Tincture. This is a full tour of the game’s current stages, which works out rather neatly. But how do you locate these ingredients, you may ask? We were just getting to that.
Collecting the ingredients
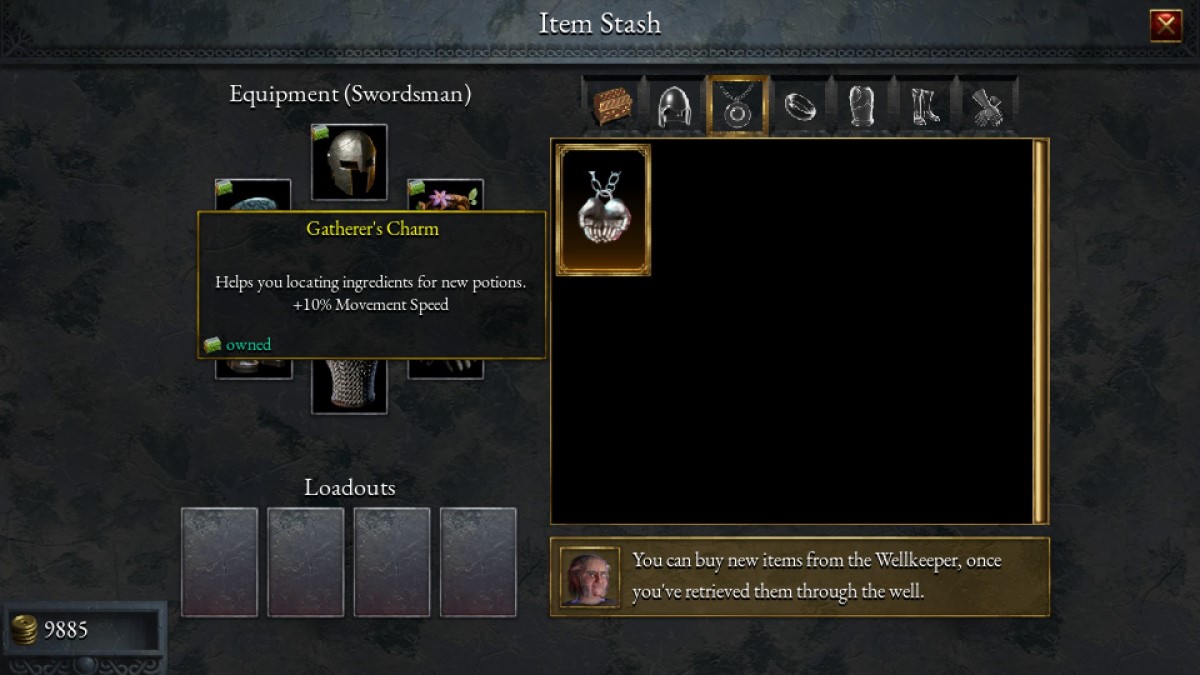
The ingredients are scattered throughout the game’s three stages, as covered in the table above, but unlike most points of interest in Halls of Torment you won’t get a handy directional arrow to show you where they are. Not by default, at least. Once you’ve rescued the Cupbearer, you’ll unlock a new necklace over at your stash called the Gatherer’s Charm. This gives you a 10% boost to movement speed, handy for scouring levels for ingredients, but more importantly it also shows you exactly where said ingredients are.
Screenshot by PC Invasion
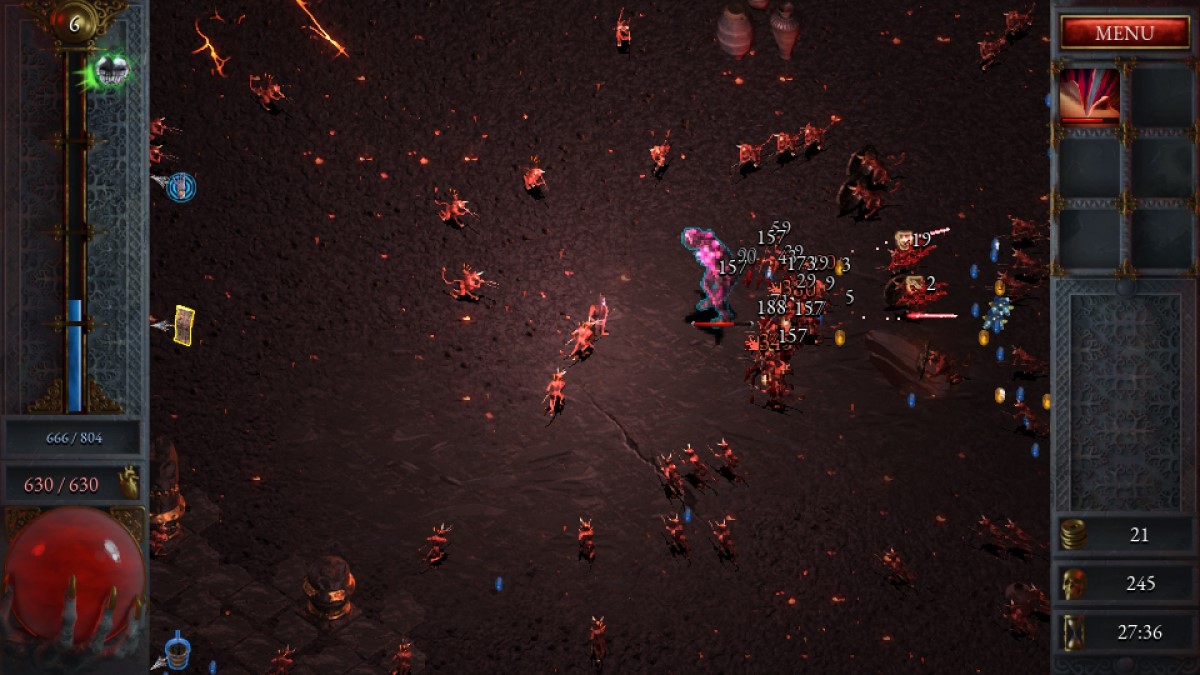
Enter a stage with the Gatherer’s Charm equipped, and you’ll notice a new icon in the top-left of the screen: the Charm itself, with a green outline. Around this icon, you’ll also notice some green arrows, which move around as you move through the stage. These arrows point you towards the ingredients in each stage, growing larger and brighter the closer you get to a particular ingredient.
-

- Screenshots by PC Invasion

You can technically stumble upon the ingredients without this Charm, but doing so would take much longer than necessary, so it’s best to just slap it on and grab them all in three runs. You can find them with any character, but the large amount of walking involved makes it easier for those with high movement speed, like the Archer. You can also prioritize movement speed-boosting gear and traits to further accelerate the process. Note that, upon picking up each ingredient, a wave of green enemies will be spawned in around you. They’re not particularly difficult to defeat, but their sheer numbers could pose a problem if you’re underleveled, so be sure to grind up to level 10 or so before beginning the hunt proper.
Increasing Potion quantities
Once you’ve acquired all three ingredients for a particular Potion, that Potion will be unlocked immediately. You can even use it in the same run where you collected the ingredients, if you wish. By default, each Potion will have one use per run, but you can increase this by collecting empty bottles in each stage.
-
- Screenshots by PC Invasion

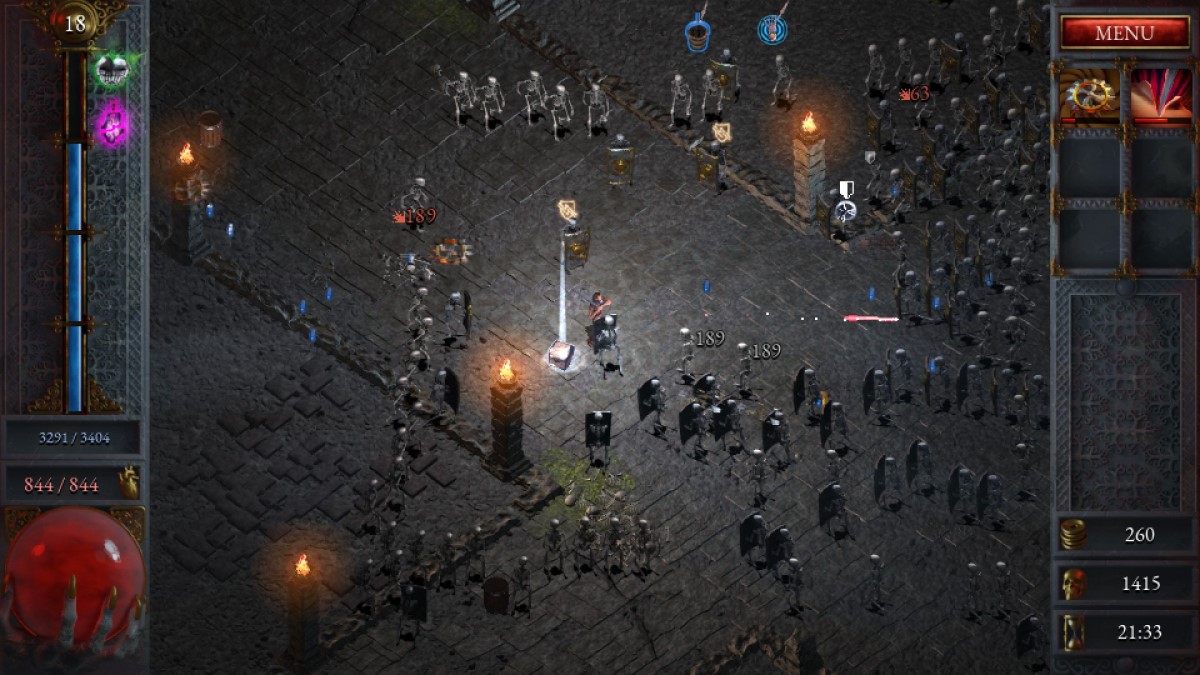
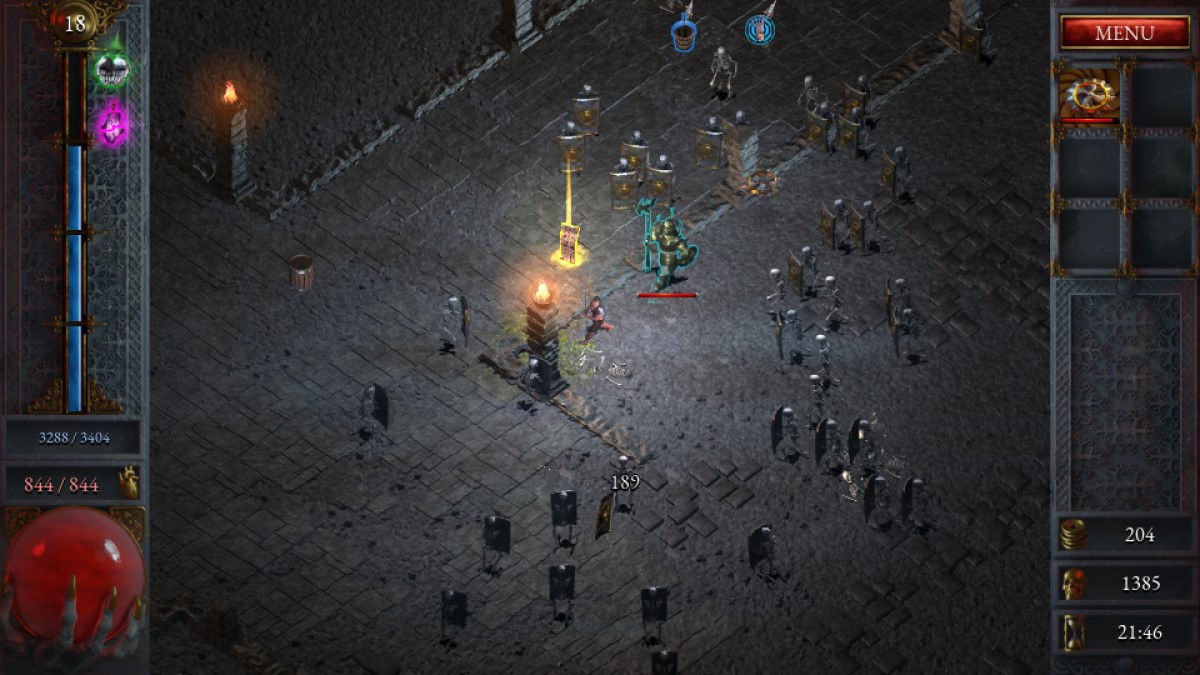
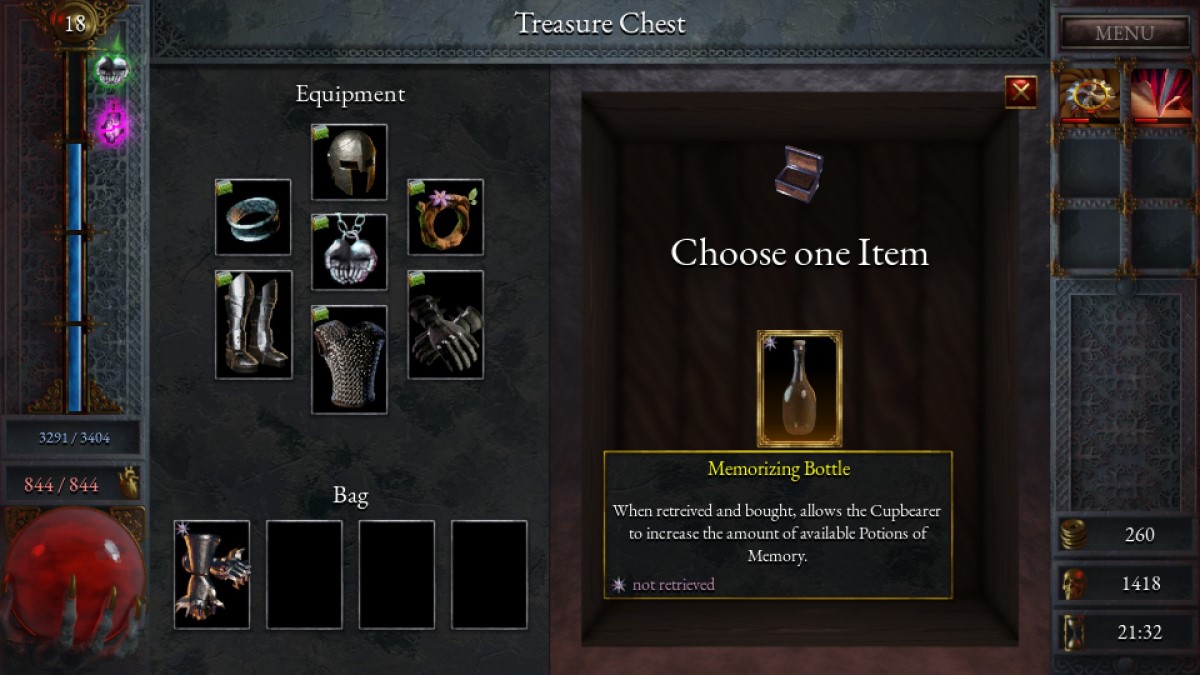
After rescuing the Cupbearer, Elite enemies you face in each stage will have a chance to drop a translucent chest, within which you’ll find a bottle. There are four types available, one for each type of Potion: Wine Bottles for Strong Wine, Memorizing Bottles for Potion of Memories, Oblivious Bottles for Potion of Oblivion, and differently-shaped Memorizing Bottles for Reverberating Tinctures. You’re guaranteed to get a bottle from the Elites that spawn when you attempt to take the Golden Scrolls that appear in each stage by default, but you can also get them randomly from other Elites you face in each stage too. In particular, we’ve had several bottles drop from the Giant Magma Slime Elites in Ember Grounds.
-
- Screenshots by PC Invasion

Once you’ve found a bottle, you’ll need to head to the Well and retrieve it. Then later, once your run is complete, you can purchase the bottle from the Wellkeeper for a small amount of gold (600-2000, depending on the bottle type) in order to make use of its effects. This will use up your one retrieval for the run, preventing you from keeping any exciting items you may have found, but the effects of each bottle are permanent and affect all characters, so they’re usually worth taking. In total, you can have up to ten uses of Strong Wine, six of Potion of Oblivion, five of Potion of Memory, and three of Reverberating Tincture. The Reverberating Tinctures are particularly powerful in combination with Dedication traits, which offer two or more stat buffs each, and can make a major difference to the success of your runs.
So there you have it: a full guide on how to get all the Potions in Halls of Torment, and how to get the most out of them once you do. Their effects may not be as splashy or exciting as those of specific gear items, but they help out all of your characters equally, and bring some welcome consistency to a game that can sometimes feel heavily RNG-dependent.