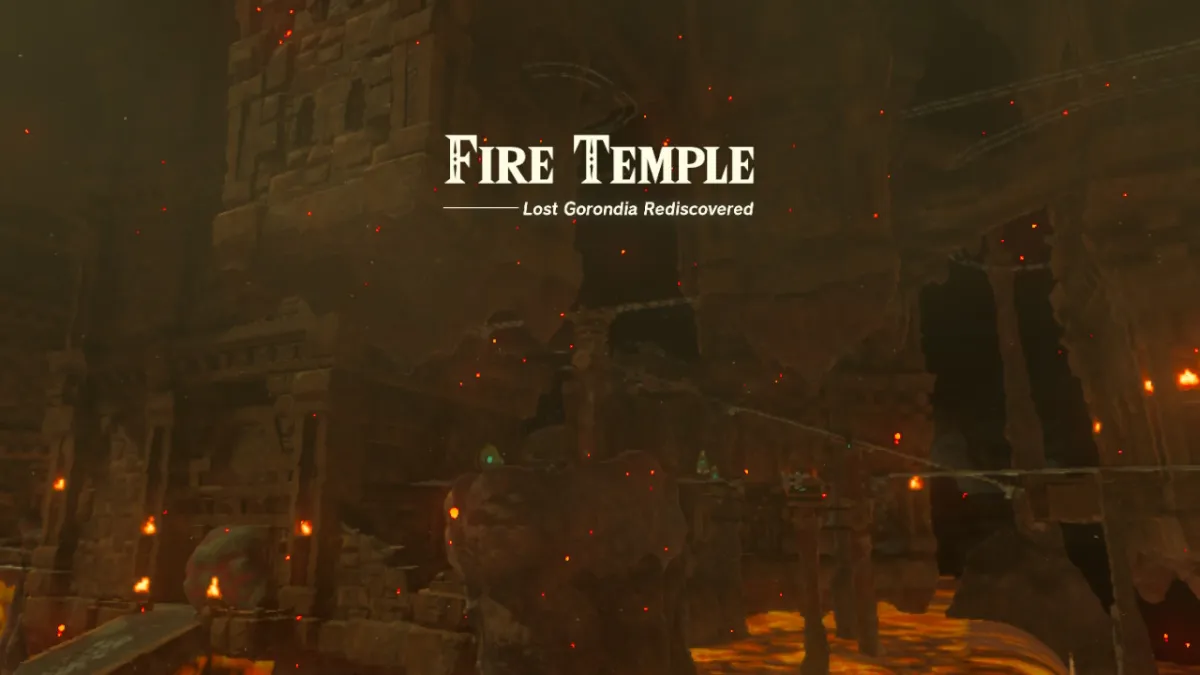
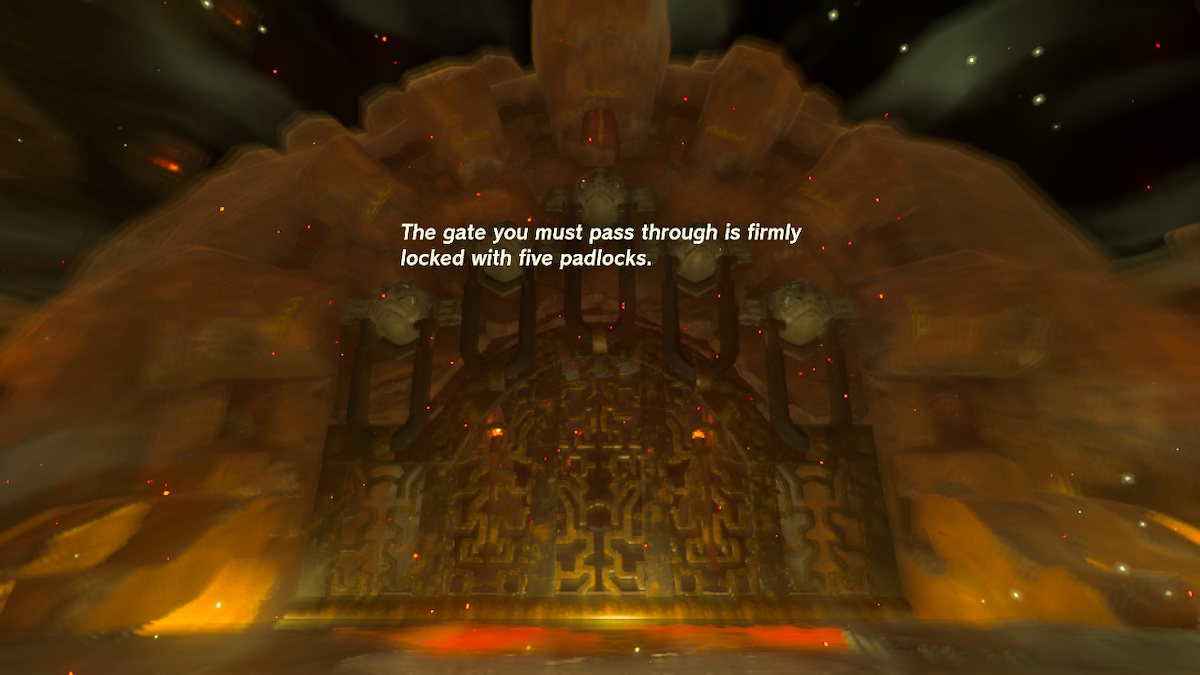
Tears of the Kingdom Fire Temple Guide – start and lock walkthrough
Screenshot by PC Invasion
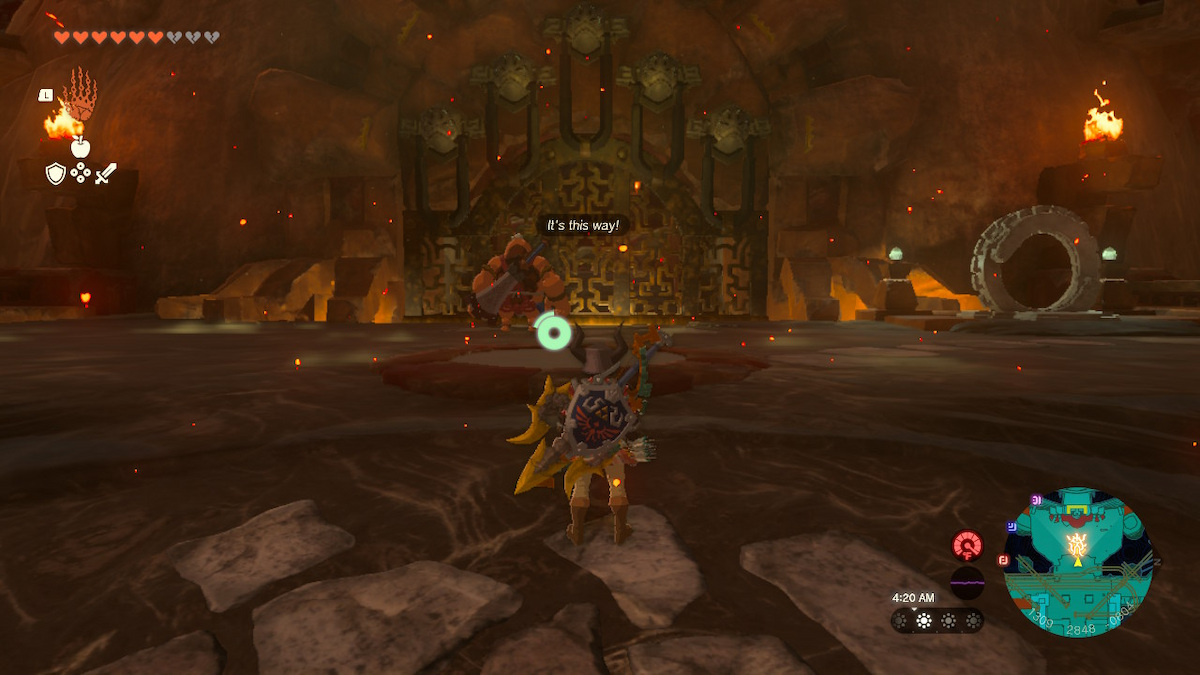
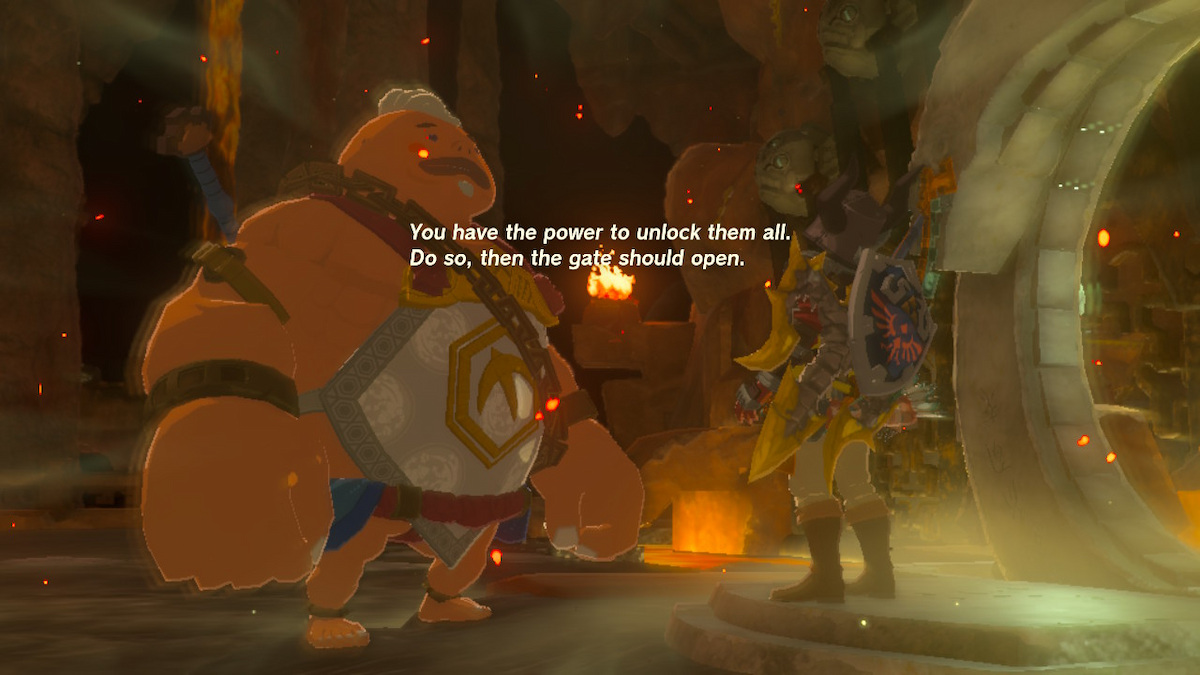
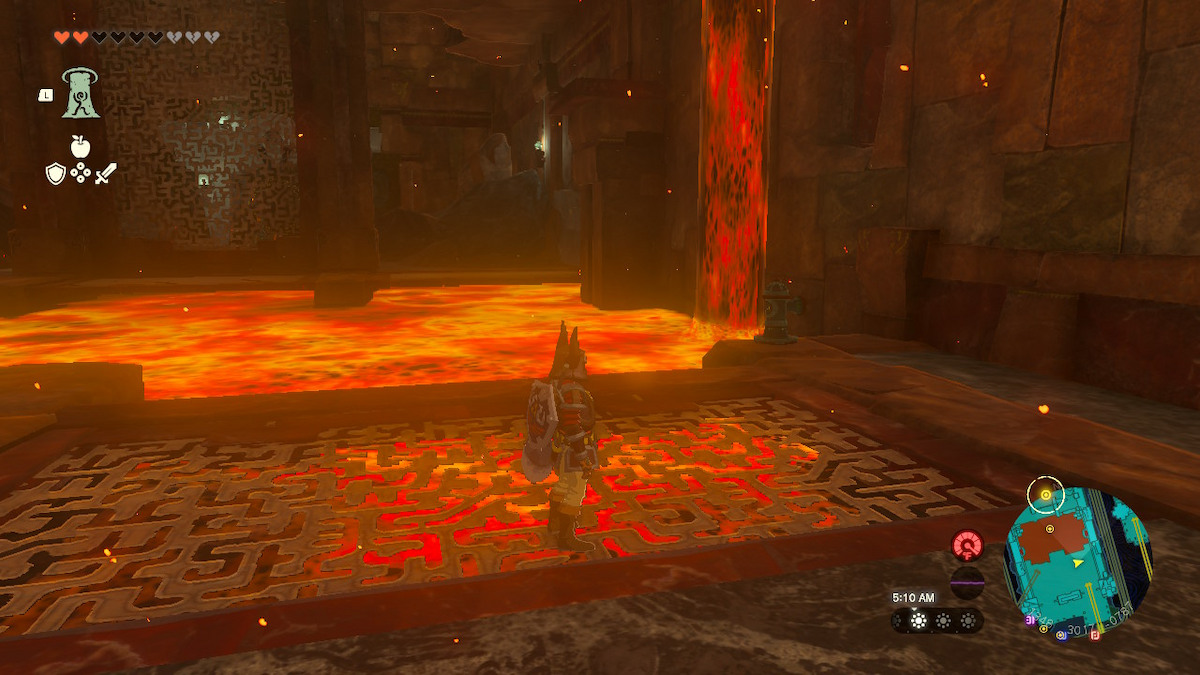
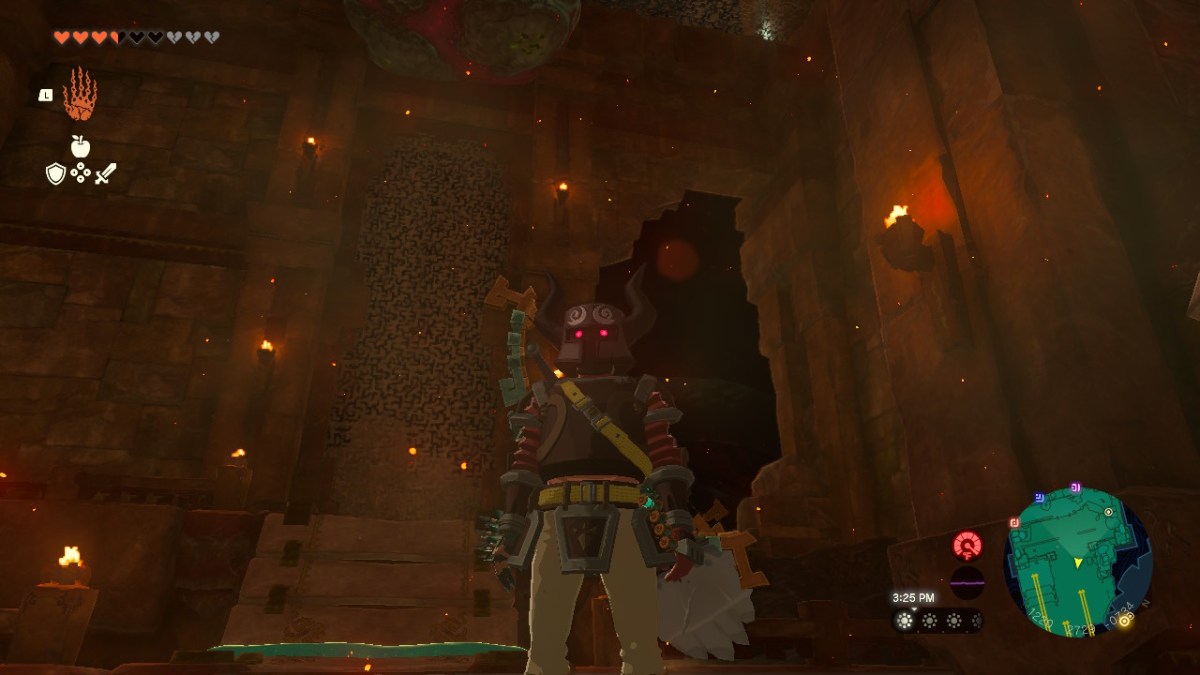
After launching Yunobo at the marble rock to get in the entrance, head straight. Make a right near the end for a chest with ten arrows in it, but then continue straight. You’ll come across a locked door that Zelda went in earlier. Head to the terminal beside it and touch it.
-
- Screenshots by PC Invasion

Fire Temple Guide: First Lock
Related: Tears of the Kingdom: How to turn on all four faucets in the Water Temple (TotK)
-

- Screenshots by PC Invasion
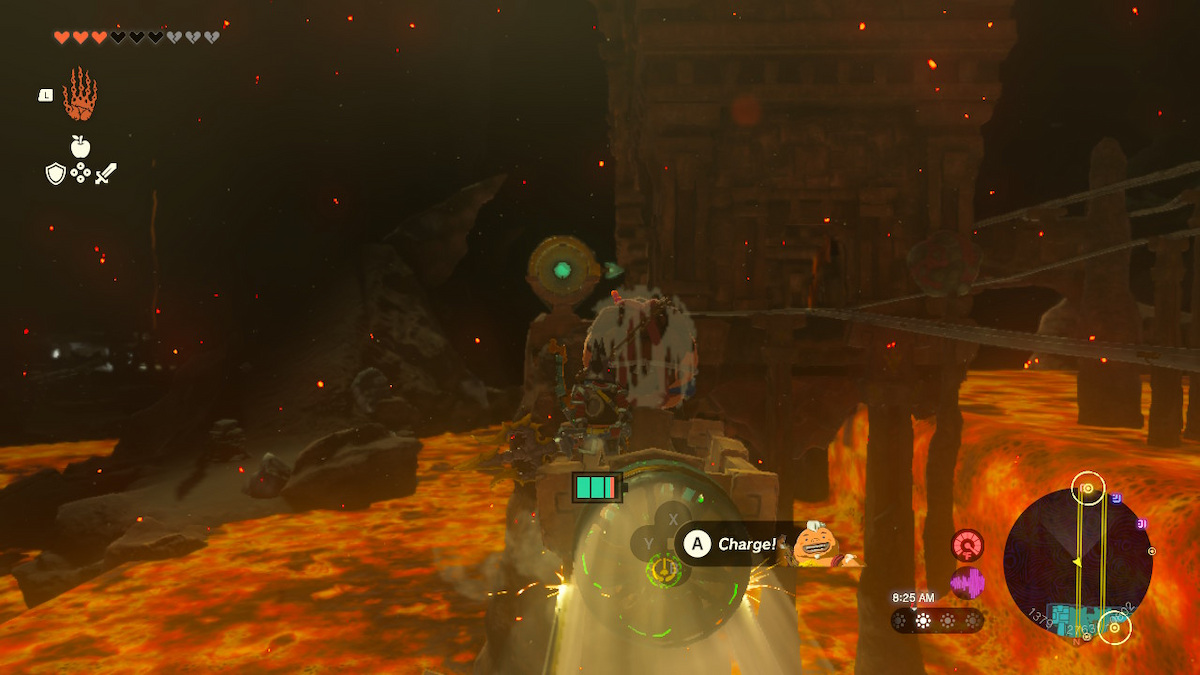
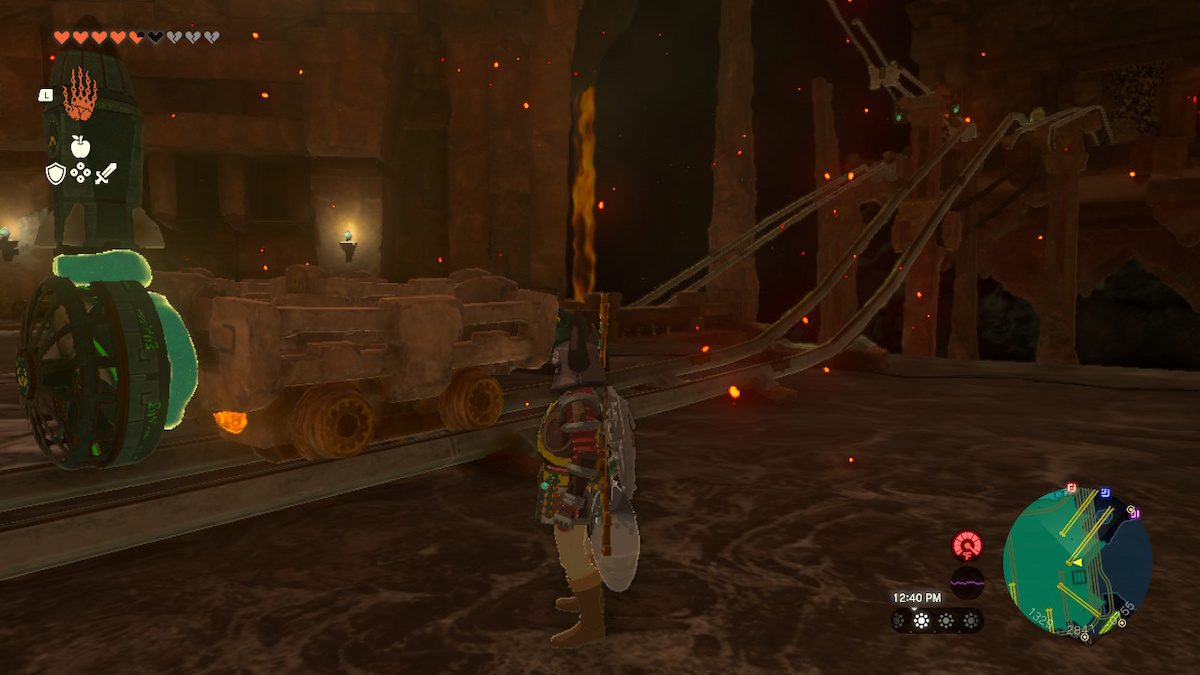
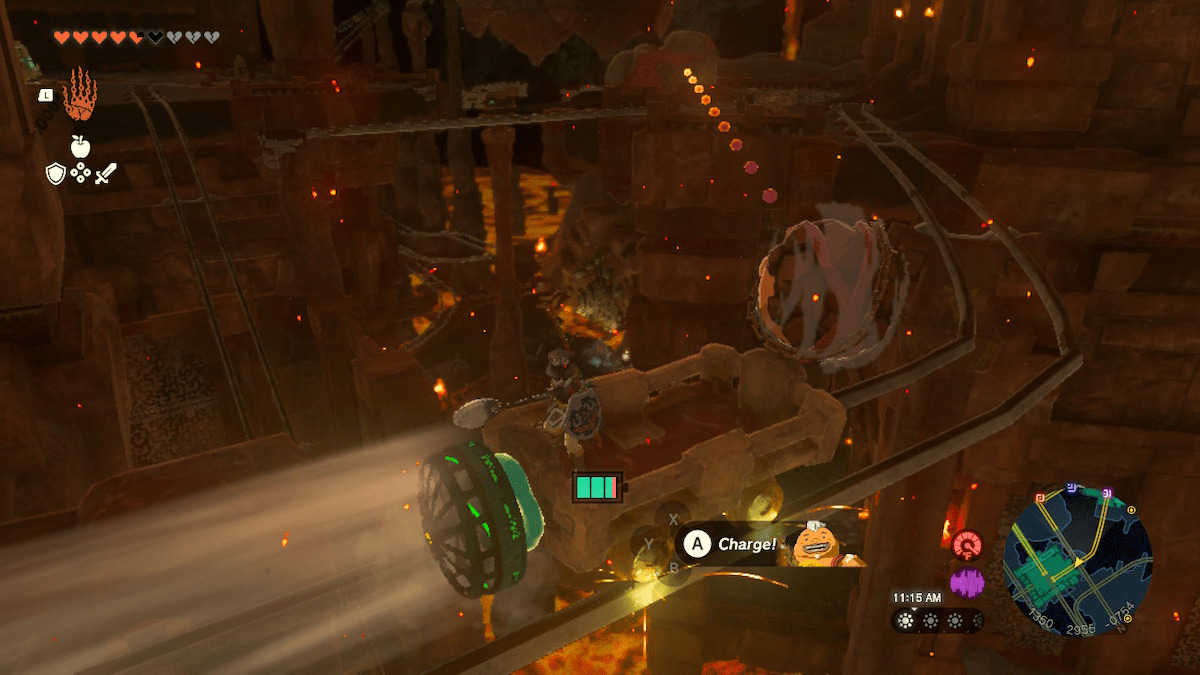
There’s a minecart with an attached fan for your convenience. Looking down the rail line ahead, you’ll notice a circular device with an arrow. To get where you need to be, you’ll need to launch Yunobo at it while the cart is in motion.
Screenshot by PC Invasion
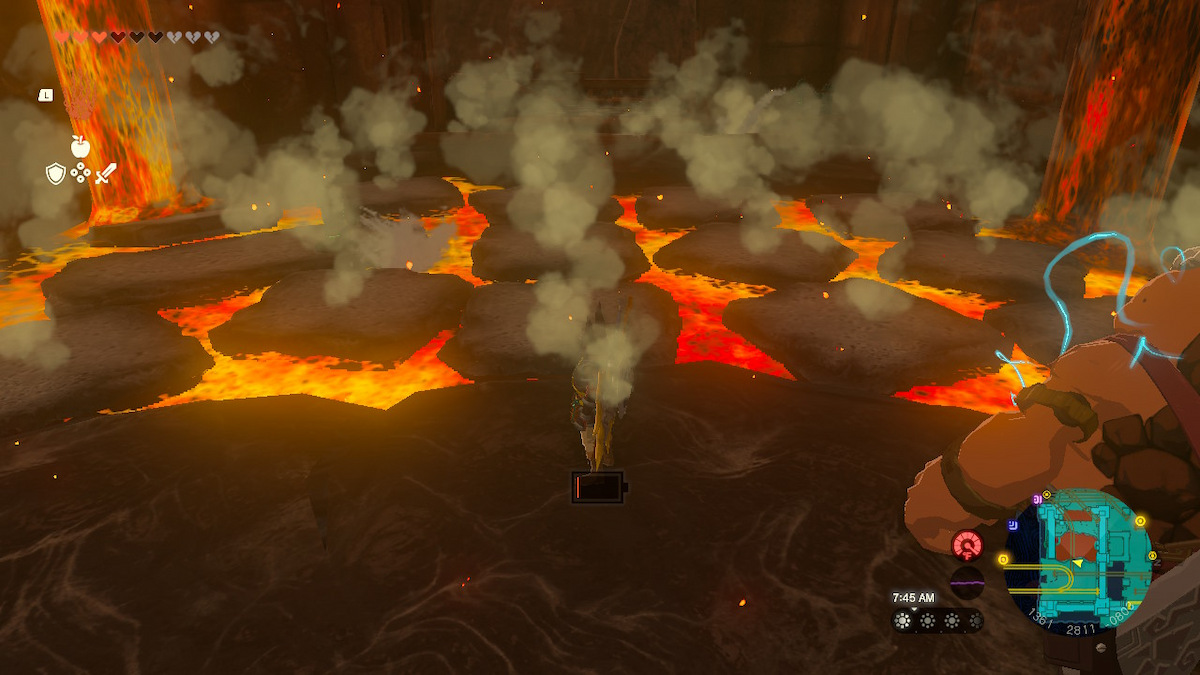
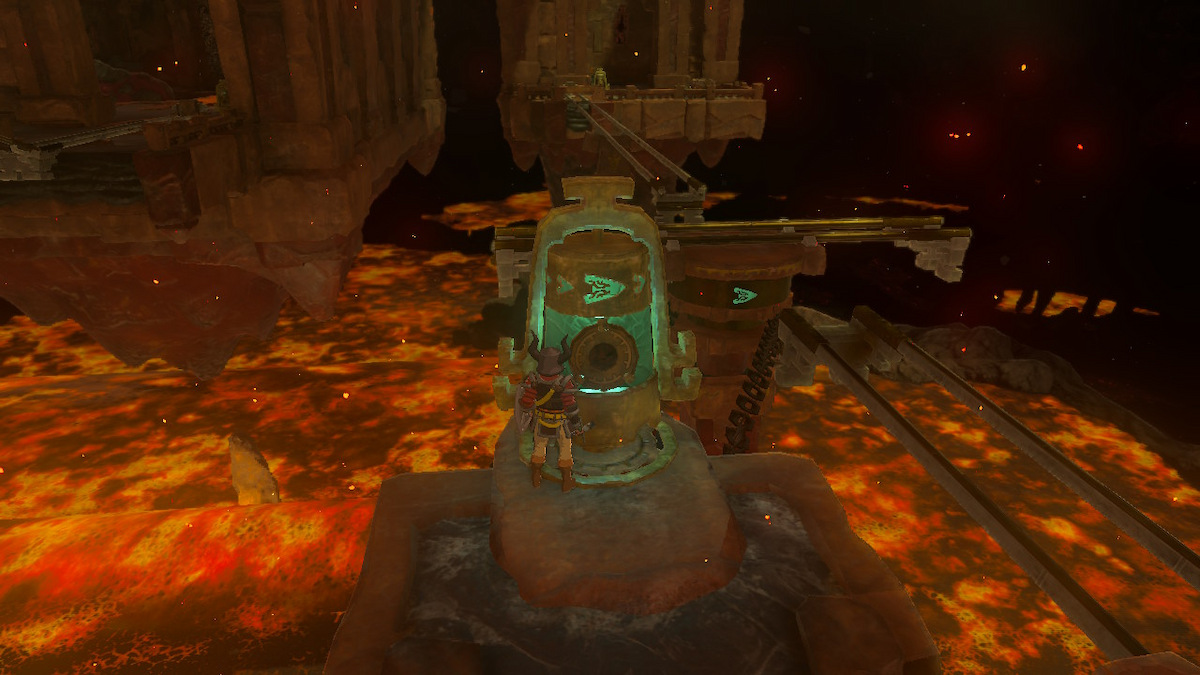
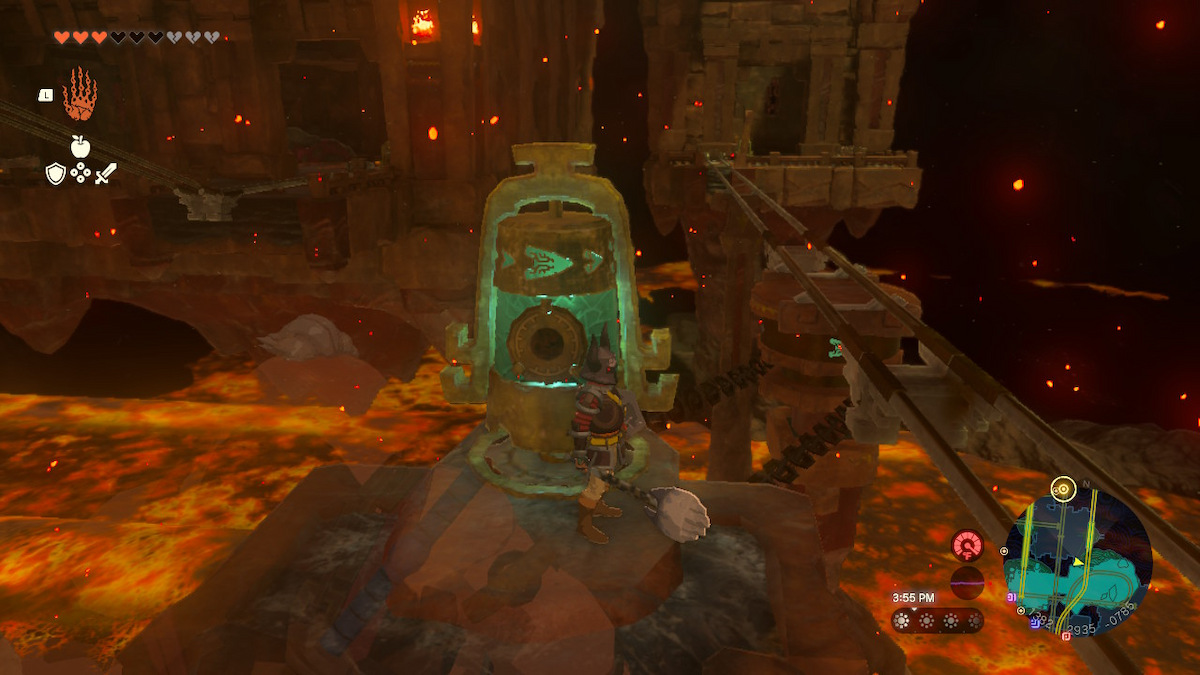
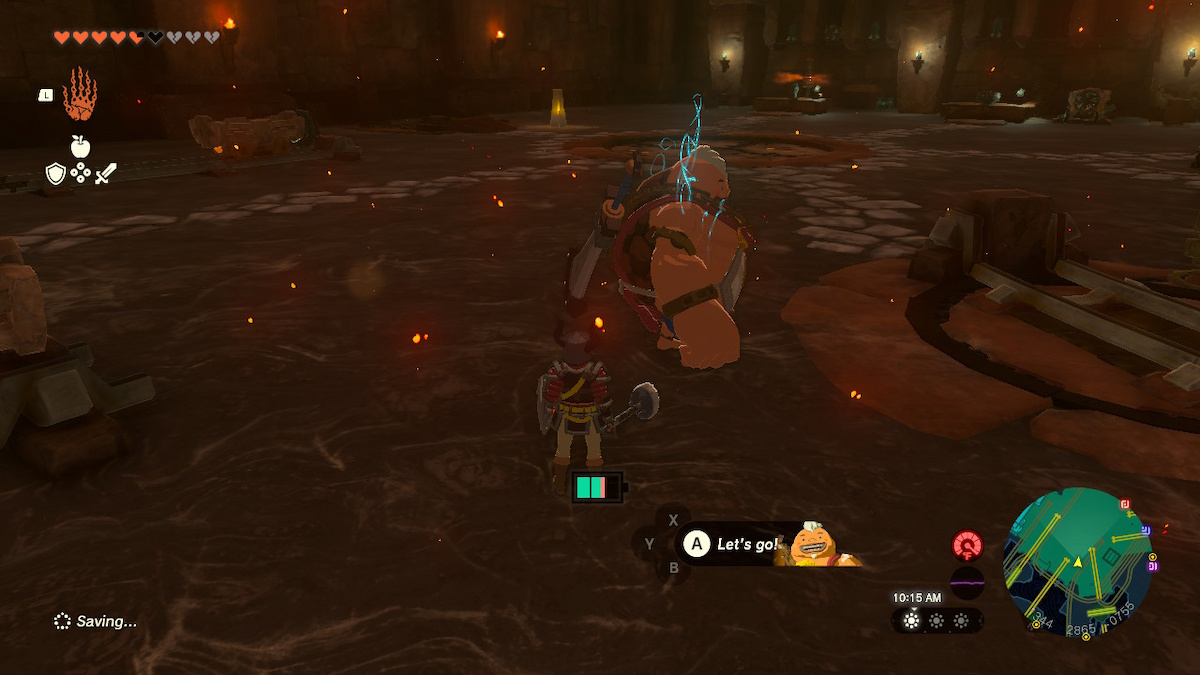
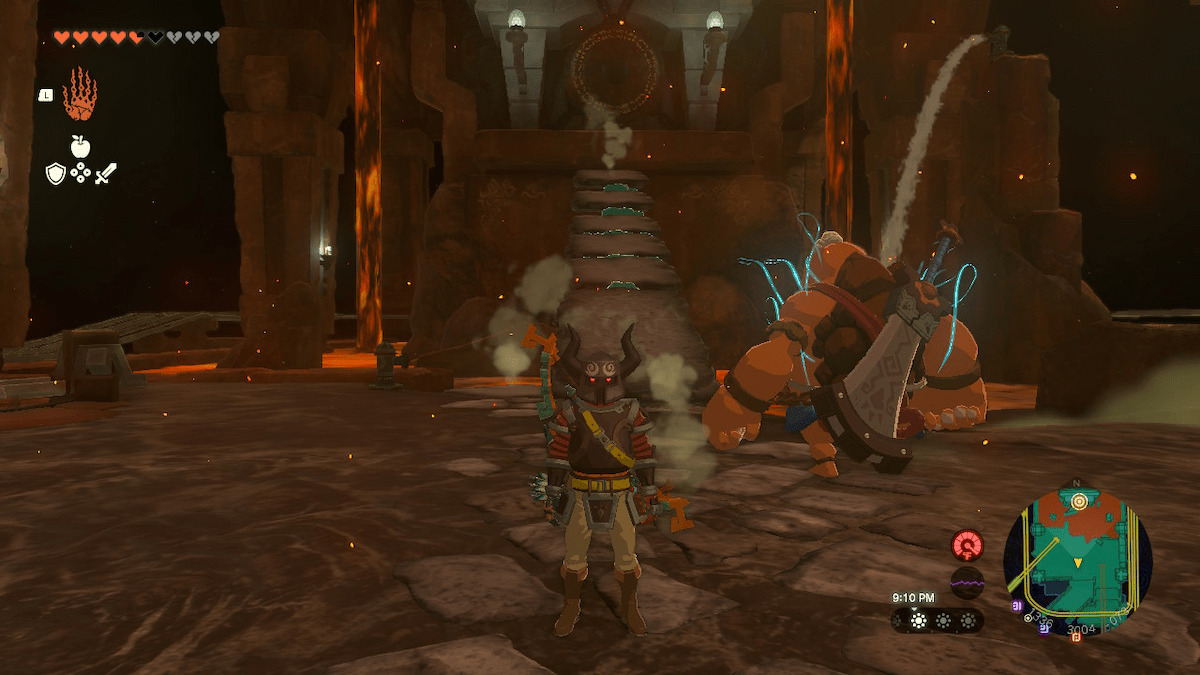
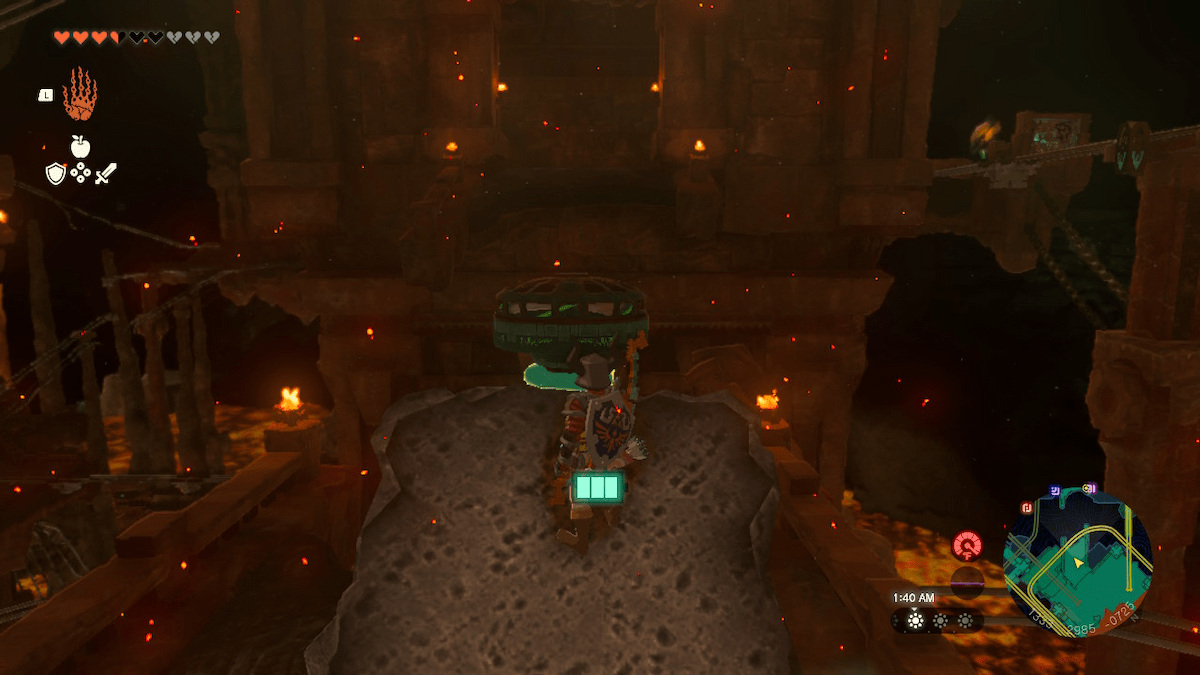
Here at our first stop, there are some fire hydrants and a route ahead with a Fire Like-Like. Defeat the Like-Like first, then grab the hydrant and bring it down to the magma lake below to make more platforms. Attach them together to make a bridge for Yunobo, then launch him into the gong. First lock is down.
Screenshot by PC Invasion
Second Lock
Screenshot by PC Invasion
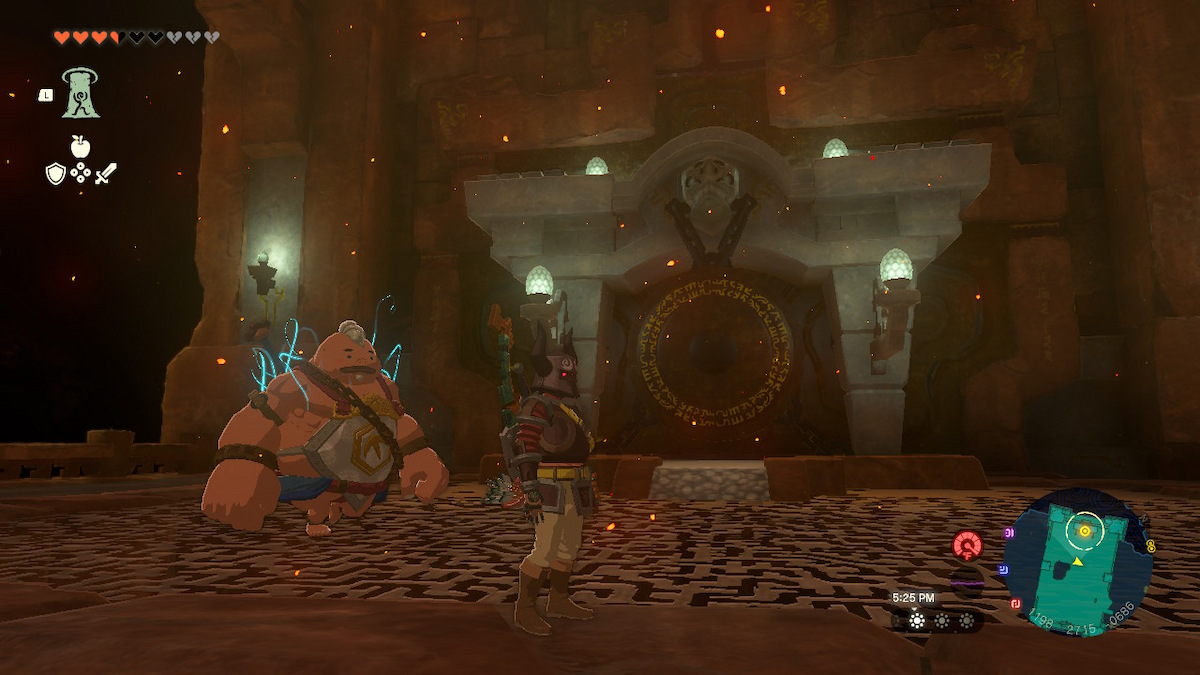
Going back towards the minecart, hit the yellow stone to open the roadblock and get back in the cart. As you take off, be ready to launch Yunobo immediately at a marble rock, and then at a Construct in a cart that attacks you on the rail. You then also have to hit another circular device to change the route. This Fire Temple is here for those of us who played Spirit Tracks.
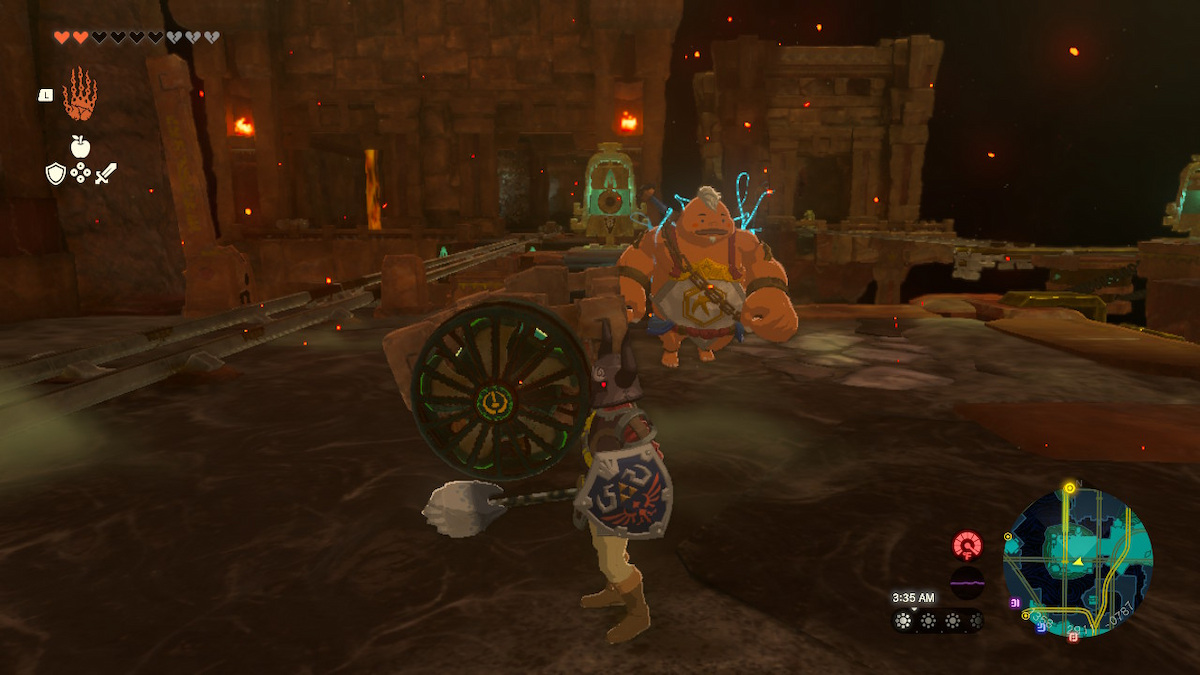
You’ll get stopped; it’s easiest to let Yunobo deal with the tiny golem enemies at this stop. Now hit the bell to change the rail and keep going.
-

- Screenshots by PC Invasion
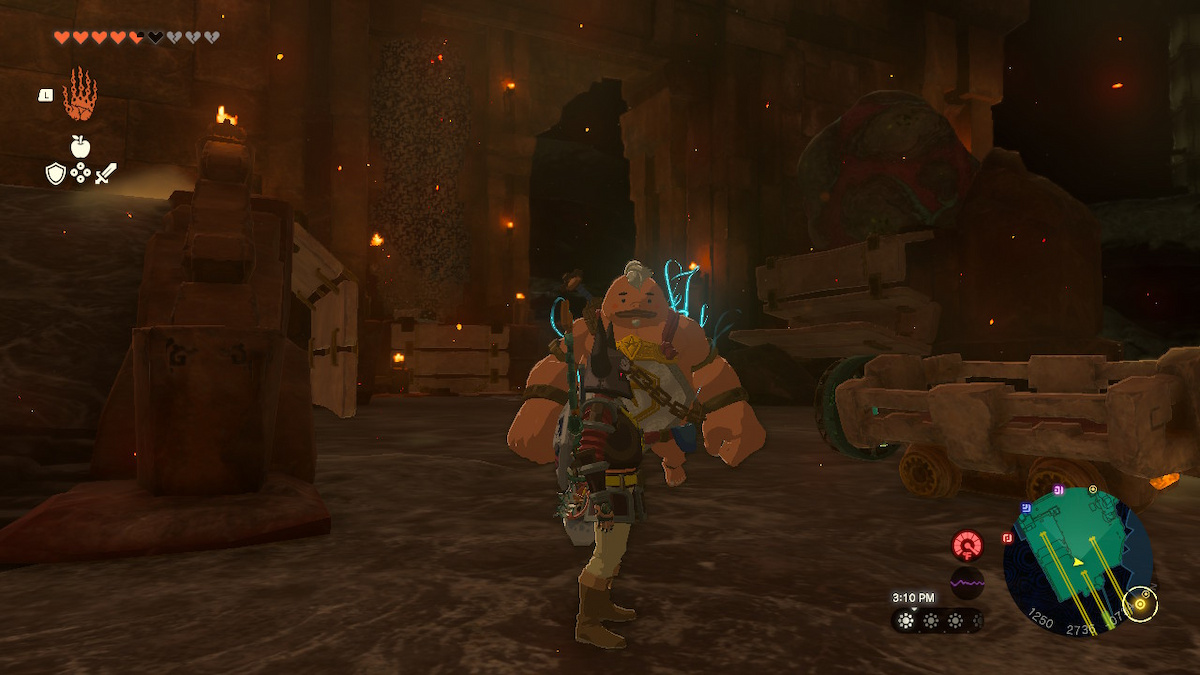
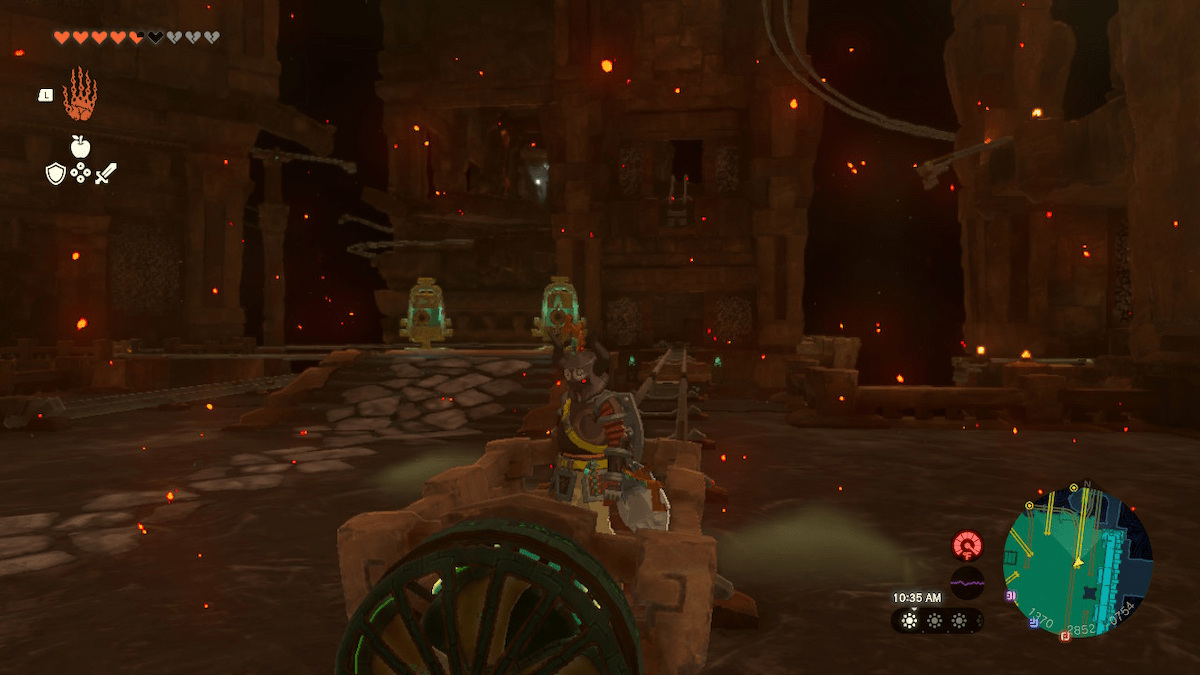
A Construct is here to defeat at this next stop. There’s also a chest with 10 arrows in it. Hit the bell to turn the cart around and go again. Then turn yourself around back at the last stop by hitting the bell and this time on the way back, launch Yunobo into the bell to stop the cart. Dismount and go across the little wooden bridge. Now hit this next bell and put the cart on the rail and go.
Screenshot by PC Invasion
In this next room, you’ll notice fire hydrants out of reach, along with marble rock you can break, and a magma pool.
Screenshot by PC Invasion
Screenshot by PC Invasion
Third Lock
We’re halfway through the Fire Temple guide now. We can do this.
Return to your cart and flip it around with the bell. On your way back, hit the next bell you see with Yunobo to go up to the third floor.
Screenshot by PC Invasion
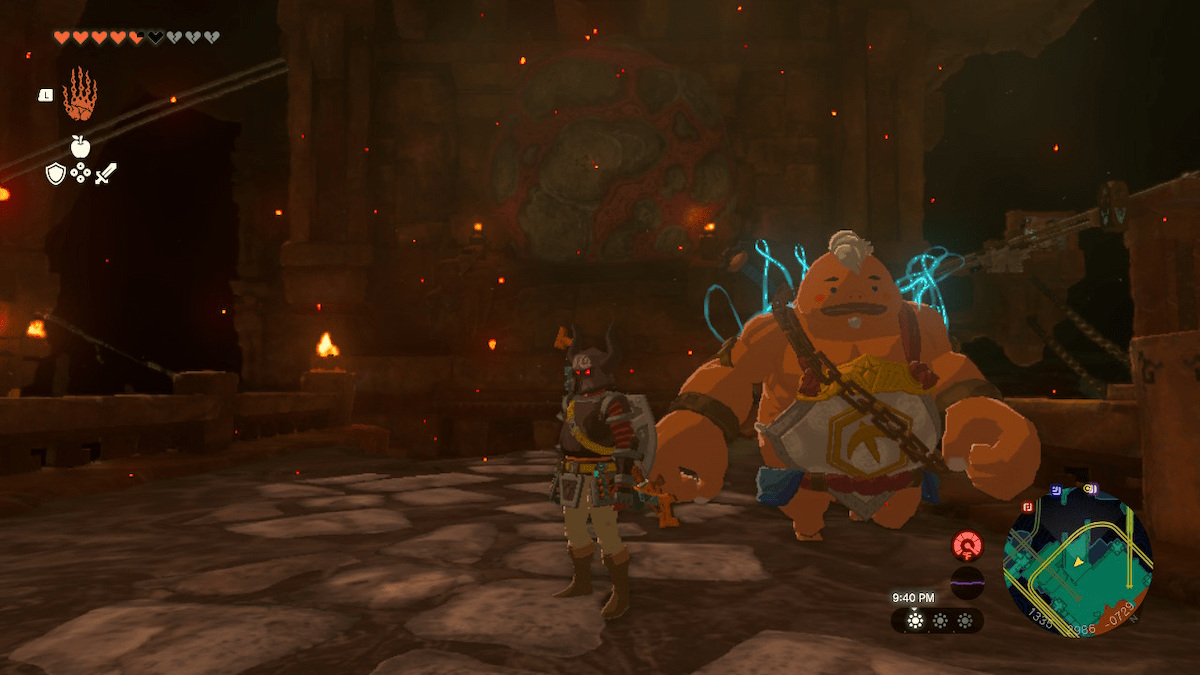
Once you fight the Construct here, there’s another chest with ten arrows in the room. You can also take hydrant and rocket Zonai Capsules from the back.
Screenshot by PC Invasion
To progress, go to the right back corner to find another fan cart. Set it on the broken rail path, then grab two rockets from the upper shelves and attach one above the fan, and one on the front. You can safely launch yourself to the fourth floor like this and grab more arrows in a chest.
Screenshot by PC Invasion
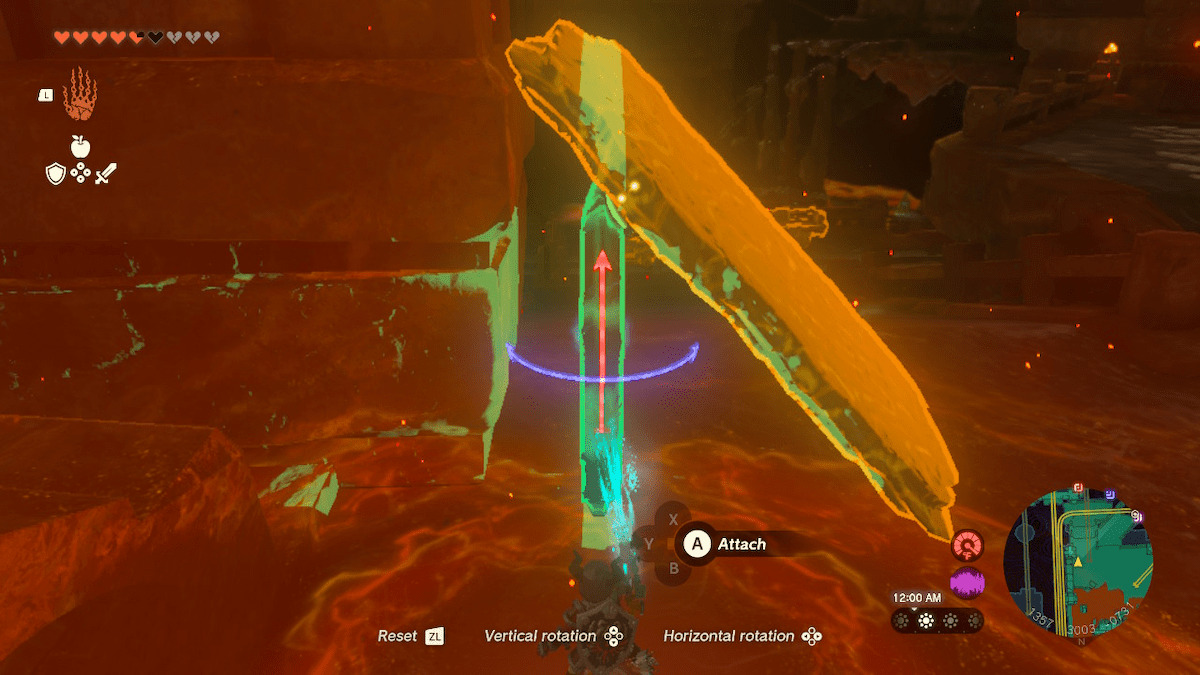
This next marble rock puzzle sitting at the top of the climbable wall is simpler than it looks. Just attach the bridge together and launch Yunobo.
Screenshot by PC Invasion
Now that you’re up here, you can hit the gong.
Screenshot by PC Invasion
Fourth Lock
Use either glide or the minecart after hitting the bell to return to the previous room with the capsules and rockets.
Screenshot by PC Invasion
We need to get to this area blocked by the marble rock. This will be a bit of a process.

Screenshot by PC Invasion
First you have to take the right route, then the next rail at the landing spot, in order to reach the marble rock and break it to reveal a bell.
Screenshot by PC Invasion
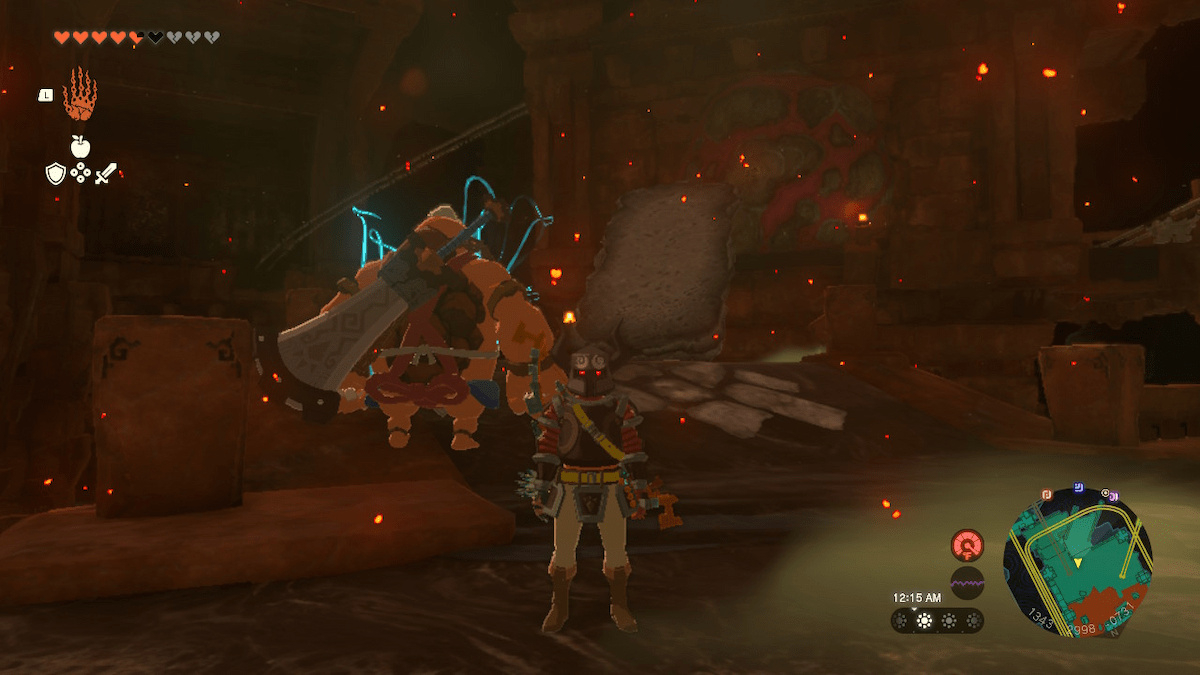
Hop to the left rail to go up, but you’ll be interrupted by another Construct. Now just glide down to the floor across, break the marble rock, take the hydrant, and make another rock bridge to hit the gong.
Screenshot by PC Invasion
Tears of the Kingdom Fire Temple Guide- The fifth and final Lock
The fifth lock is in the building just behind you when you turn around. However, a marble rock is in the way.
Screenshot by PC Invasion
The easiest way to get over here is to build a ramp with the cooled lava stone, then launch Yunobo off of it.
-
- Screenshots by PC Invasion

Once you’ve done that, rip a fan off of one of the carts and attach it to the top of your ramp. You should be able to glide over to the opening.
Screenshot by PC Invasion
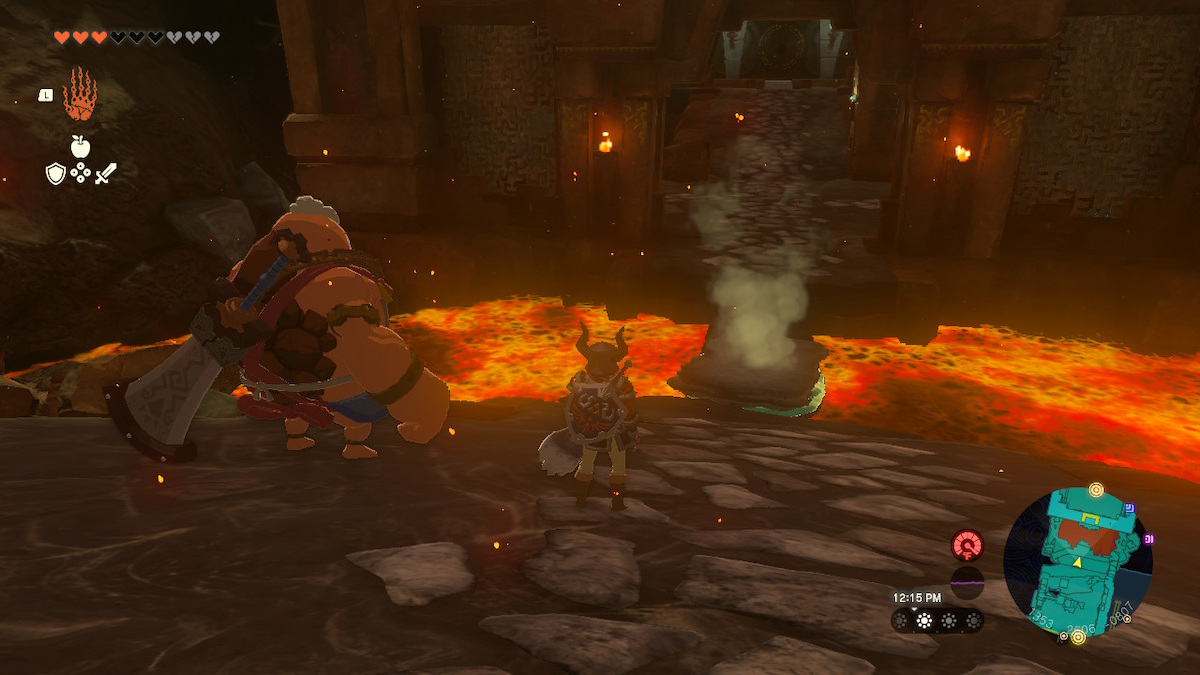
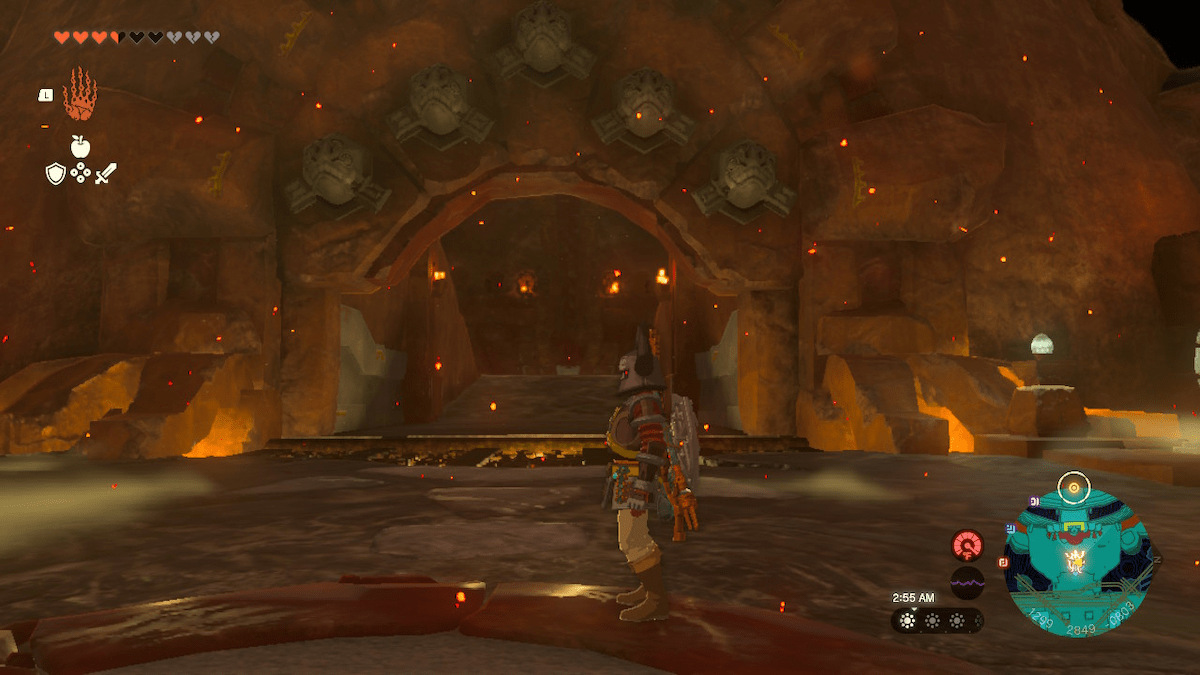
Once you’re inside, drop down to the bottom to find the last gong and launch Yunobo into it. Now hit the yellow stone in the room to open the door, and make your way down the path to the door.
Screenshot by PC Invasion