
Inscryption Act 3 guide: How to complete the Botopia zone
Explore Botopia in Act 3 of Inscryption.
During the first act, Inscryption was akin to a rogue-lite. Then, in the second act, it turned into an old-school RPG. Now, in Act 3, Inscryption is a bit like a 2.5D isometric Souls-like. P03 has imprisoned you in his factory, and we need to fight back. Here’s our Inscryption Act 3 guide to help you complete the Botopia zone and succeed against P03.
Note: For more information, check out our Inscryption guides and features hub. Likewise, please be reminded that this guide contains spoilers.
Inscryption Act 3 guide – How to complete the Botopia zone and defeat P03
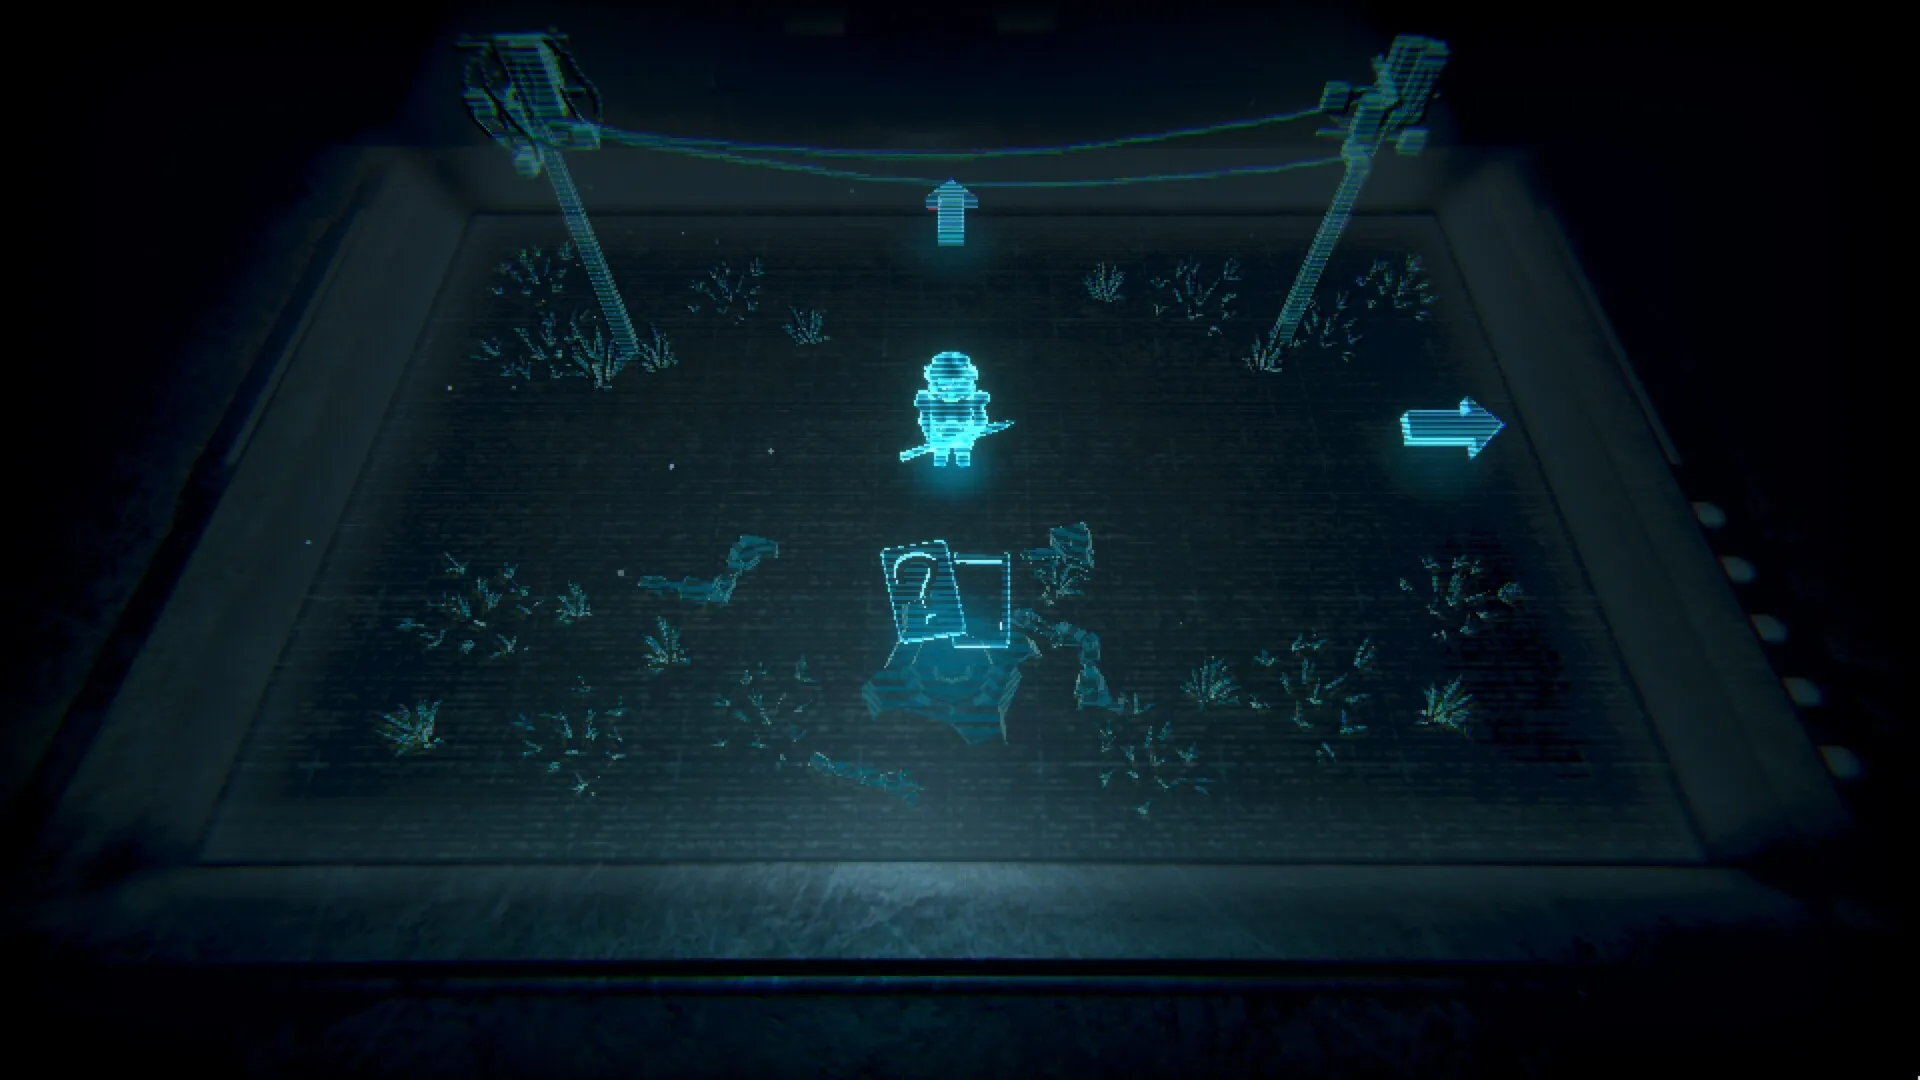
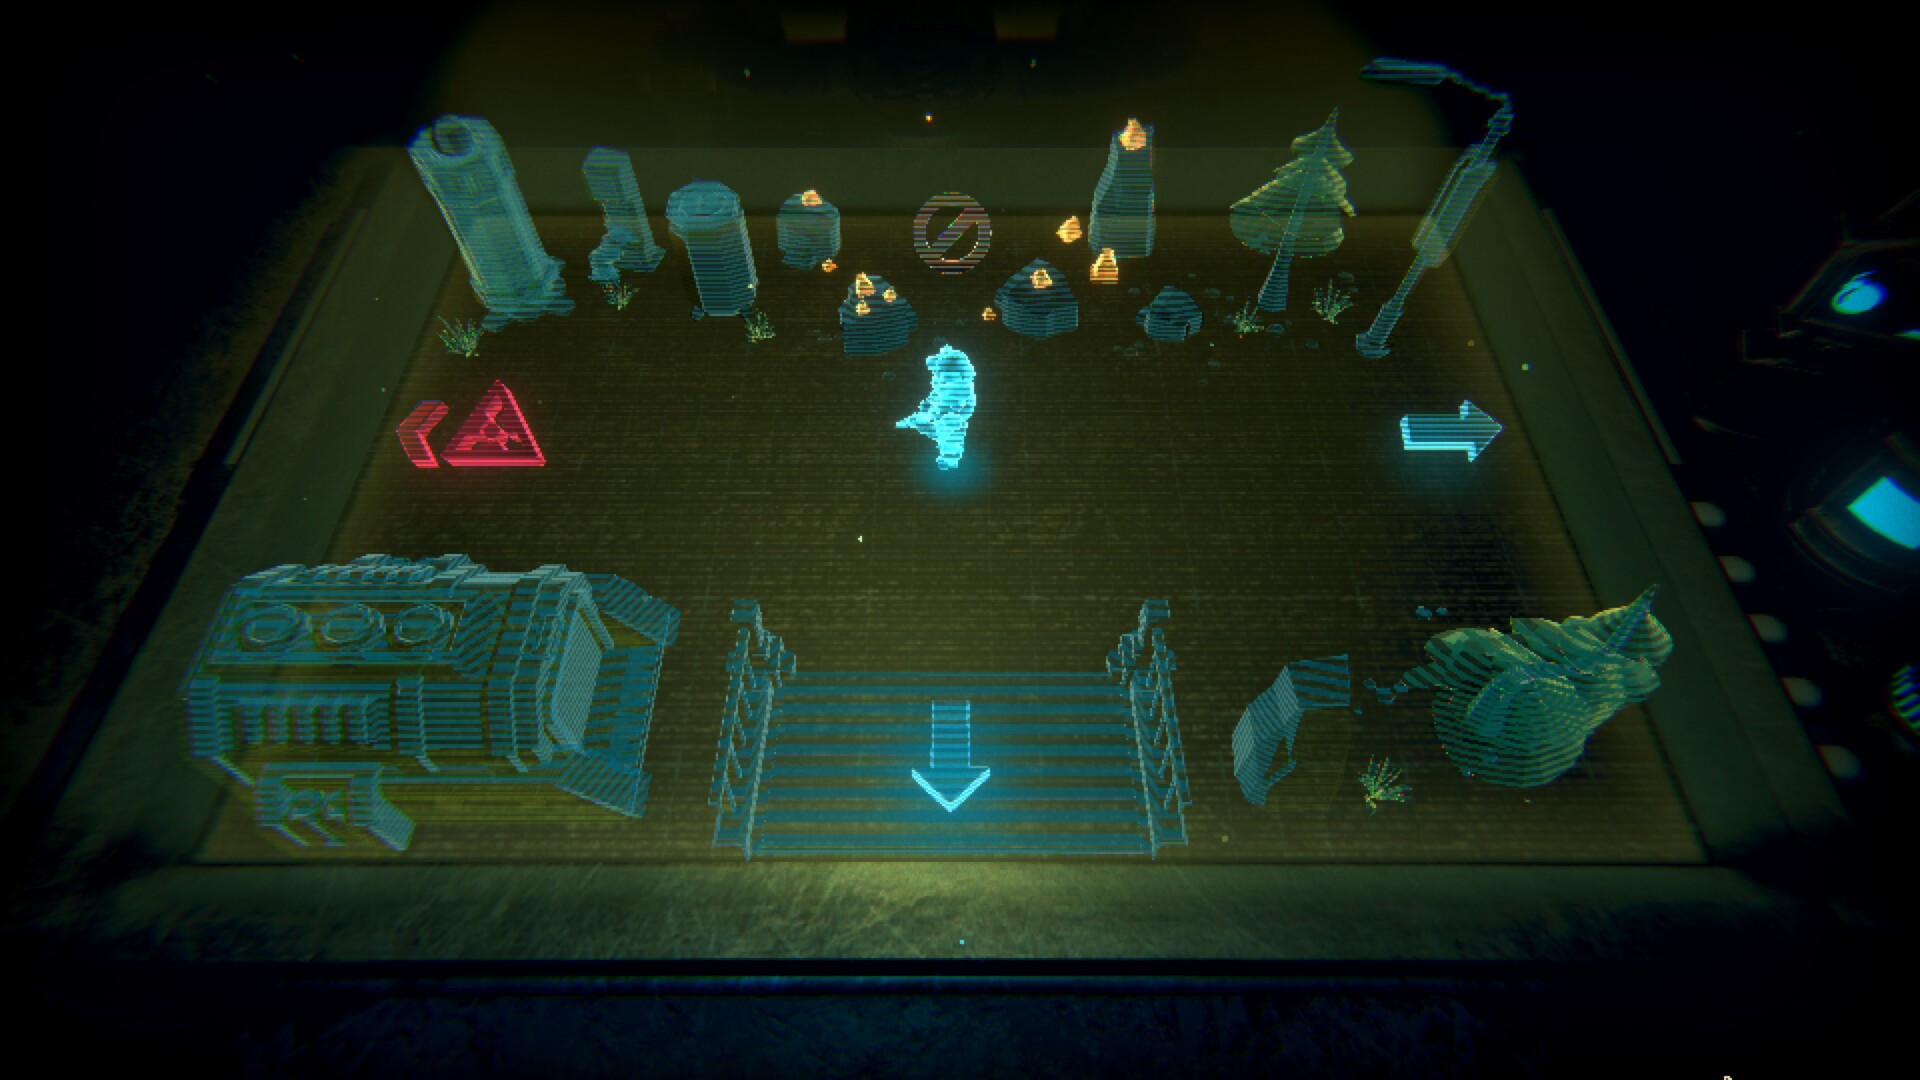
Navigation in Botopia
The layout of the Botopia in Act 3 of Inscryption is a bit like what you’ve seen in the previous chapter (at least in terms of zones and landmarks). The difference here is that you’re on an isometric plane where you can only move in four directions (up, down, left, and right). These are symbolized by arrows at the edge of the screen.
Note: There are also hidden arrows. If you reach an area/screen where it looks like there’s a pathway, mouse over that section to see if there’s an arrow.
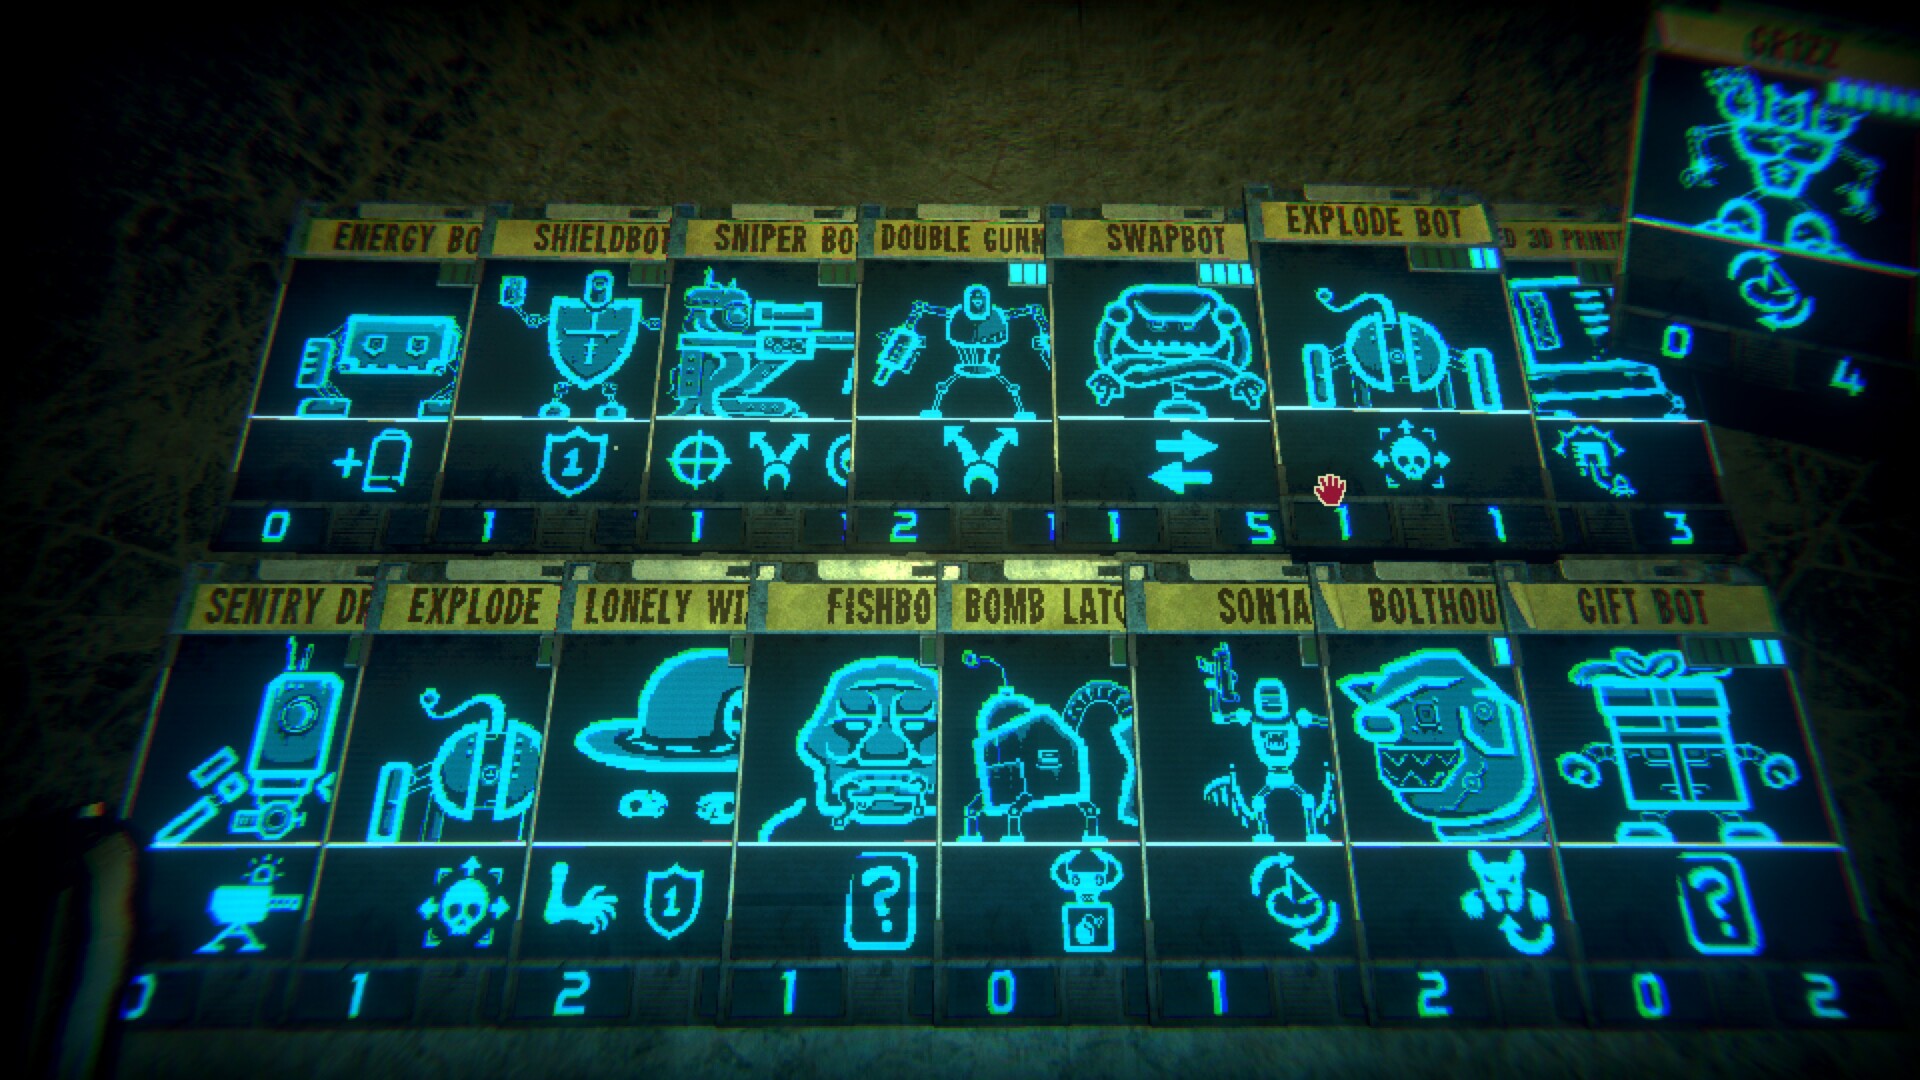
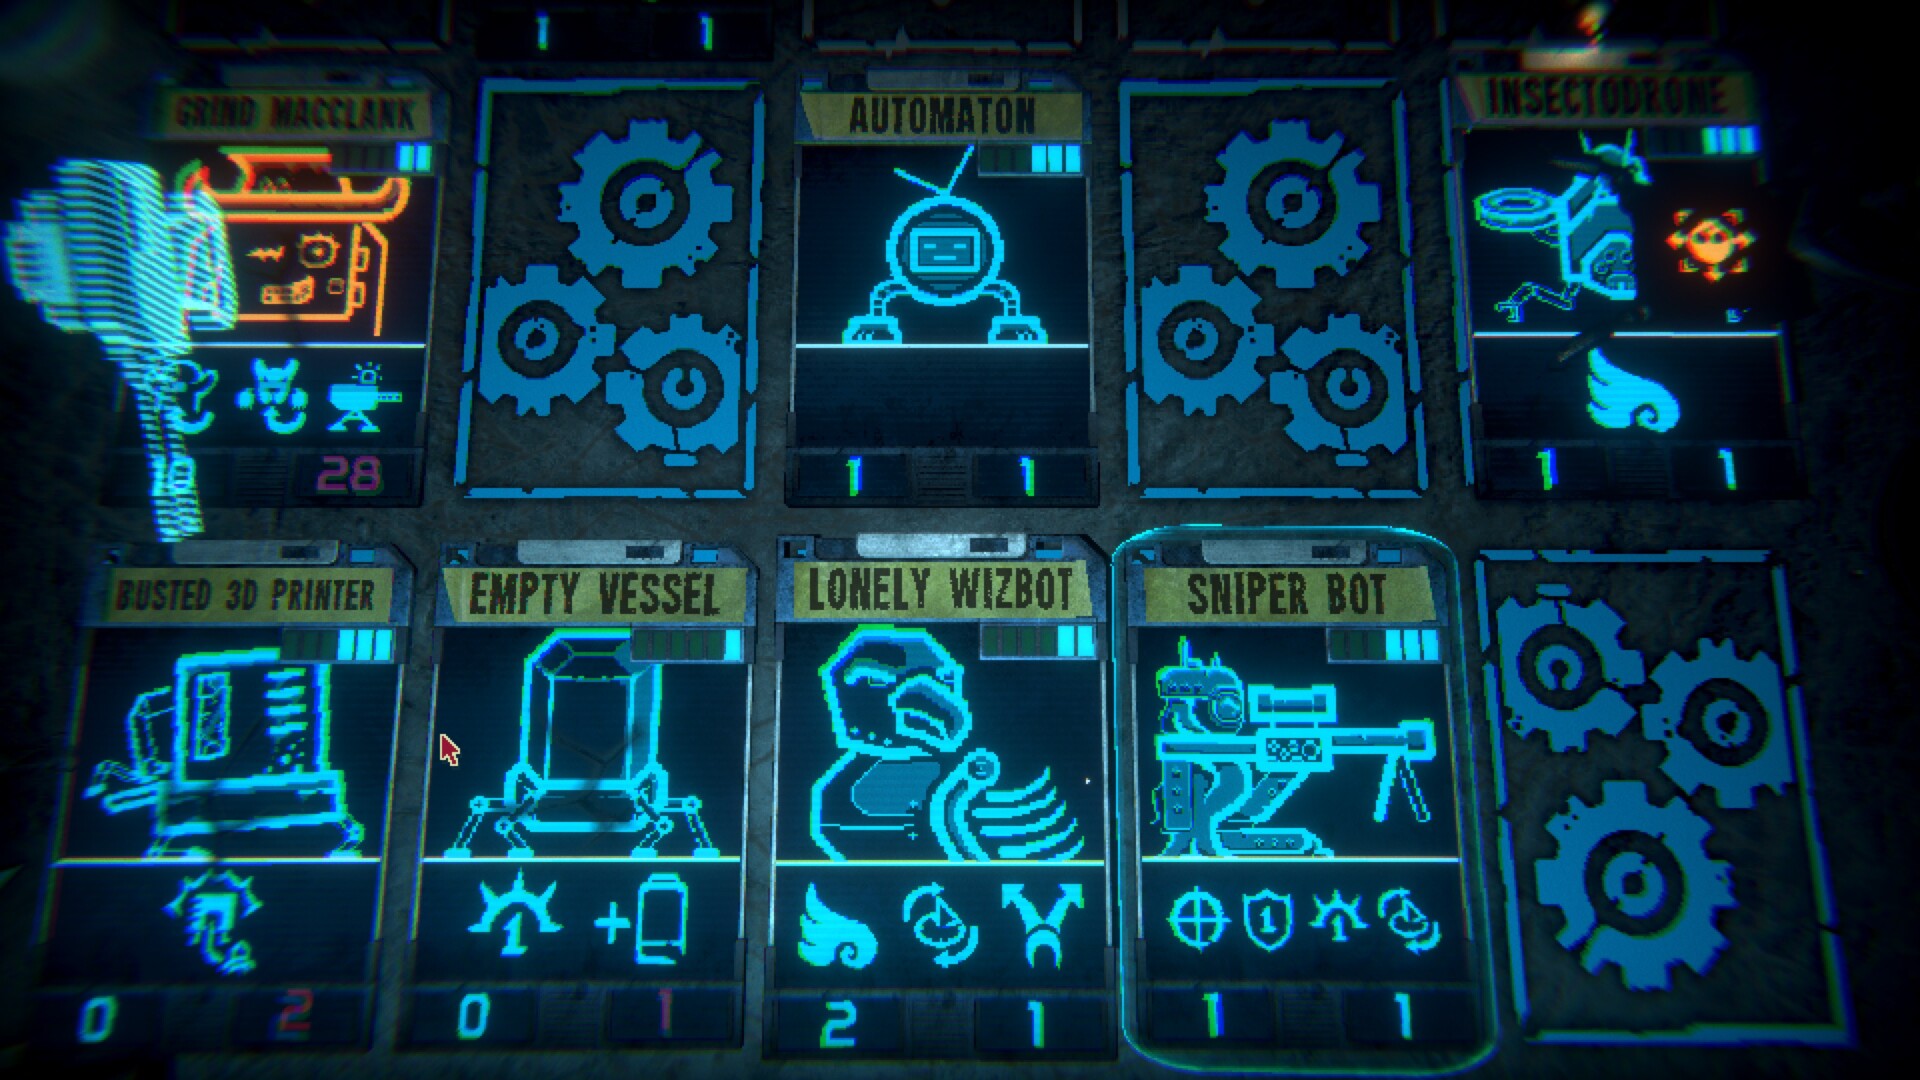
Card acquisition and upgrades in Act 3 of Inscryption
Given that this is P03’s playground, your cards are actually robot versions of some of the ones you’ve seen before. As for upgrades and acquisition, you’ll see icons of objects that you can interact with. Examples include:
- Card pack icon – Choose one out of three cards that are shown.
- Swap icon – Choose one out of three cards, but you’ll lose one of your existing cards to P03.
- Disk drive icon – Choosing a card and selecting one out of three available sigils. A card can have a maximum of four sigils.
- Recycle icon – Scrap a card and gain Robobucks (more on this in a while).
- Other changes to mechanics – Cards will have additional mechanics as you progress (i.e., overclock, beast transformations, mox/gems, and conduits).
- Empty Vessel buffs – Functions as fodder/blockers due to low costs (more in these in a while). Progression also adds functionality to your Empty Vessel cards.
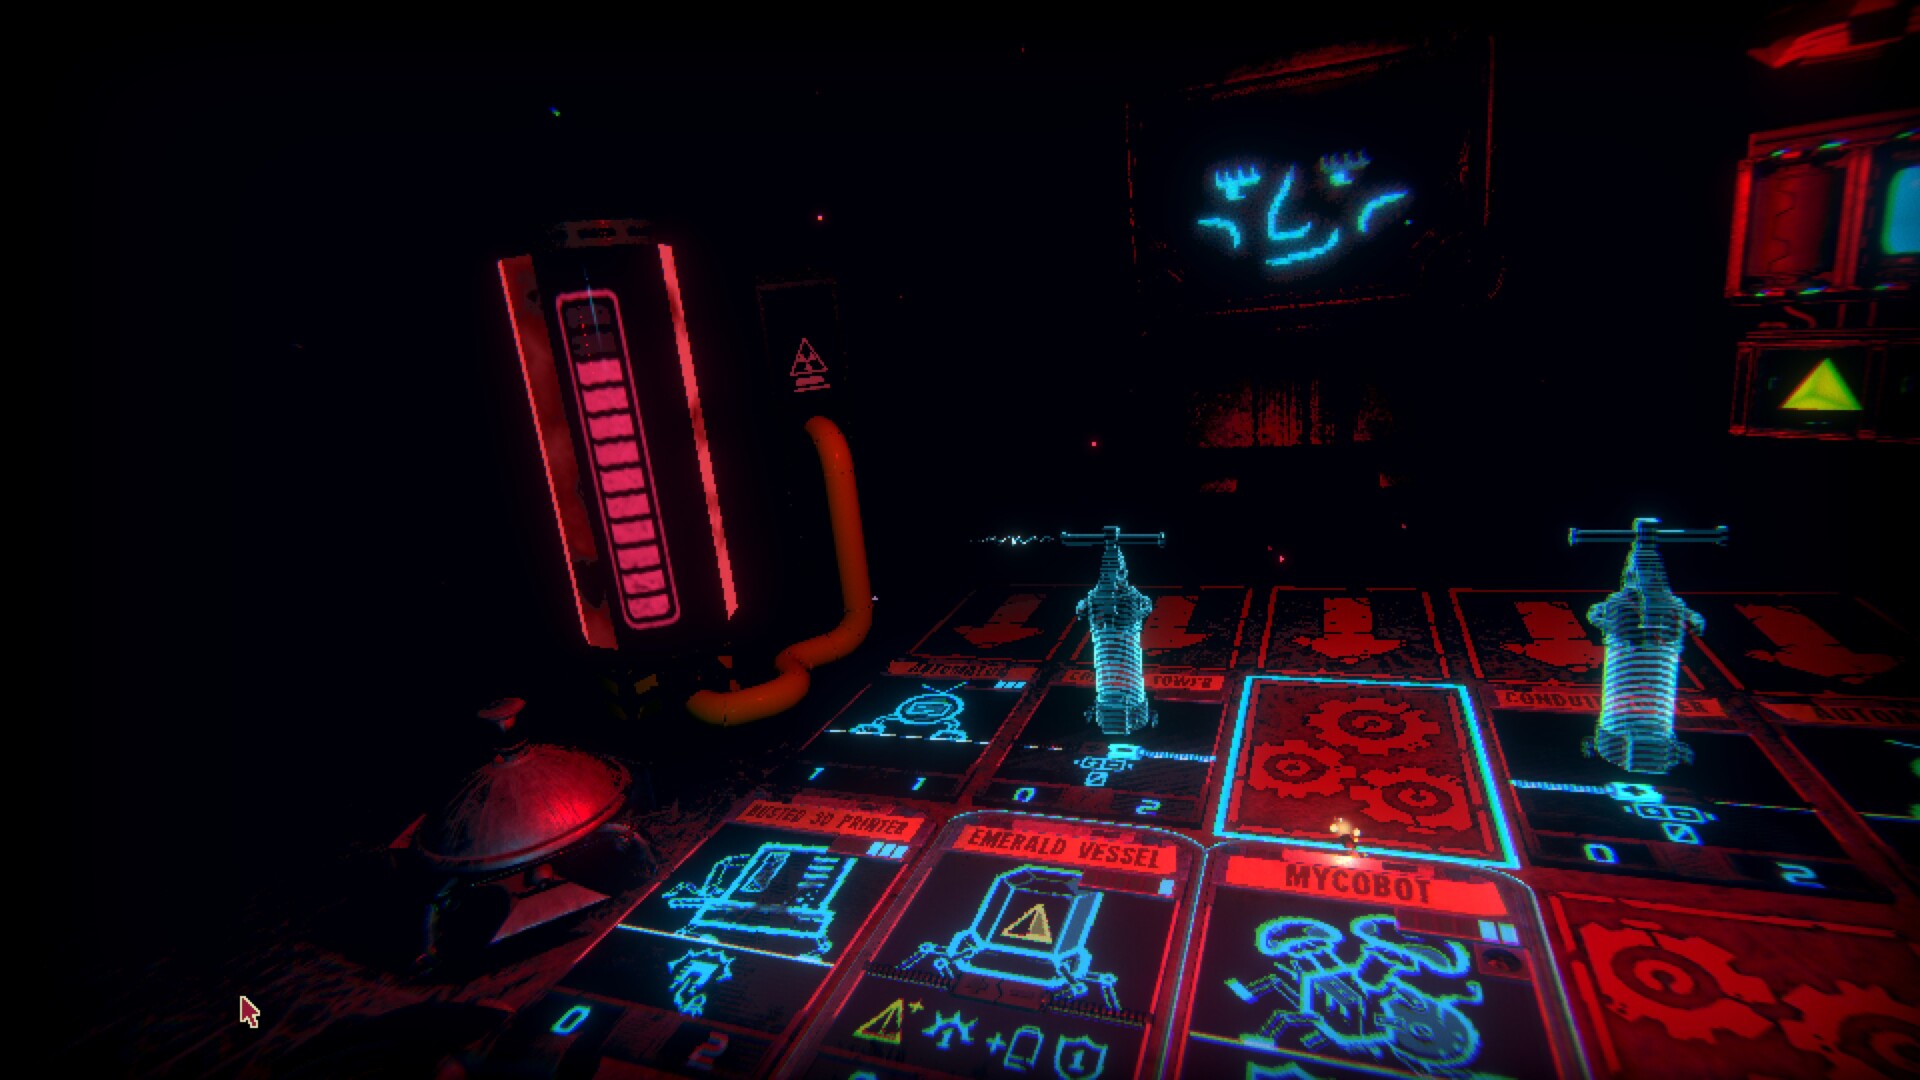
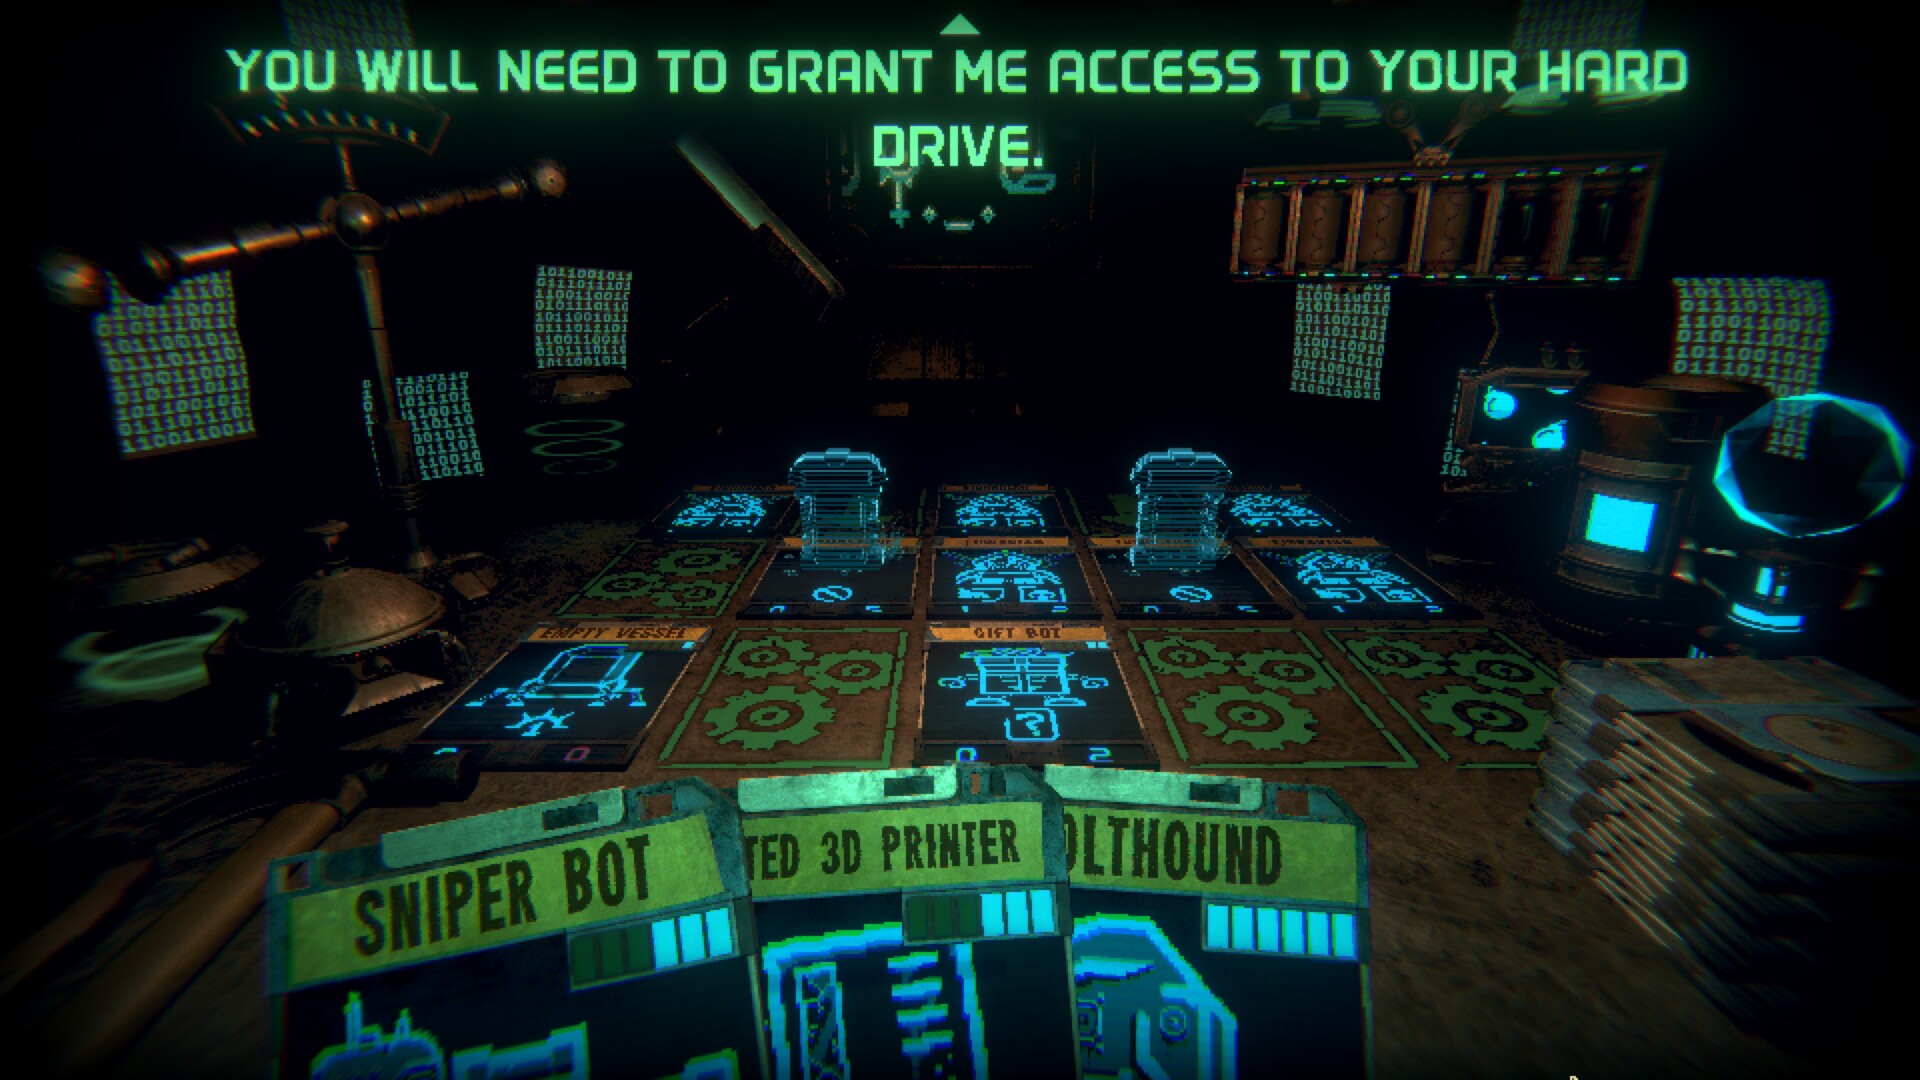
Inscryption Act 3 resource: Robobucks
You got Teeth in Act 1 and Foils in Act 2. Now, in Botopia, we’ll be using Robobucks. The same concept applies: hit your opponents with overkill damage to earn additional Robobucks. You can then use your Robobucks in areas with “shops” (I guess we can call them that). You’ll exchange these for card packs, card sigil upgrades, and even some important items.
Note: You can take a look at our unlimited Robobucks farming guide.

Card battles in Botopia
The core mechanics of card combat are still present during Act 3 of Inscryption. You can initiate card battles whenever you see a red skull icon (normal battle) or a red danger icon (bomb detonation battle).
There are some key facets to consider:
- The interface looks similar to Act 1. The difference is that you’re fighting P03 instead of Leshy.
- There are five lanes now instead of four.
- Since you’ve got robot cards, you’ll rely on the energy mechanic (which is the summoning resource/mana used by your cards). You start with +1 energy on your first turn, then +2 energy on your second turn, and so on.
- Empty Vessels are 0/2 cards with 1 energy cost (i.e., cheap blockers). You can also draw more of them from your second pile (akin to Squirrels in Act 1). As mentioned earlier, they’ll gain additional functionality as you clear more zones.
- Some boards have obstacles (i.e., trees, railings), just like previous matches you’ve played.
- The hammer is readily available, so you can smash cards to clear spots on your side of the board.
- The bomb detonation encounters require you to deal a total of 12 direct damage to your opponent within six turns. Otherwise, the board explodes in your face and you die.
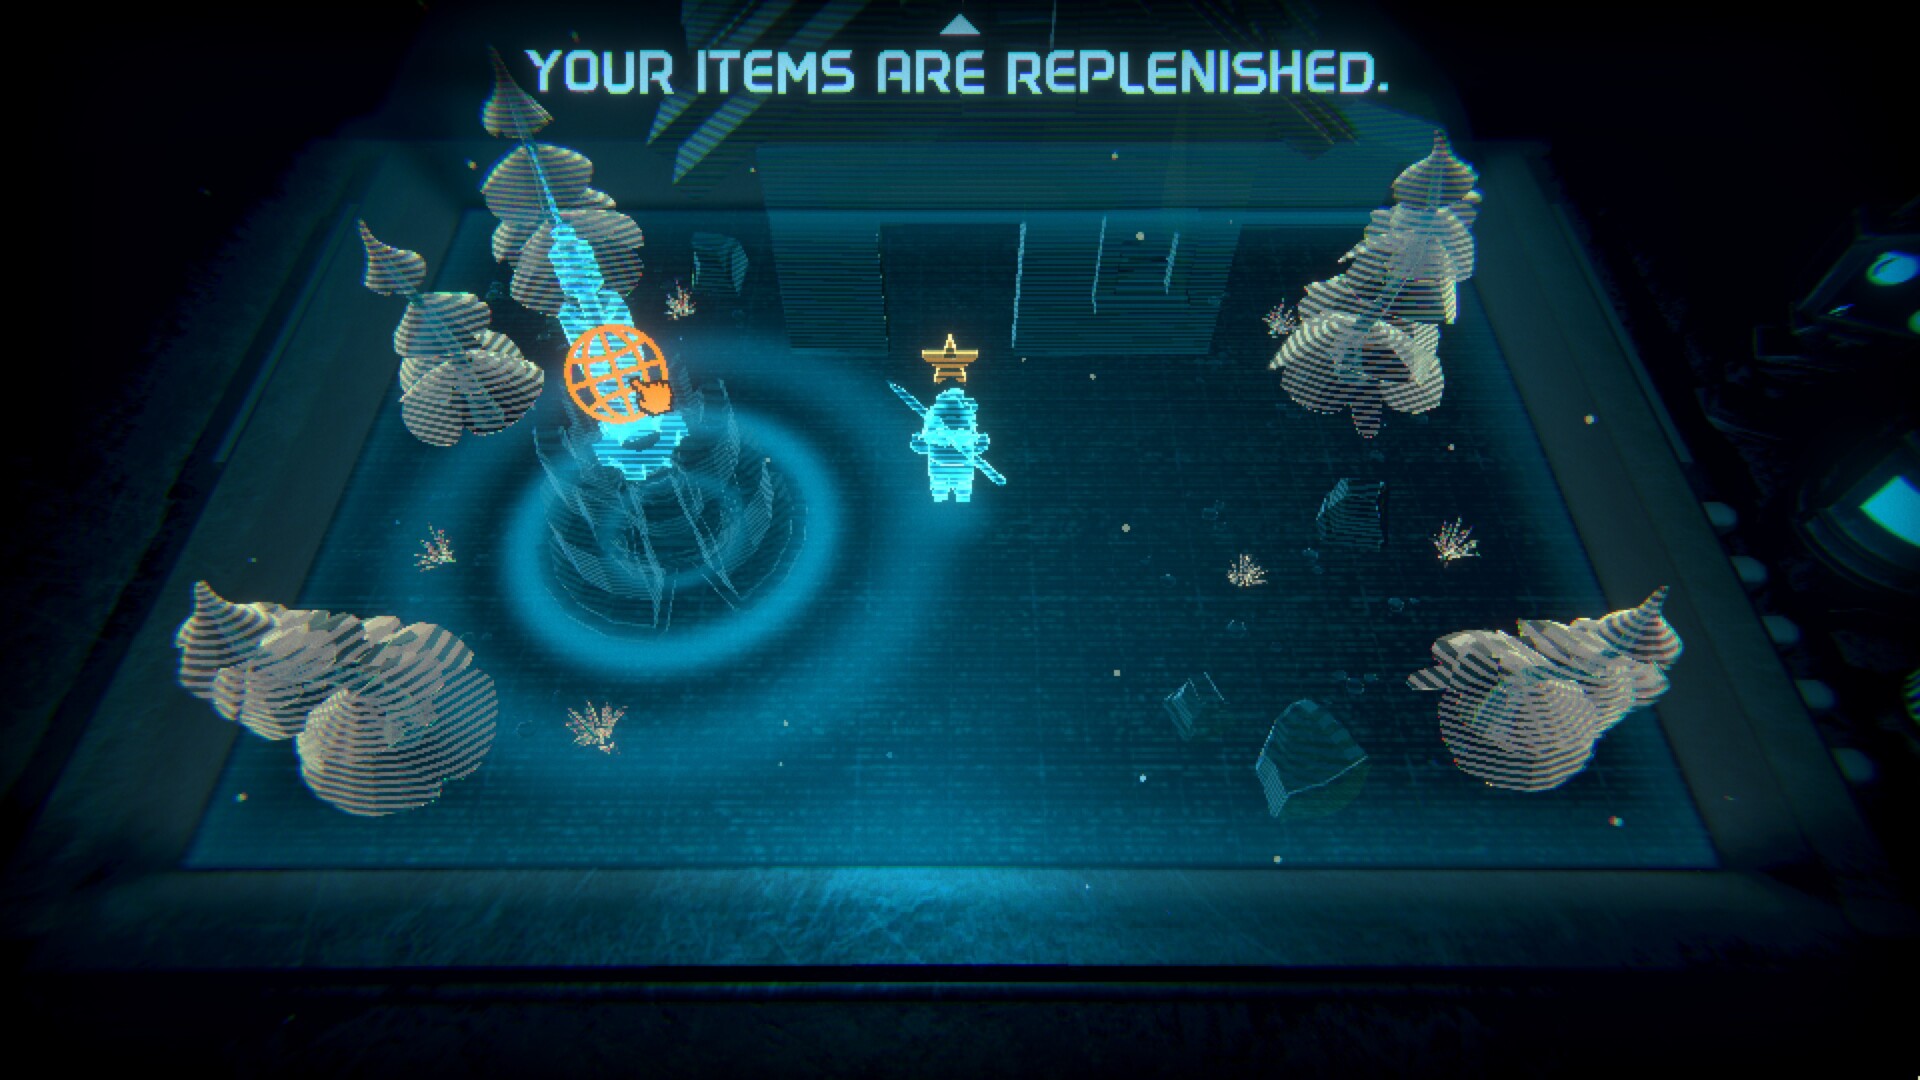
Souls-like mechanics: Checkpoints, enemy respawns, and death
Botopia is divided into several zones. From time to time, you’ll also find checkpoints. They have the following functions:
- You respawn at the closest checkpoint if you die/lose a match.
- They act as teleporters to other checkpoints that you’ve discovered.
- They replenish all items that you’ve used.
Speaking of dying, again, Act 3 of Inscryption is no longer a rogue-lite. If you die, you simply drop all the Robobucks you have, but you can return to that area to pick up your currency. However, you do need to beware of enemy respawns. Encounters will only refresh if you die, and if you leave a zone to return to a previous area without discovering the checkpoint first.
Bounty hunters
As you win consecutive matches, you’ll get several “wanted stars” on your head (just like in Grand Theft Auto). It’s possible for bounty hunters to appear when you’re fighting an opponent. They’re actually just cards with a golden image and ridiculously high stats (depending on your wanted stars).
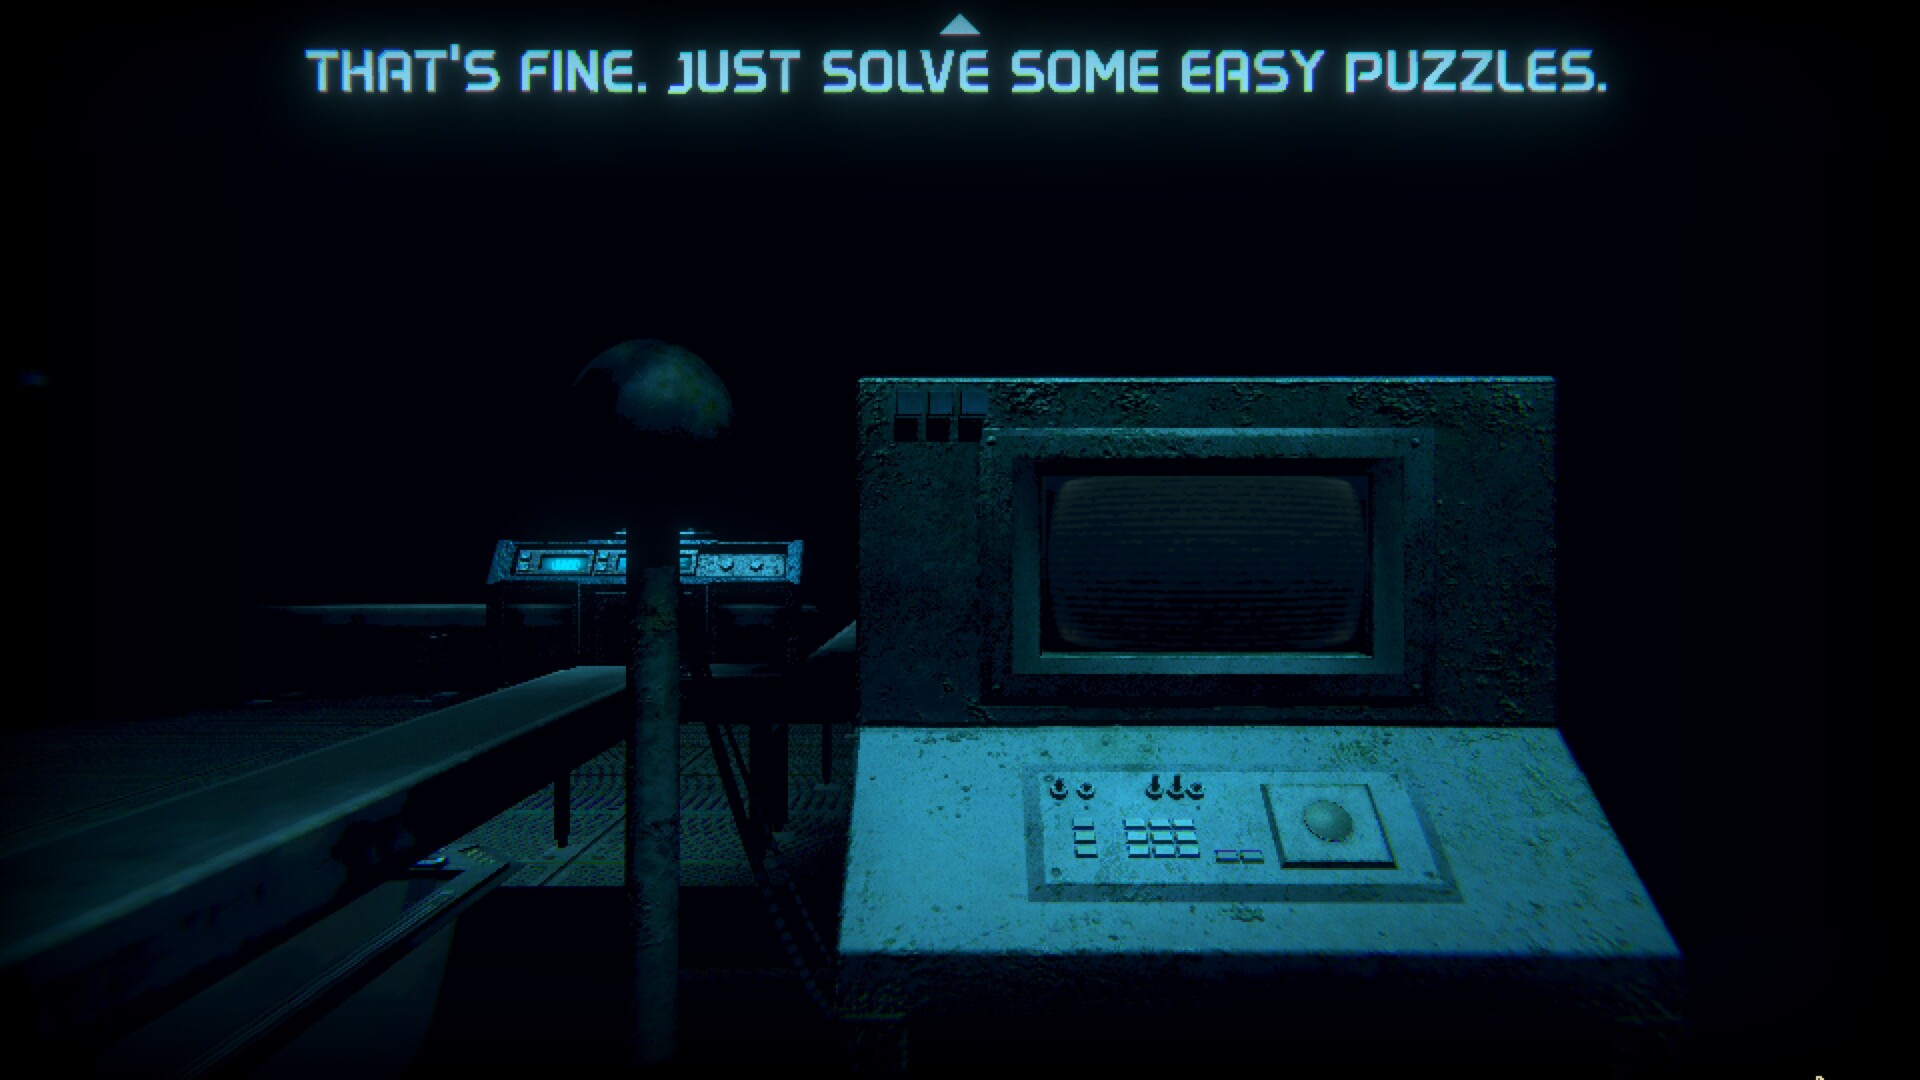
The factory puzzles
Just like in Leshy’s cabin in Act 1, P03’s factory in Act 3 of Inscryption can also be explored. But, you won’t be able to do that immediately since you’re still cuffed to the table.
Note: We’ll discuss everything in our factory puzzle solutions guide. Likewise, we’ve got our secret boss guide and Trader/holo pelts guide if you want to discover everything.
Inscryption Act 3 – The bosses of Botopia
Botopia has four zones, which means four bosses (with some zany mechanics to boot). Defeat all of them and you’ll reach the homestretch.
Note: We’ll talk about these in several guides. Take a look at our articles regarding the Photographer/Archivist and the Painter/Golly. If you’re done with those, you can jump to the finale and ending.
Inscryption is available on Steam. For more information, check out our guides and features hub.