As we’ve mentioned in a couple of our past guides, Loop Hero is chock full of undocumented tile combos. Part of the fun of playing is uncovering those special hybrids for the first time.
That said, we understand that there are plenty of you that would rather cut through the bullshit and know exactly what you’re doing before ever stepping foot in the loop. For all of you folks out there, here is a running list of all of the combos that we’ve discovered so far. Please note that this isn’t necessarily an exhaustive list, as we are still uncovering them as we go!
Making your life easier
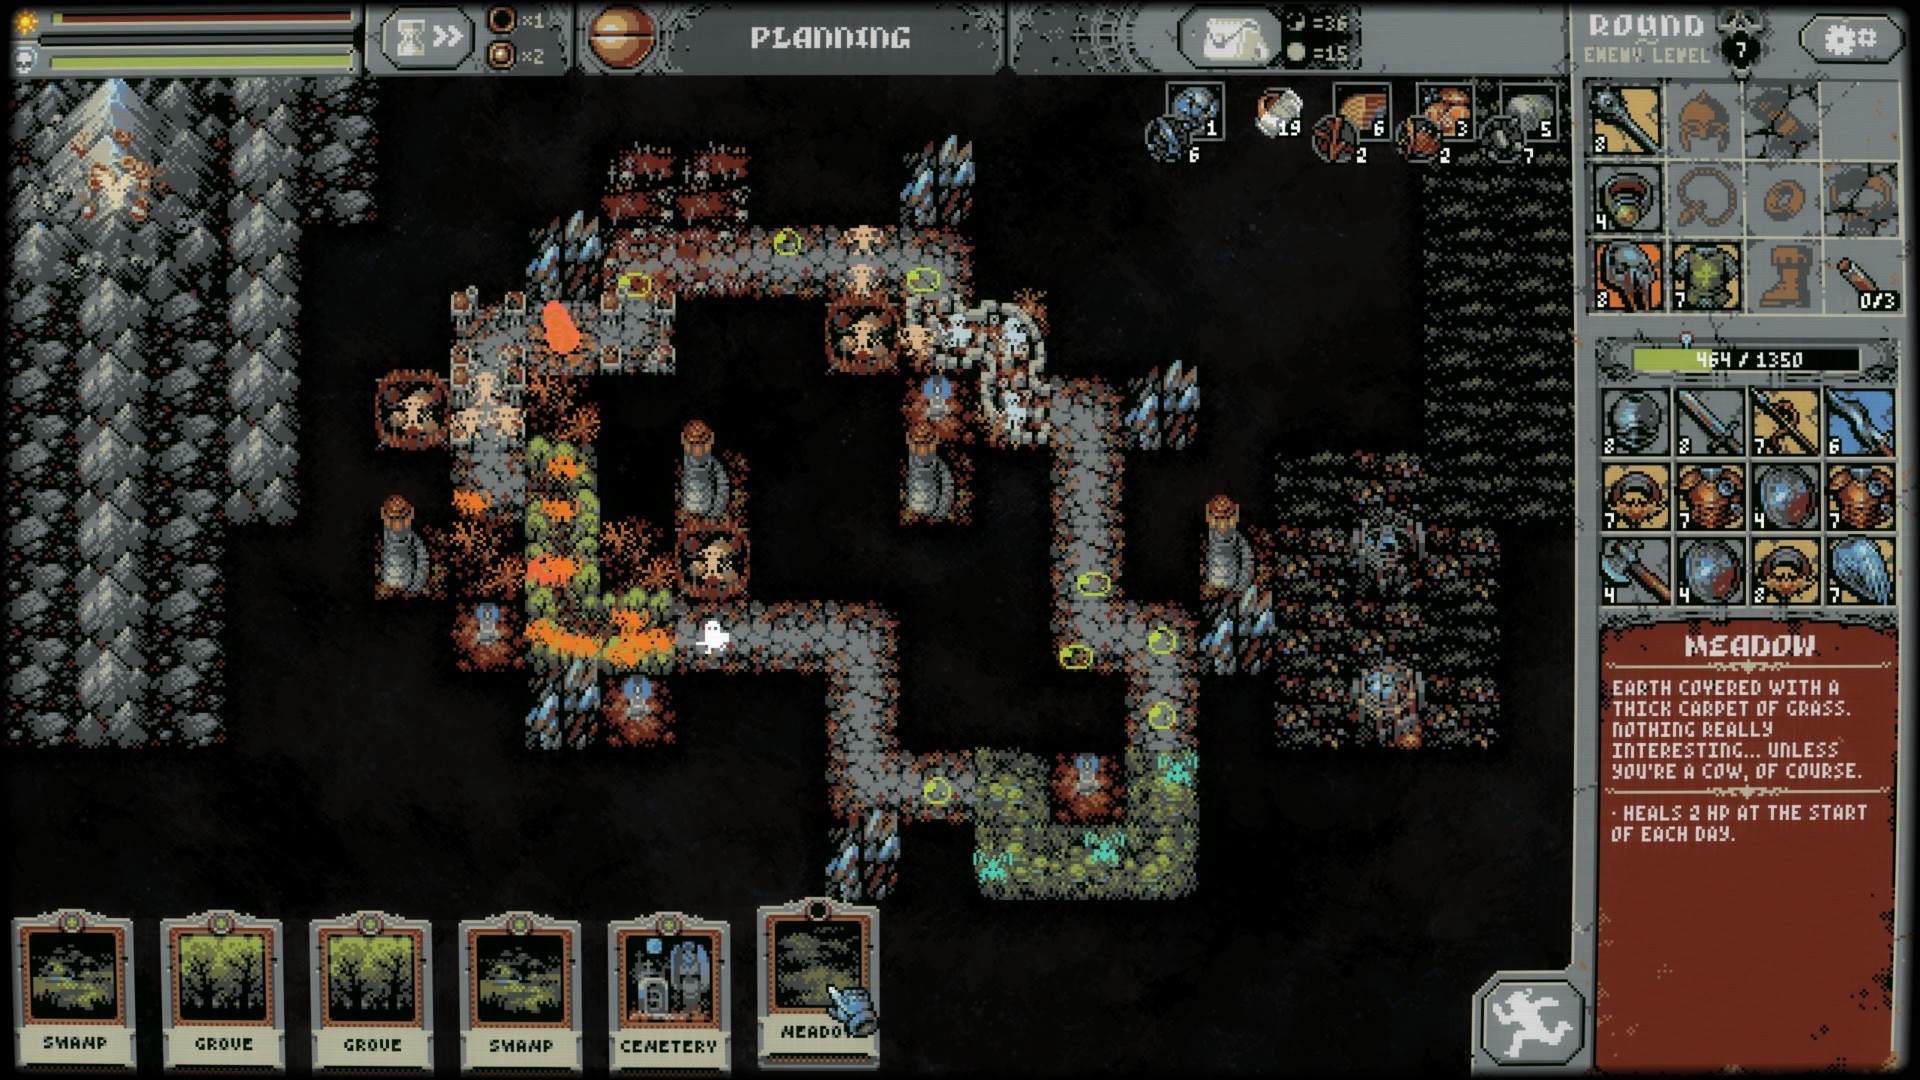
Meadows are a bit weird in Loop Hero. As we’ve mentioned before, while the tiles can be grouped into a large, mass plantation, that isn’t your best option. Instead, it \’s best to adjoin them with other items in between to create Blooming Meadows. If placed next a Treasury or Rock/Mountain tile (see the checkerboard pattern referred to in our beginner’s guide), it will help boost the tile’s health restoration effectiveness from two up to three hit points per day.
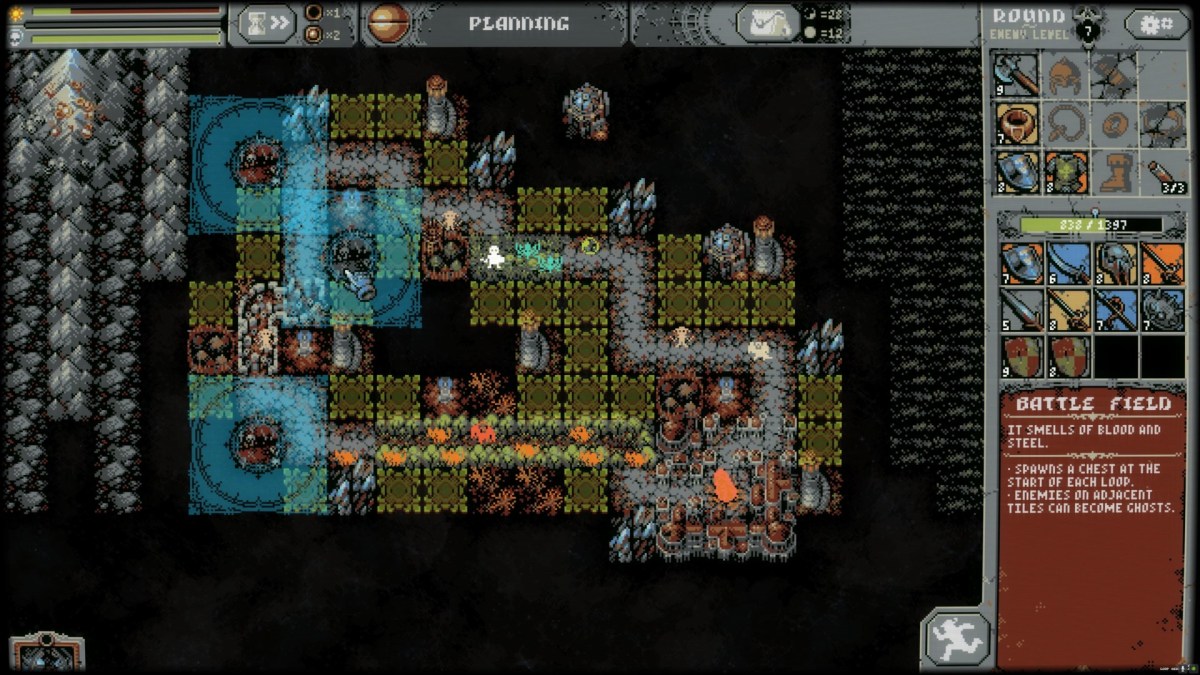
I’ve always been a fan of the Battlefield tiles. Being able to pull in a free lootbox every day will certainly help in the long battle against the Lich. However, if you want to pull in a little extra scratch, placing two battlefields with an overlap in the area of effect will form a Blood Path. Though it may spawn a few additional Blood Clot enemies, they are fairly weak overall, especially against any sort of magic attacks. Additionally, the clots will also provide a nice little loot boost, so give those a look.
Another combo that we have mentioned in past coverage of Loop Hero, but is still worth mentioning here as well, is the Mountain Peak. Combining any form of Mountain/Rock tiles in a 3×3 grid will lead to a health boost every couple of days, as well as a boost for adjacent Mountain/Rock tiles. Just be aware that these will also spawn Harpies on a fairly frequent basis.
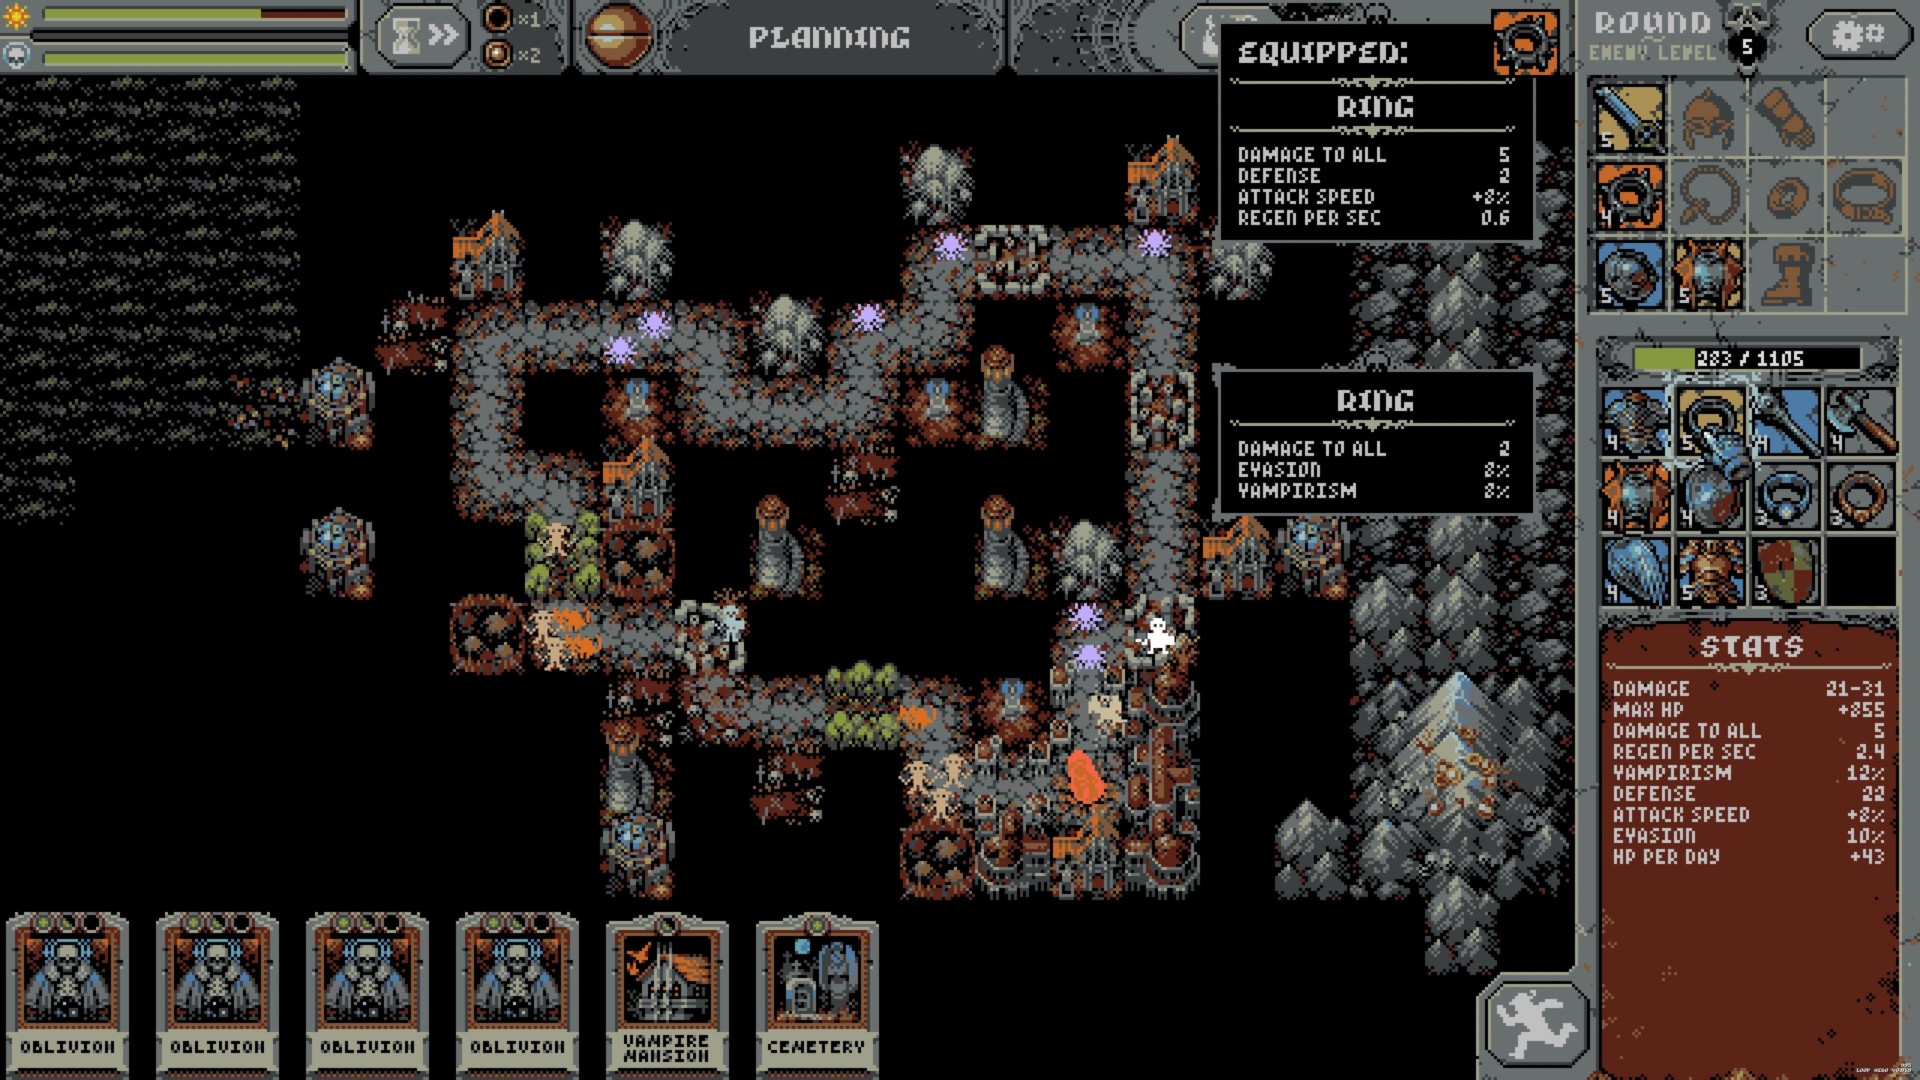
While I am all for making things a bit more challenging from time to time, I’ve never been much of a fan of the Vampire Mansion. Fortunately, there are a couple of different ways to undermine the challenge a bit. For one, placing a Grove next to a Mansion will spawn Blood Golem enemies. While these may not be much to look at, the setup provides a very manageable source of loot. If you’re hell-bent on completely screwing over your favorite Vampire, consider placing a Swamp directly adjacent to a Mansion. Due to the Swamp’s perk of making health restoration work in the opposite way, this means that all of the vampire enemies will be unable to heal themselves.
A final combo worth exploring in Loop Hero is for the Hungry Groves. These nasty little beasts are formed by placing two Blood Groves (which can only be placed near a standard Grove tile) in close proximity. Instead of the Blood Grove, which will devour any enemies with 15% health or lower, the Hungry Grove boosts that to an impressive 20%. However, the one snag is that the Groves also pose the risk of attacking you as well. As a side note, these can also be created more accidentally (which is the first way I encountered it) by using an Oblivion on an existing Blood Grove.
Making your life harder?
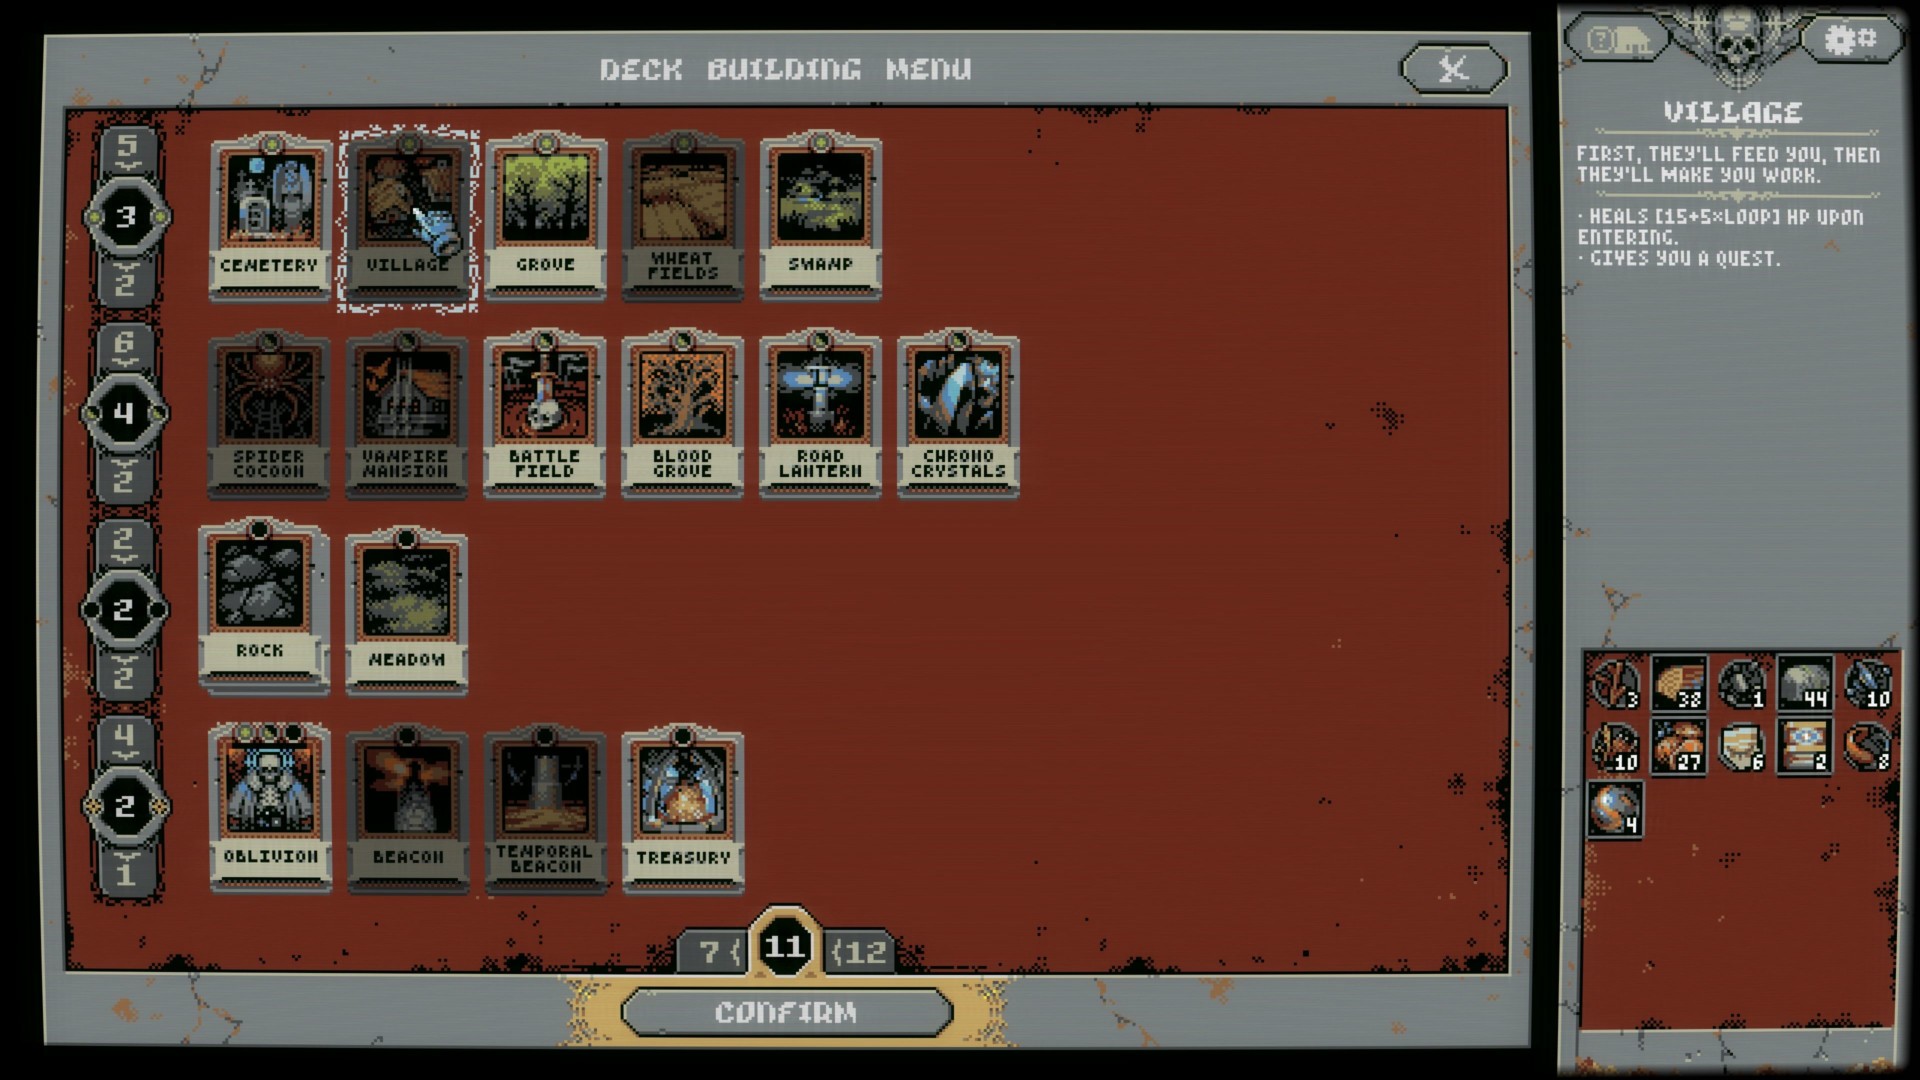
Something about intentionally adding extra stress to my life doesn’t sound like much fun. However, if you really want to take your Loop Hero challenge to the next level, try placing a Village next to the Mansions to create a Ransacked Village. If you’re looking to get some extra HP boosts for a few days, it can be a godsend.
However, the Ransacked Village is one of the rare cases where a combination can have another evolution as well. After a handful of days (honestly, I’m still trying to determine the exact number at this point) this will turn into a Count’s Land, which will spawn a special, high-level monster to kill. Rest assured, your inner masochist will adore you for this one.
For those that are fans of the health boost from Rock/Mountain tiles, just know that there is a consequence for these actions. For every 10 tiles that you play, a Goblin Camp will be placed directly adjacent to your path. Trust me when I say that only an Oblivion will do for those pests. However, if you do opt to leave it be, just be sure to avoid placing a swamp next to it. Otherwise, you’ll have to deal with a Goblin Lookout Post. Unless you’re trying to also add a Goblin Archer to all adjacent monster battles, this may also be worth steering clear of.
We will be back soon with another batch of combos to share, just as soon as we’ve had more time to sink into the game. In the meantime, you can familiarize yourself with our Loop Hero resources guide.
Loop Hero is currently available for purchase via Steam. For more help with games, check out our other guides.


Published: Mar 7, 2021 06:39 pm