
The Depths is the first dungeon in New World that will challenge you, hence the need for a guide. To get through this Expedition, you need to be prepared. Ensuring you build the correct party and you understand the mechanics of a few bosses is important. In this guide, I’ll run you through the mechanics of The Depth Expedition and give you all the details you need to beat the dungeon.
It took me a couple of attempts to complete this Expedition. The Amrine Excavation and Starstone Barrows dungeons certainly don’t prepare you for The Depths. There were two reasons why I failed. The first was poor team composition. The second was players not understanding the mechanics of the bosses.
This is the first time in New World where a tank is essential to success. The main boss hits very hard. It is possible to kite him without a tank, but you’re going to need five very skilled players. One misstep will see a non-tank player dead. and it’s tough to come back from that against Thorpe, the final boss of the dungeon. You also need to have a dedicated healer, not a damage dealer wielding a healing staff.
The first room
The first thing you want to do when you enter The Depths Expedition is climb a tree. There’s a chest hidden in some of the higher branches. It’s a freebie and will only take you a few seconds to do if you know how. The clip below will show you exactly how to get to the chest.
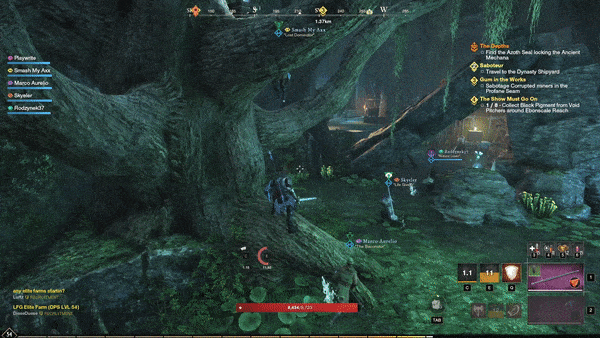
After that, you want to go left. You need to kill everything in your path, and use your Azoth Staff to activate an orb. Then, you return to the starting area and three of your party members need to activate the central tower. I suggest clearing the room of enemies before doing so.
Not real bosses
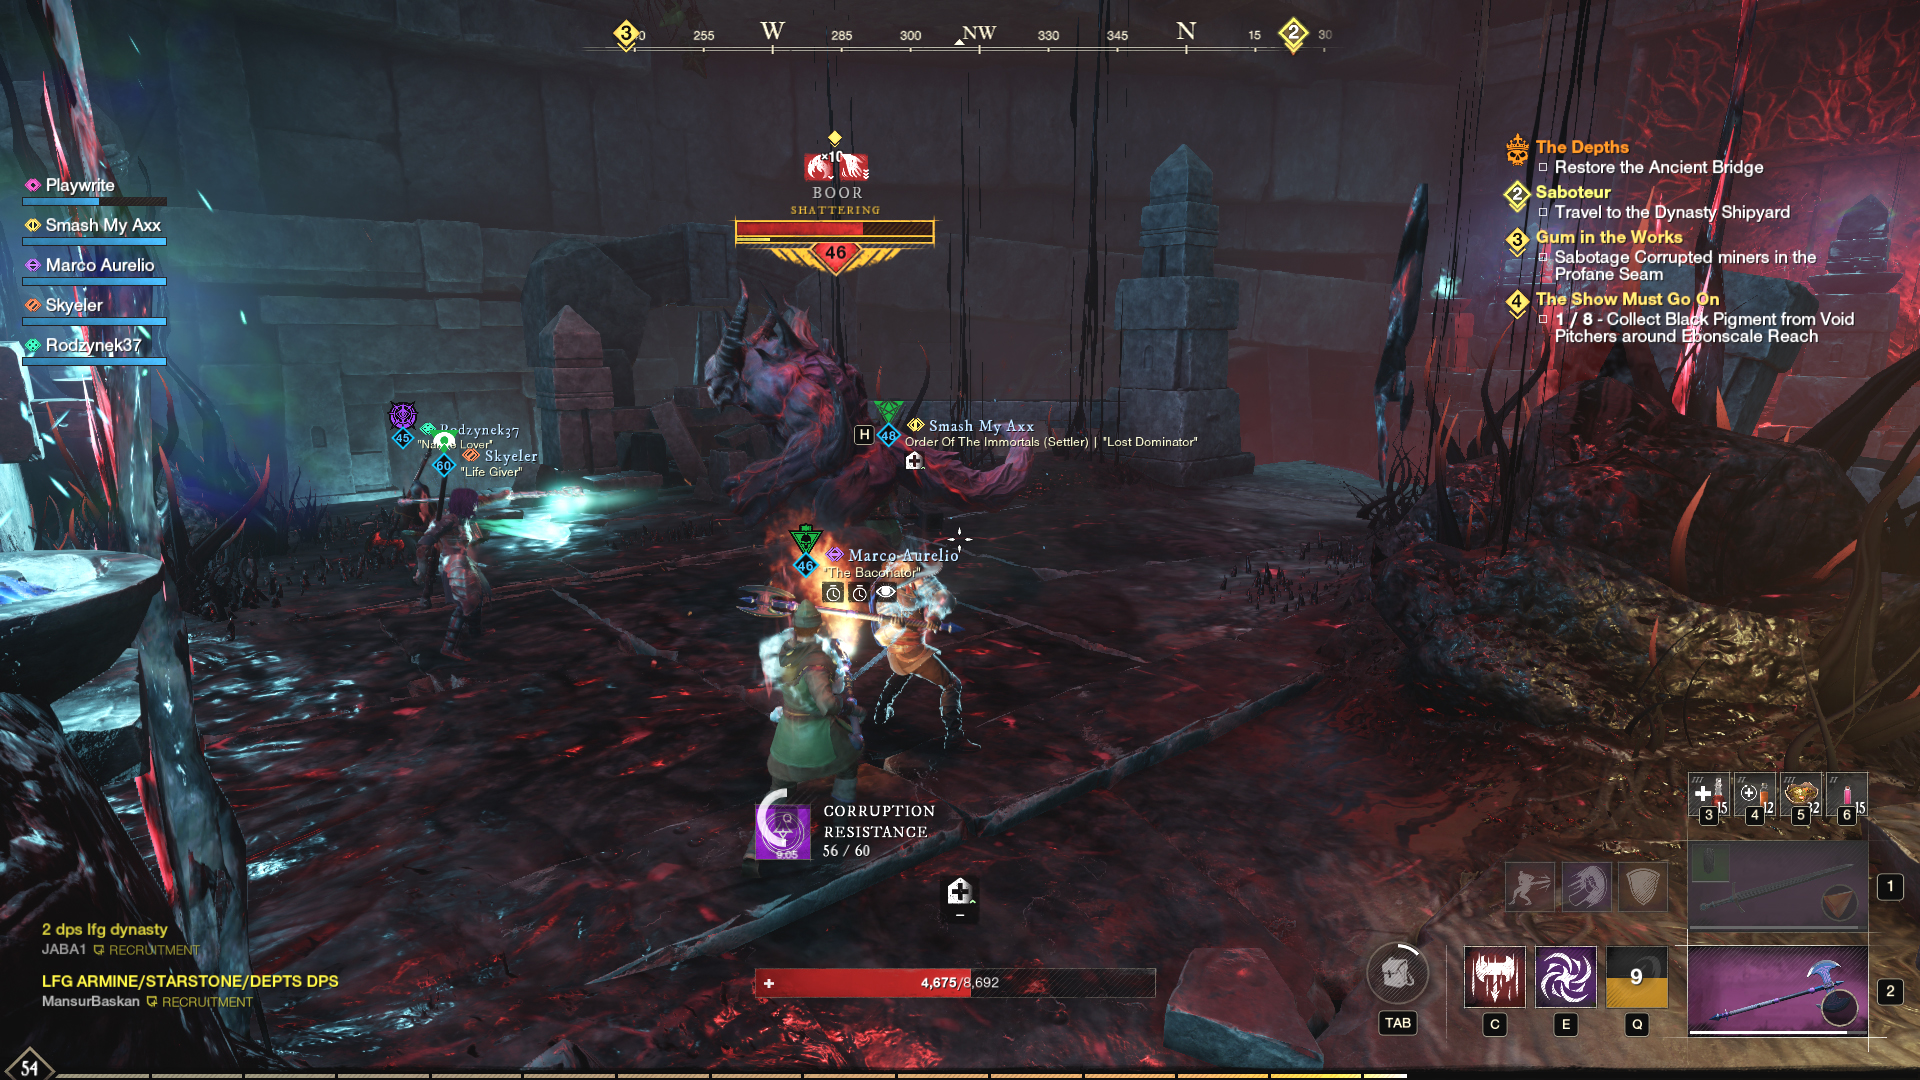
After this, you’ll encounter a mini-boss named Benat. There are no mechanics you need to know about here. Just have your tank take the aggro so everyone else can get behind him and hack away. Then, you’ll fight your way down linear corridors until you reach the next mini-boss, Boor.
Again, he’s not tough. There’s nothing special you need to know. Your tank can take aggro and turn Boor away from the rest of the party. Everyone else can kill him while the tank blocks and generates threat. Once you defeat Boor, you need to head to the right. Fight your way through a horde of monsters until you reach the teleporter.
First time in the core
The teleporter will take you to the central area of the dungeon, the core. However, you still have a few things to do before you can access the heart of it and teleport up to Thorpe. When you first teleport in, don’t miss the chest hidden behind the right pillar. After you acquire that, fight your way round to the side opposite where you teleported in. The Skerryshiv Heavy enemies hit hard, so make sure your tank holds their aggro. When you reach the opposite side, you’ll find another teleporter you need to use.
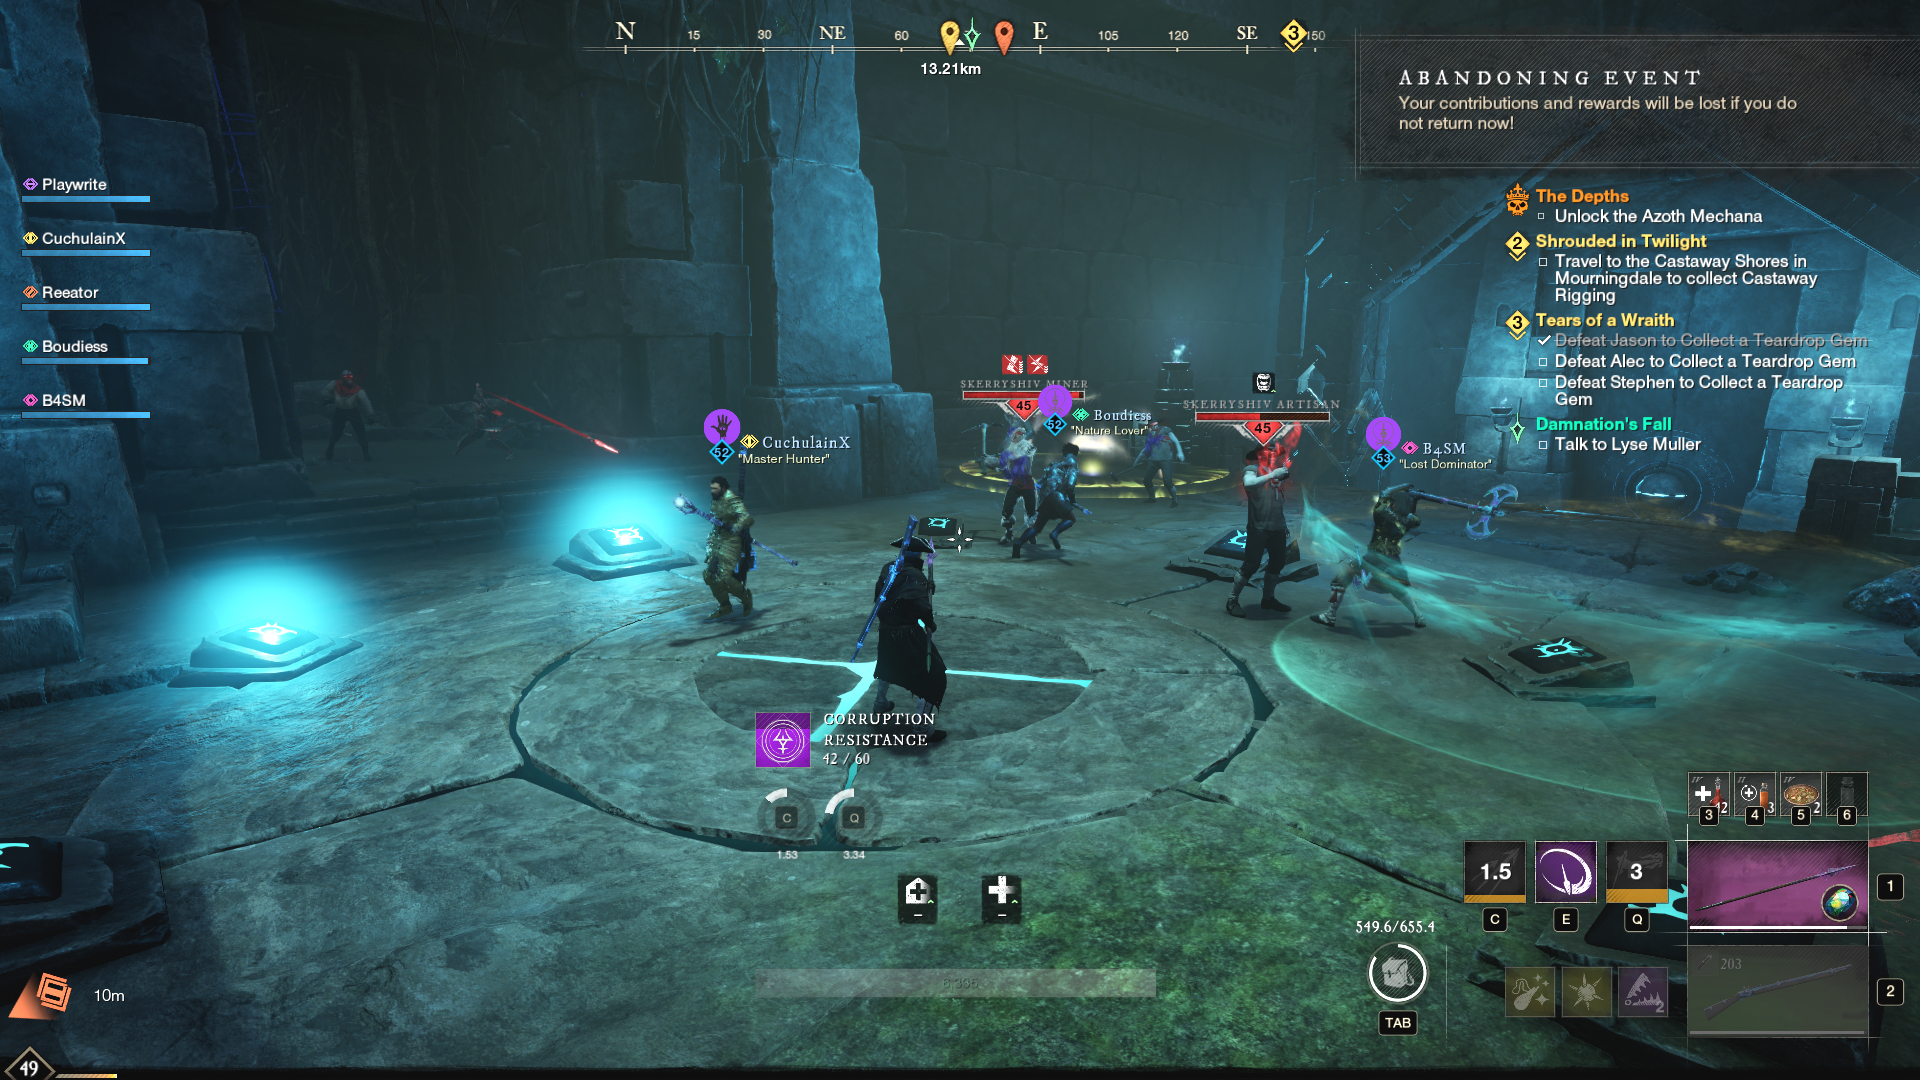
That will take you to a challenge room of sorts. There is a central switch that one party member needs to stand on. When you do so, enemies are summoned. If you keep your healer central and everyone else tries to pull enemies into the middle, you’ll be fine. If you’re getting overwhelmed, step off the platform and clear out the room. Once all the glyphs around the switch are lit up, and all the enemies are dead, you will be able to use your Azoth staff to open the door.
Fight your way through the enemies beyond, there’s no way to get lost. However, once you activate the next Ancient Azoth Seal and head up the stairs, hang right to find a bonus boss, Despar. As with all the bosses you’ve encountered in the dungeon so far, he really isn’t a big deal. There’s a chest in the room to the right of where Despar spawns.
After dispatching the wannabe boss, make your way across the bridge and along the corridor to the checkpoint. Beyond that, you’ll actually face a challenging fight.
Archdeacon Azamela
This boss will seem straightforward at first. You get in his face and deal as much damage as you can, while dispatching the hounds whenever he summons them. Your tank should try to keep him facing away from the rest of the party so they don’t get hit with his demonic hand spell. It can hurt.
At 50% health, Azamela will run to the center of the room, become invulnerable, and start summoning mines. Your party needs to split up at this point. The tank and one DPS should stay in the center and kill mines as soon as they spawn. The other three party members should take one of the teleporters to go kill the enemies around the monolith. Once you do, an orb will spawn at the base of the monolith. You need to kill that to destroy the monolith. Once that’s done, the players who used the teleporter will be returned to the center platform. If you take too long to destroy the monolith, Azamela will start spawning too many mines and your team will wipe.
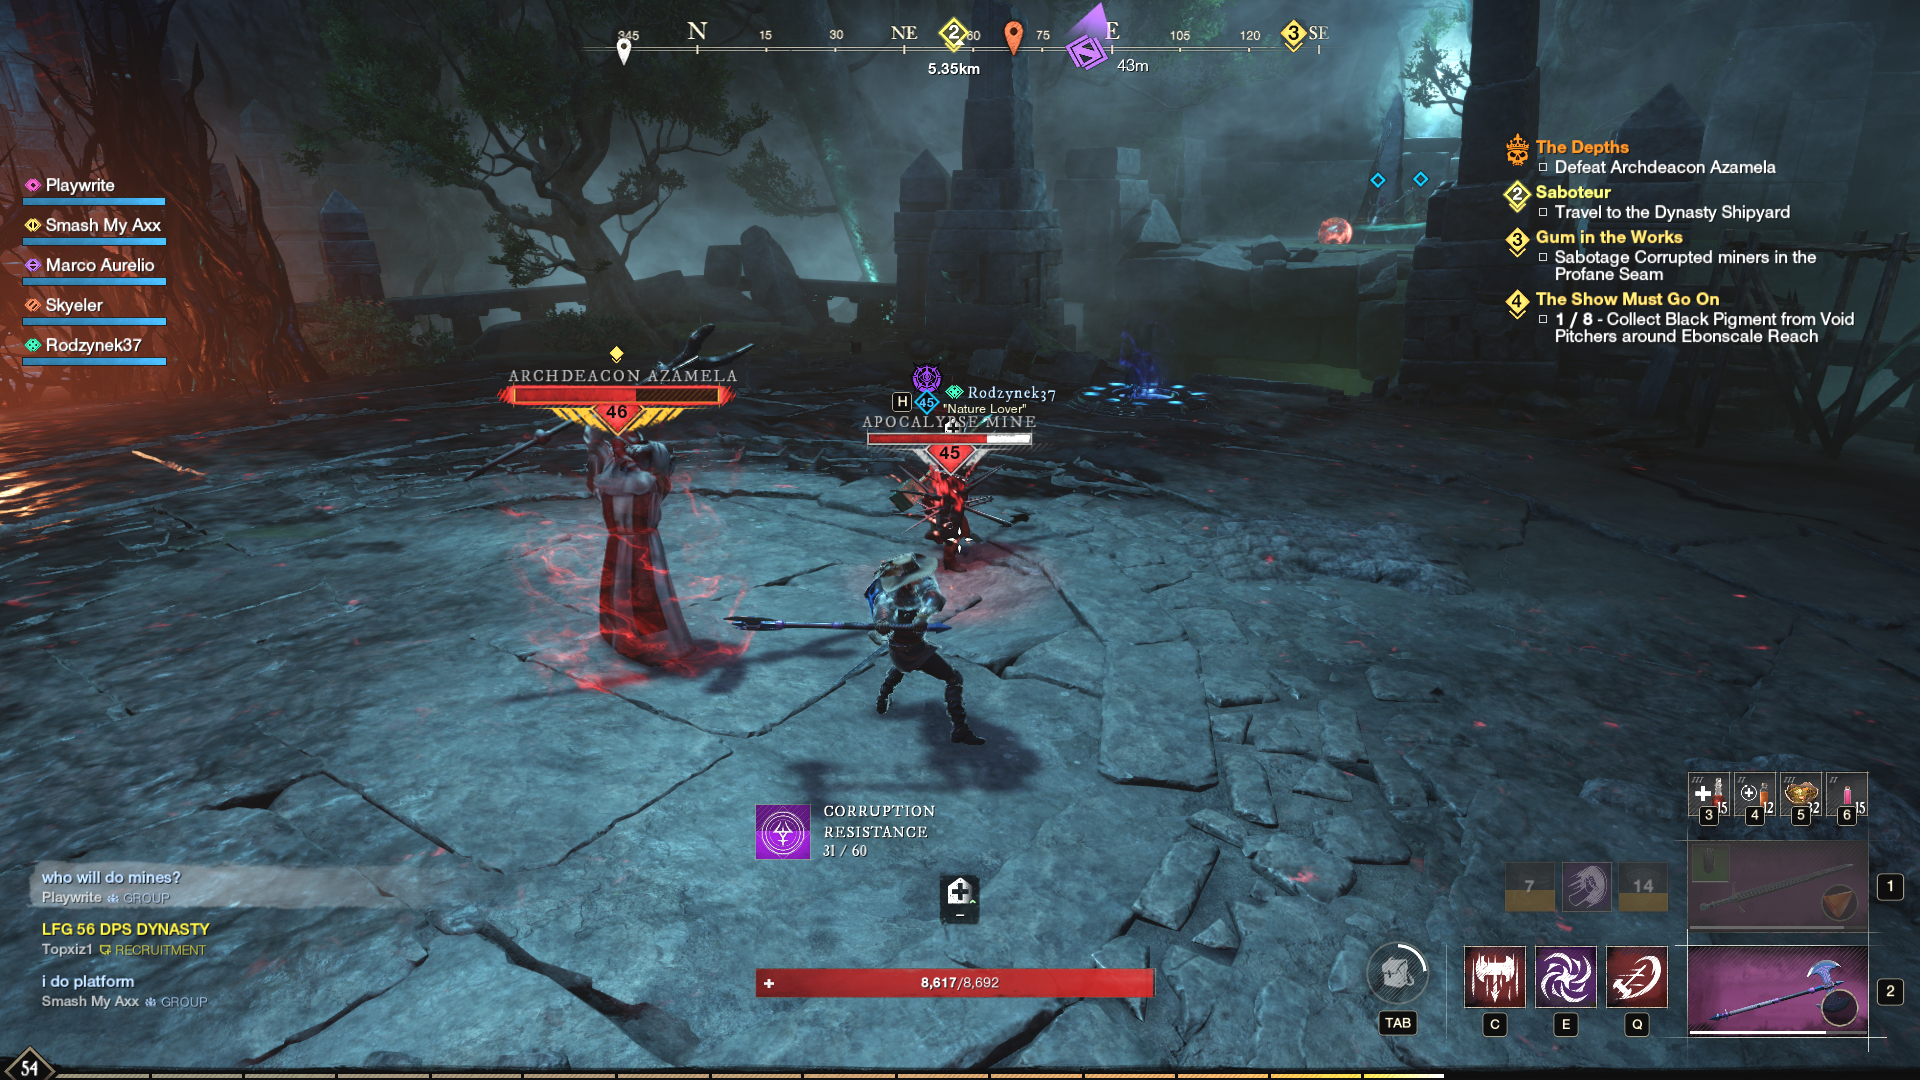
You will need to repeat this process a second time during the fight. However, this time there will be two monoliths and two teleporters. Make sure your strike team of three all hit the same teleporter. Make short work on the enemies and first monolith, then head across and take out the second one. The two DPS who aren’t destroying the monolith’s orb should look to help kill mines in the central area with ranged weapons.
The road to Thorpe
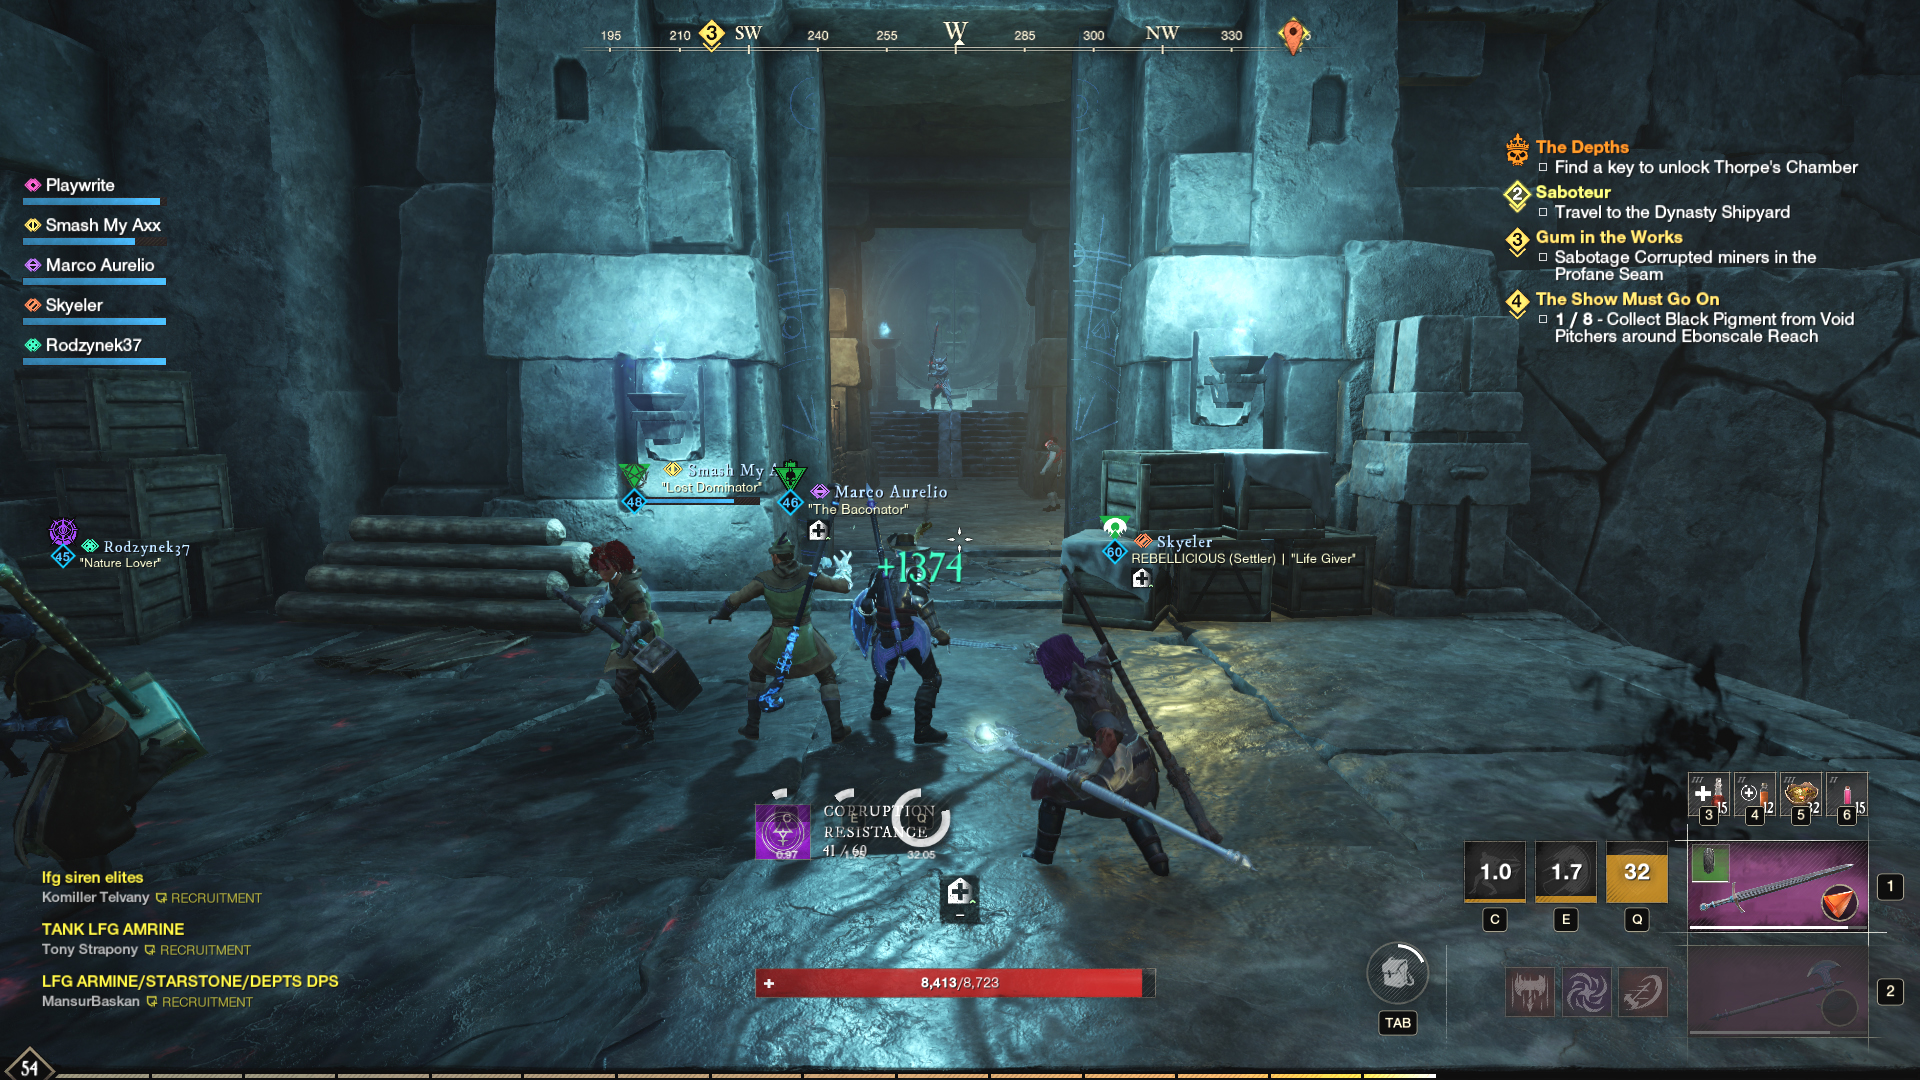
Once you kill Archdeacon Azamela, you will be able to loot a chest that gives you Thorpe’s Key. Head down the corridor to the next teleporter, and use it to return to the core. Fight your way around the core until you reach the Corrupted Shrine. Don’t take any of the teleporters on the outside. Use the key on the shrine to open the gate and expose the Carapace at the heart of the core. Destroy that and teleport up. Don’t miss the chest just inside the heart of the core.
Once you’re through the teleporter, you’ll need to dispatch a corrupted bear by the name of Archibald. Again, no complex mechanics here. Your party can disable him easily with heavy attacks. If your tank draws aggro and everyone else hits him in the back, you’ll be rid of him in no time.
You’ll then fight your way to the next monolith. Three members of your party need to use their Azoth staves to destroy it. After that, you’re making a straight run to Thorpe’s room.
The Depths final boss: Commander Thorpe
Commander Thorpe hits very hard and will not always remain focused on the tank. If you’re not the tank, you need to be quick on your dodge button when Thorpe targets you. There are three phases to get through, so it’s a long fight.
A good strategy for taking down Commander Thorpe is to spread out around the room, so no one gets cleaved by his attacks. If you’re running a few melee damage dealers, just make sure you’re always behind Thorpe while attacking. And watch out for his Corrupted Blast. He’ll stab his sword into the ground to telegraph the attack, which deals damage around him. You can also listen for him saying, “Time to tase corrupted steel.” You also need to look out for him pointing at you. This will be followed up by an energy blast you need to dodge.
When Thorpe says, “This will be the last time we meet,” he’ll float into the center of the room and summon two monsters. The tank needs to pick up the aggro of these beasties, and the team needs to destroy them as fast as possible. Just watch out for Thorpe rushing or firing at you during this time because things get a little chaotic.
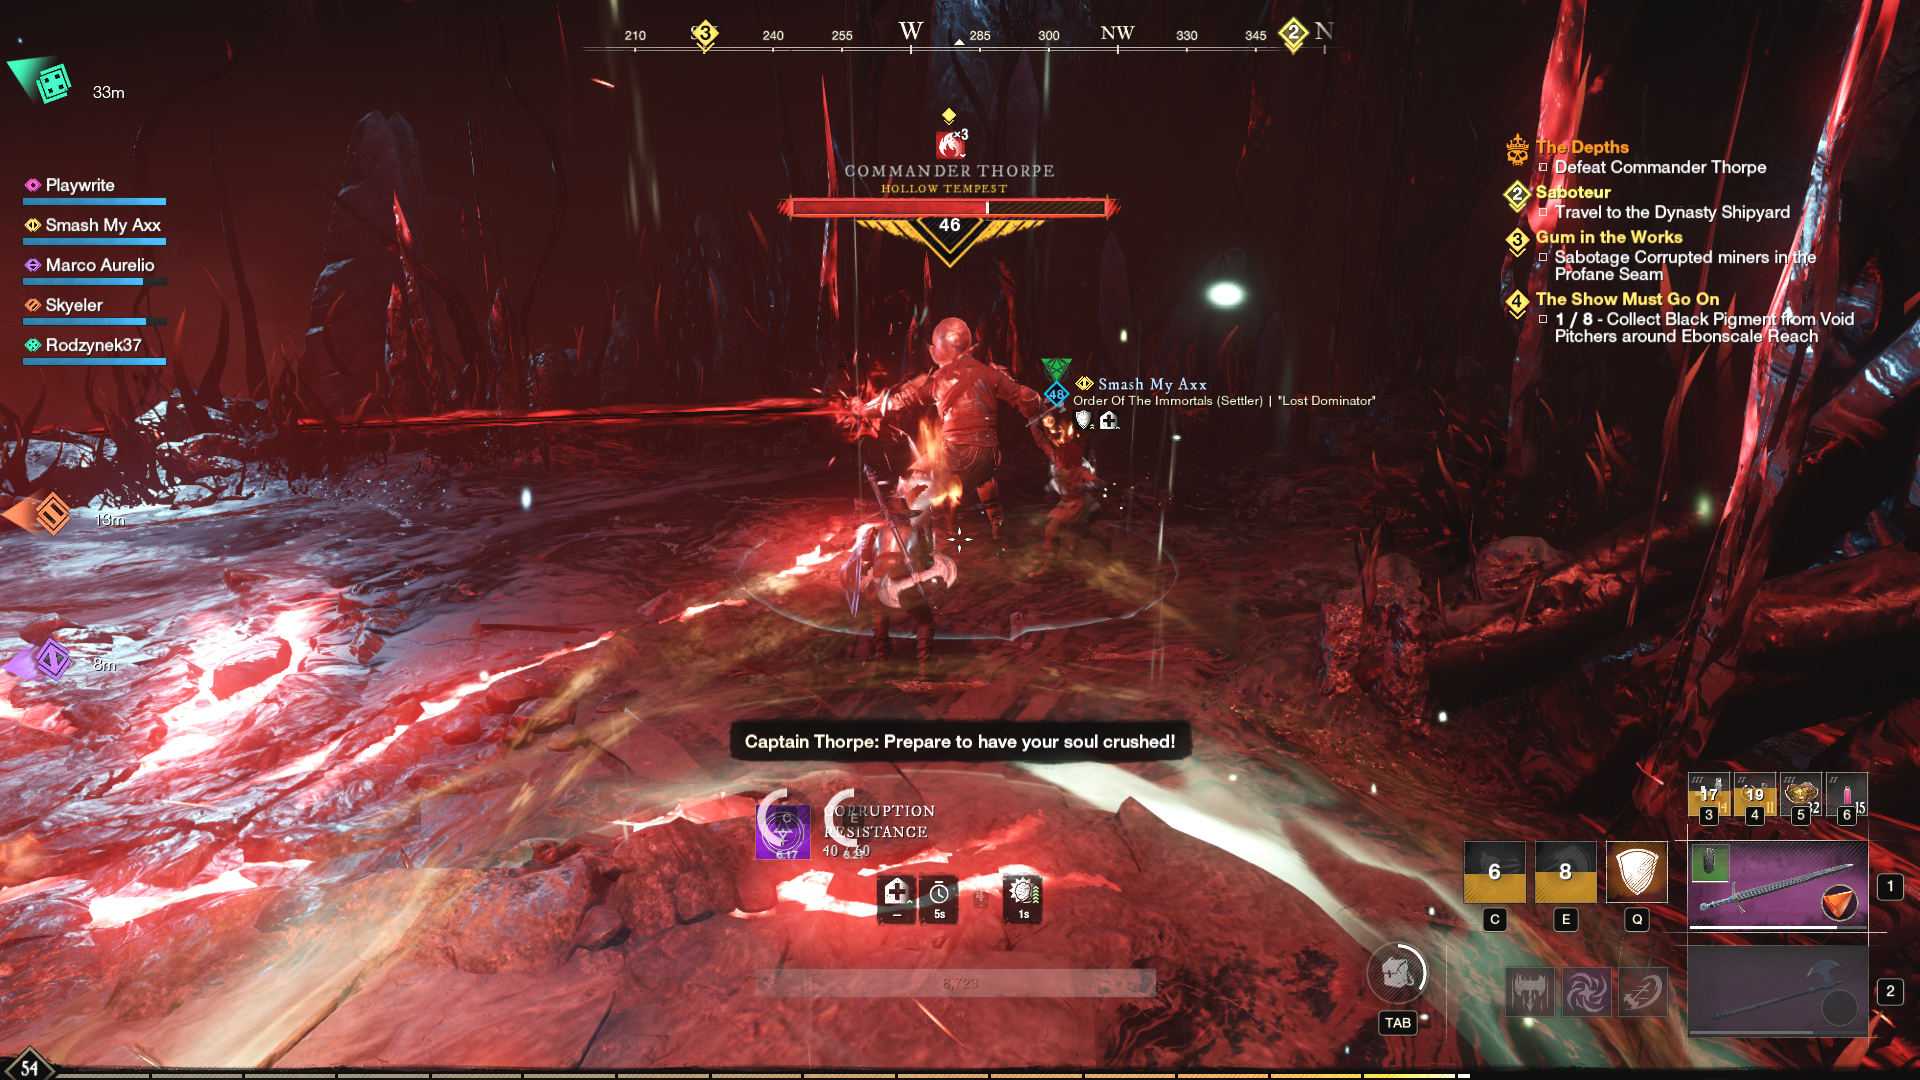
Thorpe’s most devastating move is a laser that shoots out of his finger like Frieza from Dragon Ball Z, but the visual cue is easy to spot. Listen for him saying, “Prepare to have your soul crushed.” He’ll sweep the laser across the room. So, when you hear the cue, quickly run behind him and hack away for some good damage.
After Commander Thorpe is defeated, you’re done with this New World dungeon guide and The Depths Expedition. Hopefully, you got one of the rare drops.


Published: Nov 9, 2021 05:00 pm