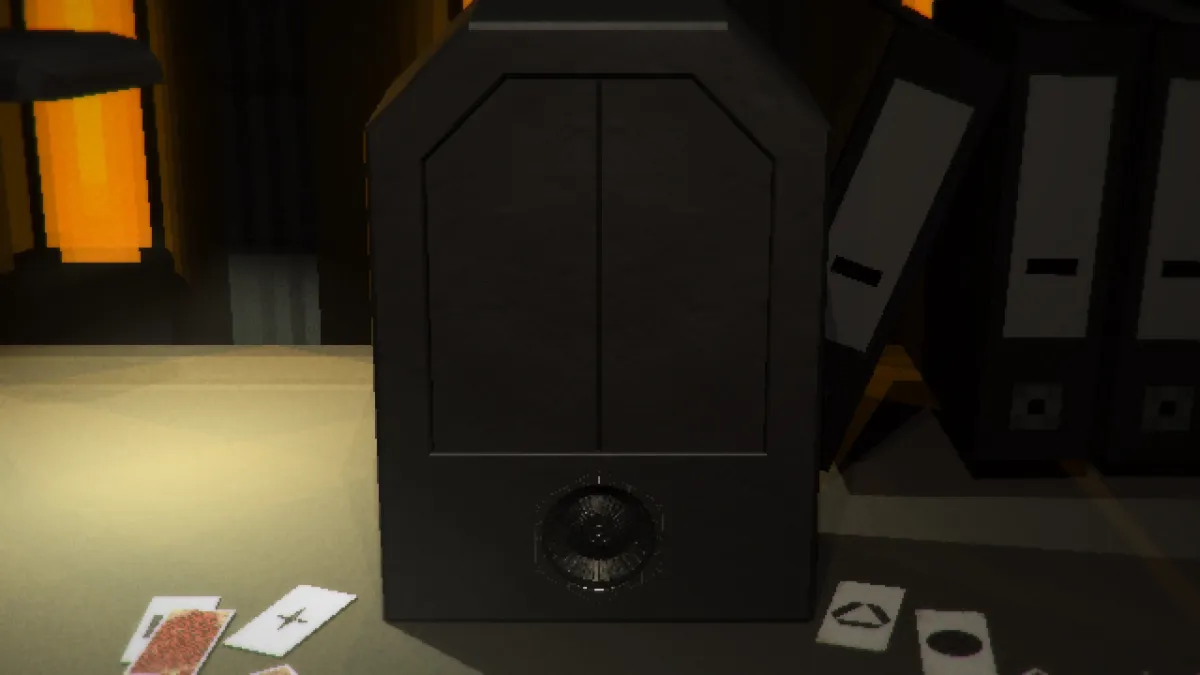
There are so many things to do in Signalis‘ Protektors area. Assuming you’ve activated the Paternoster Lift and acquired the Flashlight Module, you’ll be able to explore various rooms. In doing so, you’ll obtain the Hummingbird Key from Falke’s Music Box. What should you do next? Well, here’s our Signalis guide to help you with the Astrolabe Shrine Box puzzle, Library Key, and Eagle Key. Completing all of these gives you access to the mineshaft and the next chapter in the game.
Note: For more information, check out our Signalis guides and features hub.
Signalis: Astrolabe Shrine Box puzzle, Library Key, and Eagle Key guide
B8: Eagle Key and Postbox Key
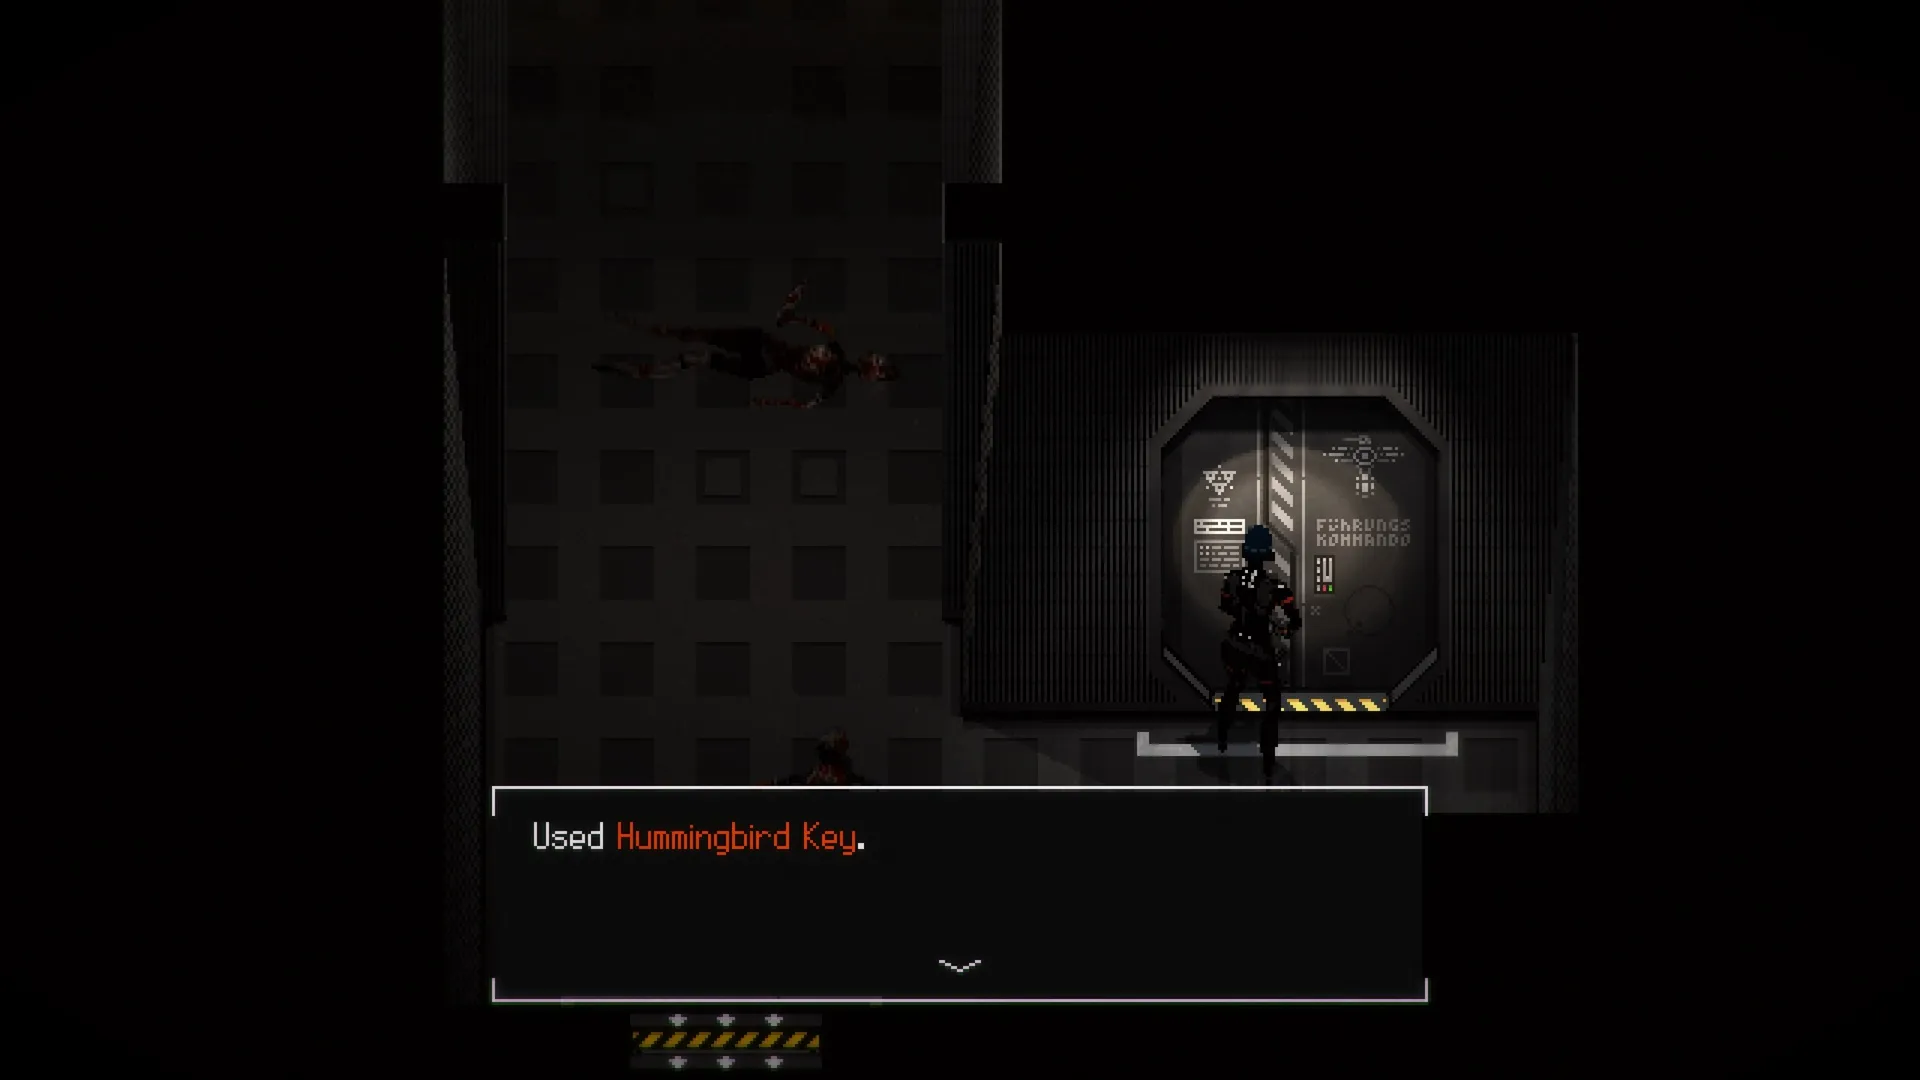
Let’s say you already have the Hummingbird Key. The next thing you should do is head to the East Hallway in B8 and enter KLBR Study. You’ll obtain the Eagle Key here.
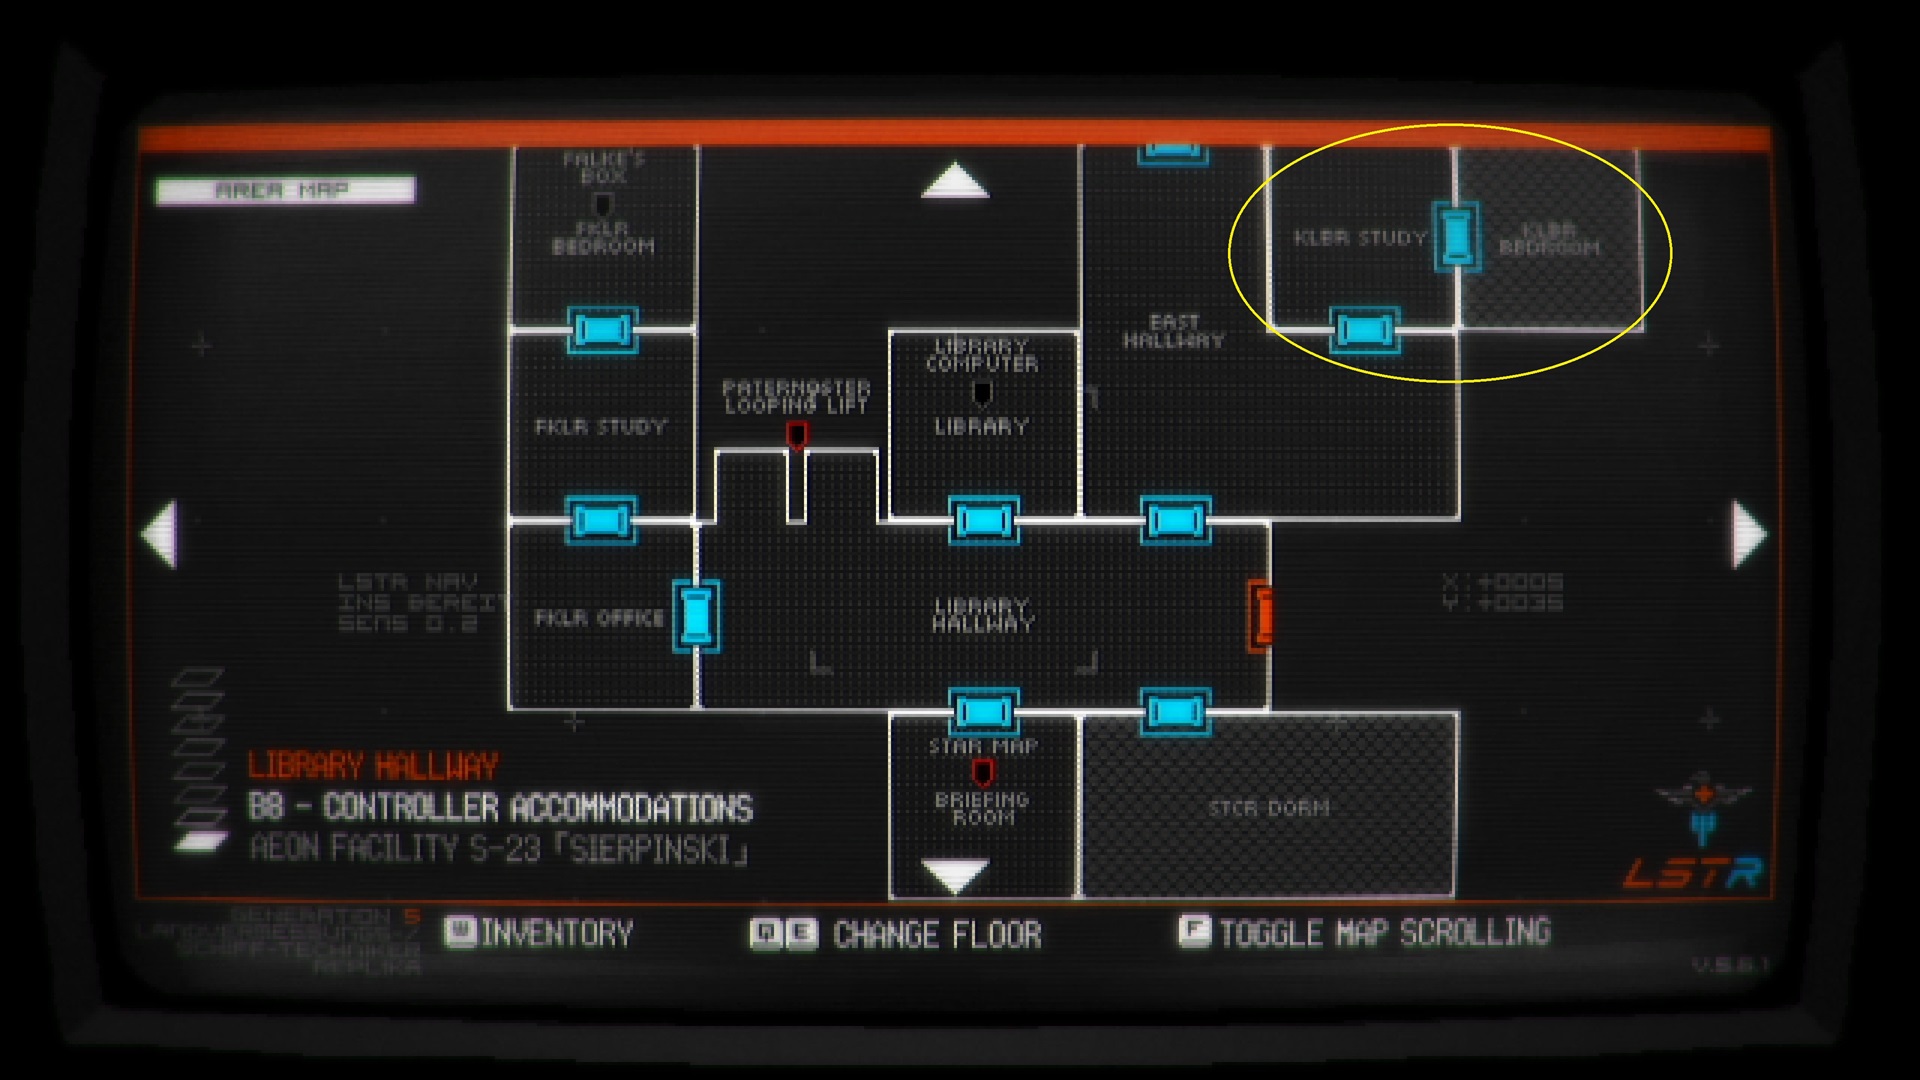
Enter the KLBR Bedroom to the right and prepare for hostiles. The monsters here will slowly corrupt Elster, so pay attention to the radio frequencies that flash on your screen.
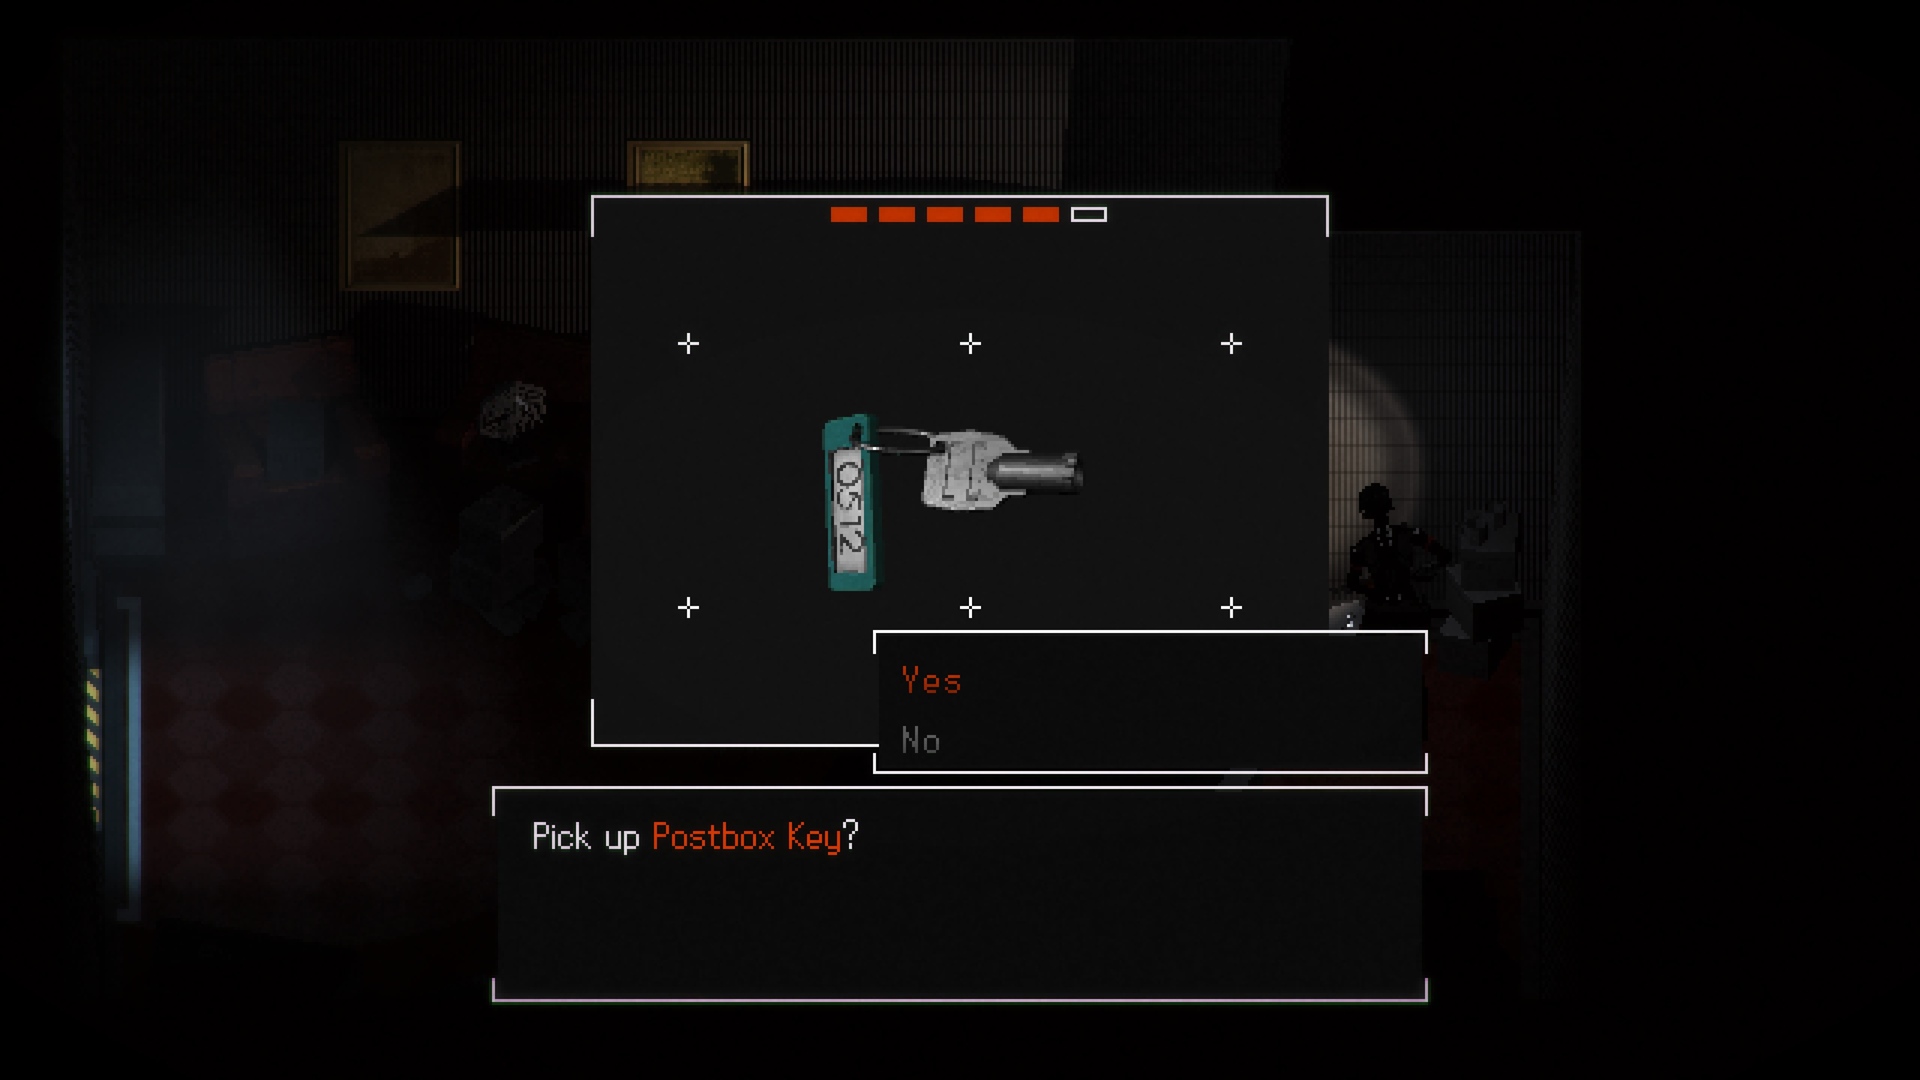
When you see the first one, open your menu and tune the radio to that frequency. Do the same for the next two so you can instantly kill the hostiles. Once defeated, you can pick up the Postbox Key.
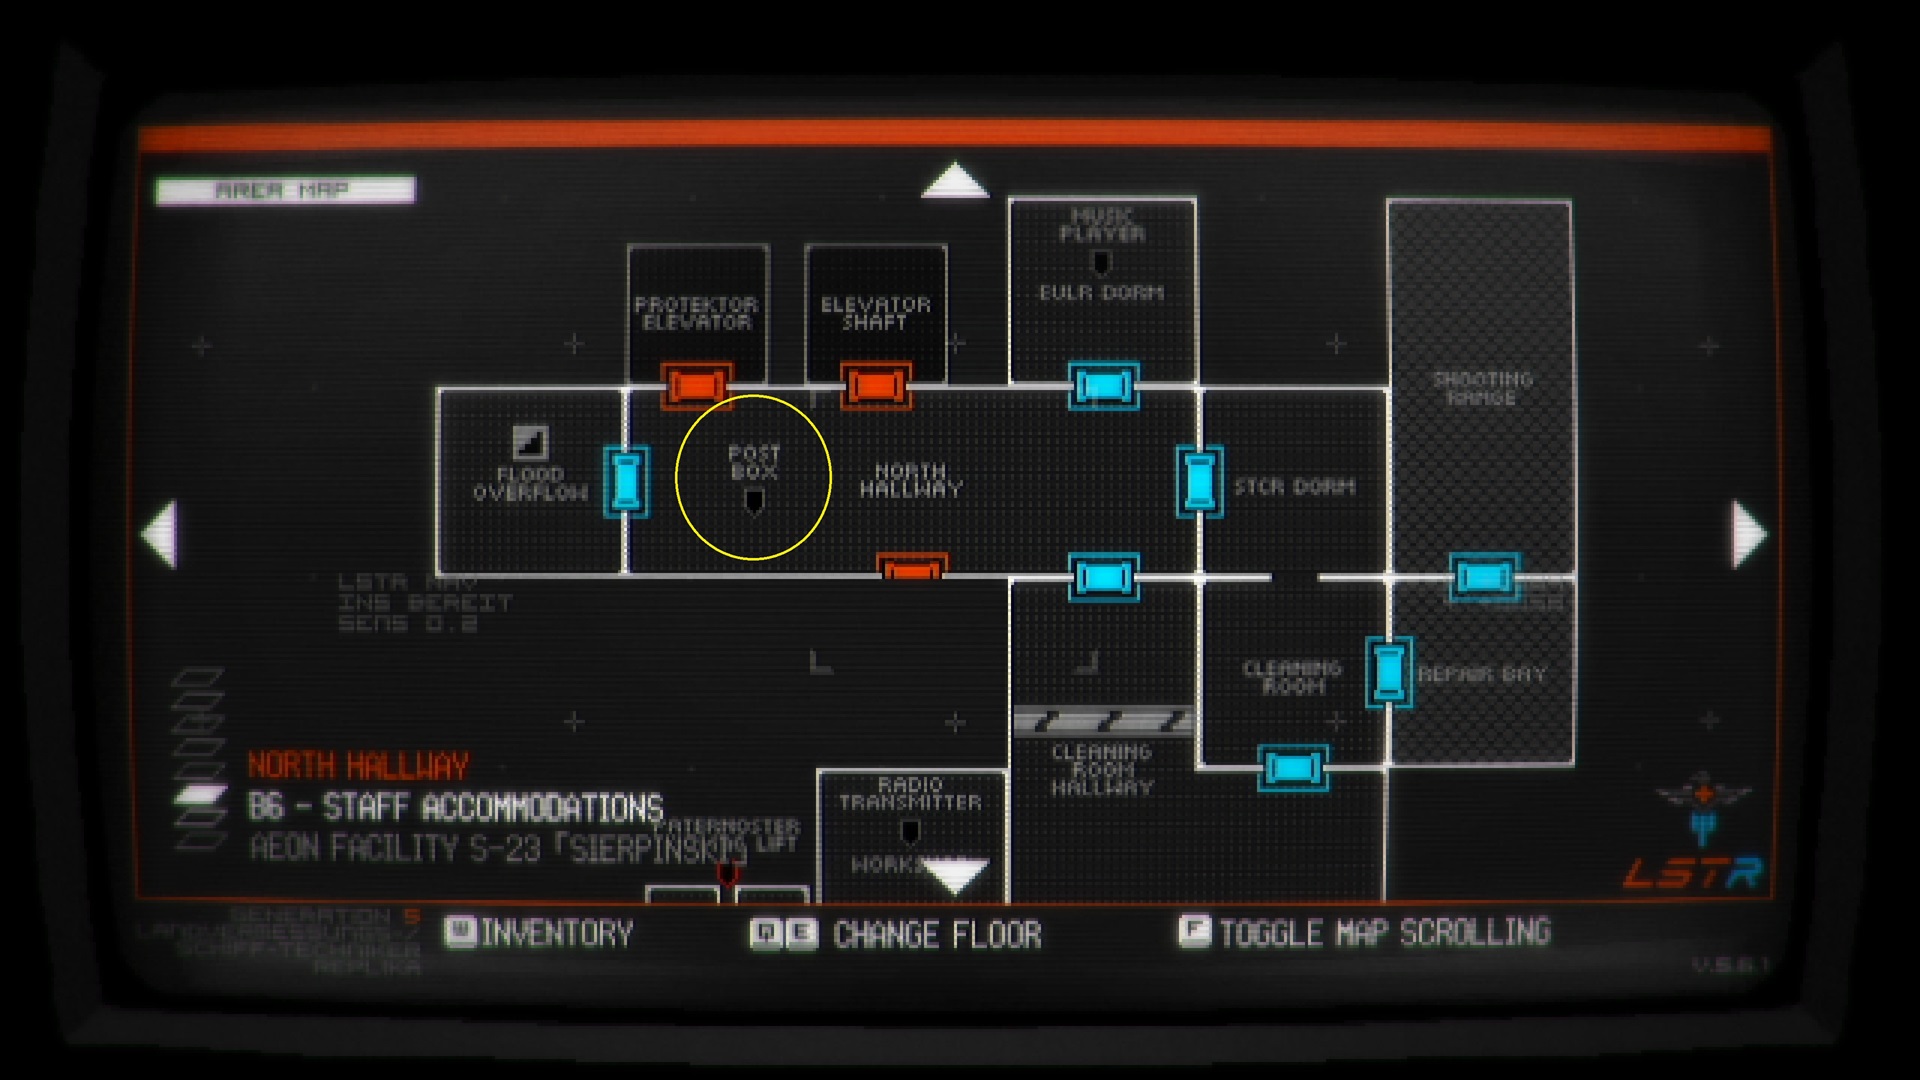
B6: Postbox and Library Key
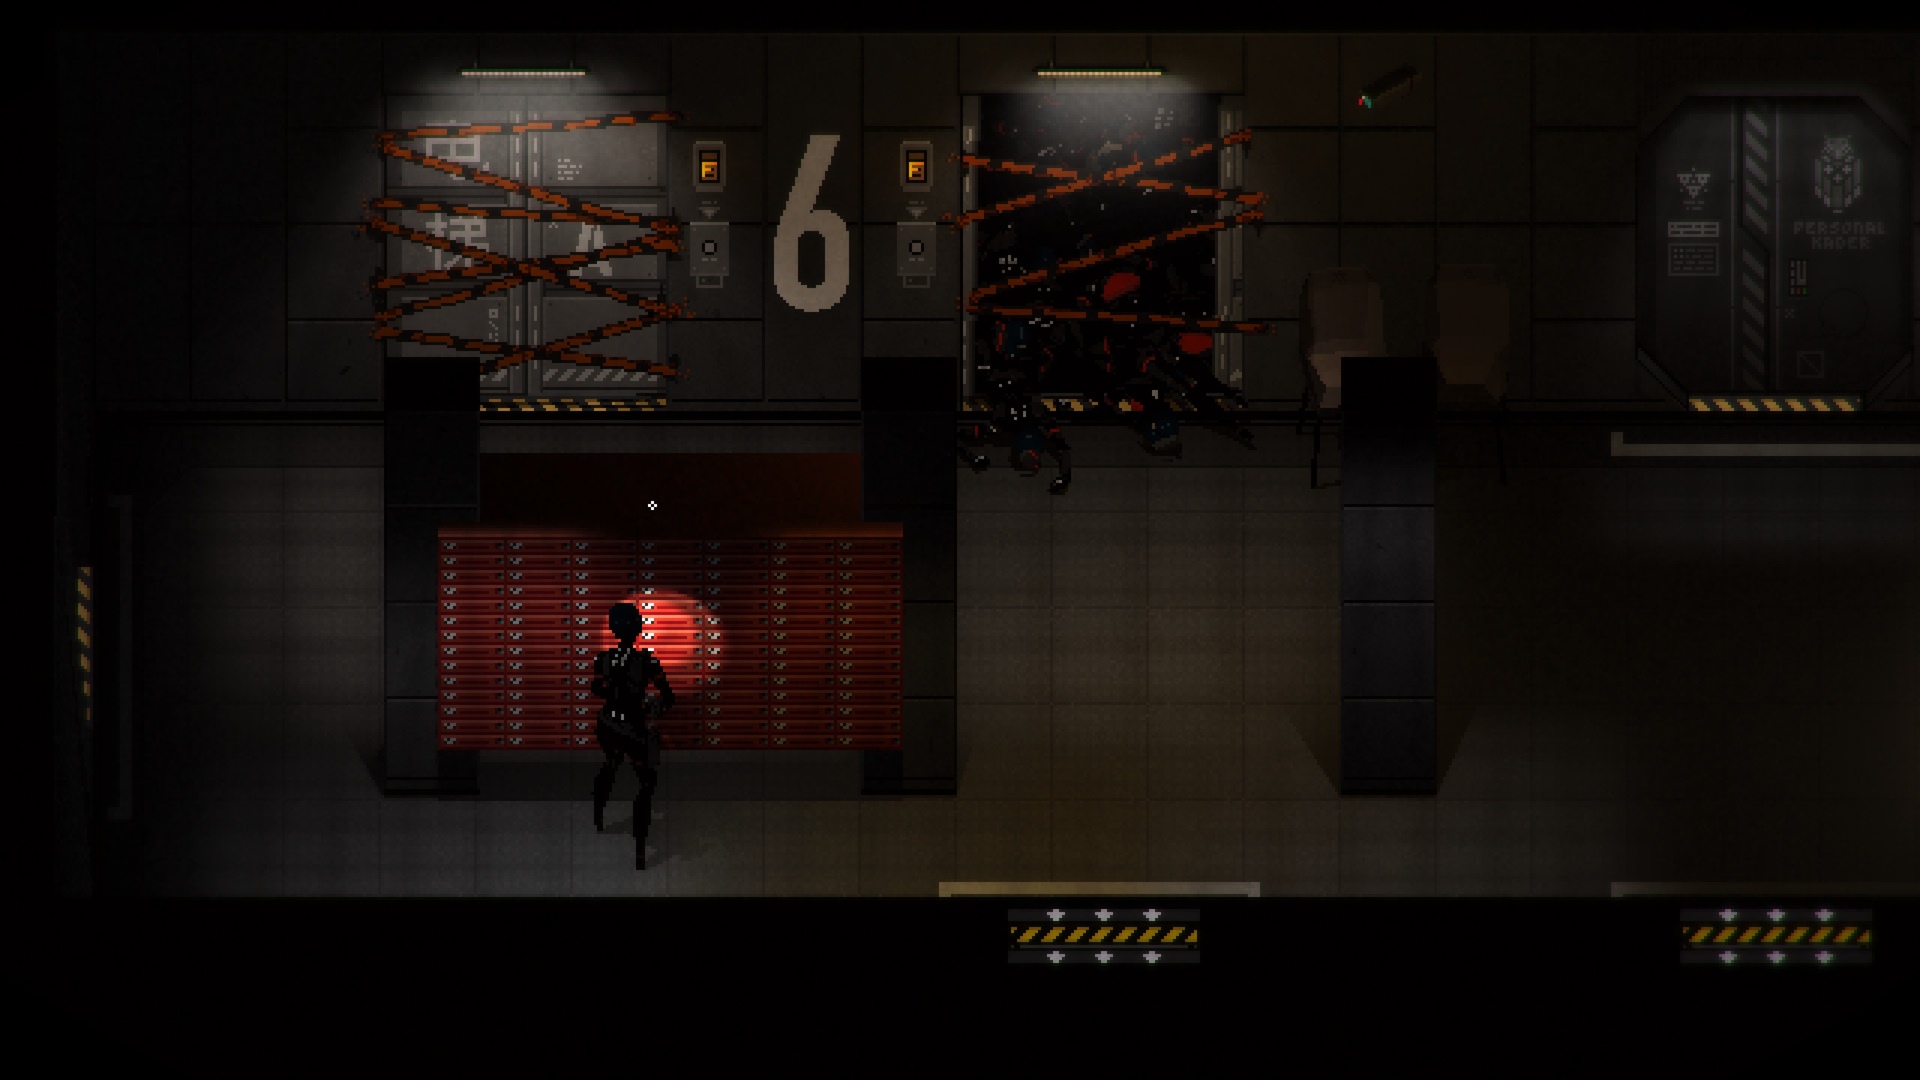
This Postbox Key unlocks — you guessed it — the Postbox in the B6 area. Grab the Library Key here.
B8: Library and Astrolabe puzzle
Make your way back to B8 and unlock the Library. Inside, there’s a Kolibri replicant unit, as well as the Library puzzle.

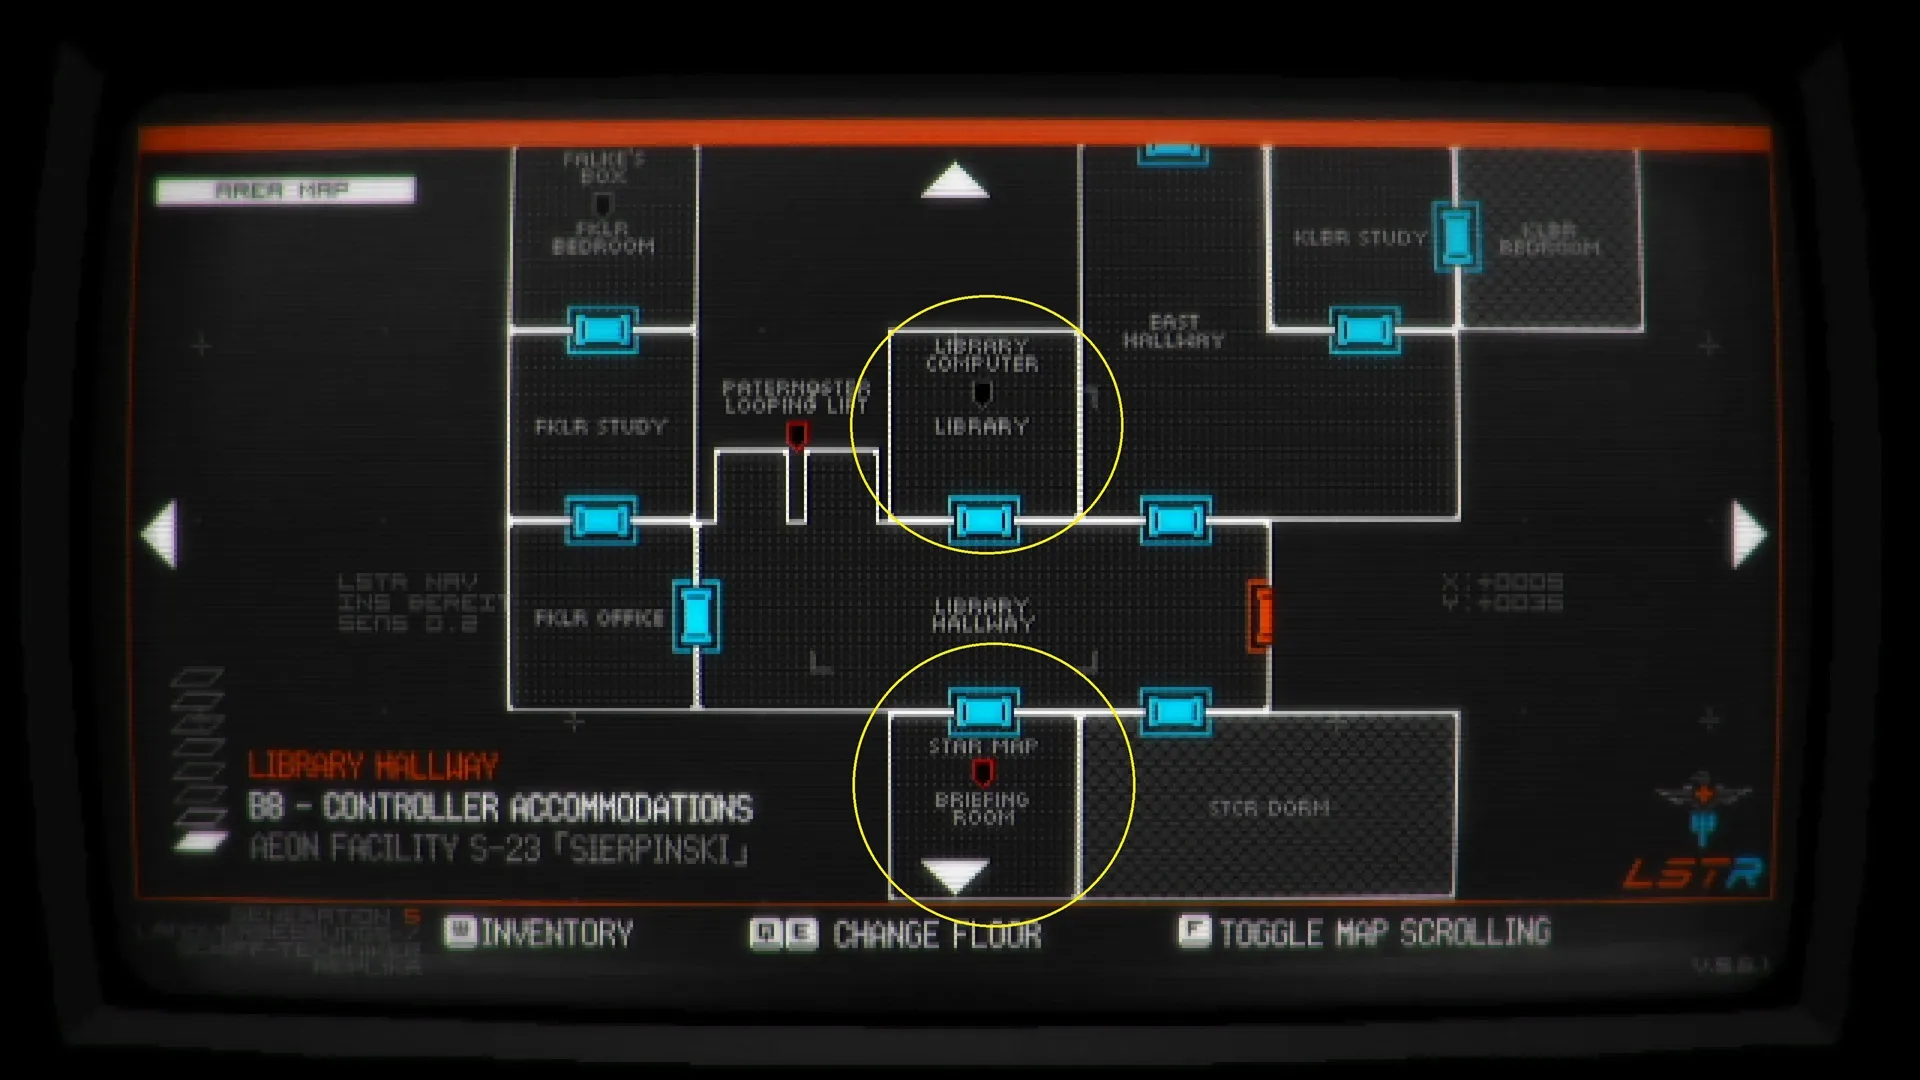
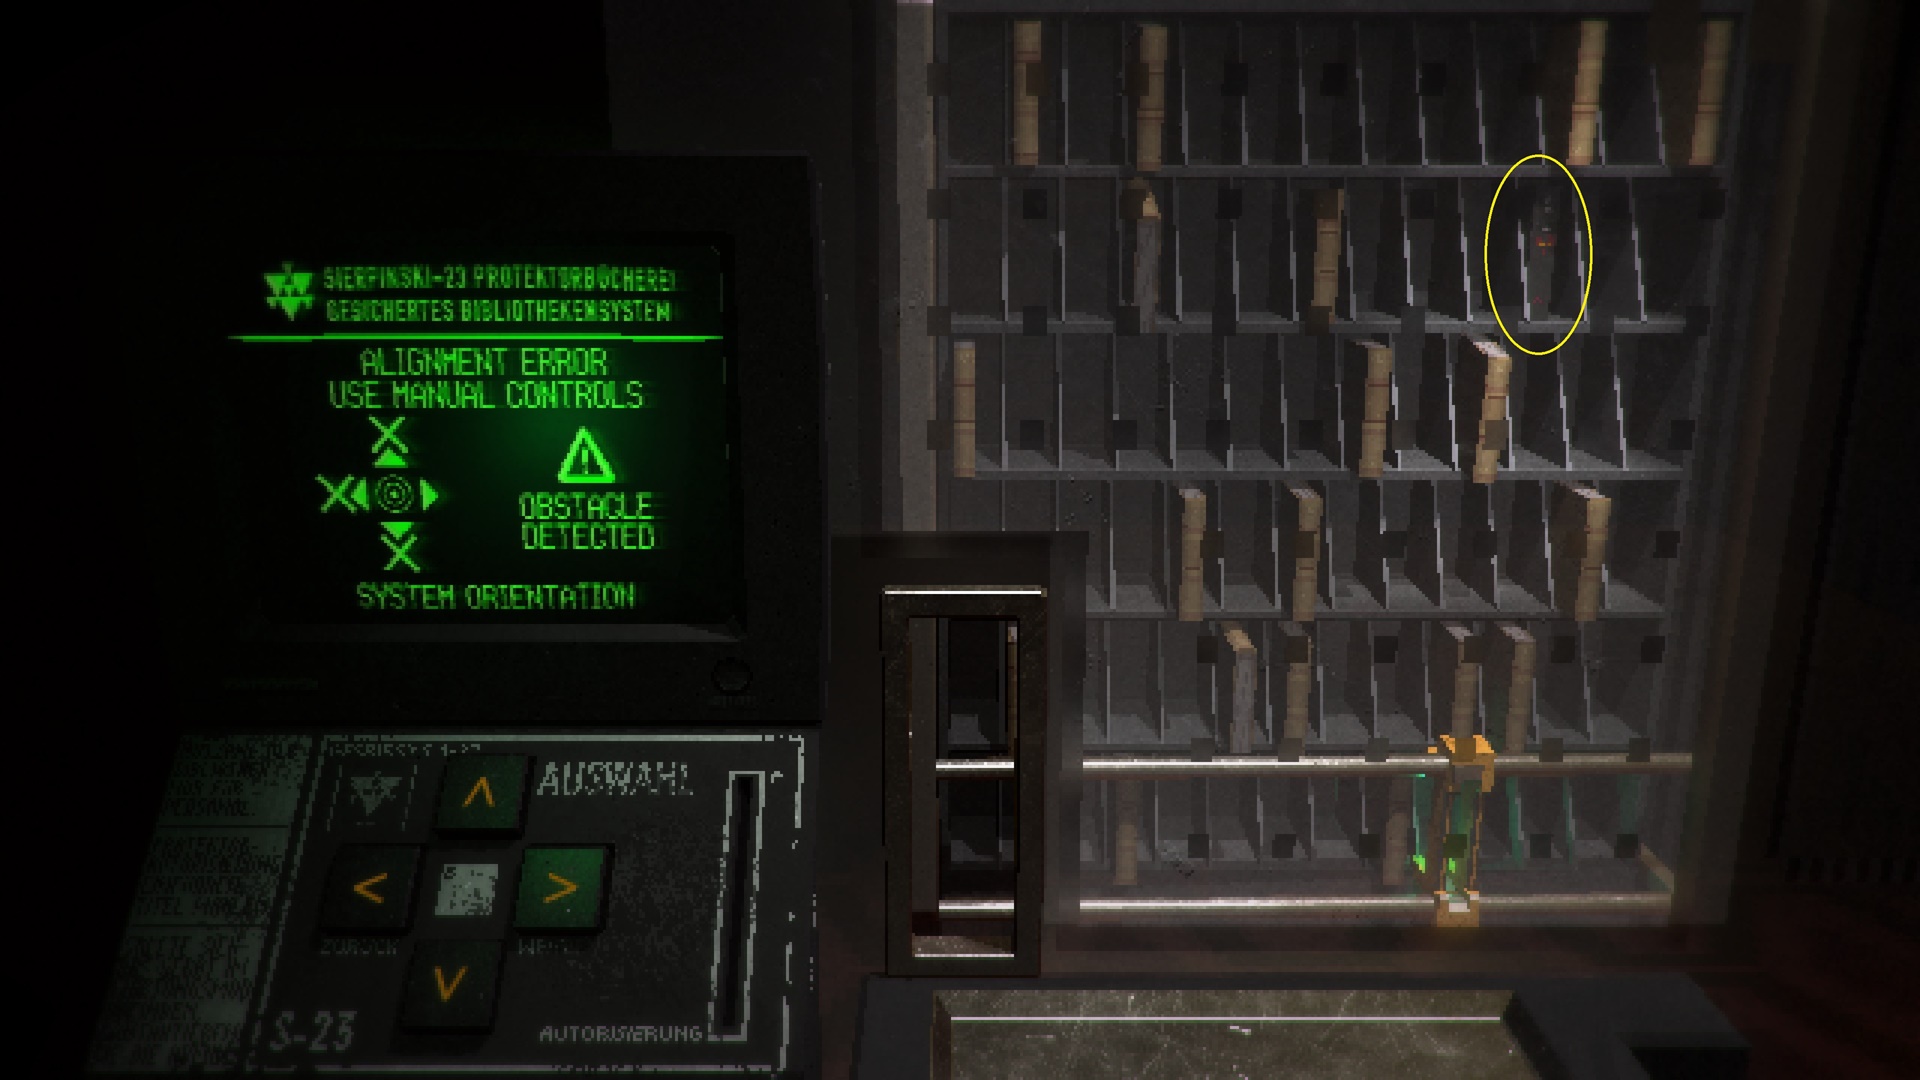
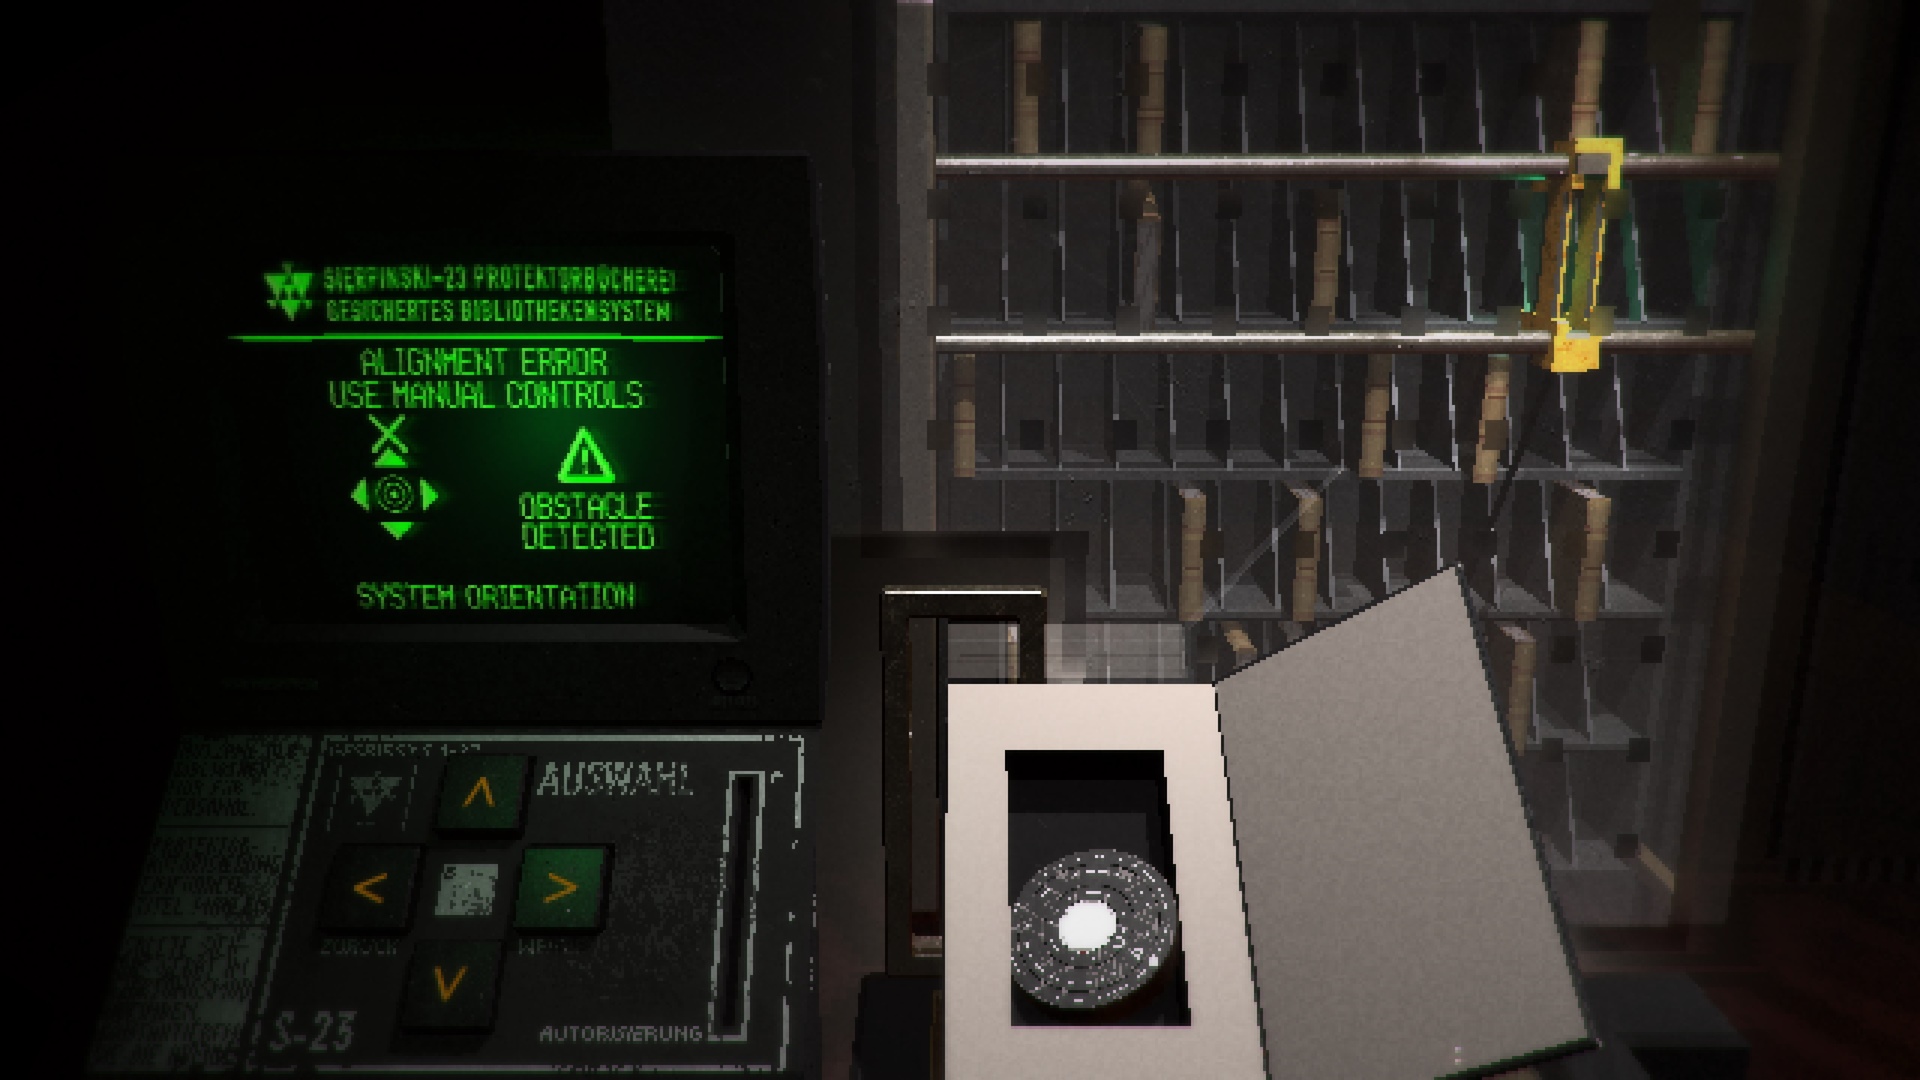
The Library and Astrolabe puzzle in Signalis requires you to move the object around using the controls on the left side. However, each block will cause that object to stop.
The goal is to make the object reach the indentation with a red mark, which will net you the Astrolabe.
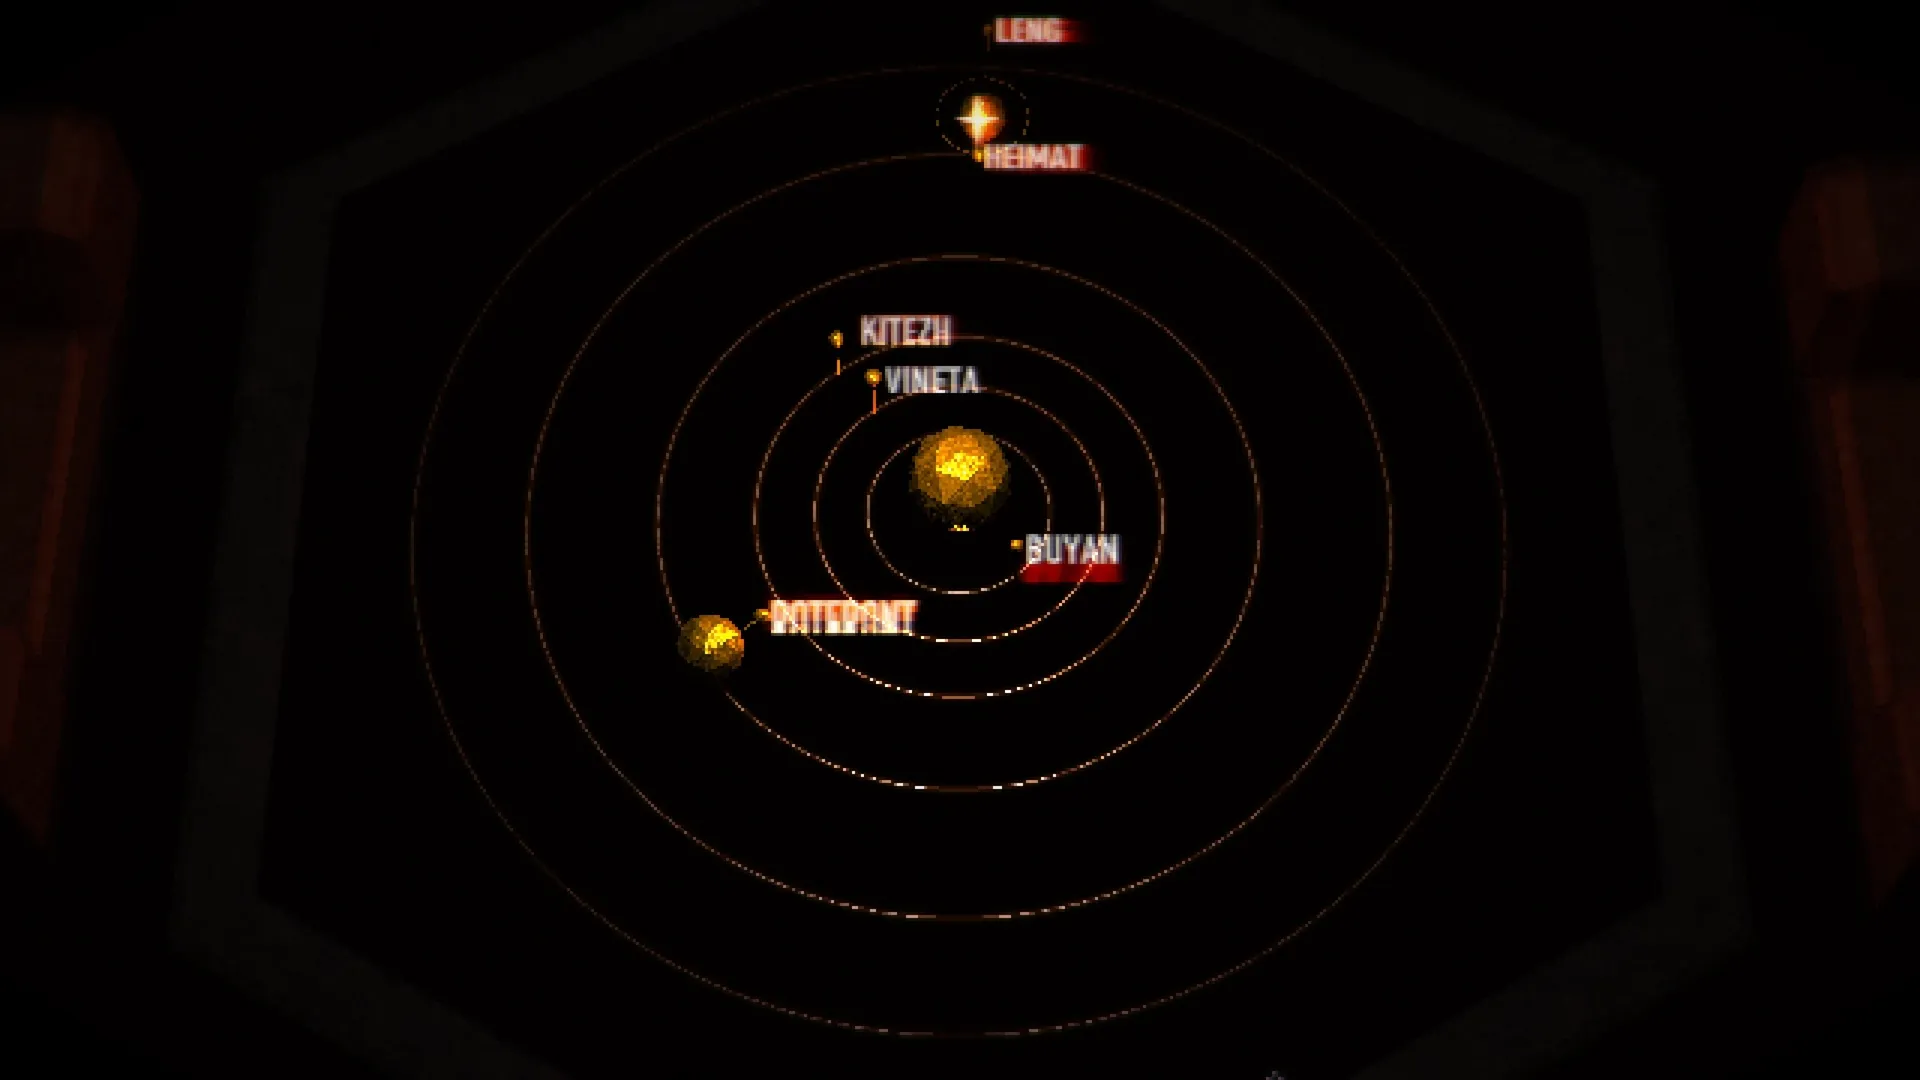
B8: Star Room and Planets
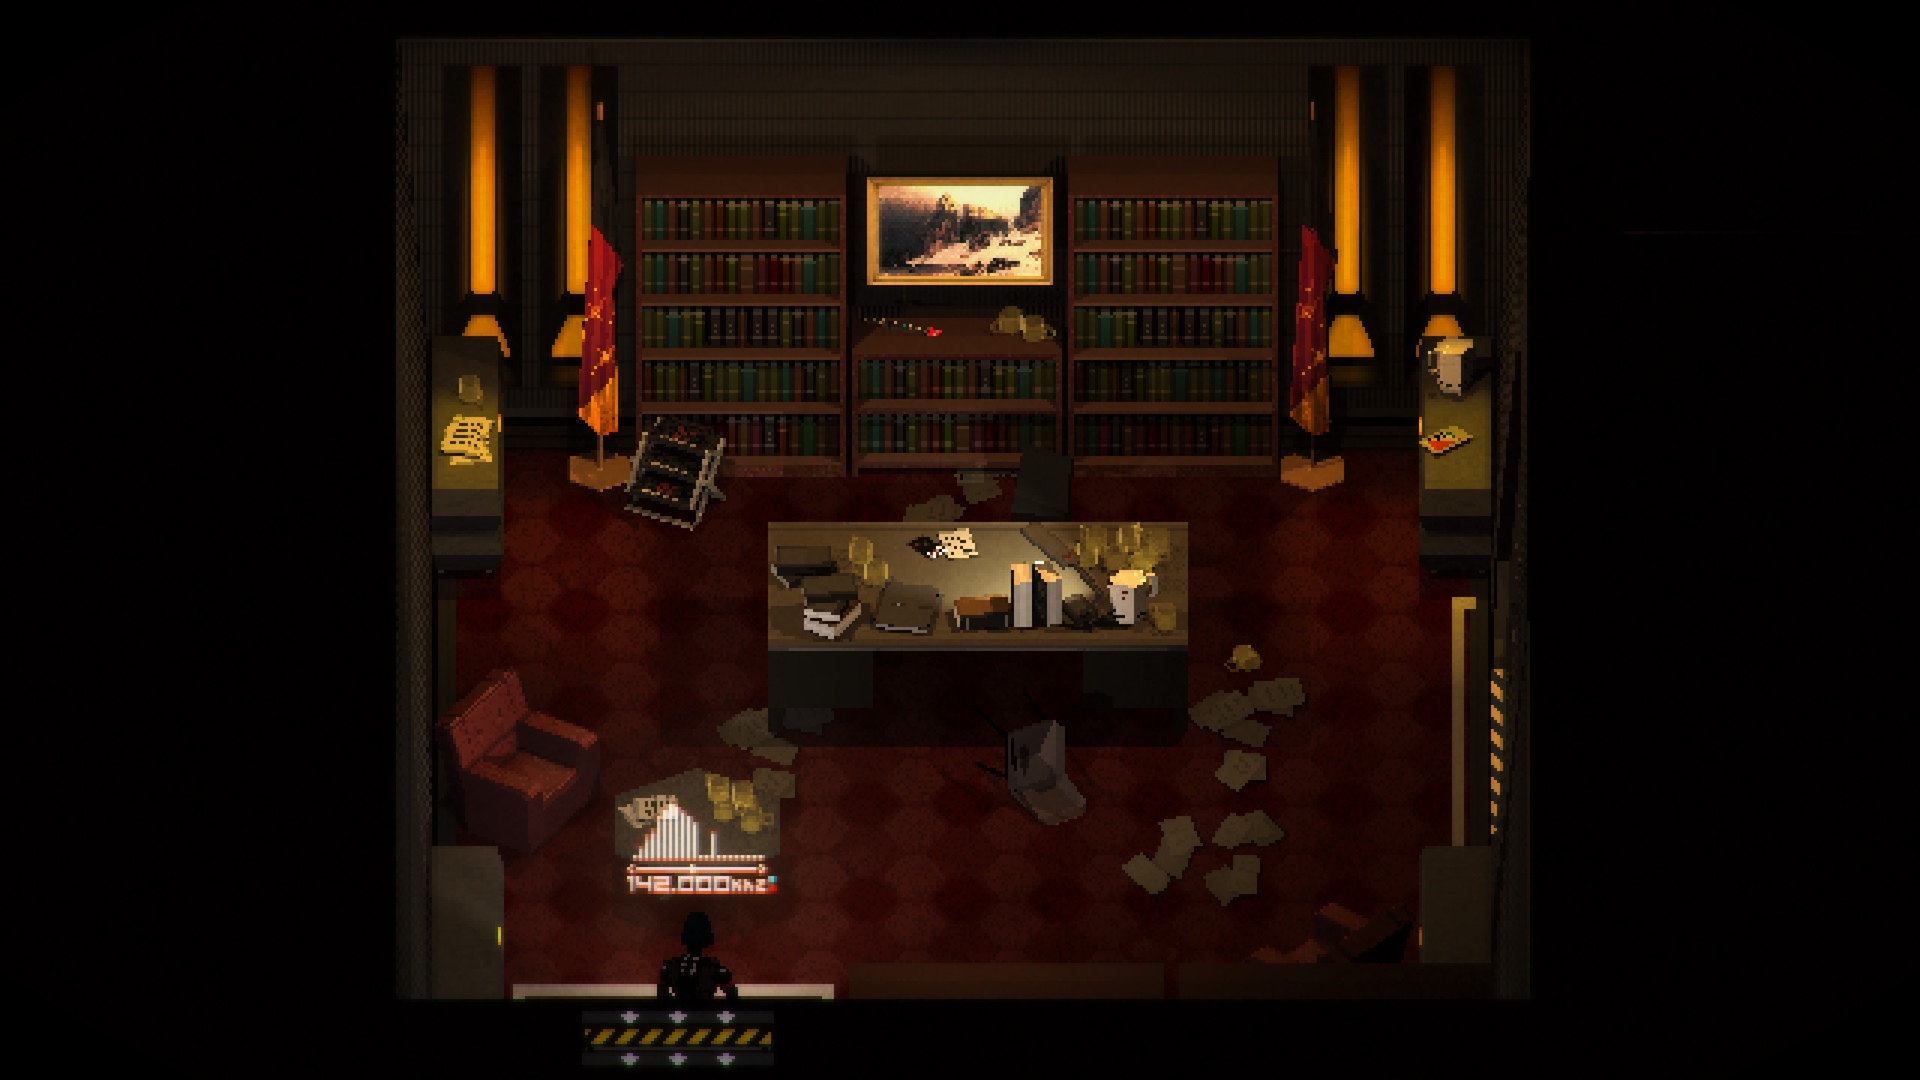
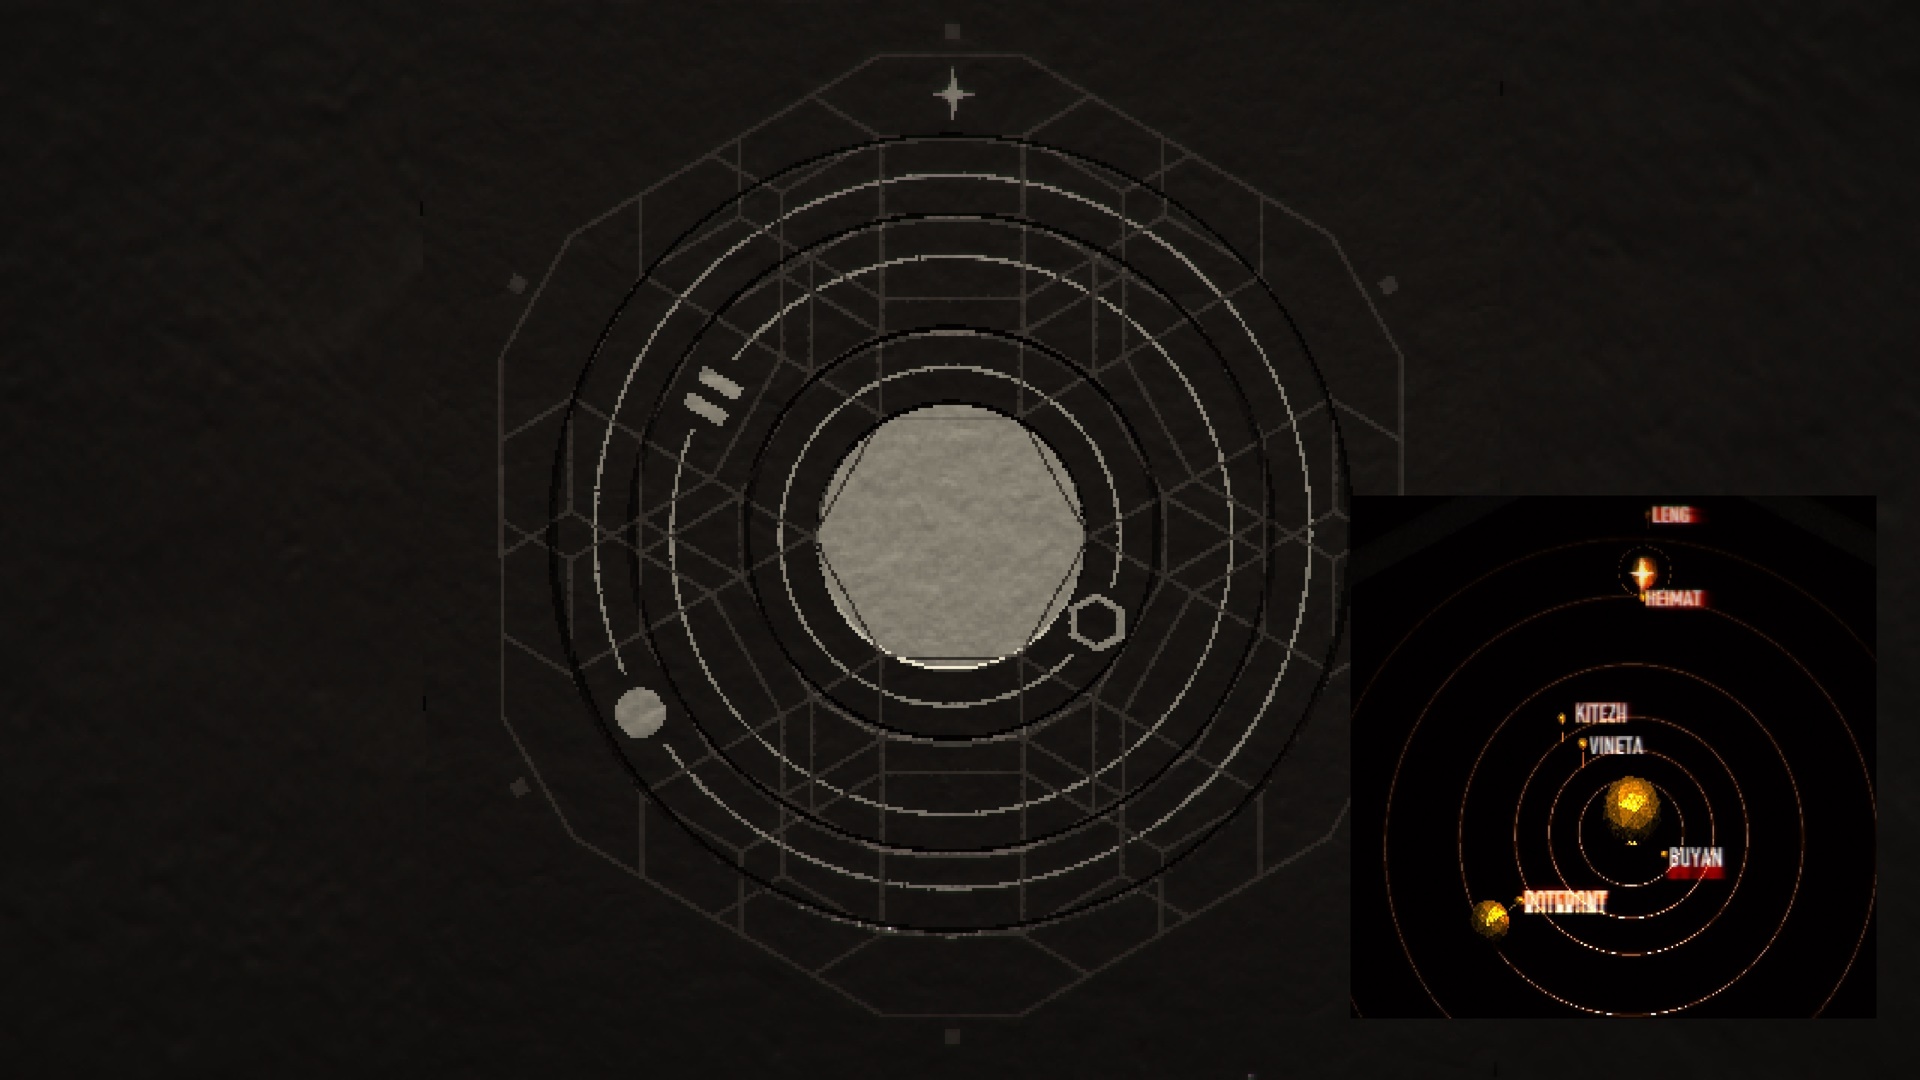
The Astrolabe is just one required item for the next puzzle. There’s also another clue, which is in the Star Room right across from the Library.
Here, you’ll see a chart depicting the movement of planets. The important one here is Heimat, which has a unique diamond icon. Take note of how each planet is aligned while Heimat is at the very top of the screen.
B8: Shrine Box Puzzle and Administrator’s Key
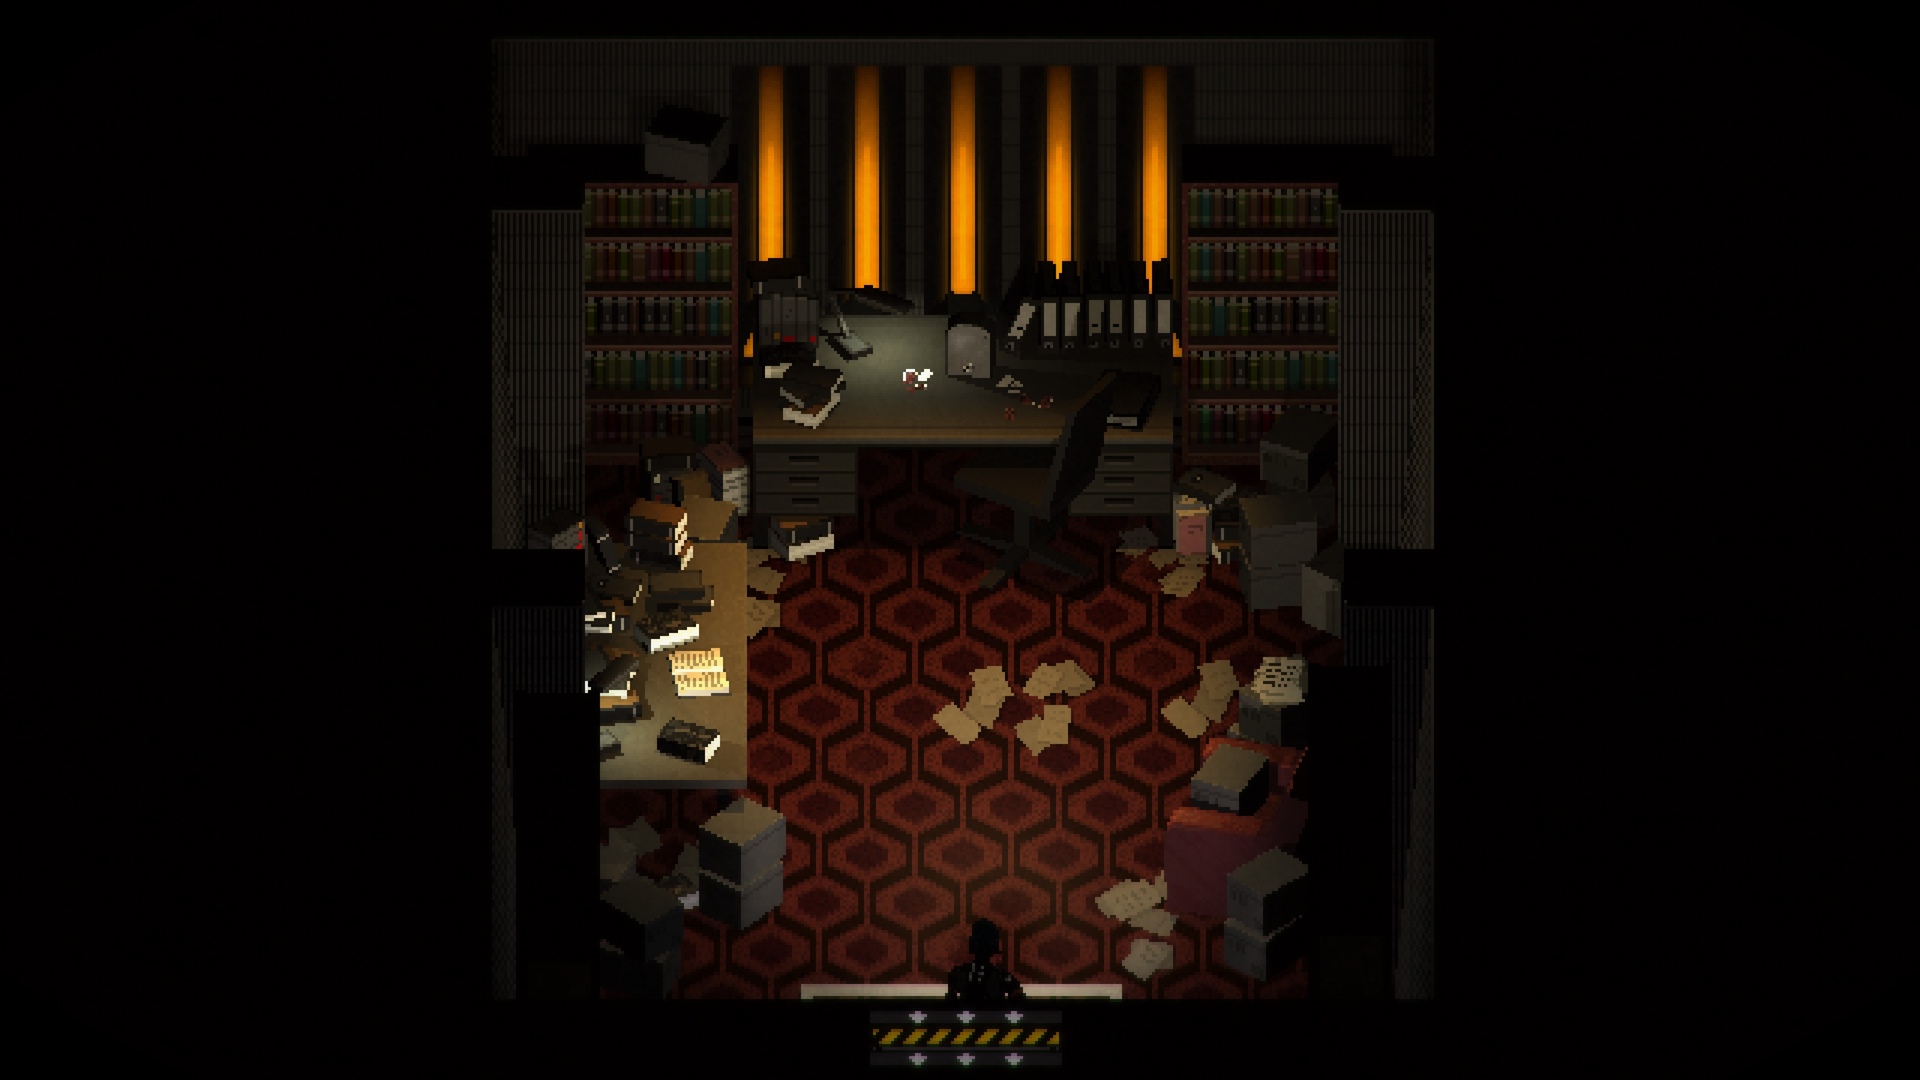
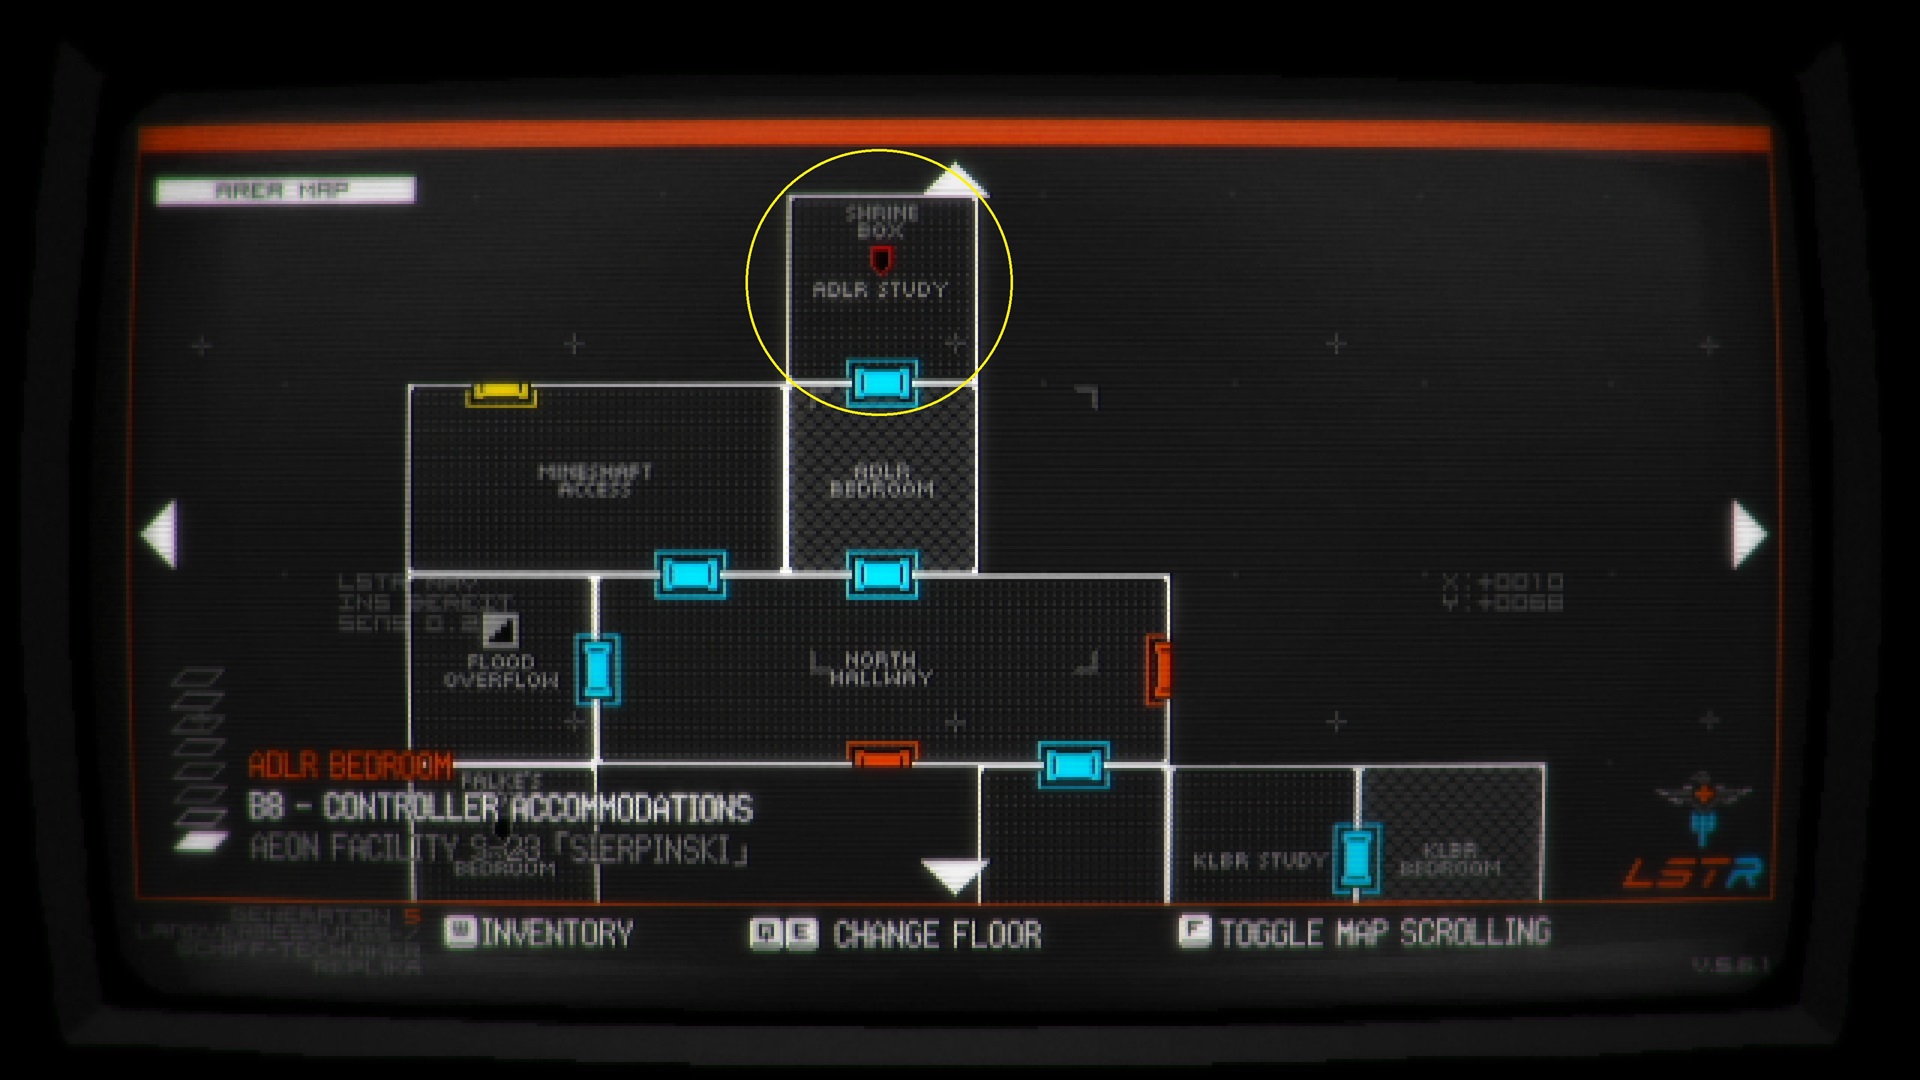
The only things you need now are the aforementioned Eagle Key and Astrolabe. Head to the ADLR Bedroom north of B8, the same room where you got the Flashlight Module. The door can be unlocked using the Eagle Key. In this chamber, you’ll see a strange contraption that has a slot for the Astrolabe.
To solve the Astrolabe Shrine Box puzzle in Signalis, take a look at the symbols.
The diamond star represents Heimat, and the others are supposed to be the planets.
You’ll need to match the location of each planet from the chart assuming Heimat is at the very top. Once you’ve got the correct pattern, press the large circle in the middle to open this device. You’ll then receive the Administrator’s Key.
With it, you may ride the lift in the Mineshaft Access that’s next to the ADLR Bedroom. This takes you to the mines and the next chapter in Signalis.
Signalis is available via Steam.


Published: Oct 27, 2022 12:35 pm