If you’ve ever played Call of Duty Zombies, then you’ll find Sker Ritual very familiar. Completing the main easter egg of a CoD Zombies map is a huge part of the fun, and Sker Ritual features similar storylines and objectives in each of its maps.
The Cursed Lands of Lavernock is the first area that you can explore in Sker Ritual, and while the main easter egg objectives seem fairly straightforward on paper, they can be quite confusing in practice, especially when you’ve got hordes of enemies getting in your way. This guide will walk you through the entire main storyline for The Cursed Lands of Lavernock map in Sker Ritual for both solo players and groups.
How to Destroy the Power Generators in Sker Ritual
The first major objective in The Cursed Lands of Lavernock is destroying all four power generators in Lavernock Point. These are big mechanical boxes with bright blue lights on them. If you’re having trouble finding them, just follow the large wires running throughout the village square.
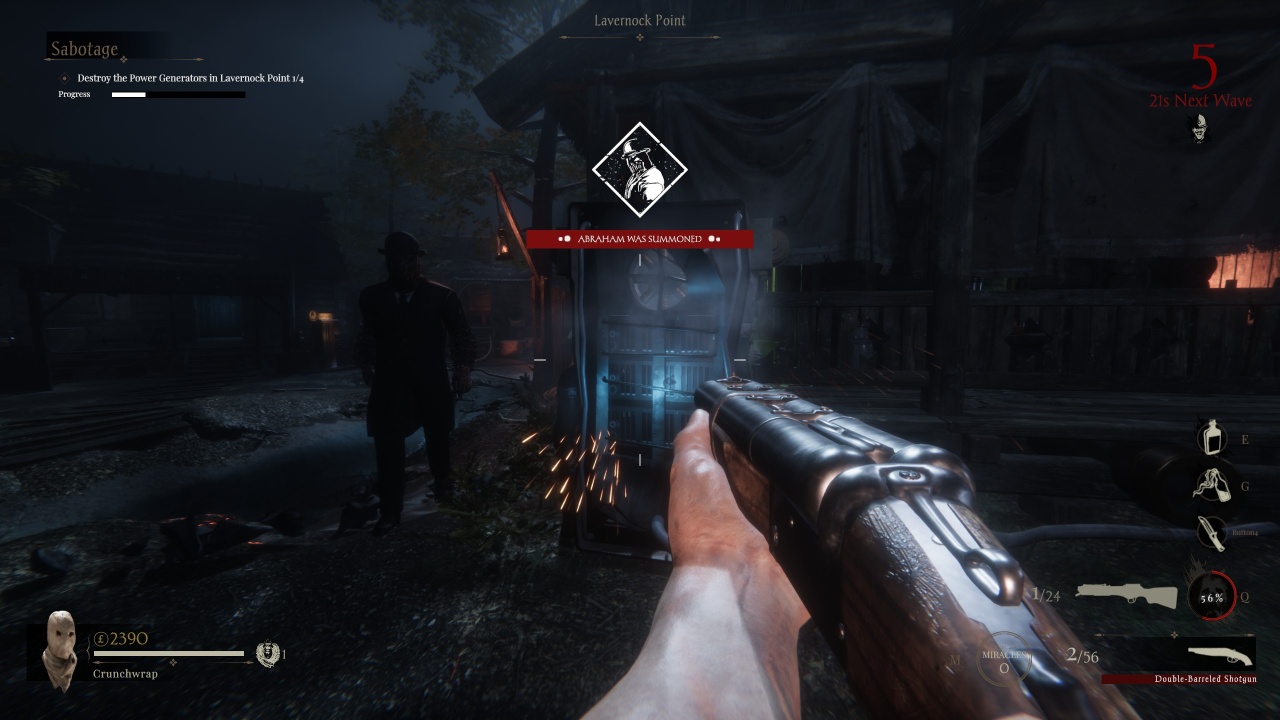
Once you’ve found a power generator, just shoot it a few times to destroy it. They’re not well hidden, so you should be able to spot them from afar as long as you follow the general direction of the wires. After all of the power generators are down, you can proceed into the underground portion of the map.
How to Acquire the Cylinders for the Vault Door
The next major step of The Cursed Lands of Lavernock map is opening the Vault Door. This is the bulk of the easter egg and will take up most of your time. You need to find four cylinders to open the door, and each cylinder has its own quest step associated with it.
Hero Cylinder
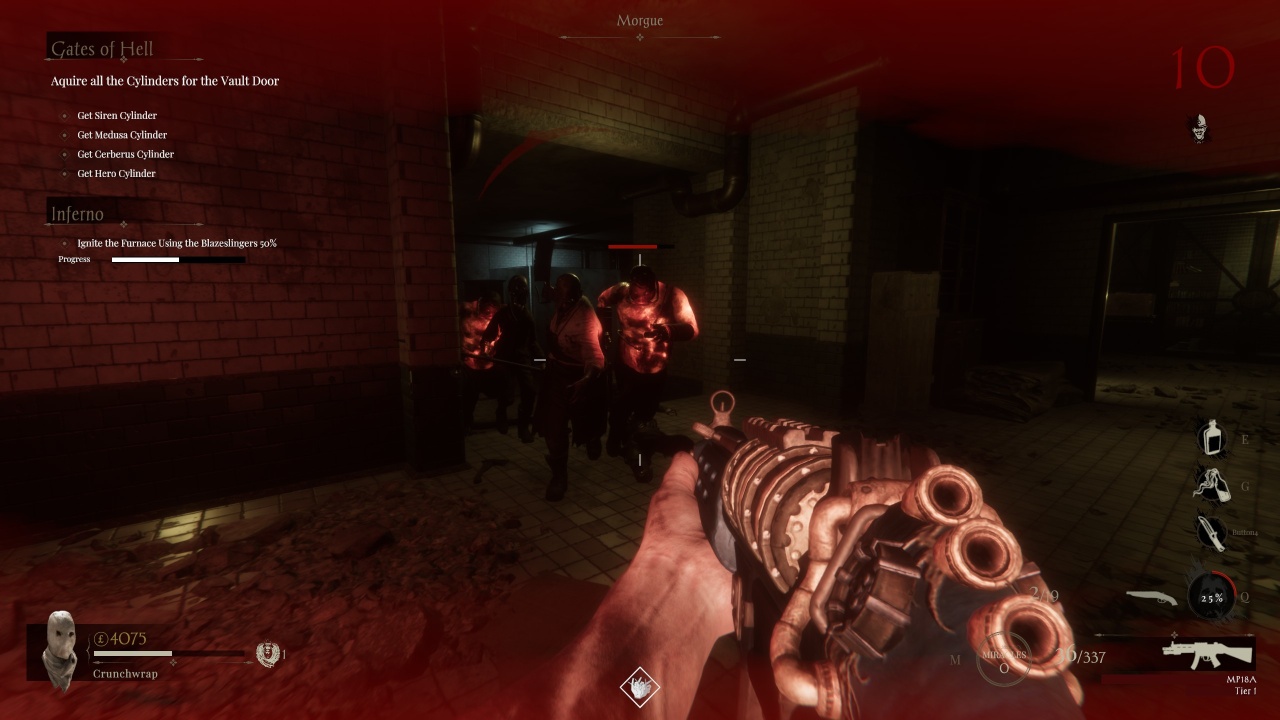
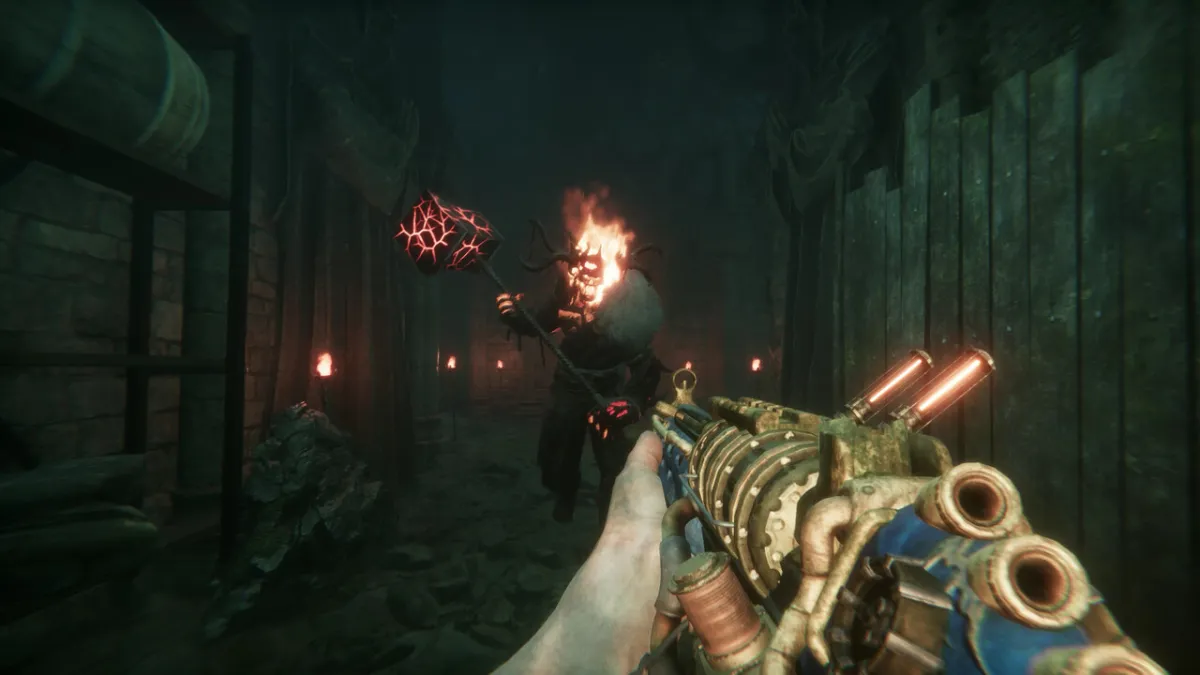
To obtain the Hero Cylinder, head a few rooms back to the morgue. There, you’ll find a furnace that you can interact with. After activating the furnace, you have to use the Blazeslinger enemies (the flaming fire-spewing ones) to ignite it. Just kill them within range of the furnace and you’ll make progress.
After that, you’ll need to use the entrails of slain enemies to fuel the fire. Just kill enemies like normal and collect the floating intestines that they drop. You can then deposit them into the flames one by one until the progress bar is full. After everything is done, you can collect the Hero Cylinder.
Medusa Cylinder
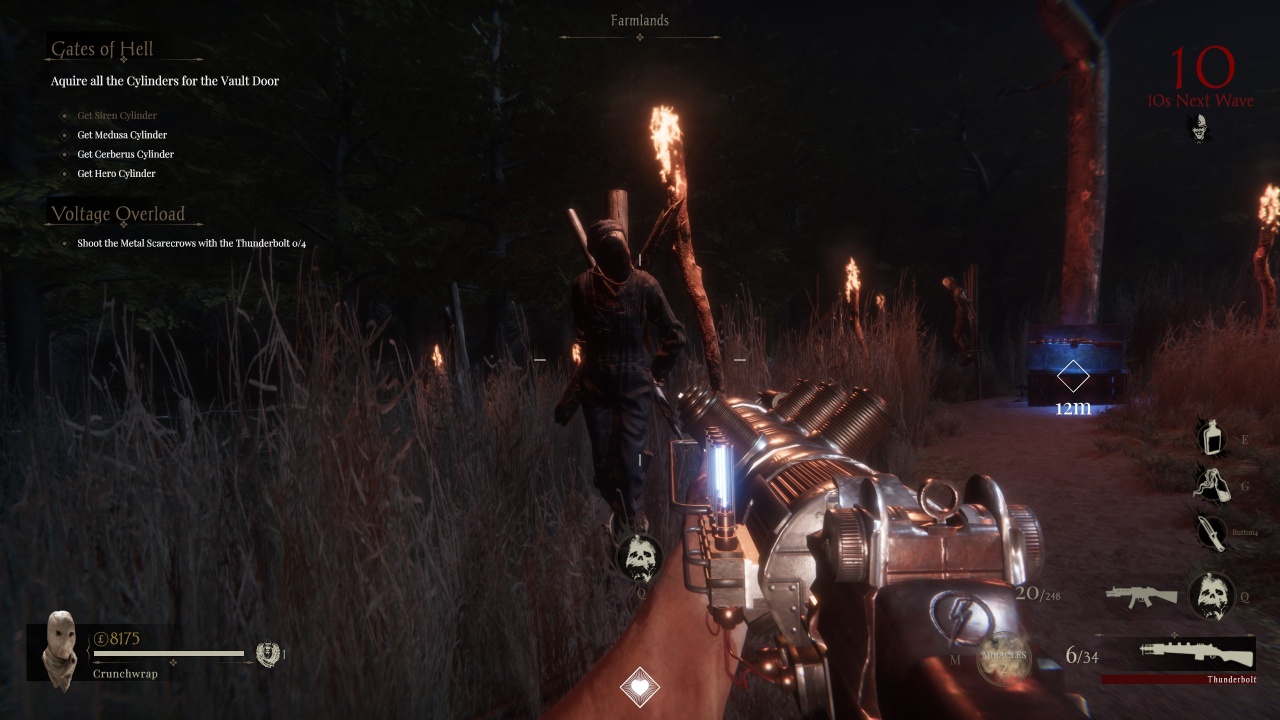
To get the Medusa Cylinder, head back to the surface and find the field with scarecrows. Interact with the box in the center of the field and screaming enemies called Banshees will appear. The Thunderbolt weapons will appear in the box once they’re defeated.
Once you have the Thunderbolt in your possession, use it to shoot the scarecrows in the field that have metal bits sticking out of them. There are four of them in total, and once you shoot all four of them with the Thunderbolt, they’ll link to the central antenna and allow you to continue to the next objective.
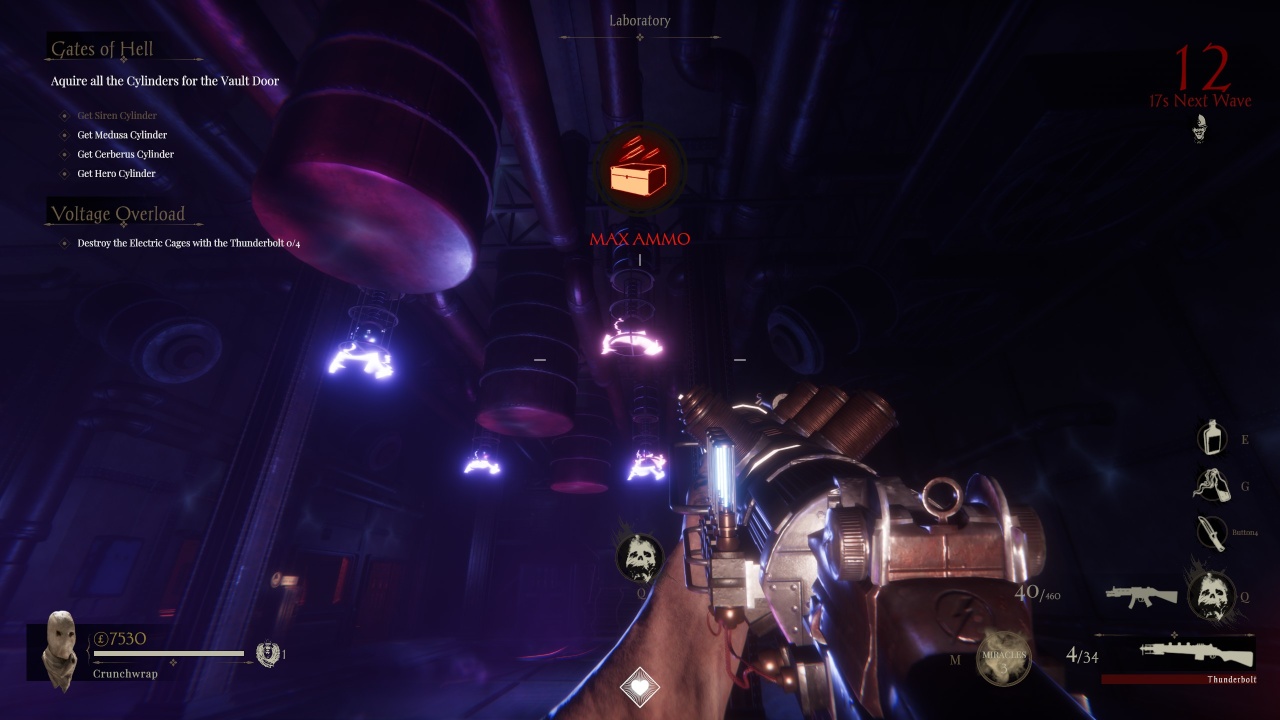
Head back underground and follow the objective markers to reach a room with electric cages on the ceiling. Use the Thunderbolt to destroy them and then charge the tesla coils by standing in the circular area in the control room.
Siren Cylinder
To get the Siren Cylinder, head all the way back to the surface. There’s a coffin near the entrance to the underground area that you can interact with. Open the coffin to obtain the Old Lantern.
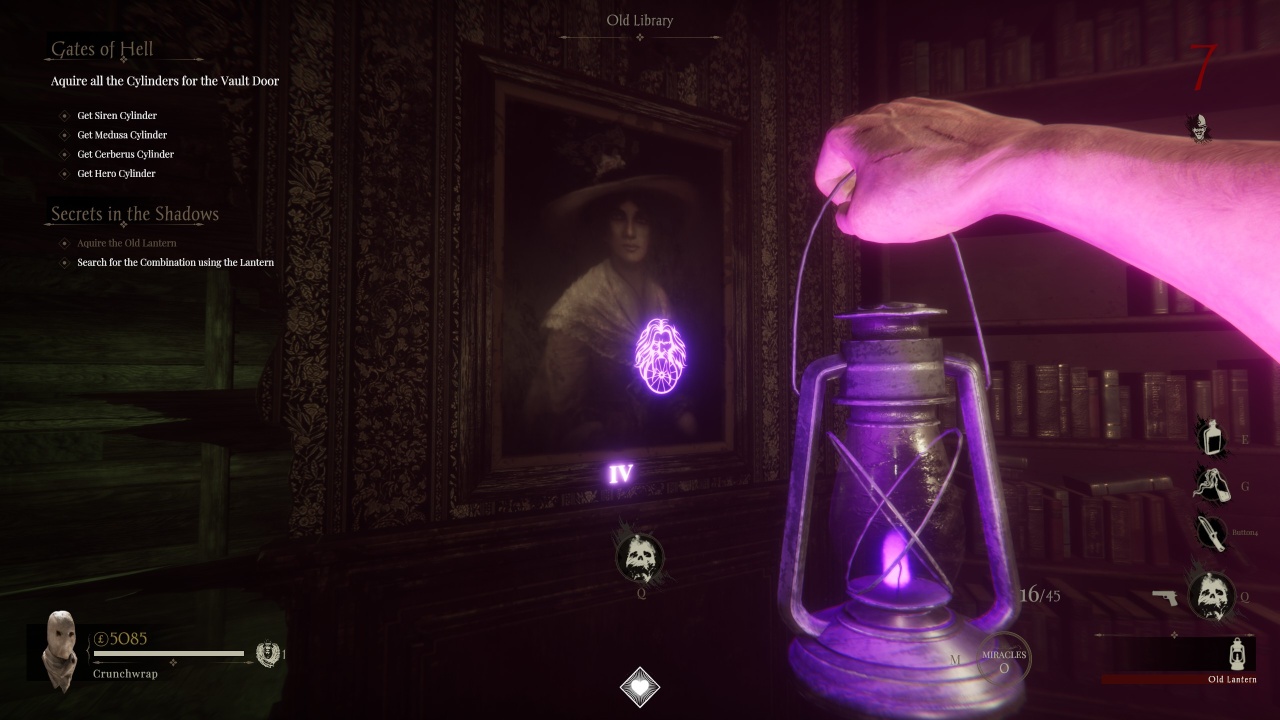
Take the Old Lantern back underground to the old library area marked on your screen. Use the Old Lantern to illuminate the paintings on the walls of the office and surrounding rooms, revealing purple symbols and numbers. These portraits come together to reveal the code to the nearby combination lock containing the Siren Cylinder.
Cerberus Cylinder
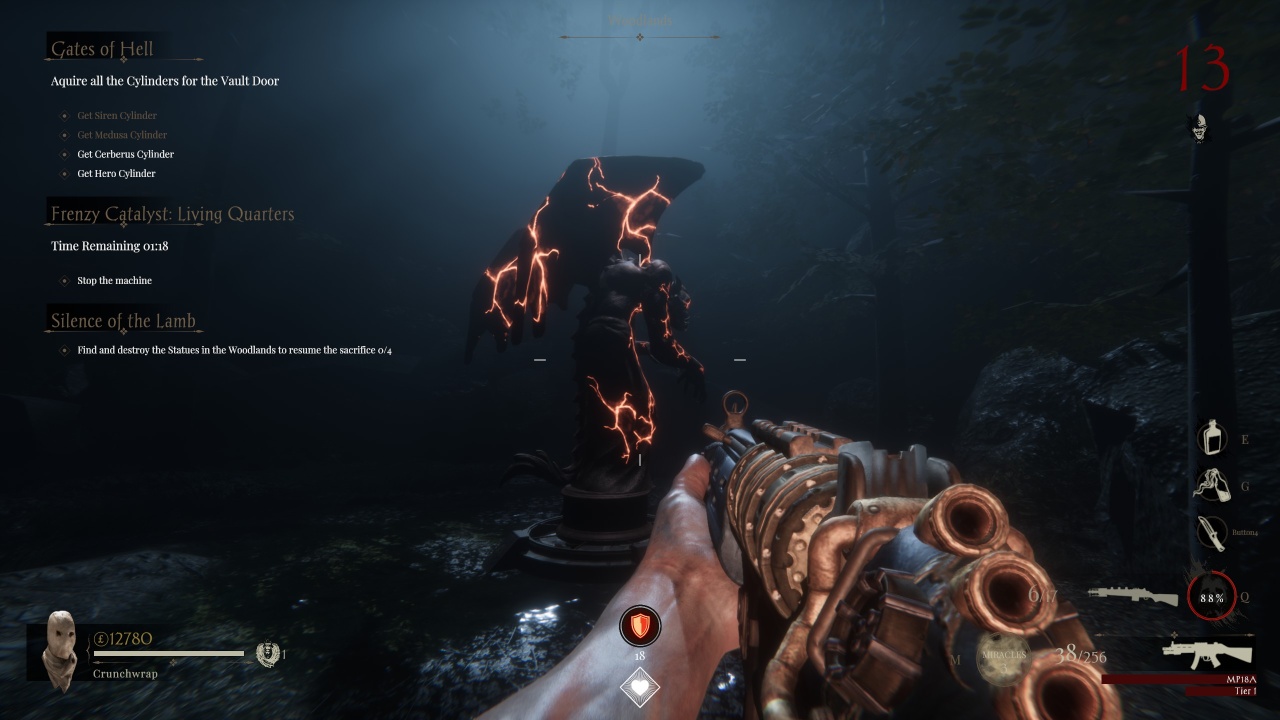
To get the Cerberus Cylinder, head to the Woodlands area. There, you’ll find a caged lamb. You need to find and destroy four statues in the Woodlands to resume the sacrifice. You can find large statues surrounding the cage, but you can only damage them when they light up.
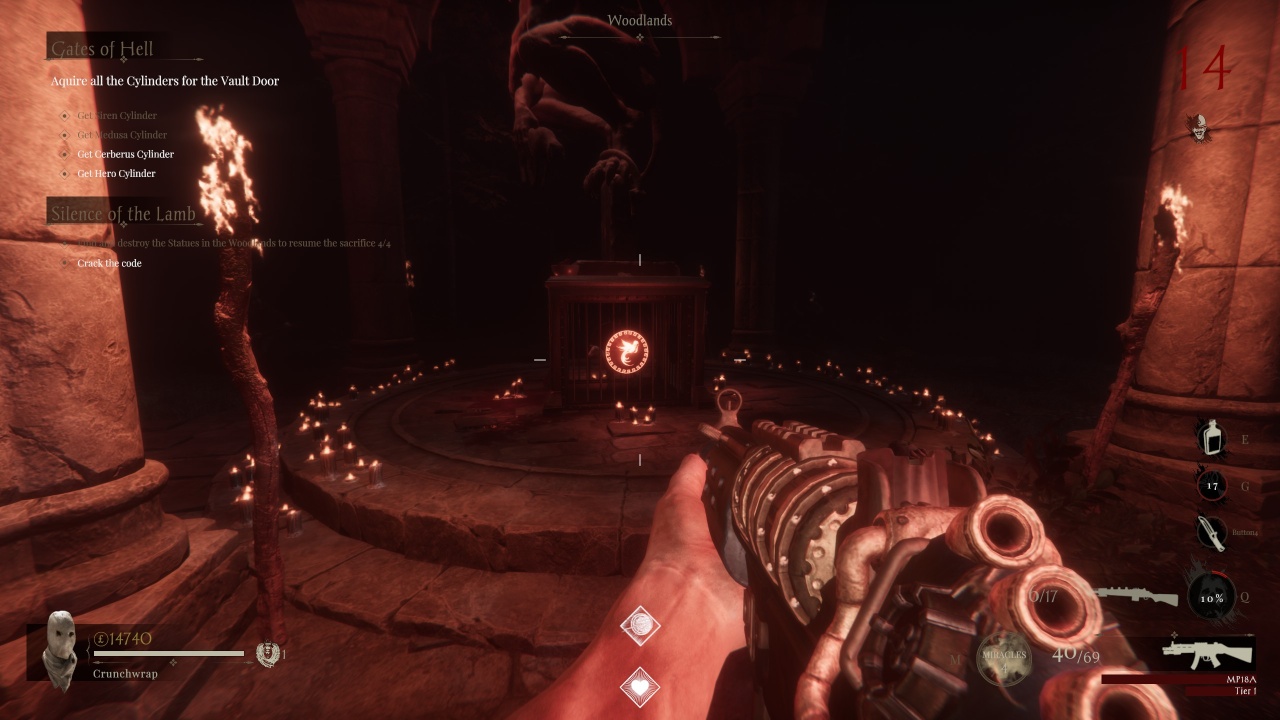
After destroying all four, your next step is to crack the code. To do so, rotate each of the four statues until the icons on the central cage light up. Once all four are lit up, the cage will open and an escort quest will begin. Escort the animal safely and you’ll then need to kill enemies within a specified zone to extract their essence. Once this step is complete, the Cerberus Cylinder will be yours.
How to Restore Power to the Vault Door
Once you’ve obtained all four Cylinders, head back to the Vault Door. You’ll be tasked with restoring power to the Vault Door. To do so, head back to the electric room where you found the Medusa Cylinder and continue to the marked area. Kill enemies inside the circular zone until you extract enough essence.
Once you’ve wrapped that up, head back to the Vault Door. The next step is to destroy all four power coils. You don’t have to use the Thunderbolt to destroy these. After that, you can proceed downstairs to the Broadcast Room to face Abraham, the final boss of the level. You’ve no doubt seen him before, but he’s much more powerful during this boss fight. After slaying Abraham, you can either continue surviving and shoot for a record-high round or use the door to leave the level.


Published: Apr 19, 2024 12:48 pm