Case #1: Frosty Welcome
Recommended Videos
The chapter acts pretty much like a tutorial giving you an explanation of The Sinking City’s gameplay mechanics and features. You’ll need to solve the mystery behind the disappearance of Robert Throgmorton’s son.

- Check all items that can be examined in the ship’s cabin. Make sure to rotate your gun until you spot the icon so you can pick it up.
- Head outside and follow the path to speak to Robert Throgmorton.
- Go to the western side of the docks to find a small boat. Check the helmet and suicide note.
- Speak to Throgmorton again and go inside the house right behind him and his cronies. Buildings that you can investigate (those that are part of a case) are marked with an “H.”
- Examine the items in the house. Use your Mind’s Eye on the medallion to get a glimpse of what had happened.
- Retrocognition: (1) “What’s happening?” (2) “Take this, ape face.” (3) “Yeah, run!”
- Use your Mind’s Eye to follow “Omens”. These are shadowy beings that’d lead you to the next clue.
- Examine the bullet and then the crates as you’re following the shadows
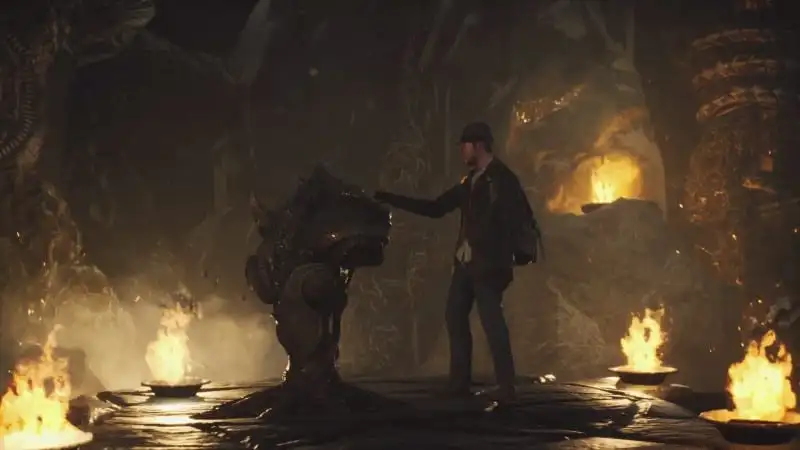
- Head inside building marked with an “H” that the Omen is pointing at. Check the basement and kill your first Wylebeast.
- Take a look at the body and use your Mind Palace to piece together the clues.
- Head to the central area of those docks to find the “Under the Keel” Bar.
- Talk to the bartender to get the key to a room on the 2nd floor.
- Speak to Lewis, an Innsmouth refugee. He’ll tell you about being under psychological influence or mind control.
- Use your Mind Palace to come up with a deduction.
- Head back to Robert Throgmorton and tell him what you think. You can choose to tell him about Lewis’ actions or lie that Lewis is already dead.
- Go to the street in front of the bar so you can exit Grimhaven Bay.
PC Invasion is supported by our audience. When you purchase through links on our site, we may earn a small affiliate commission. Learn more about our Affiliate Policy


Published: Jun 26, 2019 10:51 am