
Case #7: Self-Defense
Recommended Videos
The seventh case in The Sinking City deals with Reed’s attempts to exonerate himself for a crime he did not commit. There are multiple ways you can go about this as well. The chapter features an appearance by the Yellow Kings gang. The group is named after the entity Hastur.
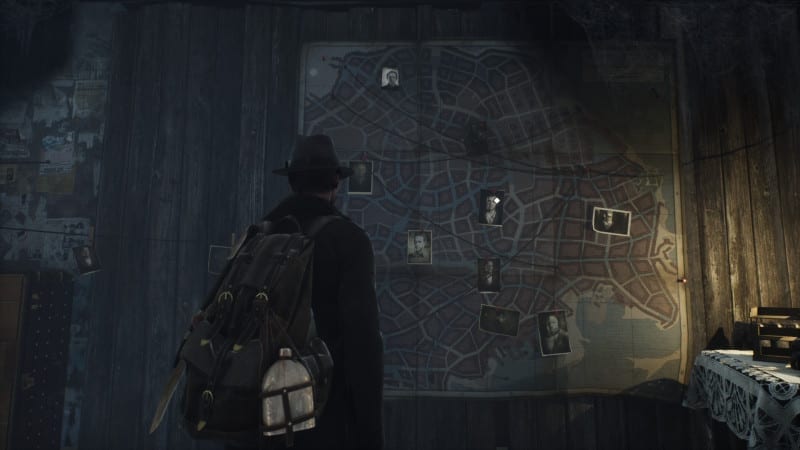
- Examine the evidence on the first and second floors. Use Mind’s Eye on seance board and the hat.
- Retrocognition: (1) “Step right in my friend.” (2) “Can’t you see we’re having a séance?” (3) “Police! Someone has been shot!” (4) The killer running away.
- Exit the Crown Theater. Speak to the cops and the taskmaster.
- Archives: At the Oakmont Chronicle, choose “Officials/Articles & Interviews/Reed Heights.”
- Find the apartment with the given address. Examine all the evidence. Looks like you’re dealing with a corrupt politician.
- Retrocognition: (1) “The blood was spurting out of him.” (2) Drinking next to the dining room table. (3) “Get these out of my sight!” (4) “Where’s my tie?”
- Go back to Oakmont City Hall and you’ll meet this corrupt politician.
- Find the house mentioned in the address and choose whether to go through with the act or not. If you choose to do so, head to the basement to pick up a bottle of Chianti from the cellar. If you don’t want to go through with this crime, just tell the truth via dialogue. I chose to tell the truth and so the next step was to find the real killer.
- Archives: In Oakmont City Hall (again), select “Newcomers/After the Flood/Legal Documents.” You’ll find the killer’s house.
- Once inside the apartment, examine the evidence and speak to the killer.
- Retrocognition: (1) “Open this door!” (2) The woman getting beaten. (3) “Don’t you dare touch my mom!” (4) “Catch up to us when you’re done.”
- Speak to the killer to obtain a key to the basement. Examine the body to find a sketch.
- Head to that location in Salvation Harbor to discover the gang’s hideout.
- Speak to the gang members and their boss, a familiar face. You can walk away peacefully or kill them all. You can also save the two characters who were kidnapped. Check all the notes and evidence that you can find.
- Return to the killer to tell him what transpired.
- Open your Mind Palace and make some deductions. You can choose to have the actual killer pay for his crimes, or you can plant the evidence at the corrupt politician’s house.
- Whatever the outcome, you’ll have a surprising and unexpected visit.
- Travel to the Devil’s Reef Hotel.
PC Invasion is supported by our audience. When you purchase through links on our site, we may earn a small affiliate commission. Learn more about our Affiliate Policy


Published: Jun 26, 2019 10:51 am