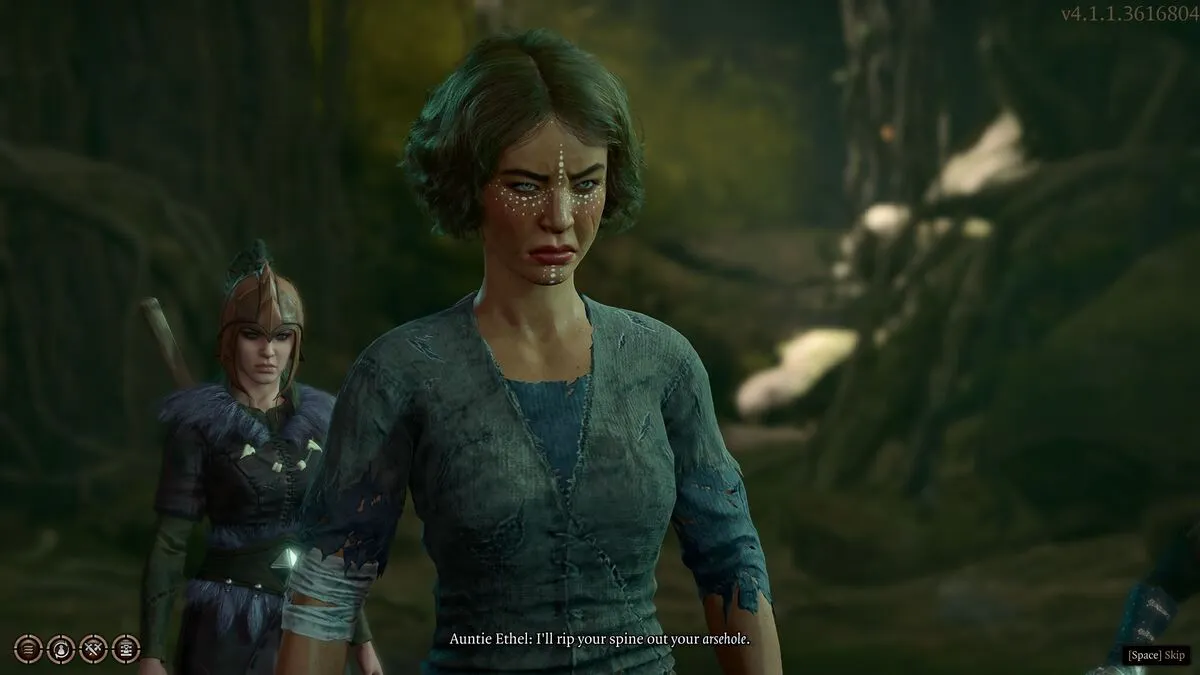
The Save Mayrina quest in Baldur’s Gate 3 features some really intense choices, a tough boss fight, and some truly difficult puzzles. As you enter the area directly south of the Blighted Village, you’ll come across Auntie Ethel and Mayrina’s two brothers.
While there are a few different results here (I called out Auntie Ethel for lying and she vanished, but my coworker experienced Mayrina’s brothers catching him talking with Auntie Ethel in the wood and attacked on-site), you’ll get the quest to Save Mayrina as you go south and enter the Sunlit Wetlands. Here’s your step-by-step walkthrough on how to beat the Save Mayrina quest in Baldur’s Gate 3.
Note: There are many tough quests in Baldur’s Gate 3. If you need help with more, I suggest checking out our Hunt the Devil sidequest guide.
How to complete the Save Mayrina sidequest in Baldur’s Gate 3
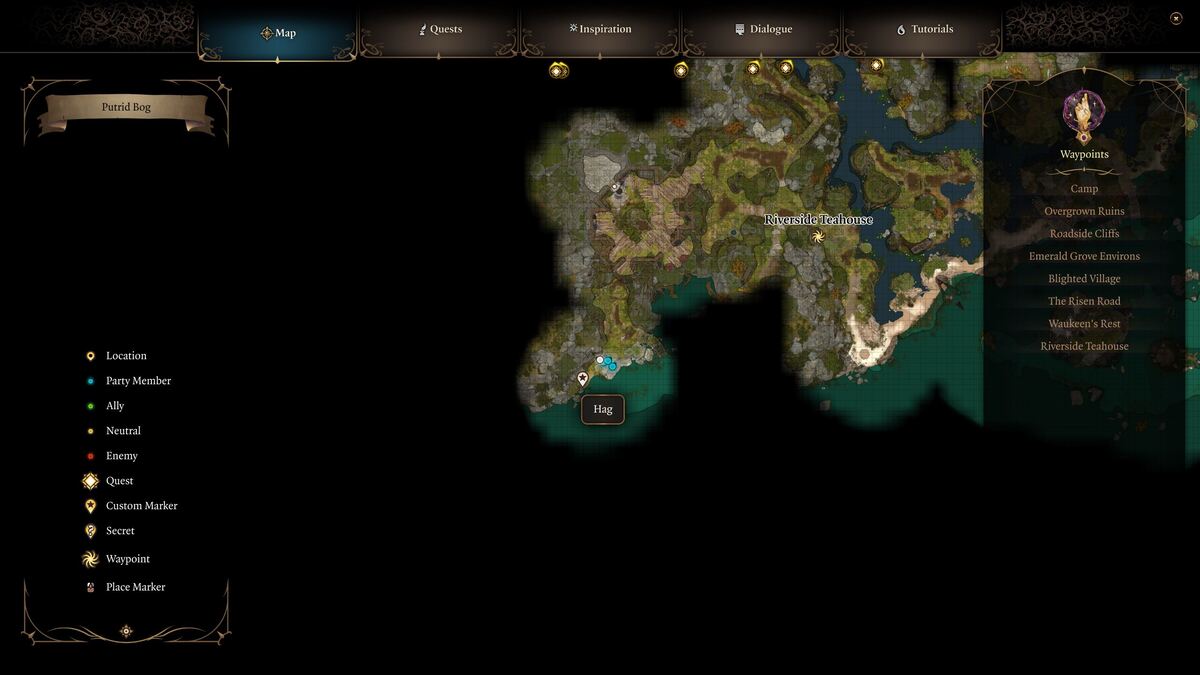
After your encounter with Auntie Ethel, the first thing you need to do to continue the Save Mayrina sidequest in Baldur’s Gate 3 is to travel west in the Sunlit Wetlands and find the Riverside Teahouse. Here, you’ll find Mayrina and Aunt Ethel. You’ll have a discussion with Auntie Ethel about plucking your eye out to remove the tadpole in your brain.
Note: While having the best companions is important, I highly suggest you go into this Save Mayrina sidequest with Shadowheart in your party. She has the Create Water spell which you’ll need to save Mayrina during the final boss of this mission.
No matter what dialogue choice you choose here, you won’t get your eye removed, and instead, Aunt Ethel will make Mayrina disappear, turn into an Old Hag, and start a fight.
You can’t kill Auntie Ethel here because she will escape through the fireplace. What I did, and what I recommend you to do as well, is to defeat the first one or two enemies she summons and get all your characters through the fireplace and into the dungeon below as soon as possible. Of course, turn off the fireplace before walking through to the other side.
The reason why I suggest running away is because enemies will keep spawning and running into the Riverside Teahouse. The moment all your party members go down the stairs and into the Old Hag’s lair, you’ll end combat and the enemies won’t chase you.
How to get through the Gnarled Door in Baldur’s Gate 3
Now that you’re in Auntie Ethel’s lair, you’ll discover her trapped victims. All of them came to her one by one asking for something, but Auntie Ethel always presents a cure and a surprise worse outcome for her victims.

Screenshot: PC Invasion
After looking at all the monstrosities, you’ll see a Gnarled Door. This, too, is one of Auntie Ethel’s victims. No matter what dialogue options you choose, you’ll discover that you can walk right through the door. However, I found doing that to be really difficult because when I clicked on the door to walk through, it would just start the dialogue again. I found that rotating the camera so you see behind the Gnarled Door and clicking on a space there helped me get through.
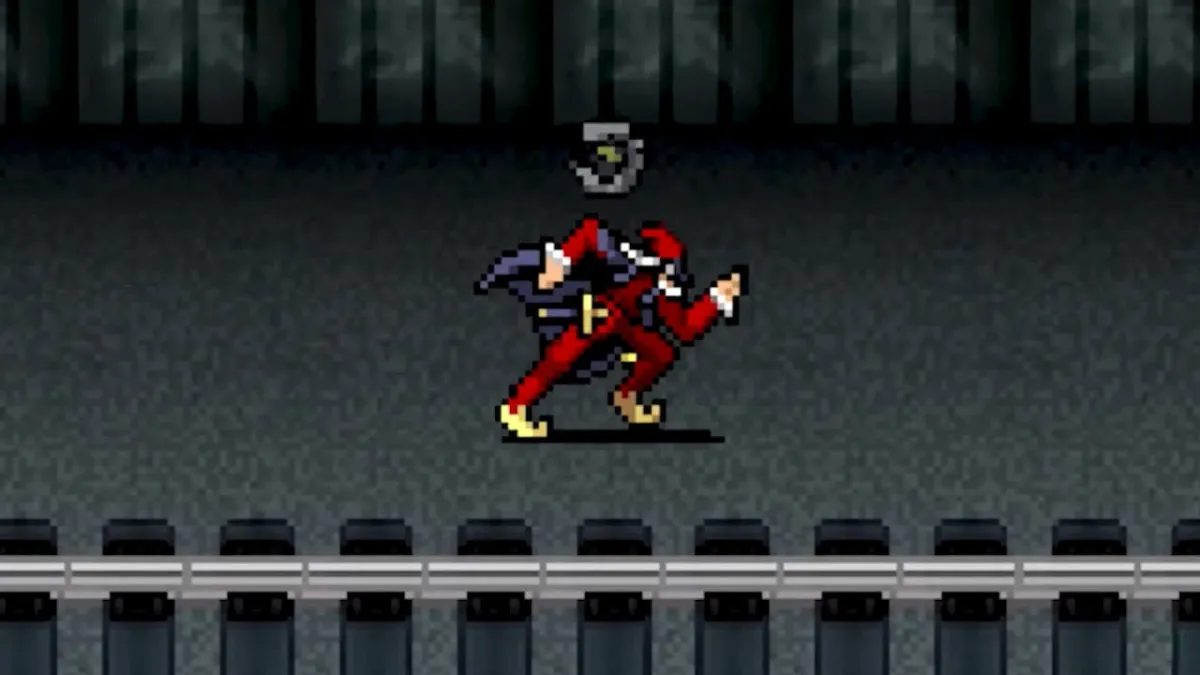
How to get past the masked fighters in Baldur’s Gate 3
Next, you’ll face four masked fighters, and honestly, they’re pretty difficult. Hopefully, luck is on your side and they roll well to avoid getting mind controlled by the masks. Definitely short rest before this fight to get your health up and your spells back if you have a Warlock in your party.
I recommend sneaking forward with your entire party to get as far into the room as possible. With my Monk, I was even able to sneak attack the masked fighter in the back corner of the room, which left me with just three masked fighters to fight. All the masked fighters are bad, so focus on whichever one is dealing the most damage to you.
Slowly, but surely, you’ll defeat all the masked fighters and be able to continue. Another tip: turn on non-lethal attacks to not kill these innocent people and don’t remove the masks when they become unconscious because that will kill them.
How to get past the Noxious Fumes in Baldur’s Gate 3
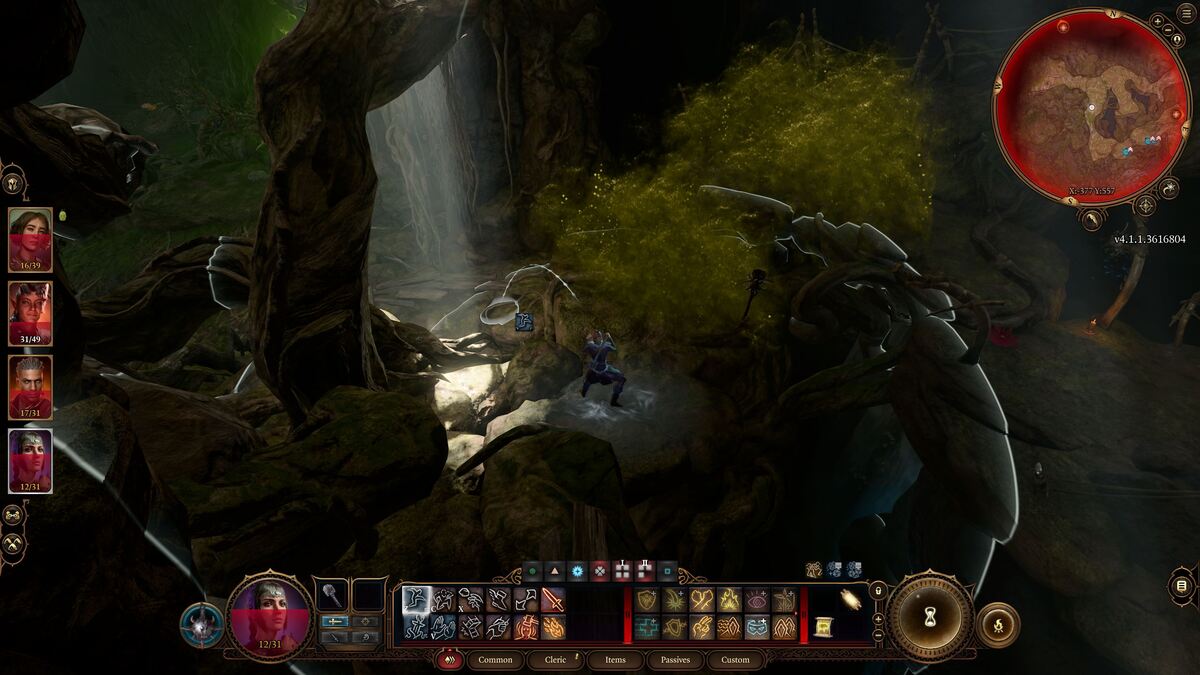
The next section is the hardest puzzle section I’ve come across in BG3 so far. After jumping through the waterfall, you’ll see patches of Noxious Fumes and red flowers on the ground that are traps that deal a lot of damage if pressed. Before doing anything else, I highly recommend uncoupling your party so they don’t follow you and accidentally set off a trap (this happened to me several times).
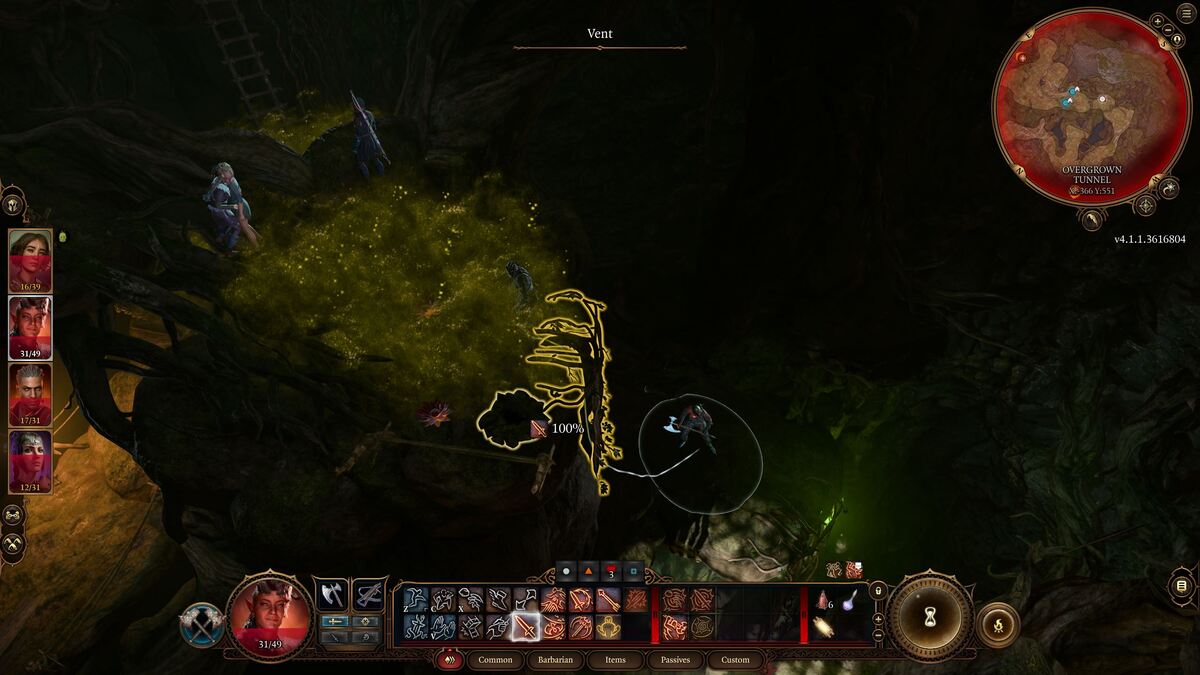
To get past the Noxious Fumes, you need to pass a successful Perception check to see the vent. One of your four party members is bound to make the successful PErception check needed; if they don’t, reload from a quicksave (if you don’t know already, learn to quicksave often!).
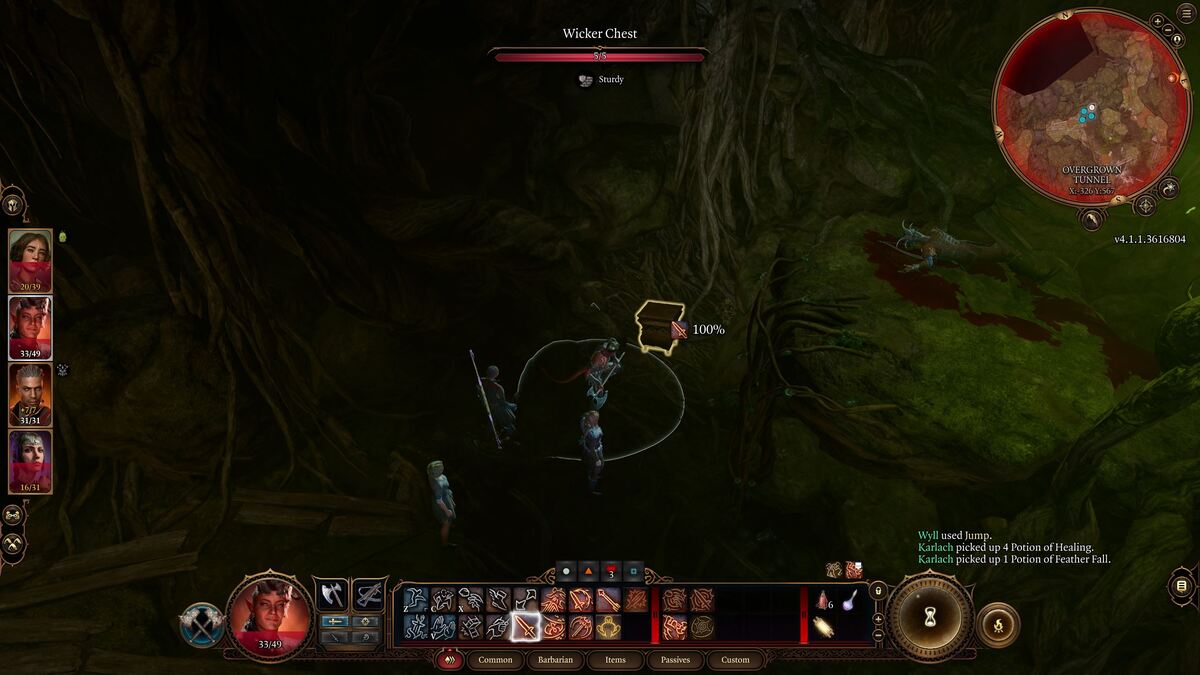
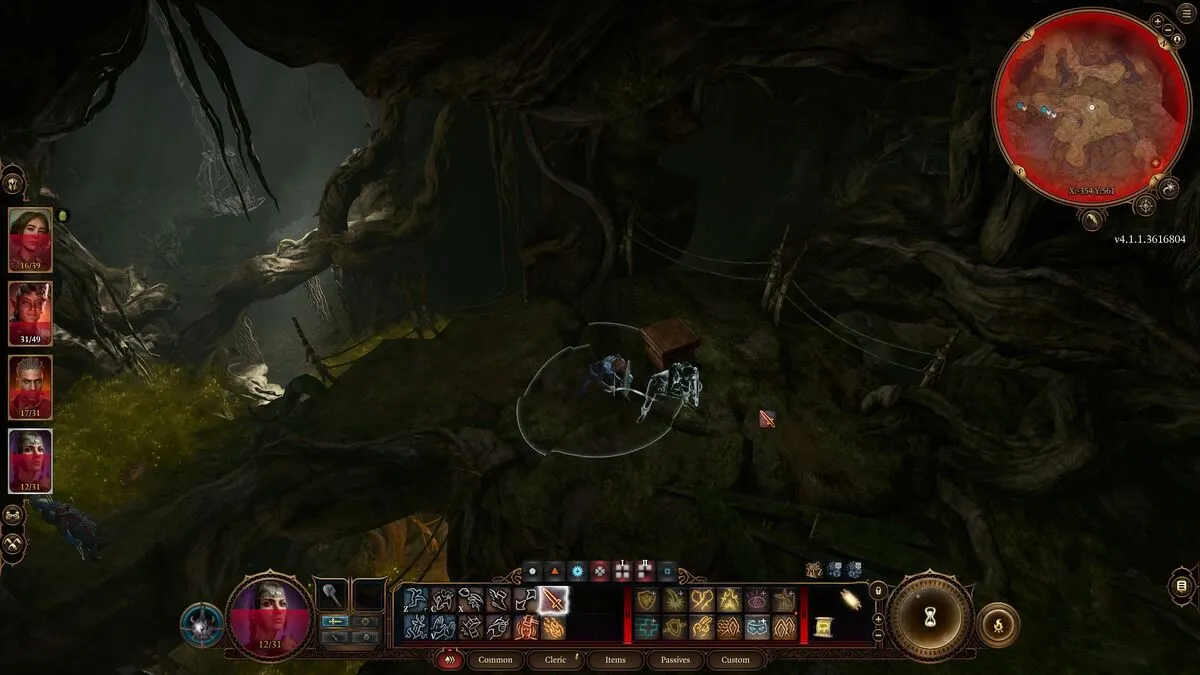
Once you see the vent, you need to throw something onto it to stop the Noxious Fumes. I entered the room with the masked fighters and picked up a chest in the corner. I also learned that shields also work. Lots of items will work to cover the vent, just make sure it is fairly large and won’t break when you throw it.
-

- Screenshot: PC Invasion
-

- Screenshot: PC Invasion
-
- Screenshot: PC Invasion
After patching the two Noxious Fumes vents and moving forward, all you need to do for the last Noxious Fumes is jump around it to reach the final boss room. Once at the final boss room entrance, stay there until your party is together again.
Again, you’ll find more success if you do this with one character at a time. I know it’s more tedious, but it’s the best way for your party not to take unnecessary damage. You can also explore the rest of the cavern by dealing with each Noxious Fumes spot individually, but I wanted to get out of there as soon as possible.
Screenshot: PC Invasion
How to save Mayrina and defeat Auntie Ethel in Baldur’s Gate 3
Now that your entire party is at the entrance of the final boss room, I found that I was out of short rests and my characters were really low on health. You can’t long rest in the cave, but luckily, there’s a sneaky way out.
Have your entire party sneak into the room sticking to the right and go through the door. This is the exit when you’re done with the fight, but you can sneak out this way, go through the portal, and make it outside where you can go to camp and long rest and come back when you’re ready.
This is the perfect time to prepare for the fight ahead. If you don’t have Shadowheart in your party, now’s the time to get her because you need a Create Water spell. You can also mark this portal and come back later if you feel you’re under-leveled to fight the Old Hag. However, my entire party was level four and I managed to defeat Auntie Ethel in two or three tries.
Screenshot: PC Invasion
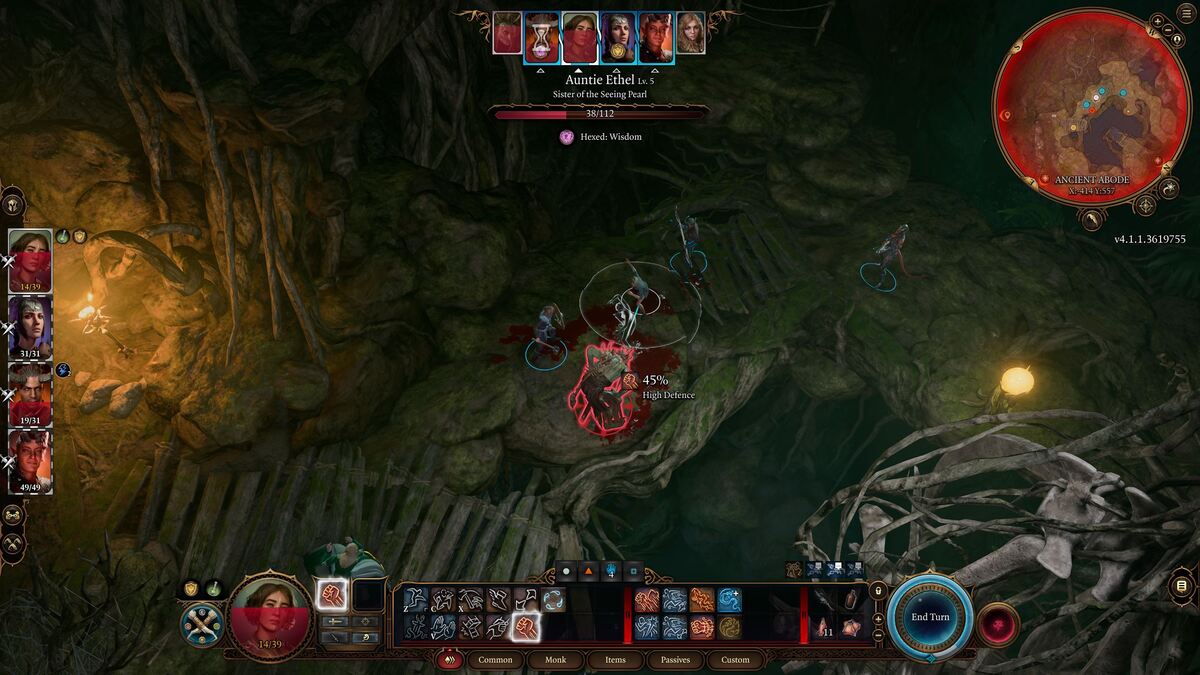
When your party’s ready, enter Auntie Ethel’s boss room and start the fight. The first thing that’ll happen is she’ll throw a fire bomb on Mayrina’s cage. She’ll also create mirror images of herself which you’ll want to defeat quickly. On the first turn with Shadowheart, cast Create Water on the cage to put out the fire. Have the rest of your team deal damage to the mirror images and look for the real Old Hag.
When Auntie Ethel mirror images Mayrina, just throw a low-damage bomb at both of them. The moment Auntie Ethel takes any damage, she’ll lose the Mayrina mirror image. Once Auntie Ethel is revealed, take this opportunity to use your biggest damage spells and abilities. I got lucky and had her backed up to the chasm, but in one of the attempts, I had a character too close to the chasm and Auntie Ethel shoved them off the ledge and they died instantly. Avoid that by staying away from the edge.
Screenshot: PC Invasion
Beat Auntie Ethel down to about 15-20 health and she’ll yield. At this point, you can actually side with Auntie Ethel to gain power but let her keep Mayrina or kill the Old Hag and save Mayrina.
You can also attempt an Intimidation or Persuasion check to get both results. I’m not proficient in Charisma, so I chose to kill Auntie Ethel. However, I’ve seen other dialogue options actually reward you with a skill point of your choosing if you take Auntie Ethel’s offer.
I decided to finish the Old Hag off. Once she died, I was surprised to find Mayrina mad at me. Apparently, she came to Auntie Ethel to sacrifice her unborn child to get her dead husband back. Any dialogue option you choose here generally results in Mayrina being angry and sad and leaving the cave. Loot Auntie Ethel’s body and leave the cave.
You’ll find Mayrina outside. You can then take multiple different dialogue paths. You can use Auntie Ethel’s wand to resurrect Mayrina’s dead husband, but he’s just a walking corpse. You can then choose to give Mayrina the corpse or decide to keep it for yourself. Before all this, you can just keep the wand and not resurrect Mayrina’s dead husband. The route I took of resurrecting Mayrina’s husband and giving her the wand alluded to maybe seeing her again at Baldur’s Gate, so take that into consideration.
With that, you’ve completed the Save Mayrina sidequest! Well done! What a relief… Now, you can focus on more important things like romance.