I’ve been having a lot of fun while playing Onslaught in Destiny 2: Into the Light, but even among all the chaos, some factors will arguably determine the best map out of the three that are currently available. Let’s check it out, shall we?
Destiny 2 Onslaught maps, ranked
Before we say anything, there are some factors like class choice, build, play style, and fireteam composition that will not enter the equation since the combinations are pretty much endless. The way I see it, each map in Onslaught has its pros and cons since they can serve many purposes other than actually collecting wave completions for the Brave triumphs.

What we are aiming for is, obviously, the map that will provide the most chances for survival. However, since a big part of Into the Light is also completing all the Brave weapon challenges, then there are specific aspects of each map that will allow you to get the necessary weapon kills to complete them and unlock their drops. One of those aspects will not be up to consideration, which is the enemy types since these are random for Onslaught.
Without further ado, let’s check out each map and see what we can find and what we can exploit.
Mothyards: The easiest to learn and survive in
Once you spawn in this Cosmodrome map, you will instantly feel the openness of the area. In fact, it is the most open Onslaught map of the three, allowing you to freely move, jump, and shoot to defend the ADU from enemy mobs coming from different directions. Contrary to what you might find in Midtown, this map also offers a decent amount of verticality, allowing you to make use of vantage points with the bonus of not feeling overwhelmed when bosses or explosive enemies spawn.
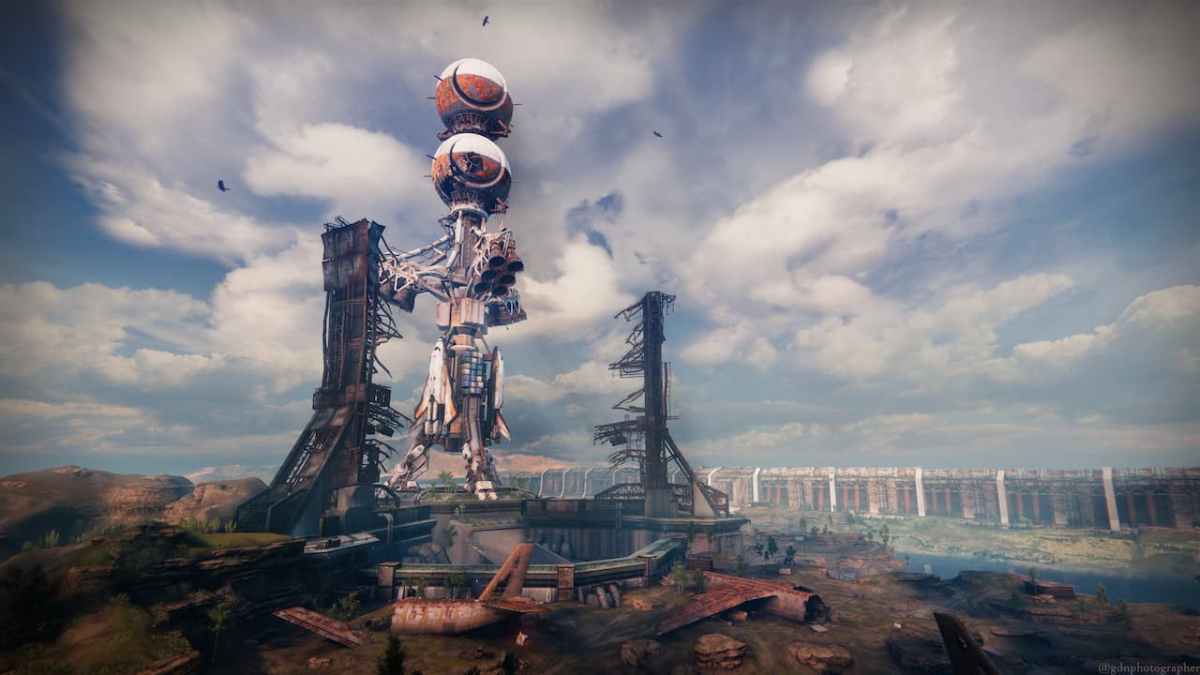
Due to the openness, this will also be the map that will provide the biggest firing range for your weapons. Therefore, this map is perfect for long-range weapon kills farming. Therefore, I recommend using Mothyards as the map recommended for the following Brave weapon quests:
- Jury Duty (Hung Jury SR4) (Scout Rifle)
- Right of Succession (Succession) (Sniper Rifle)
- Stranger Danger (Elsie’s Rifle) (Pulse Rifle)
Midtown: Getting swarmed is not fun
Midtown is what I would refer to as a frenzy and adrenaline-heavy map not suited for the faint of heart. Now, other than my almost ethereal mumbo jumbo, what I have to say about Midtown is that it is as close-quartered as maps can get, meaning that you won’t have as many chances to defend the ADU as you would in Mothyards due to enemies being blocked by corners and buildings. It is only when they are at midrange that most of these mobs will be within your range, let alone giant bosses that may appear.
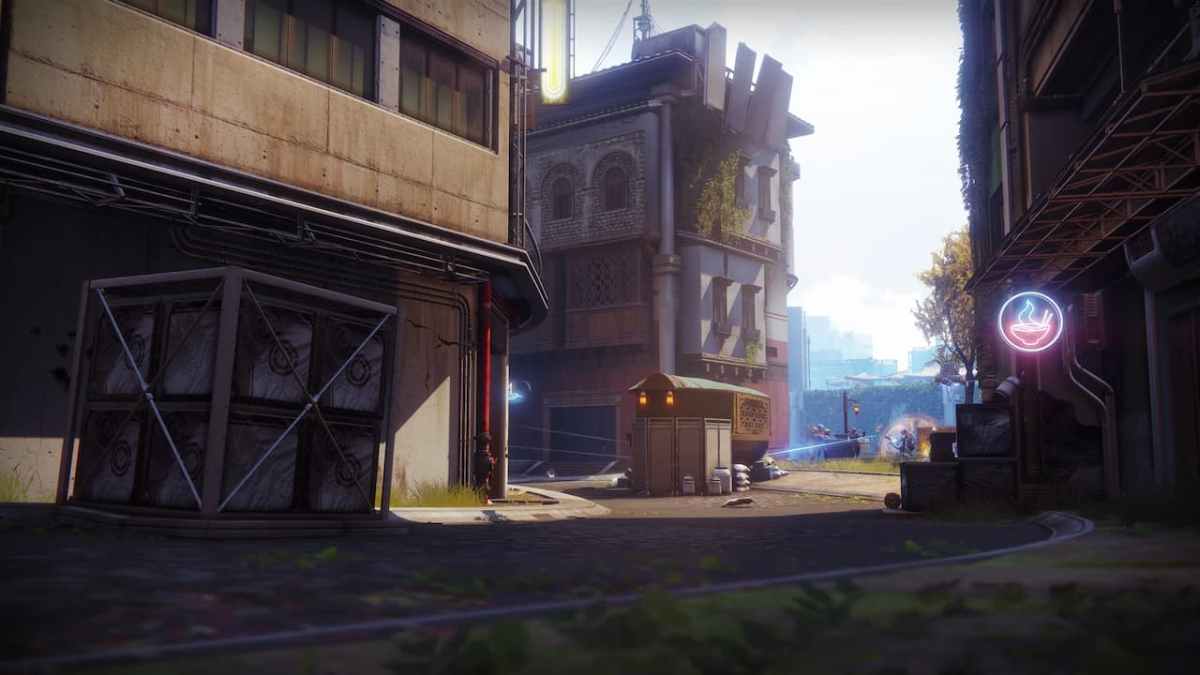
However, due to the nature of this map, amassing AoE kills will be the easiest out of the three Onslaught maps. While it may not be the best map to conquer 50 waves in, you can complete the following Brave weapon quests with ease:
- Edgelord (Edge Transit) (Grenade Launcher)
Vostok: Perfectly balanced, as all things should be
If you are all about Thanos — minus the snapping your fingers and wiping out half of the universe’s population — then Vostok balances the openness of Mothyards and the chaos of Midtown. This probably wouldn’t be my first pick out of the three, but it is the perfect challenge for those who have already perfected Mothyards and are looking for a sprinkle of randomness and chaos, without it being too punishing.
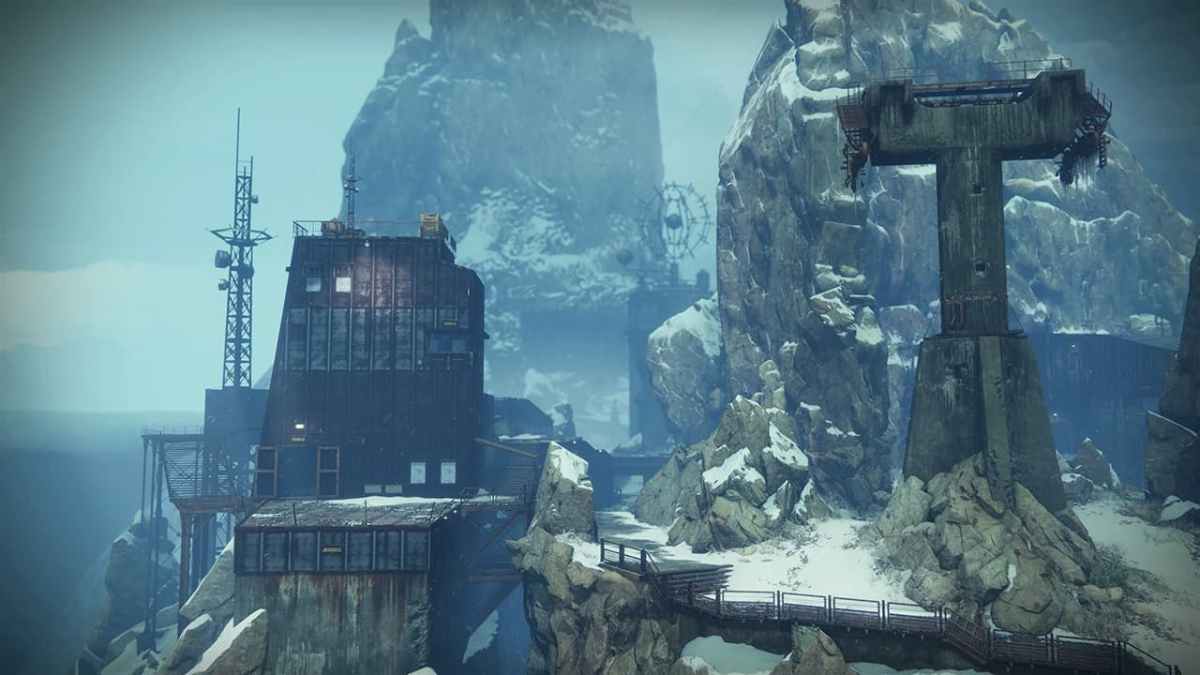
Since we have the best of both worlds, Vostok maps could work for any middle to close-range weaponry, but I would definitely use weapons with perks such as Incandescent to tear down the enemies coming from corridors and even use Swords to deal some melee damage but still has some space to maneuver yourself out of danger.
- Recluse Endangerement (The Recluse) (Submachine Gun)
- Spin to Win (Falling Guillotine) (Sword)
As you can see, while Mothyards will be the best for survivability, you should not discard the other maps if you are aiming to complete Brave weapon challenges – and eventually get the Superblack Shader. But, hey, don’t trust me blindly. Go ahead and experience Onslaught on all three maps by yourself and see how the action unfolds by yourself.


Published: Apr 12, 2024 10:56 am