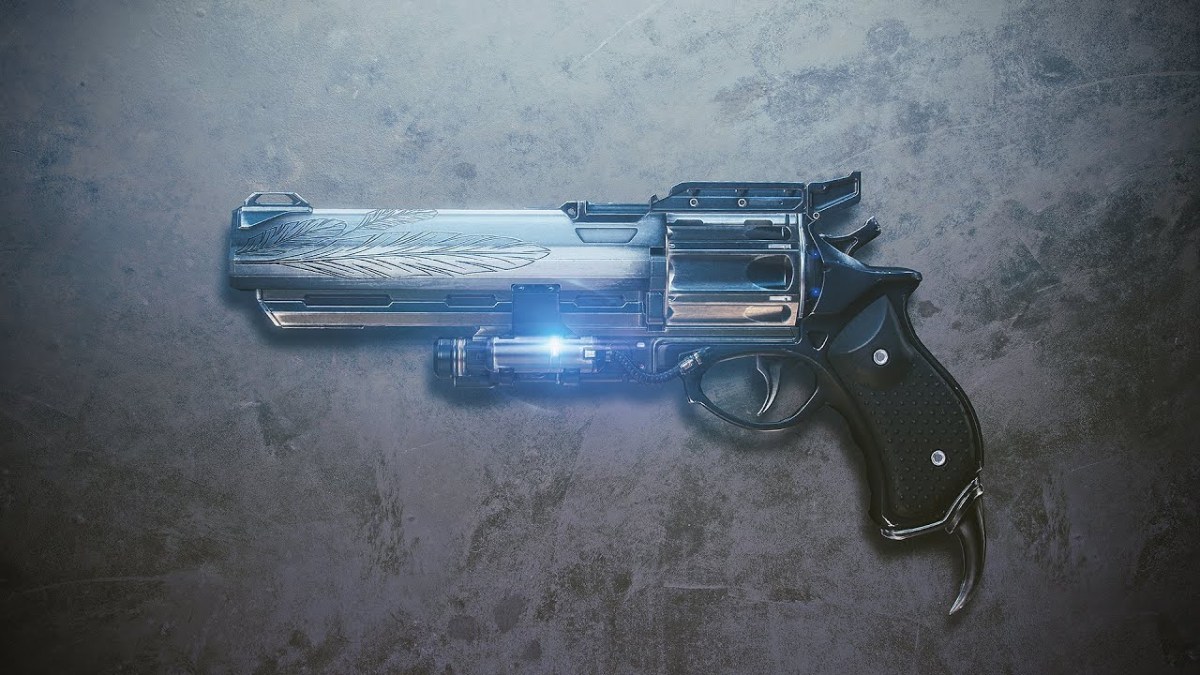
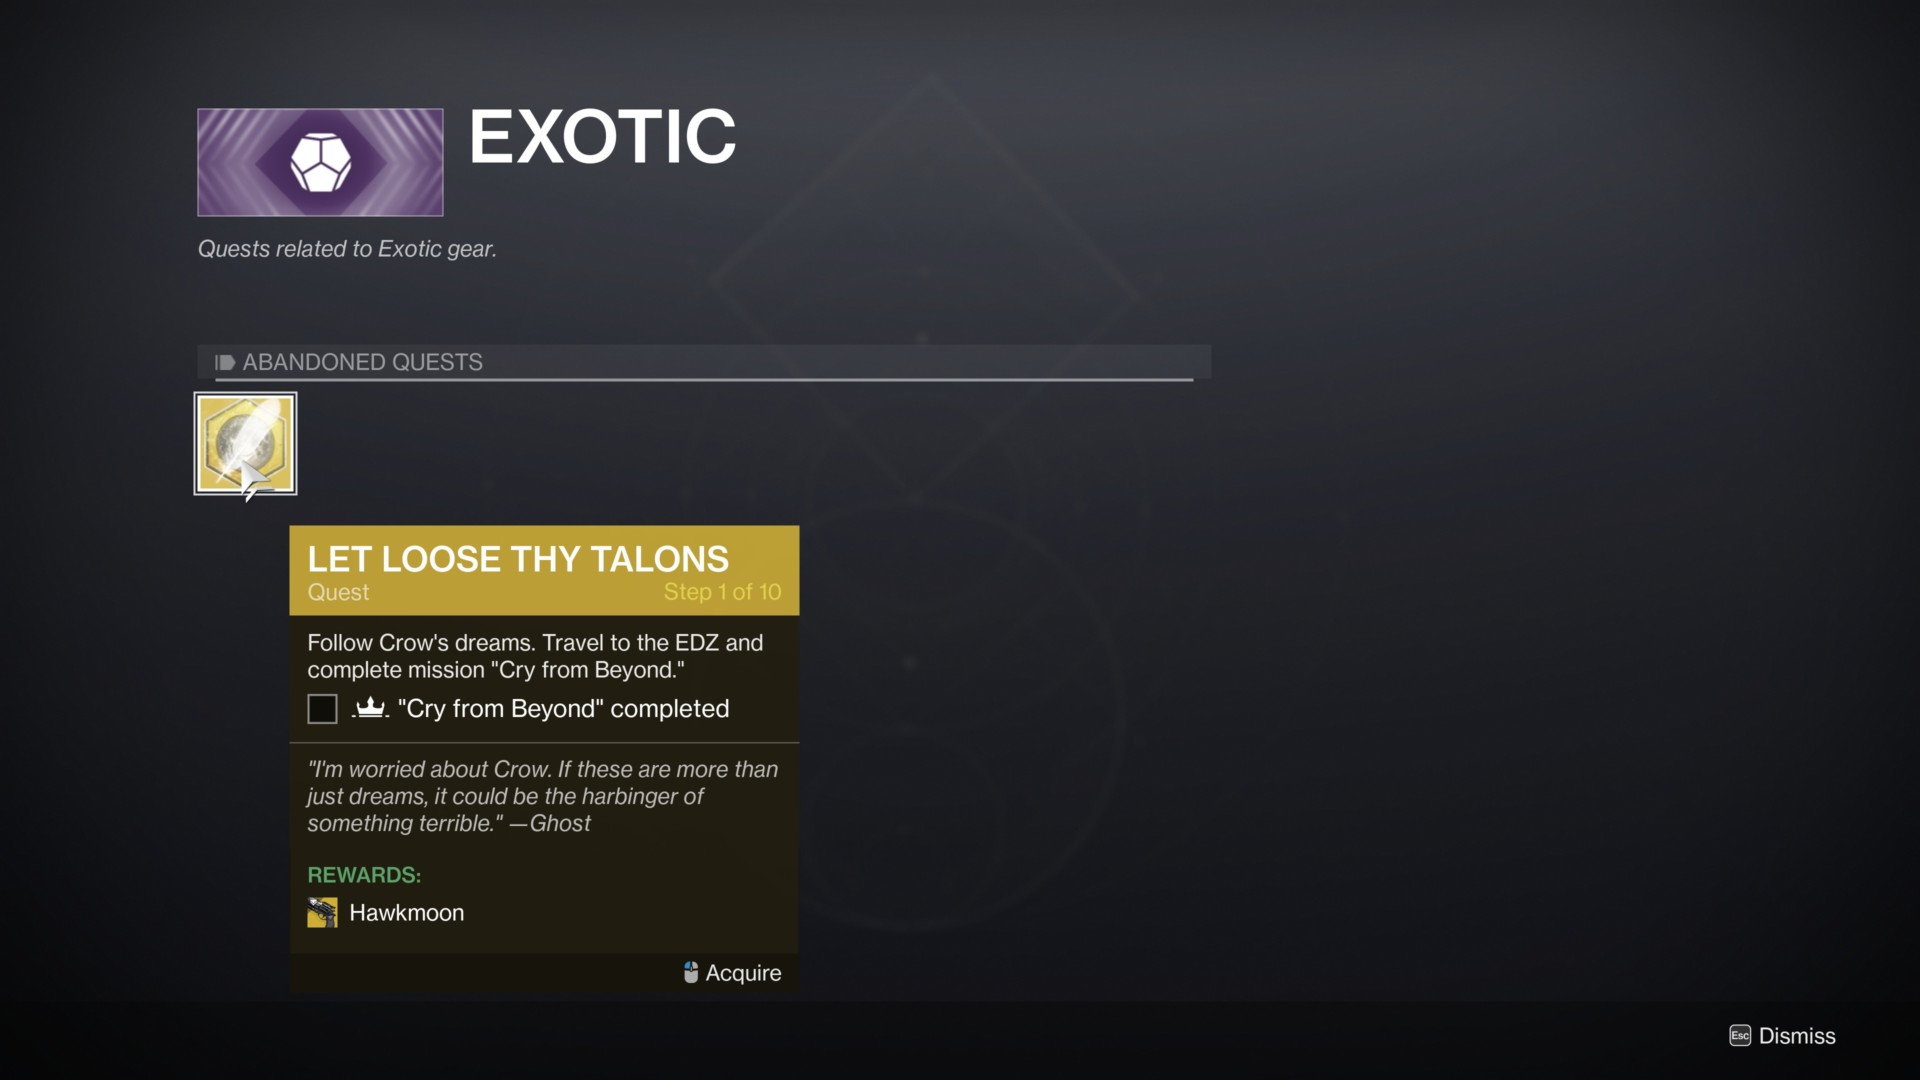
The Hawkmoon was one of my favorite exotics in Destiny 1. Indeed, it was my go-to hand cannon while playing Crucible. Now, it makes its return in Destiny 2: Beyond Light. Here’s our guide to help you find the Hawkmoon’s “feathers” and all the steps to obtain the gun itself.
Note: For more information, check out our Destiny 2: Beyond Light guides and features hub.
Destiny 2: Beyond Light — How to get the Hawkmoon exotic hand cannon
The Hawkmoon has an exotic quest as part of Destiny 2: Beyond Light‘s Season of the Hunt. To start it, simply speak with the Spider in the Tangled Shore. From here, you’ll be tasked with finding several Hawkmoon feathers in order.
Finding the Hawkmoon feathers
Feather #1: Tangled Shore
This one is just at the entrance of Spider’s lair. It’s next to the barricades/obstacles at the entrance.
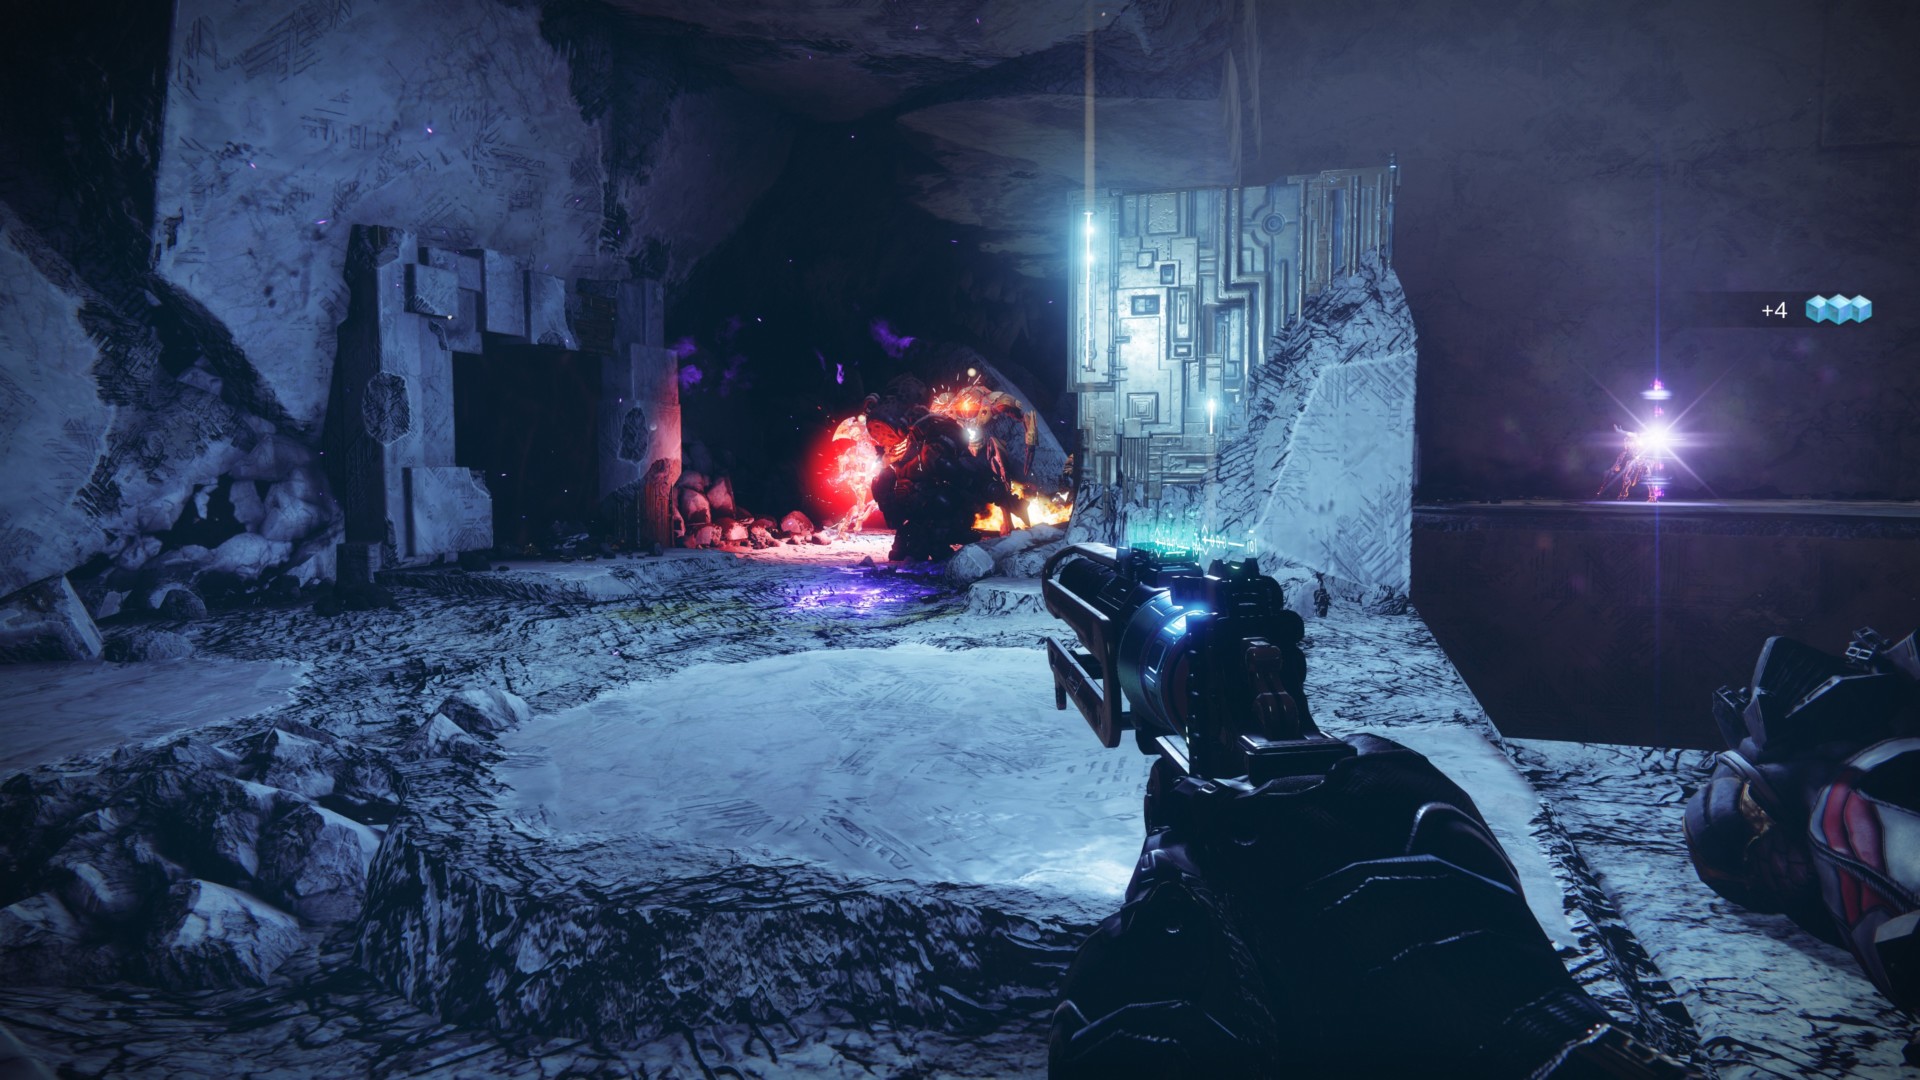
Feather #2: EDZ
Fast travel to the Sludge and check out the ruined building further in front and to your left. The Hawkmoon feather is on a walkway.

Feather #3: Cosmodrome
Simply fast travel to the Steppes zone. It’s right above you on top of a pillar as you spawn.
Feather #4: Dreaming City
Once you spawn in, make your way atop the hill that leads into the Blind Well. But, before you even head inside, look to your left.

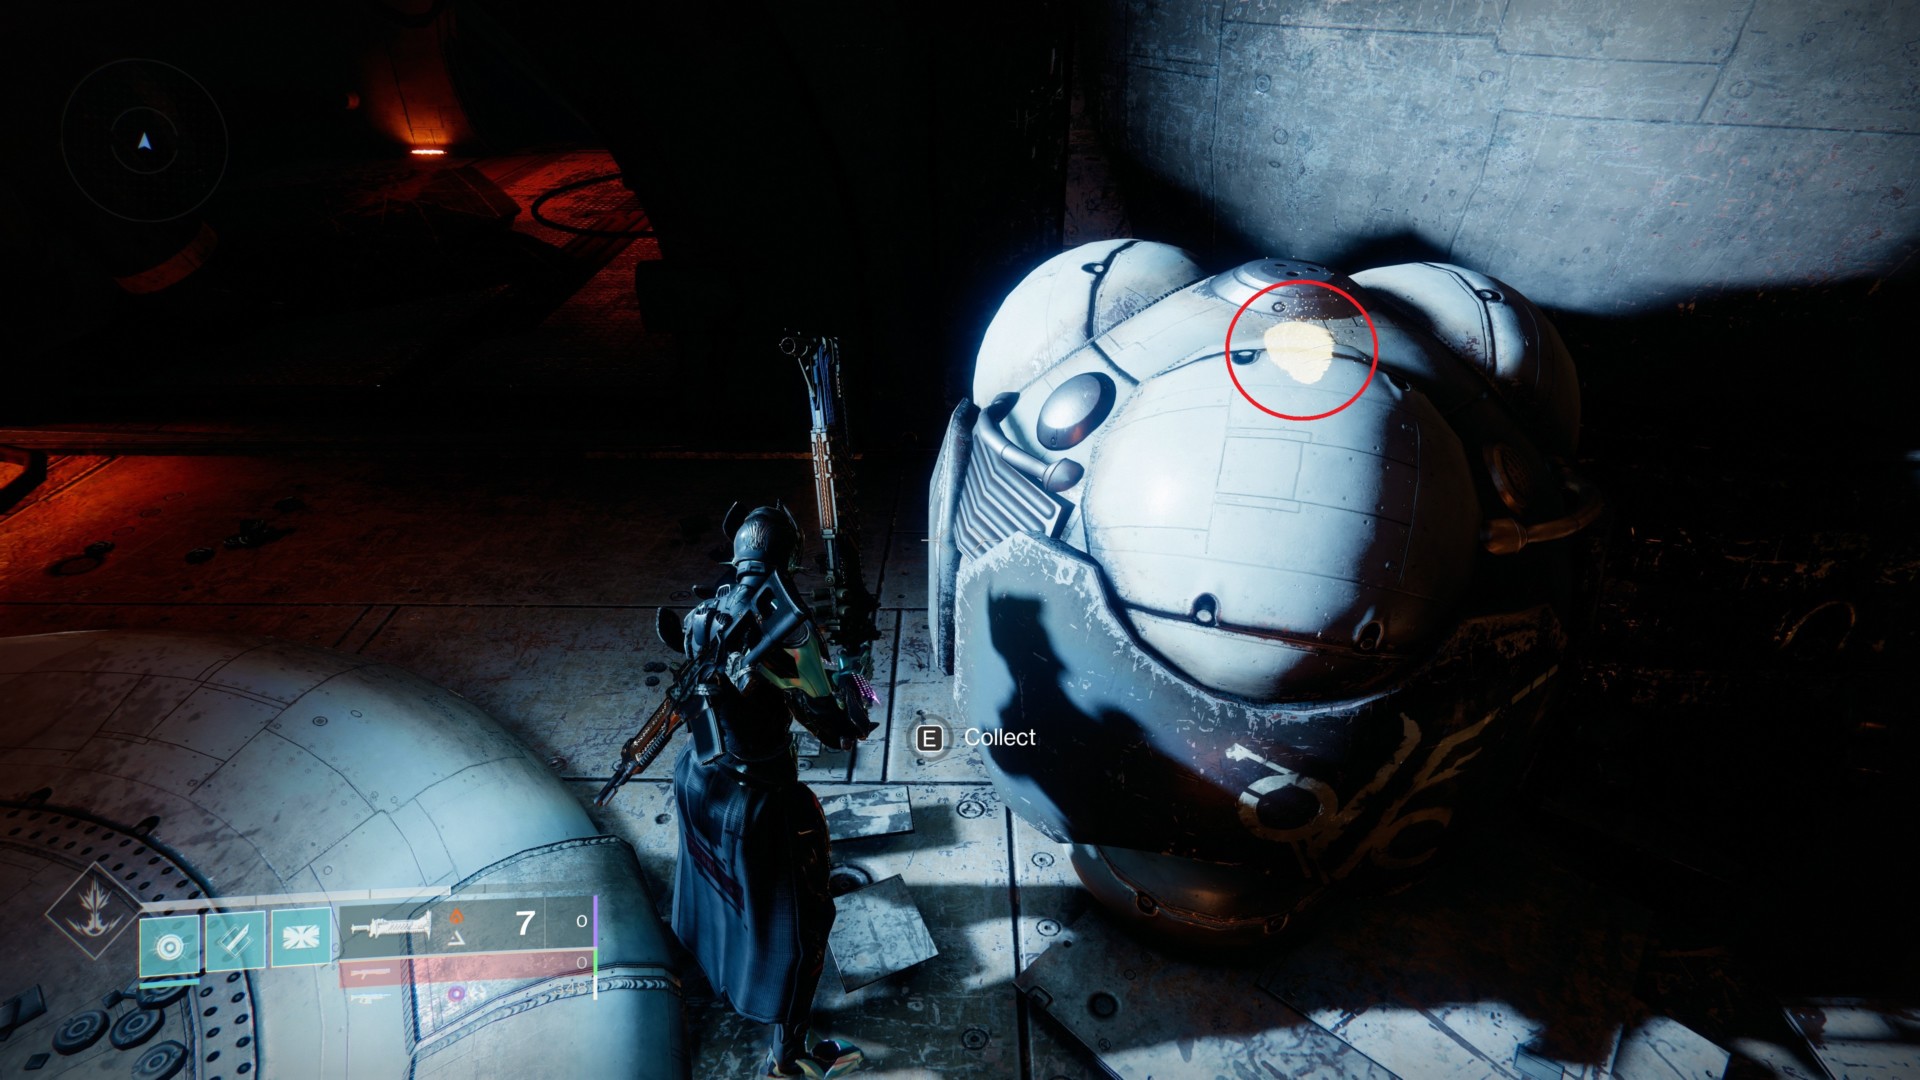
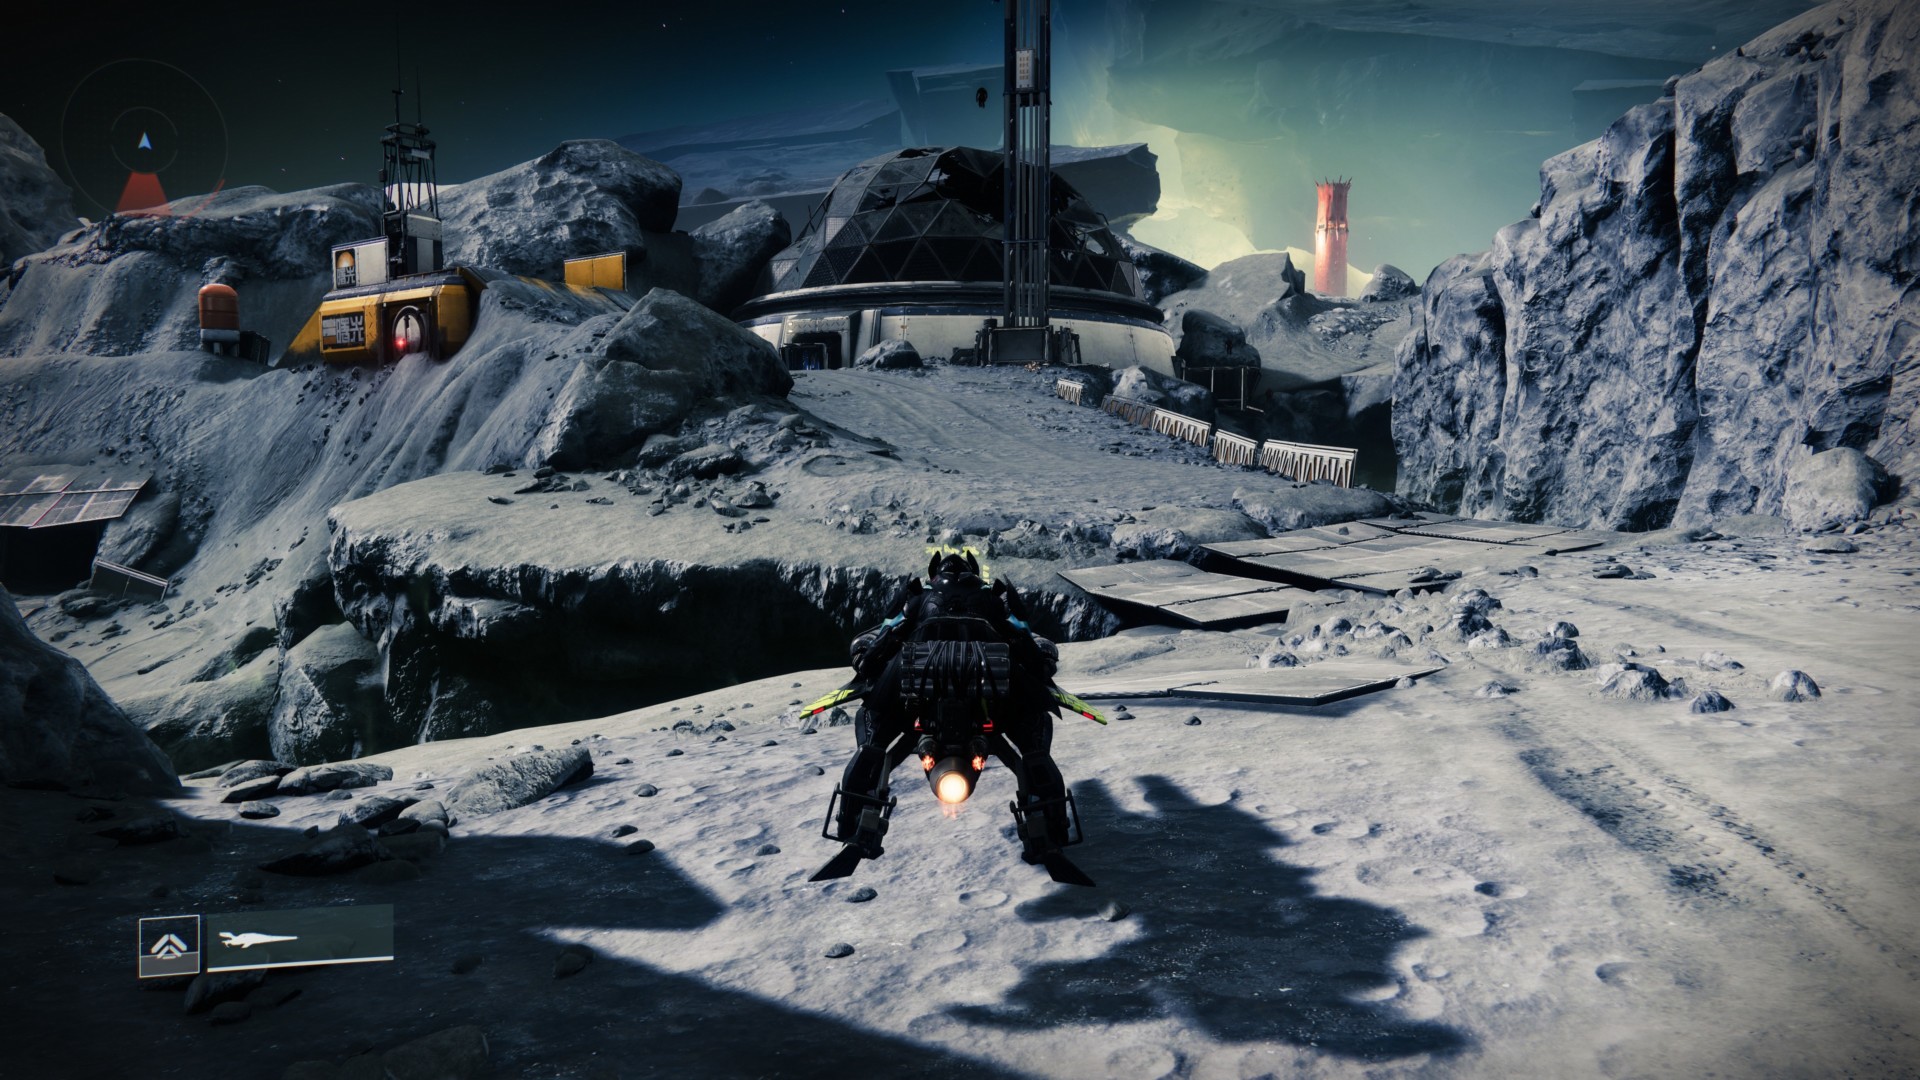
Feather #5: The Moon
The last Hawkmoon feather you’ll need to find for this part of the exotic quest is deep within the Shrine of Oryx. First, head to Archer’s Line and go through the hab to the right.
Follow the temple’s corridors once you’re inside and make your way deep within the bowels of the shrine.
This is the same pathway you took when you fought the Fanatic Nightmare and when you did Destiny 2: Beyond Light‘s Season of the Hunt starter mission.
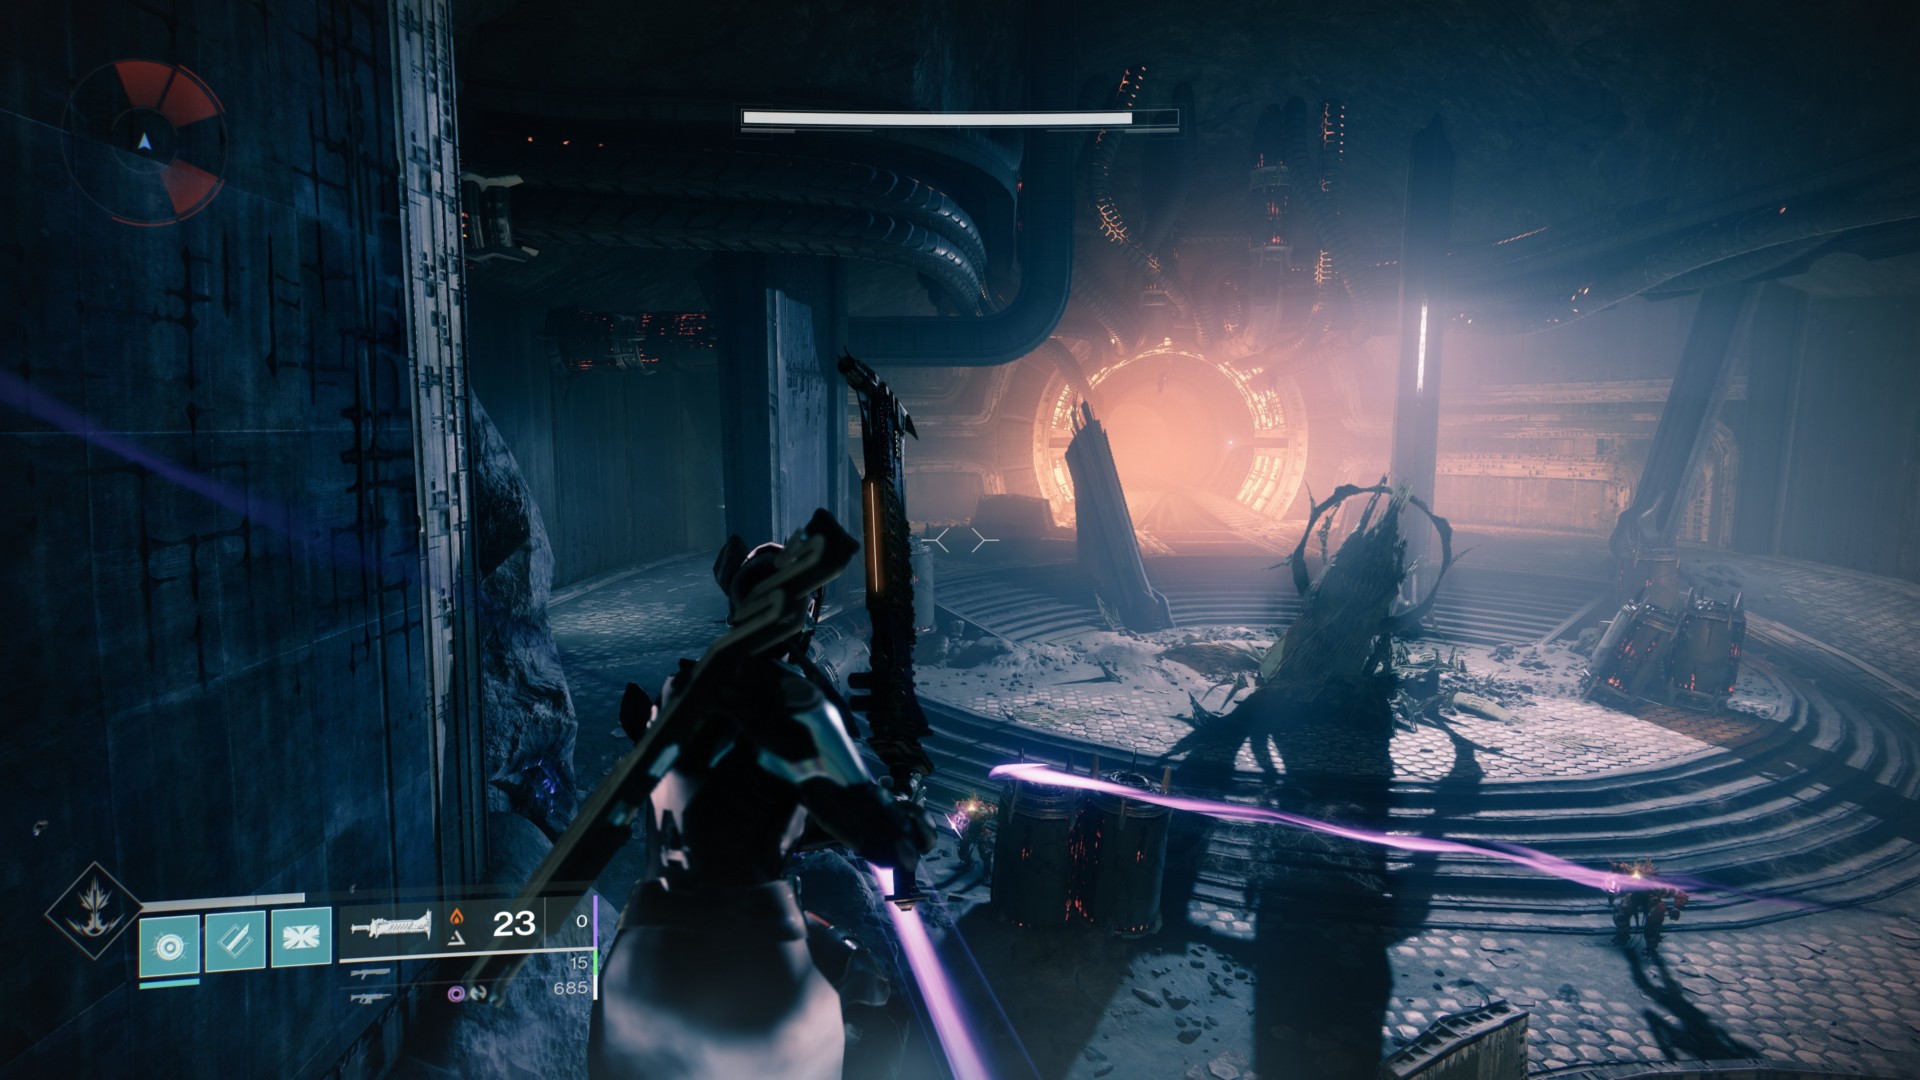
Anyway, the Hawkmoon feather is all the way at the end inside the usual boss chamber.
The rest of the exotic quest: Let Loose Thy Talons
A short mission
After grabbing all the Hawkmoon feathers, speak with the Crow in the Tangled Shore. You’ll need to complete a mission in the EDZ’s Sludge zone.
It’s a quick one that has you battling Taken in the Hallowed Grove lost sector.

When you’re done, pick up Hawkmoon’s effigy and return to the Crow.
Collect or generate 50 orbs of power
This one can be done anywhere, but I would suggest running the Blind Well in the Dreaming City. Whenever you pick up those Harmony orbs, you’ll get your super recharged quickly, allowing you to annihilate multiple mobs.
Return to the Crow after you’ve finished this part.
Oh, and if you picked up the quest on a particular character, you can switch to one of your Destiny 2 alts. Just head to the Tower and grab it from the kiosk next to the Postmaster.
In my case, I got this on my Titan first. But, this exotic quest step (and another one in a while) favored Hunters. Orb generation is definitely easy with a Nightstalker’s Tether.
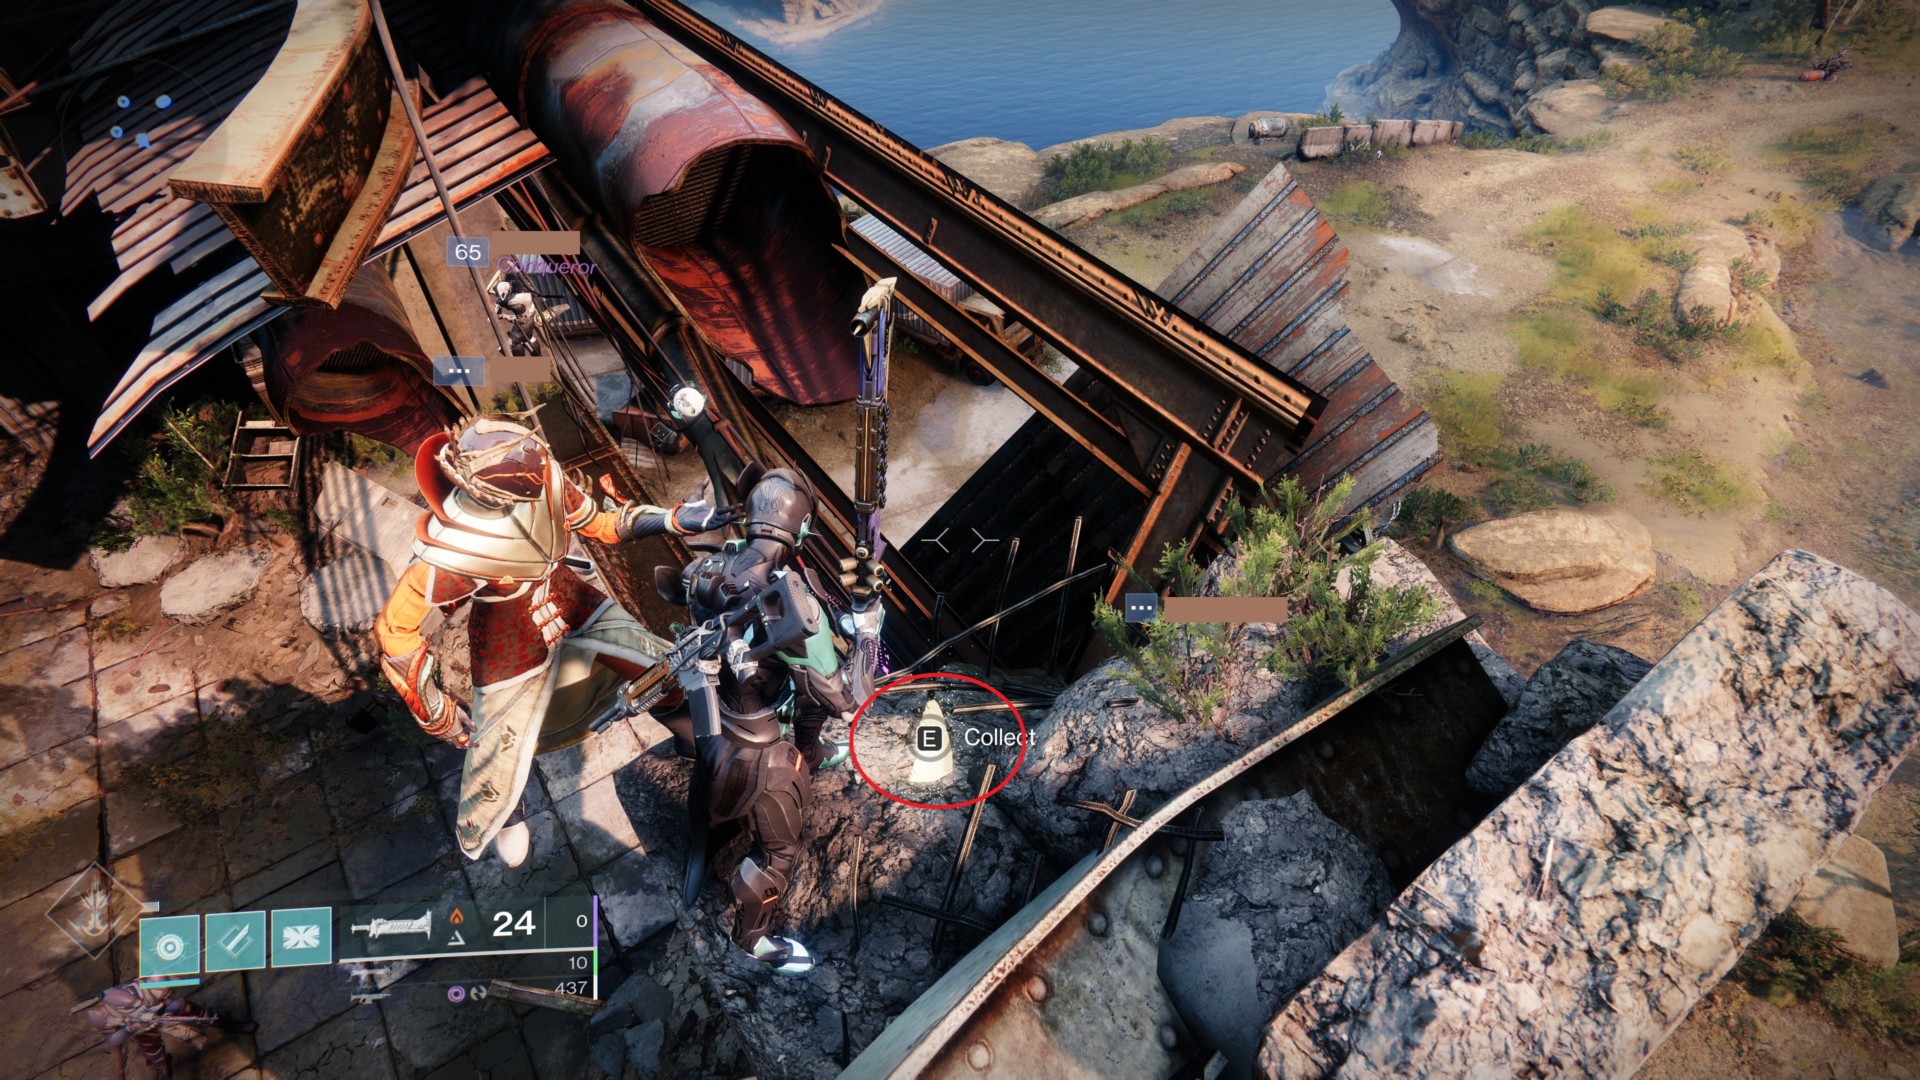
Finding more Hawkmoon feathers
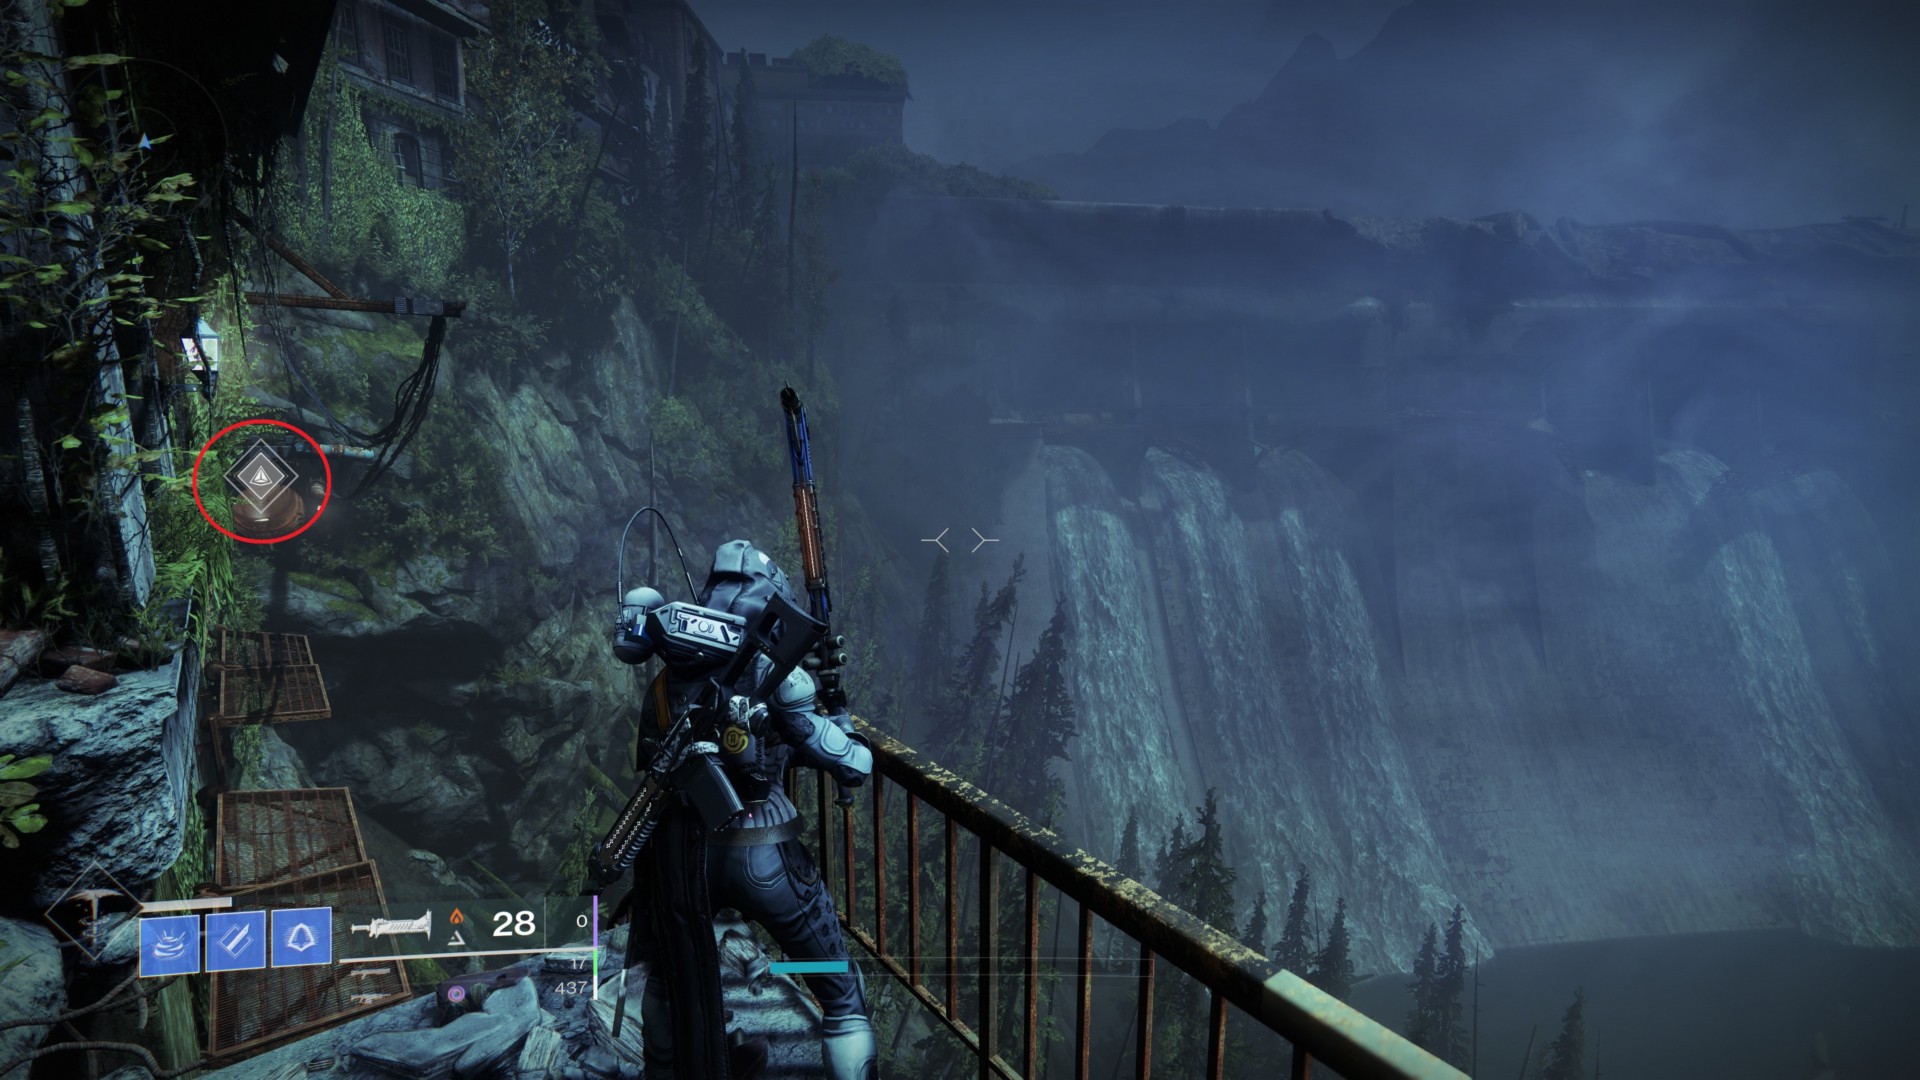
Anyway, the next objective is to go to the Trostland in the EDZ. You’ll notice a marker here for the next step in the exotic quest for the Hawkmoon.
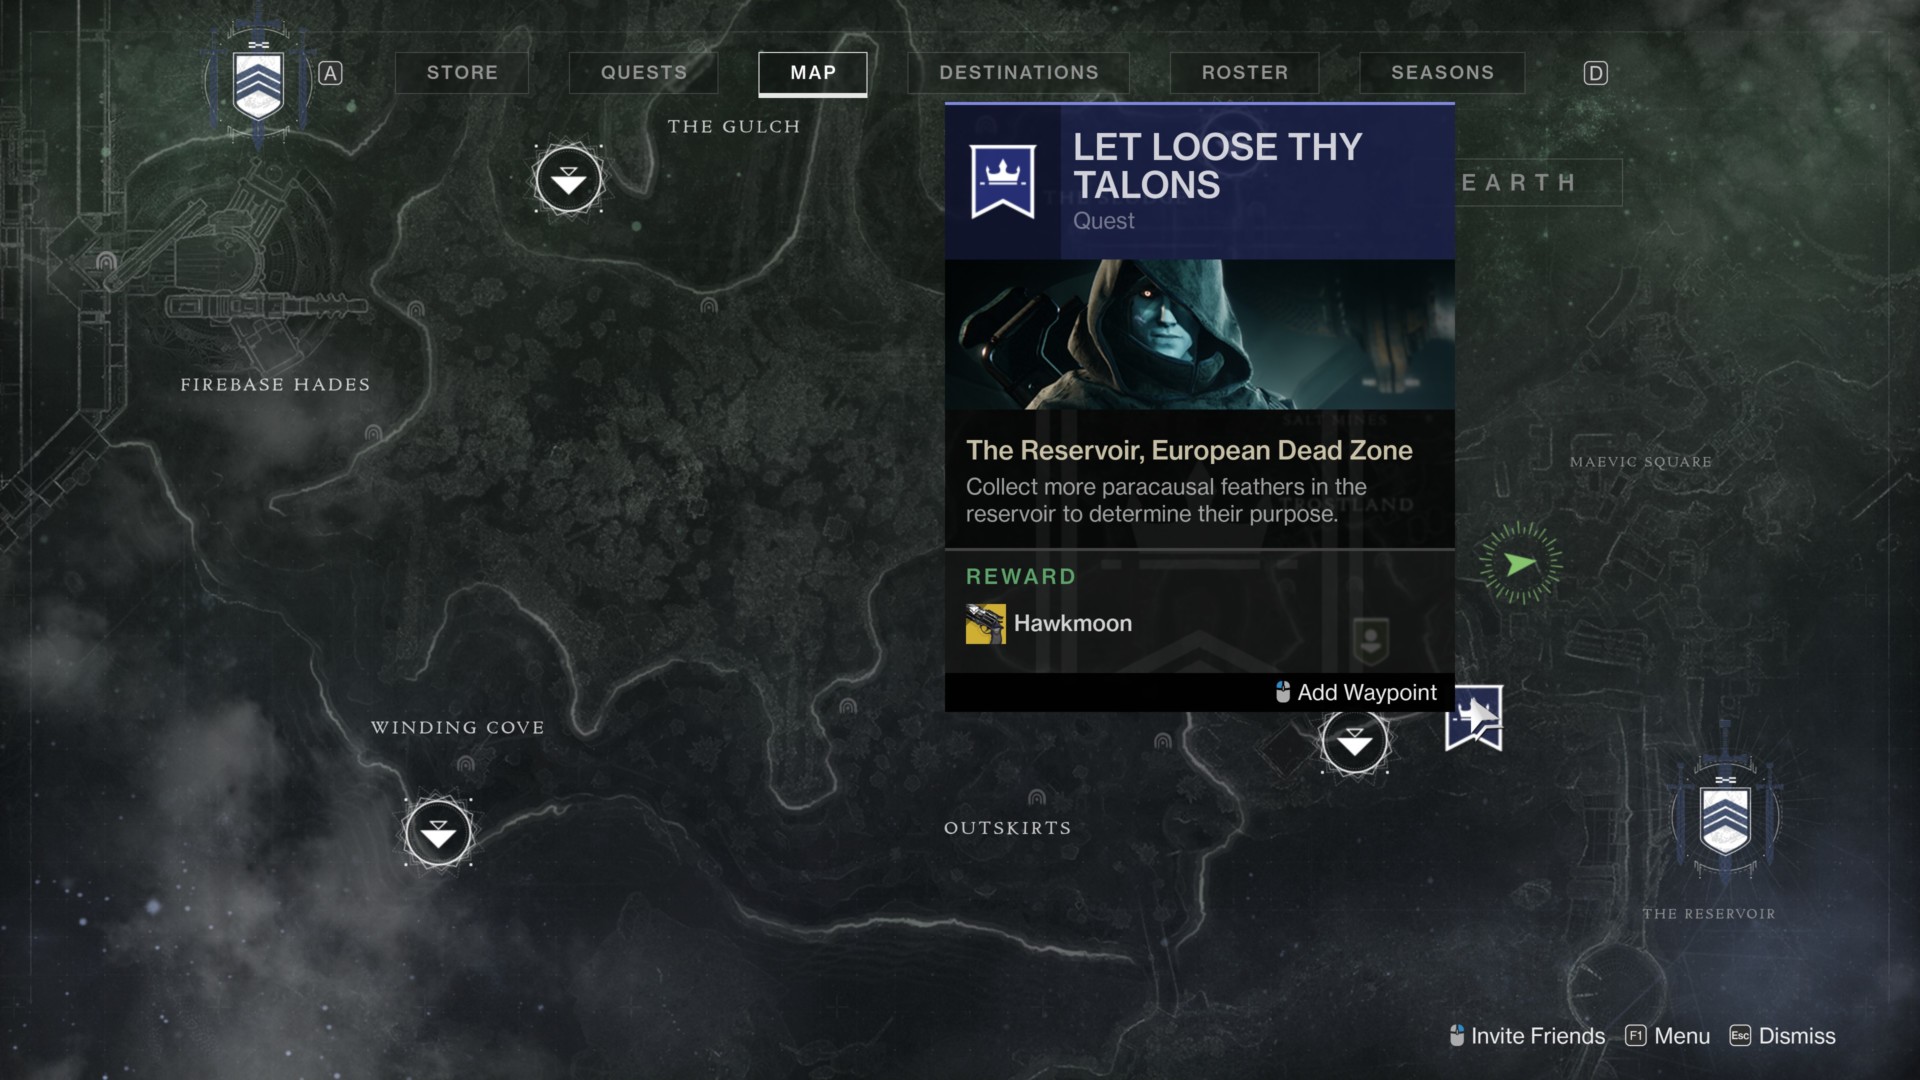
After interacting with the marker, head to the top floor of the ruined apartment. The pathway will eventually take you to a location at the side of the Reservoir zone.
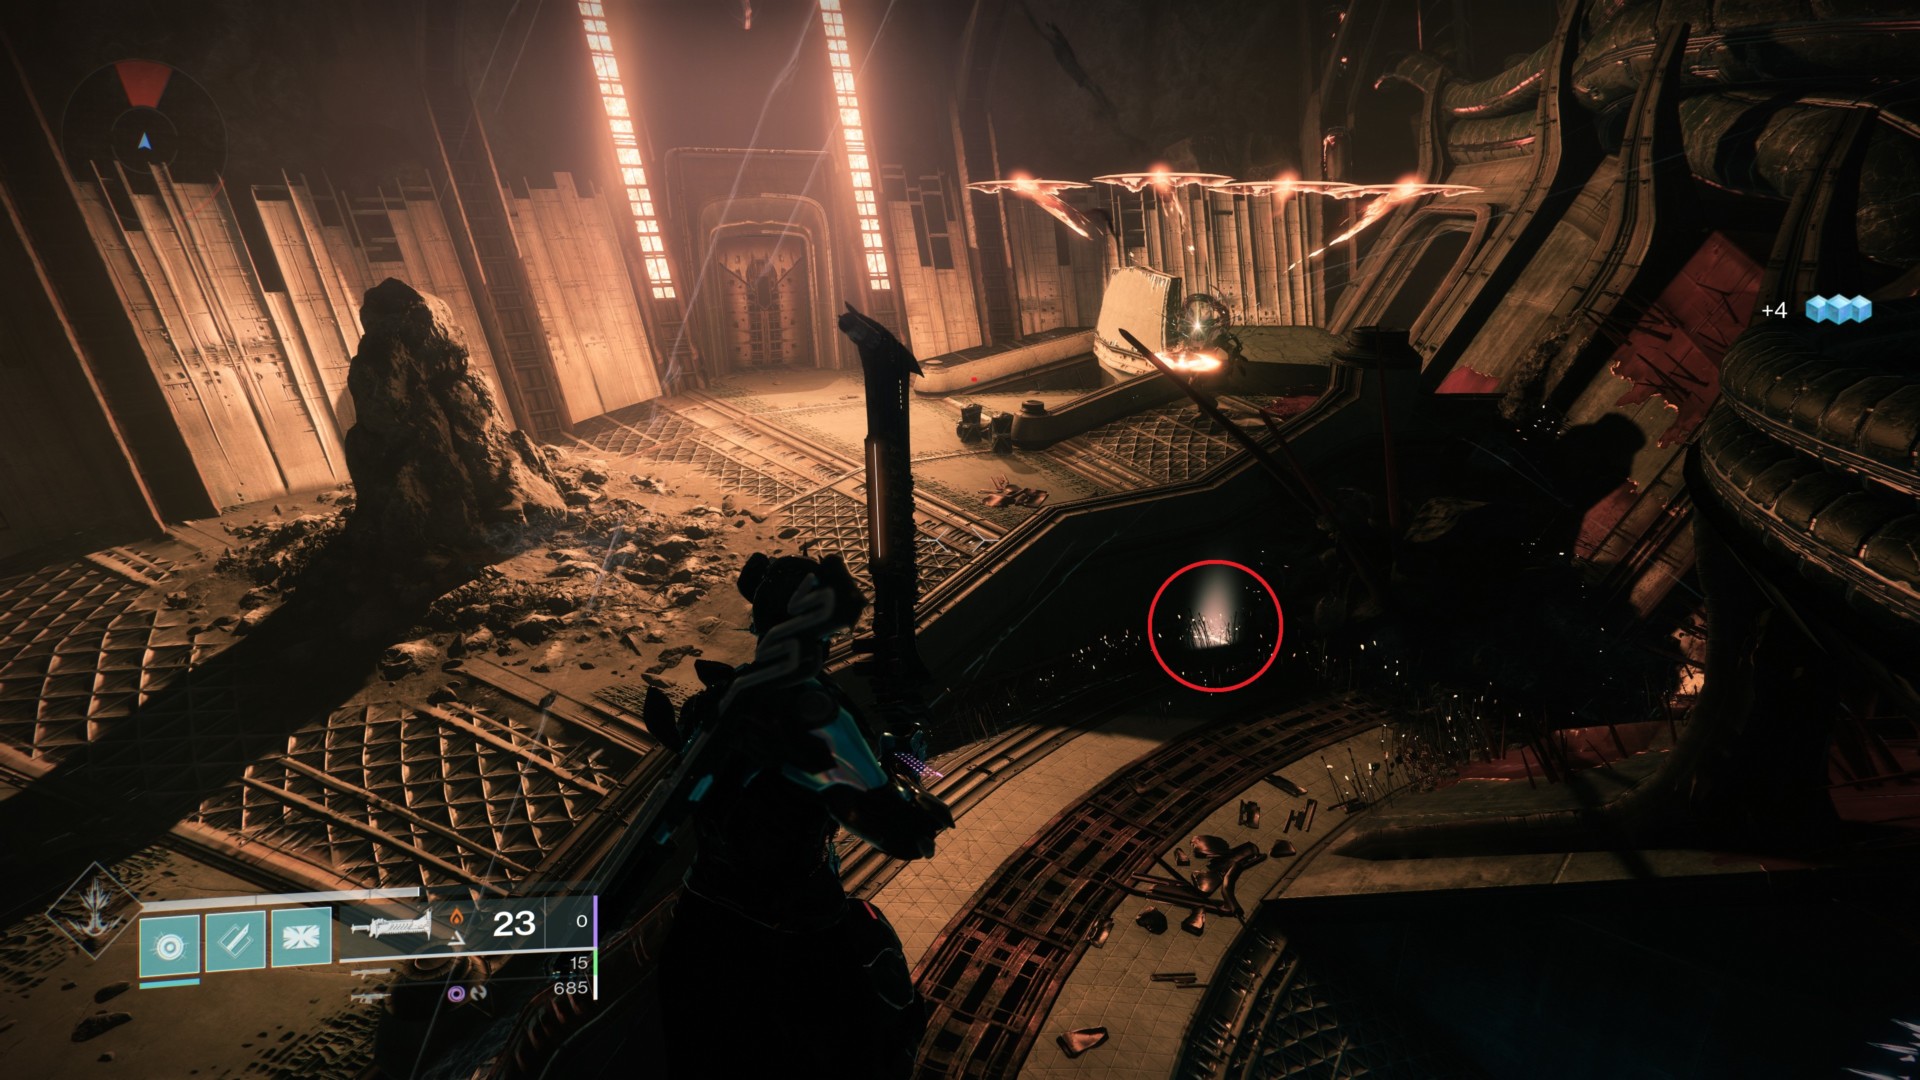
As for the Hawkmoon feathers, you’ll need to locate five. These are all marked on your HUD.
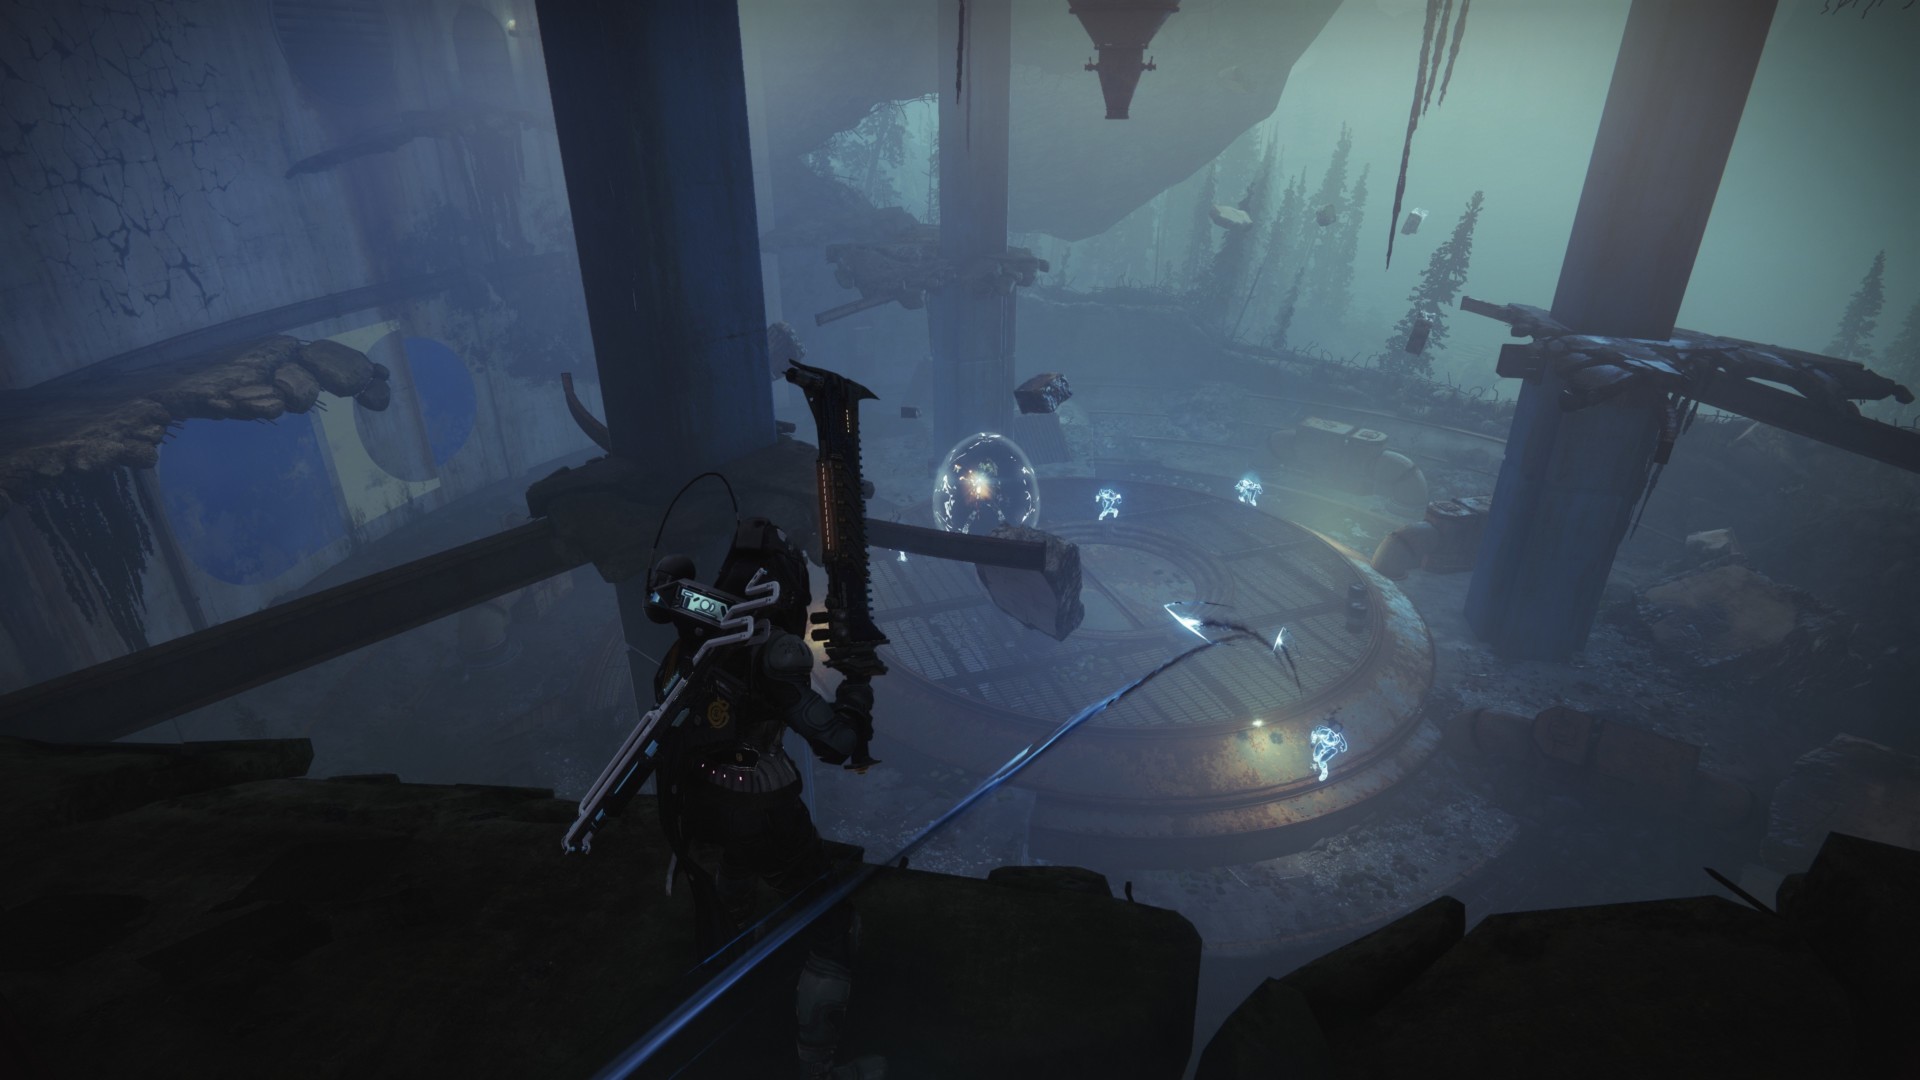
The fifth and final one is found at the end of all the rooms and winding tunnels. You’ll be fighting several Taken here including a shielded knight. The goal is to kill the glowing Taken first. Then, pick up the orbs that they drop. You can press right-click to throw these at the knight to break its shield.
The feather spawns here once the knight’s health is low enough. Just eliminate the remaining hostiles, grab it, and return to the Crow in the Tangled Shore.
Defeat Champions or Guardians
This step requires you to get a total of 200 kills, but there are two ways of progressing:
- Defeat Guardians in Crucible or Gambit – Every Guardian kill only nets you one percent in the progress bar (200 kills in total), so it might take a while. A speedier way of doing this is to play some Mayhem. If you’re on a Hunter, just switch to Blade Barrage and use Shards of Galanor.
- Defeat Champions – Every Champion you kill counts as 3%. You could run the Heroic difficulty of this week’s Nightfall (Inverted Spire) to get roughly 40% in one attempt. If you decide to do the Master difficulty (which does help net you a pinnacle reward once you reach a score of 100,000), the “Mob” modifier is also active. This spawns more Champions in the Nightfall strike.
The Crow and the Hawk
The final mission takes place in the EDZ’s Hallowed Grove where you fought all the Taken earlier. The previous mechanics where you picked up orbs and threw them at shielded Taken will also apply.
Here’s a video from YouTuber HurleyEffect:
The Hawkmoon’s perks
Hawkmoon in Destiny 2: Beyond Light has these unique perks:
- Paracausal Shot – Final blows and precision hits with Hawkmoon grant stacks of Paracausal Charge. The final round in the magazine deals bonus damage based on the number of stacks. Stowing Hawkmoon on the final round removes this bonus.
- Transformative – Future drops of this weapon will have random rolls.
Personally, I’m a little bit underwhelmed. Bear in mind that in Destiny 1, the Hawkmoon had “Luck in the Chamber” and “Holding Aces”. With random bullets in the magazine doing considerable damage, some of your shots could easily one-shot or two-tap your foes, especially when the perks proc for the same bullet. But, that subsequently got fixed. The Destiny 2: Beyond Light version, meanwhile, requires you to get kills or precision hits first just to get stacks of “Paracausal Shot.” Likewise, the damage bonus only applies to the final round in the magazine. Basically, it’s an amped-up version of the “Final Round” perk.
I wasn’t too impressed by it. However, if it brings back that nostalgia and you feel you’re good with it, go ahead and have some fun in the Crucible. Don’t forget that Iron Banner is also live so you can test it out. Lastly, take note of the “Transformative” perk since future drops might net you other rolls.
Here’s a Crucible video from Destiny 2: Beyond Light YouTuber IFrostbolt:
Destiny 2: Beyond Light is available via Steam. For more information, check out our guides and features hub.


Published: Dec 9, 2020 03:30 am